Key Takeaways
- Position the speaker in a central location to balance sound waves throughout the bathroom.
- Use water-resistant speakers to reduce distance, which yields less distorted and louder shower audio.
- Sync multiple speakers for surround sound and consider 360-degree options.
Shower music is one of life’s smaller pleasures, but bathrooms have lots of glass, tile, and ceramic surfaces, creating an echoey environment. You may try to jack up the volume, but that just intensifies it. However, applying these strategies can enhance your bathroom listening experience.
Position Your Speaker Correctly
I found the main trick to bathroom audio comes down to one word: Position. I’ve experimented with many positions, along the wall, up high, down low, and in the corner. After lengthy trial-and-error, I’ve found that, for bathroom settings, especially if you’re only using one speaker, it’s best to begin your journey in the most central location, because it allows sound waves to bounce off surfaces more evenly.
However, I get that no room is perfectly symmetrical, and many bathrooms are small and have no central pedestal. You’ll need to get creative and try out different spots, such as counter tops that jut out toward the center of your bathroom, or a stool or chair placed in the center of the bathroom.
I also found that mounting a speaker up higher, usually around ear level, creates the most balanced sound. I’ve jury-rigged plenty of setups over the years, and my personal favorite was when I moved my bathroom shelf to the middle of the room and used a couple of books to prop the speaker to as close to ear level as possible. Yes, it took some work, and no, I didn’t move the shelf every time. However, I never regretted putting in the work, especially if I knew it was going to be one of those long, thoughtful showers.
“What about bringing my speaker in the shower?” you ask. That’s often a great solution, but only if you have the right speaker and setup.
Using a speaker in the shower usually yields a more consistent sound and less distorted frequencies because the sound waves don’t have to travel as far. But you’ll also need a secure place to latch it onto. You’ll see people market shower speaker holders, but I’ve never been a fan when I stop to check them out in stores. Not that I’ve used one, but they seem flimsy and often attach via suction cups. All in all, they seem like a cheap and surefire way to drop your speaker into a watery, steamy grave.
Instead, use a waterproof strap that you can put around a secure hook. Otherwise, attach the strap to your shower curtain rail (e.g. with a carabiner-style fastener) or simply rest the speaker in your shower caddy, but only if it’s sturdy.
Before investing in a speaker that you plan to put in direct contact with water, you must confirm its water resistance rating. I knew someone once who ruined his $300 dollar Bluetooth speaker because he used it in his bathroom too much, and damaged its internal components.
I recommend going with a model that’s at least rated IPX7, which can stand full water immersion for up to 30 minutes. However, remember that even IPX7 isn’t designed to be placed directly beneath water jets.
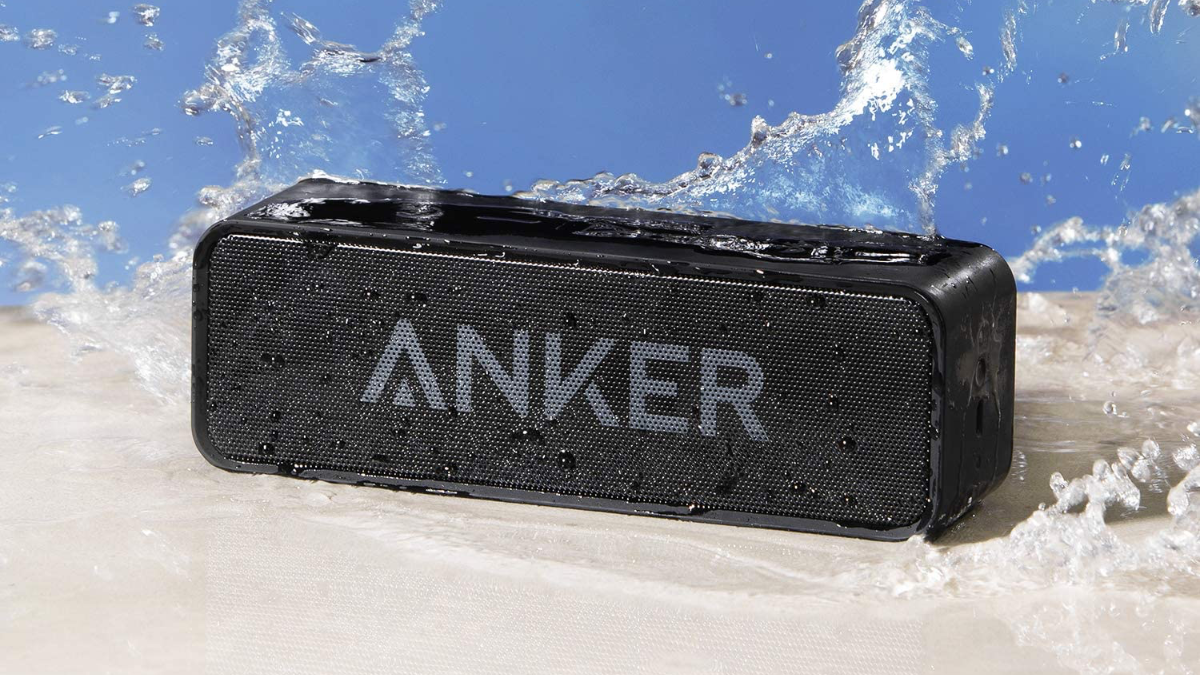
One specific speaker I’ve used and spoken highly of for showering is the Anker Soundcore 3. It’s an IPX7-rated speaker with a place to tie on a strap and has large buttons for easy accessibility. For those hesitant to invest in a speaker mainly for showering, given the quality, it’s quite affordable.
Fine Tune Frequency and Volume Levels
The most common issue with bathroom speakers is diminished bass. If your speaker has built-in EQ settings, try adjusting your knobs, starting with increasing bass and bringing down the trebles. The Anker speaker I just mentioned is great for this, given it has dedicated EQ, and allowed me to adjust the bass. I found that turning that up by 50% or so made a big difference in terms of clarity and overall quality, both for music and podcasts.
If your speaker has no EQ settings, most music apps (e.g. Spotify) have built-in EQ settings. Your phone may also have system-level EQ settings, depending on the brand and model.
Remember to play around with the volume as you adjust the EQ, as fine-tuning the volume along with frequency levels can help strike a better balance.
Sync Multiple Bluetooth Speakers
The larger your bathroom, the harder it is to spread sound waves evenly. So, if you can swing it, try syncing multiple speakers to create a mini surround sound system. There are many great wireless options for syncing up. For example, most JBL wireless speakers come with an easy-to-use “PartyBoost” mode where you can effortlessly connect multiple speakers at once.
Use a 360 Degree Speaker
If you want only one dedicated speaker for your shower setup, consider purchasing one that projects from all angles, rather than only projecting from the front. A 360-degree speaker works well for shower audio as it more evenly spreads sound waves across the room. Better balance allows you more leeway to crank up the volume without creating more echoes or distortion.
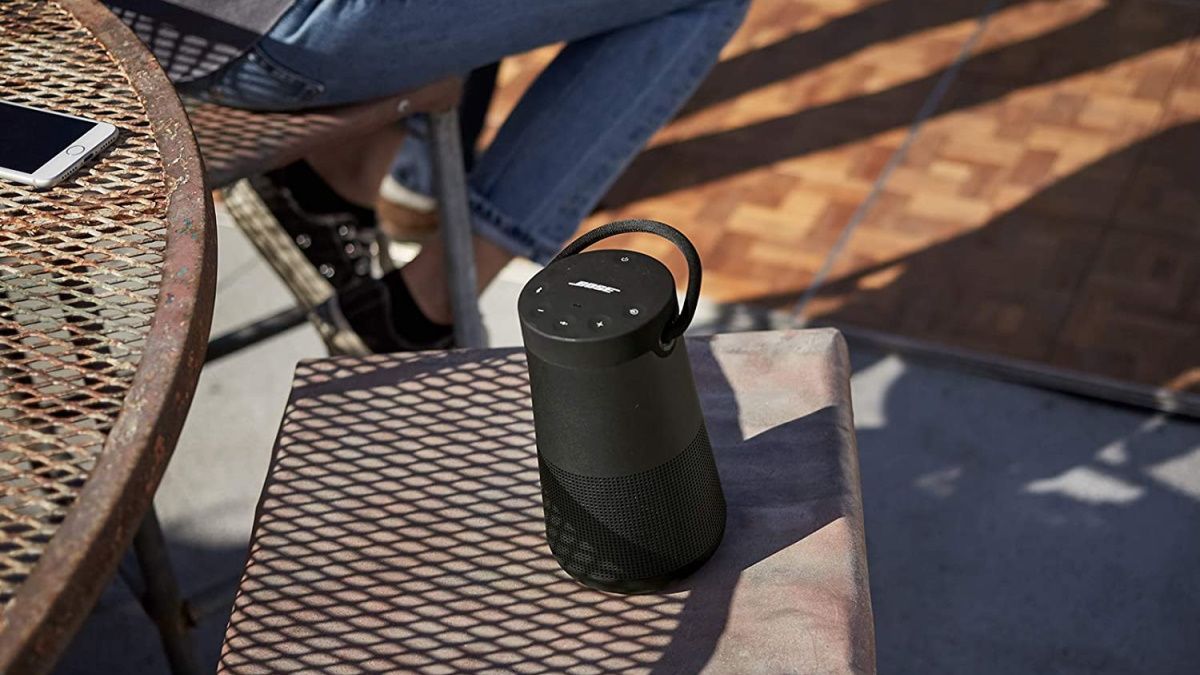
If you’re looking for a powerful, durable 360-degree speaker, I’d recommend checking out the Bose Sound Link Revolve+ II Bluetooth Speaker. I haven’t listened to it in the shower, but I recently heard it in an outdoor setting and was very impressed at how it radiated sound in a noisy environment. It’s also dust and water-resistant, so, while I wouldn’t take it in the shower, it’ll hold up fine in a steamy bathroom setting.
Perfecting your shower audio takes plenty of tweaking, attentiveness, and experimentation. However, it’s something you can control and worth perfecting if you’re the type to need background music while rinsing off.


