If you’ve just bought a new laptop or desktop PC for yourself, chances are good that you purchased it online. That gives you downtime before it arrives, which you use to chip away at some necessary prep work before using your new PC.
Sure, you can wait until your new computer arrives to do these steps. But doing some of the work now makes getting to the fun part—enjoying your shiny new PC—much faster. It’s also less of a slog. When you go to a store and bring home a new laptop immediately, you’ll usually end up undertaking all this work in a single, hours-long go.
Of course, you don’t have to do everything on this list. But if it’s applicable to your situation, we highly recommend it to make your life smoother.
Back up your current computer
Markus Spiske / Unsplash
Most likely, you’re not starting completely fresh with this new PC, and you have a current PC with files you’ll want to transfer over.
If you’re already regularly backing up your computer, you’re mostly set on this front. Just remember to do one more backup before transferring your files over. Planning instead to pull files from a cloud backup service? Make sure everything’s synced properly.
Also consider imaging your current PC’s drives to have on hand in case you later can’t find certain files. It’ll allow you to hunt for them without having to keep the PC on hand. You just need a backup drive with enough space for the images. (If you don’t have one, we have a list of external hard drive recommendations.)
Starting your backup from scratch? If you’re pressed for time, begin with the files and folders you know you won’t touch between now and the arrival of your new PC. Old photos, documents, etc. Then when it’s time to make the switch, back up your more recently touched files and folders. Automate the process and you’ll also have a system that’ll save you time and potential heartache down the road, too.
Take inventory of your apps
PCWorld
Plan to run the same programs on your new computer as your current one? Or you haven’t sat down yet and fully thought out everything you’ll want on your first new PC? Make a list now.
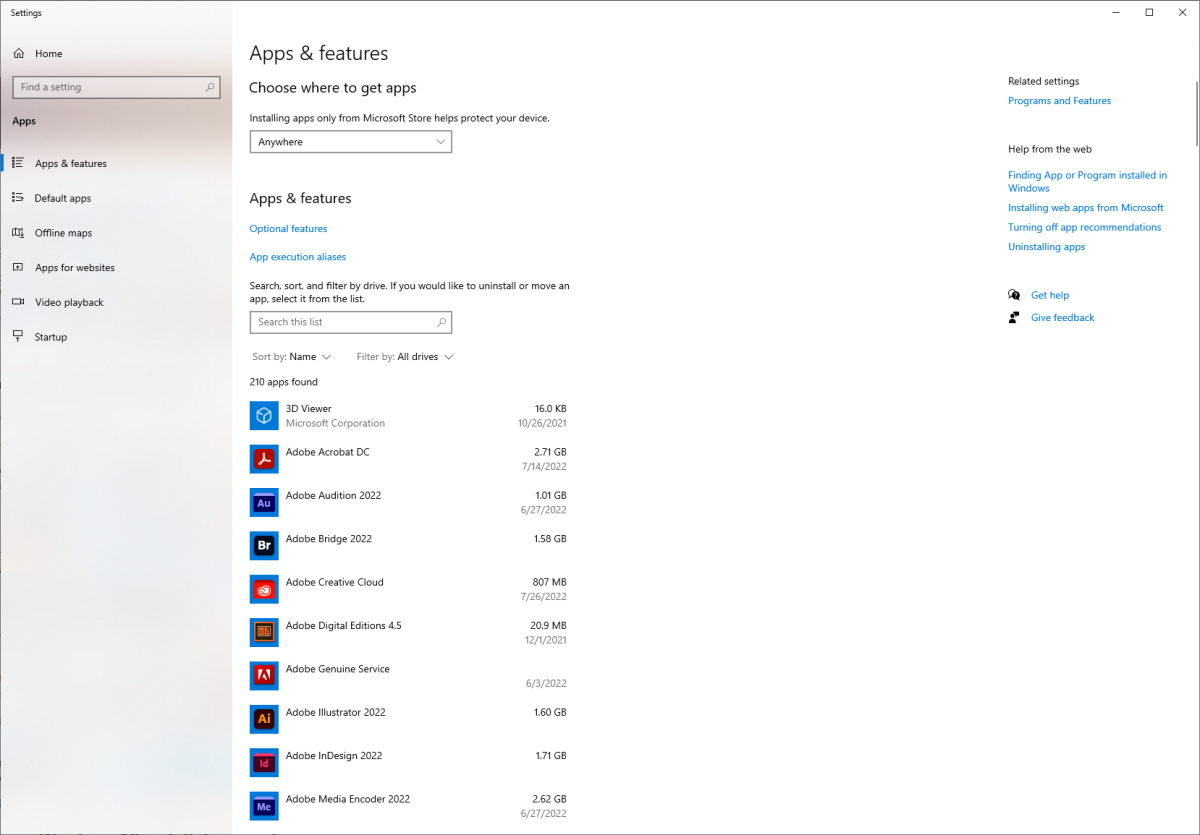
For folks with a current PC, just take inventory of the apps already installed on your system. Open the start menu, type “programs”, then choose Add or remove programs. For any you don’t recognize, you can search online to determine what they are and what they do. From there, you should be able to figure out if you use it and want to carry it over.
If you have the time, you can also download a program like Ninite, which can install multiple popular apps at the same time, as well as the installation files for anything else. Put these on an external drive or store them in a single cloud folder so you can transfer them to the new PC and then slam through their installation all at once.
Anyone coming from an old operating system (e.g., Windows 7) should also check to see if their existing app lineup is compatible with Windows 10. You may have to find replacement or alternative programs. If you have the original install files for your current PC still on hand, add those to your external drive or cloud folder collection, too.
Write down your license keys
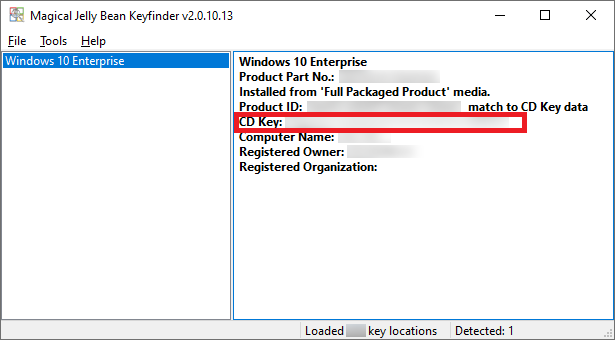
Magical Jelly Bean KeyFinder can extract license key info for Microsoft Office 2010 and various editions of Windows.
PCWorld
For any programs you’ve paid for, you might need a license key to reactivate the software on your new PC. (Your license terms dictate whether this is possible, but usually they can be carried over from one PC to another—just not used at the same time unless it’s a multi-device license.)
After taking inventory of your current PC’s installed app, figure out which are paid apps that require a license key. Generally if you paid a one-time fee, you’ll have a license key; if you pay for a subscription, you’ll verify your paid status by logging into an account.
License key info is usually included in an email or online account for digital purchases. Physical purchases usually have a slip of paper included in the box. Don’t have either? Try the program’s Help menu options. Searching online or reaching out to the software maker’s customer support can also get you unstuck.
Alternatively, programs like Magical Jelly Bean KeyFinder can suss out the info for some apps. KeyFinder specifically works with standalone copies of Microsoft Office 2010, as well as Windows. (Incidentally, figuring out your current PC’s Windows license key info isn’t a bad idea—you or a loved one could possibly make use of it down the road when building or refurbing a different PC.)
Last tip: For old software, you may need to deregister your current PC in the app to reuse the license key with your new PC.
Jacqueline Macou / Pixabay
This one only applies if your new PC comes with Windows 11 and you’re already planning to downgrade it to Windows 10. (I’d back you on that sentiment, though.)
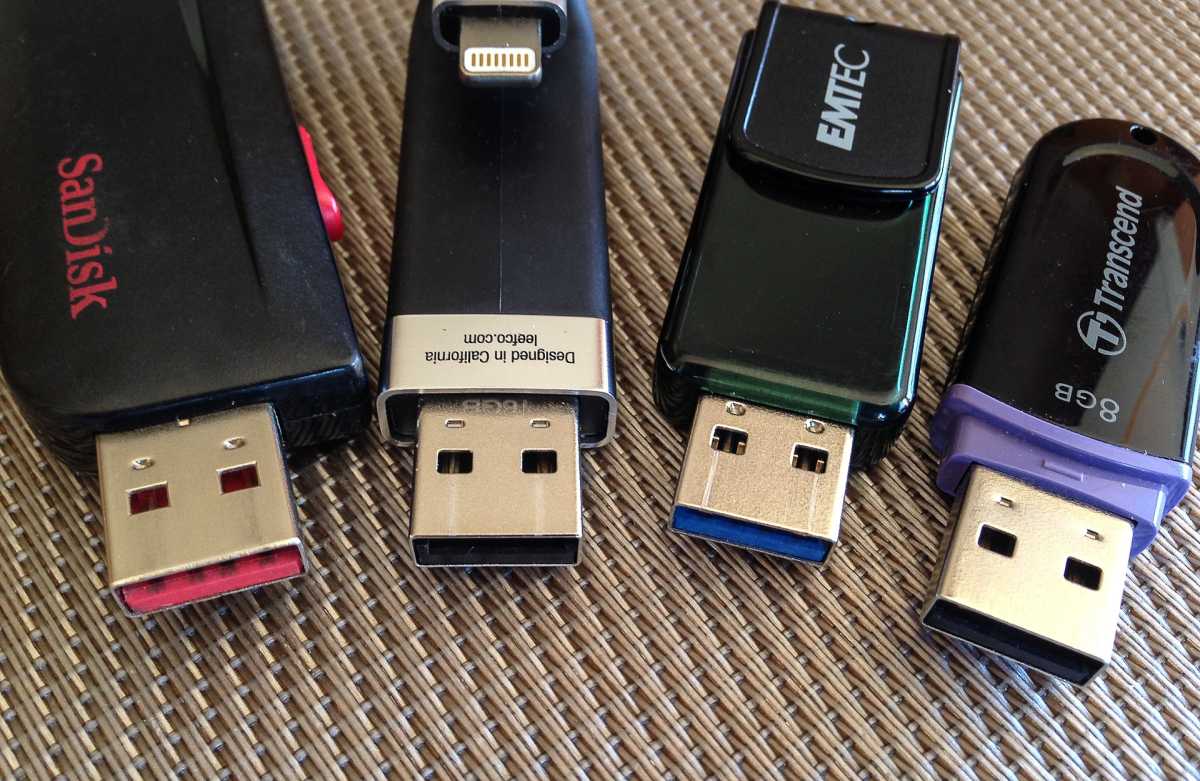
Create your Windows installation media now, and you’ll save some time. It can prevent delays in your new PC’s setup, too—if you start the task now and realize you don’t have any USB drives on hand, you can order one and still be ready by the time your new computer hits your doorstep.
Once you’ve located a USB drive that’s 8GB or larger, head to the Windows 10 download page to start the process. Scroll down to Create Windows 10 installation media, download the media creation tool, and then follow the on-screen prompts. (You can check out our article with more detailed instructions if you get stuck.)
Modernize your current desk setup
Adam Patrick Murray
Whether you’re switching from a laptop to a desktop PC, the reverse, or going from an older to newer system of the same type, your existing setup may need light tweaks to work smoothly with your new computer.
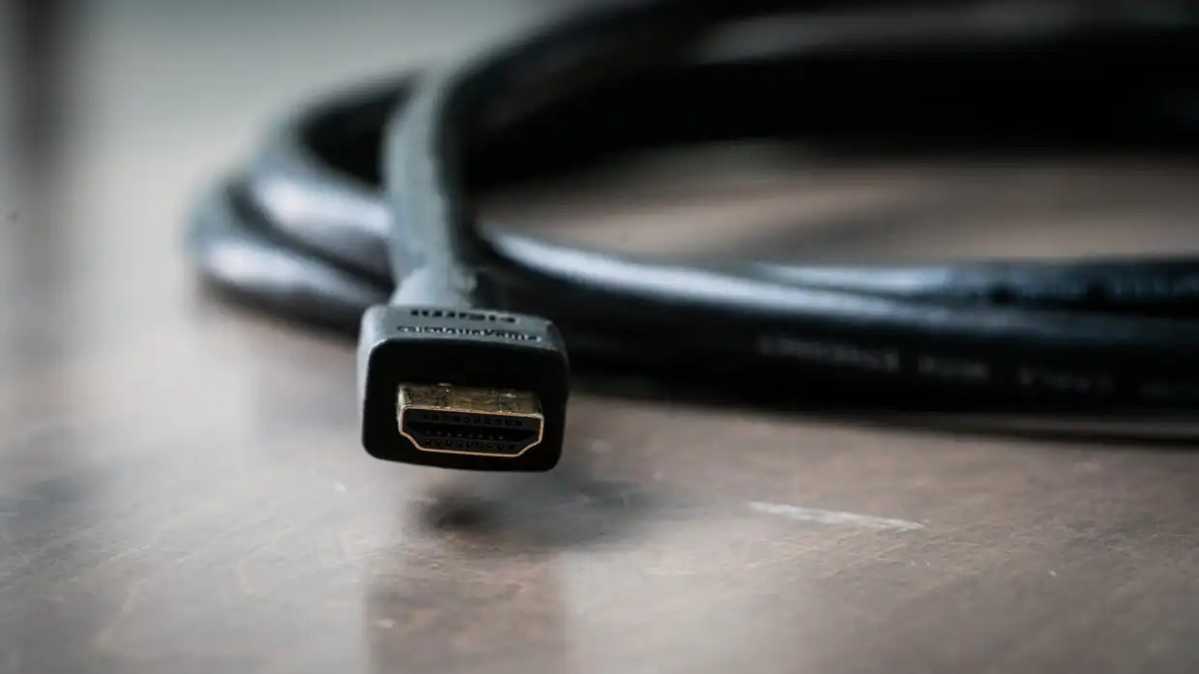
For example: An older monitor could need a dongle or adapter cable to allow your new PC to connect—it might have only DVI and VGA ports while your new PC only has mini DisplayPort, DisplayPort, or HDMI out.
A new laptop could also have fewer ports than you’re used to. A USB-C hub can expand its connectivity options. Similarly, if you’re still running off a USB 2.0 hub and are planning to connect faster devices, it could be time to add a USB 3.0 hub to your mix.
Speaking of upgrades, on the flip side of the equation, any new monitors, peripherals, and accessories could benefit from changing up your cabling situation. Maybe your monitor is much newer than the PC you’re replacing—you might now be able to link it to your laptop or PC with a single USB-C cable for both display and charging purposes, and eliminate a bunch of cable clutter. Or if you’re planning on gaming with your new PC at a higher resolution and refresh rate, you could need to replace your HDMI or DisplayPort cable with a higher bandwidth version. You could also need to switch from HDMI to DisplayPort to take advantage of your monitor’s FreeSync capabilities. It all depends on the gear you own, so dig into the specs and see what you might need.
After your new PC arrives
Even with all this prep work, there are recommended steps to get your new PC into fighting shape once it arrives, too. (Because seriously, no one likes bloatware.) Tackle this half of the work now, and getting the rest done won’t seem nearly so daunting.


