Time Machine is Apple’s built-in macOS backup solution. You can use it to create a complete copy of your Mac’s drive so that you can restore your computer if something goes wrong or recover files that are later deleted.
You should already be using Time Machine, but if you’re not then there’s no time like the present. Here are some of the ways you can put Apple’s backup service into action.
1
Back Up to an External Drive
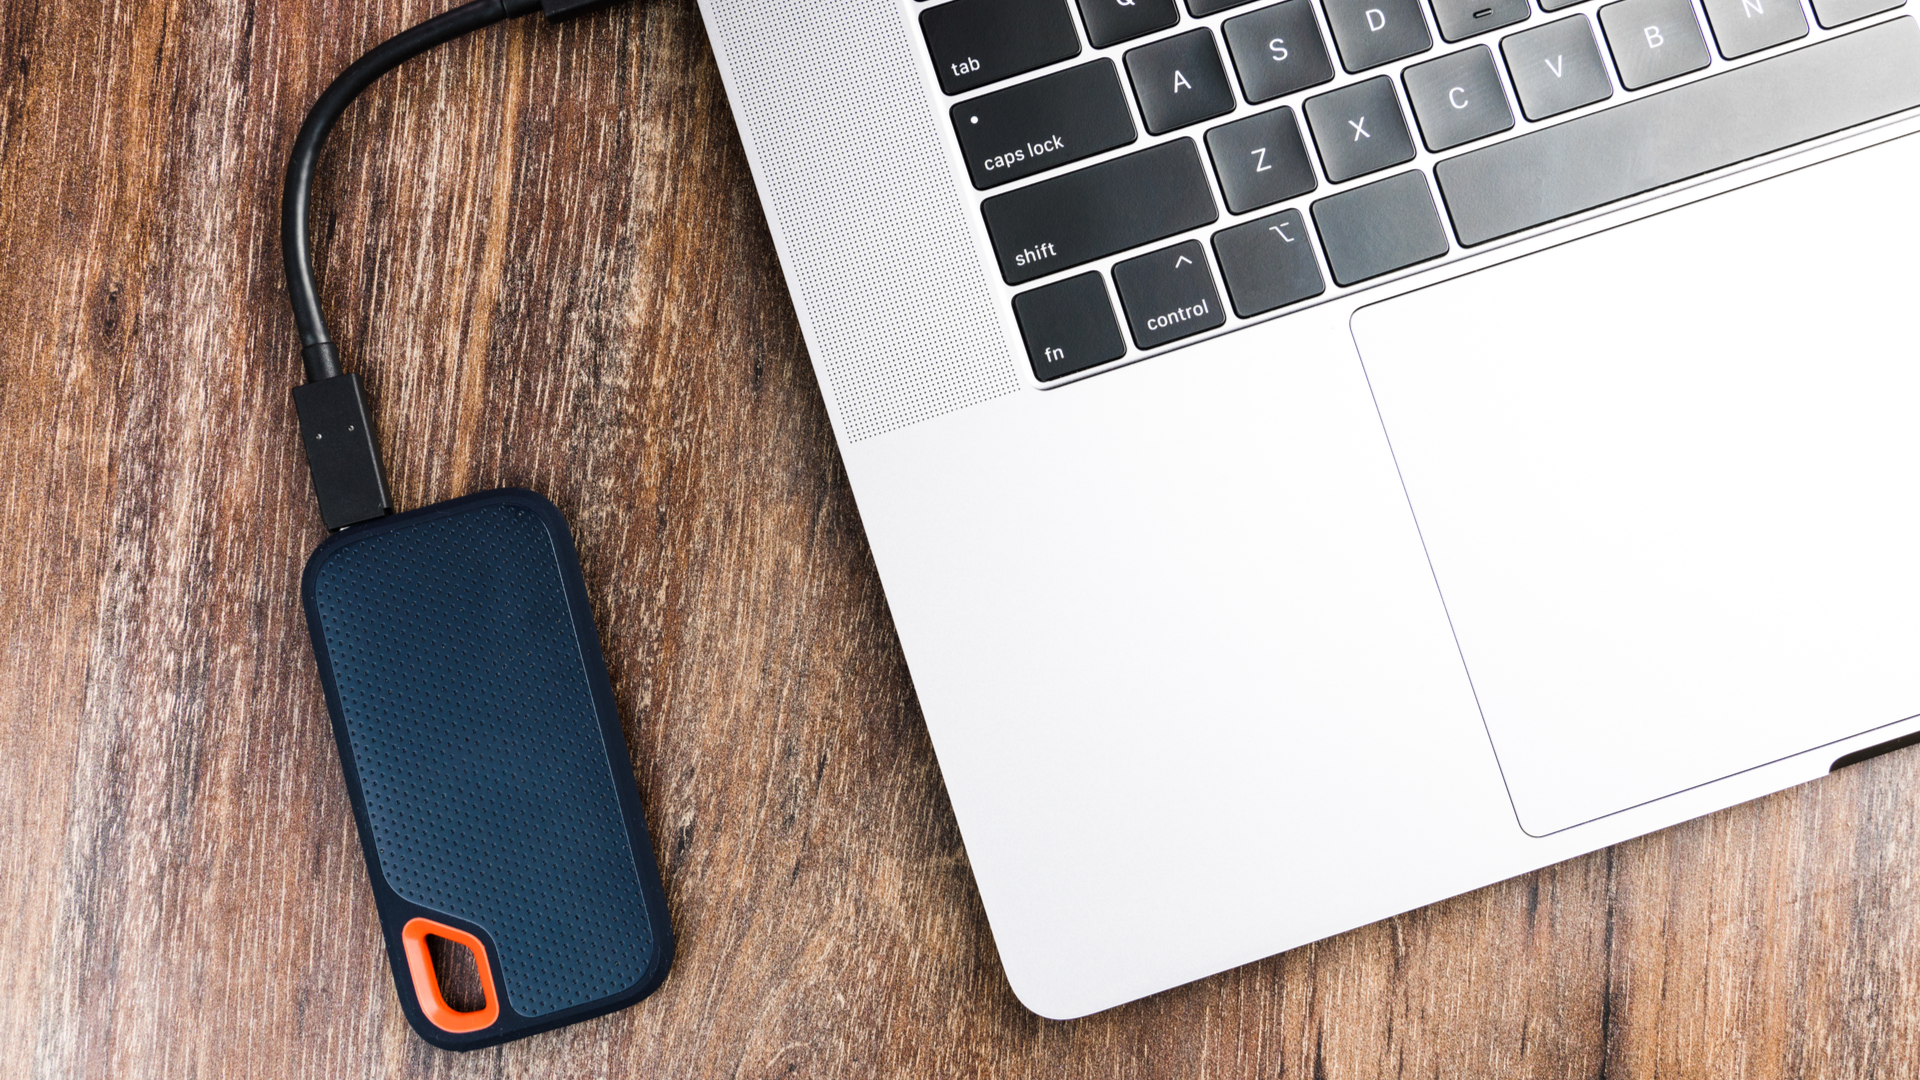
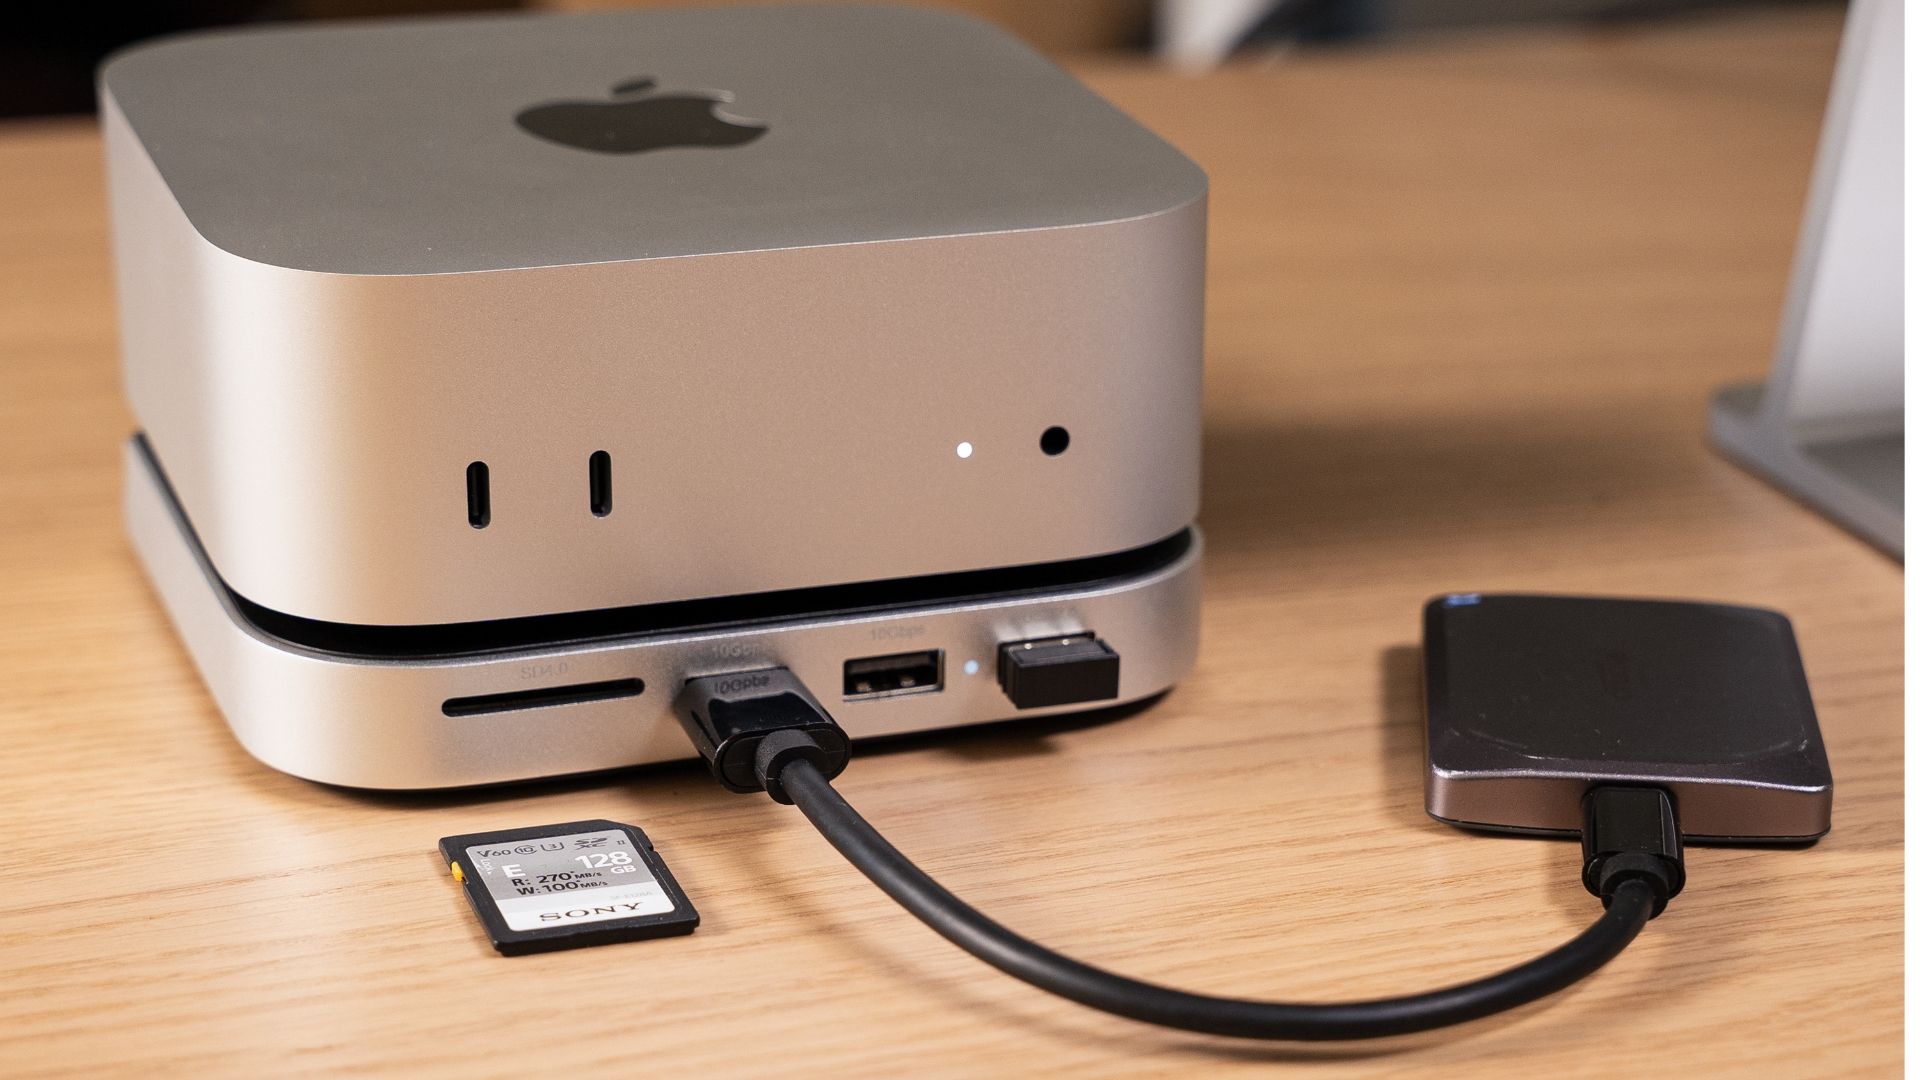
The easiest way to use Time Machine is to grab an external drive that’s twice the size of your Mac’s drive, plug it into your Mac, and then head to System Settings > General > Time Machine and follow the instructions for setting up Time Machine for the first time.
Any data on your drive will be deleted when you nominate it as a Time Machine volume. It will be formatted to APFS as part of the procedure, so make sure you don’t have anything on the drive that you would like to keep.
Your initial Time Machine backup will take a long time to complete as everything will need to be copied at once. You can speed up Time Machine by omitting folders that you don’t want to include (like Downloads and other temporary storage) which will also save space on your disk.
Choosing a faster drive, like a solid-state drive, and avoiding slow USB interfaces like USB 2.0 will go a long way to speeding up your Time Machine backups. Remember, this is a process you’ll need to repeat often so the faster your drive, the better. Each time you connect your drive, Time Machine will start preparing and copying an incremental backup (so only new files and files that have changed will need to be transferred).
Your drive needs to be at least as big as your Mac’s internal drive, though Apple recommends you use a drive that’s at least double the size. The bigger the drive, the greater the redundancy. You’ll be able to keep more copies of older files if you have more space available. When your drive is full, Time Machine will start deleting the oldest data first.
The Pros and Cons of This Method
The biggest upside to this method is convenience, but it requires that you remember to connect and disconnect an external drive on a regular basis. It’s also a very individual approach, with each Mac in your household having its own drive for backups.
2
Use an External Drive for Both Time Machine and Storage
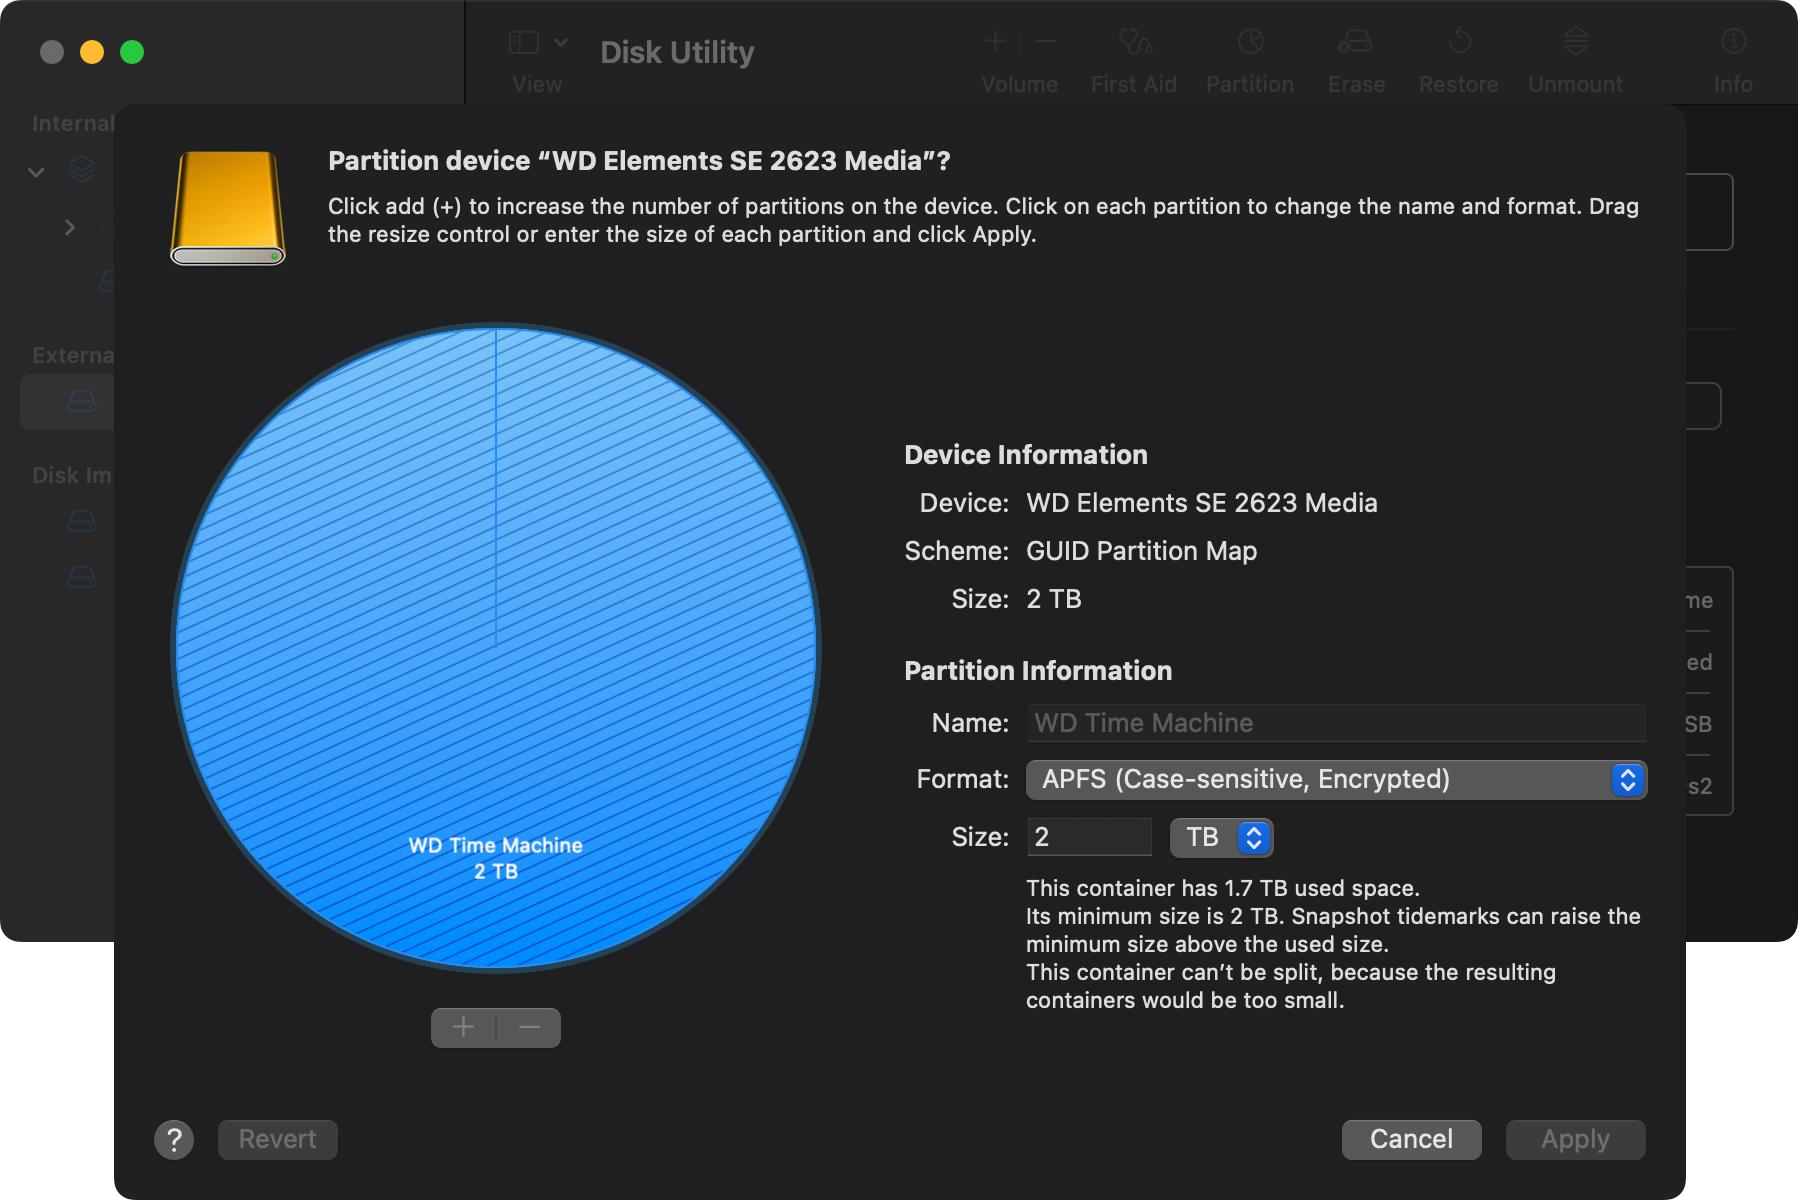
If you have a big external drive and you don’t want to dedicate all of that space to backups, you can partition it and use it to store both data and Time Machine backups. This is ideal if your Mac has a relatively small internal drive (like 256GB) but your hard drive is much larger (say 2TB).
To do this, you’ll need to use Disk Utility which you can find in the Applications > Utilities folder. Connect the drive you want, select it in the sidebar, and then use the “Erase” button to format the drive to APFS. From here, click the “Partition” button and split your drive however you see fit.
You’ll be able to label your partitions for clarity when you do this. Head to System Settings > General > Time Machine and use the setup procedure to pick the partition of your choice. This works just like a dedicated drive. Each time you connect the drive, you’ll begin a backup procedure.
You can use this method to share a single drive between two or more Mac computers by creating separate partitions for different computers. Just remember that only one can be connected at once!
The Pros and Cons of This Method
The upside to this method is that you don’t have to dedicate an excessive amount of space to backing up data, at the cost of redundancy (fewer copies of files you may want to restore). Another downside is that each time you connect your external drive to access or transfer files, Time Machine will kick in.
Since the drive’s interface only has a limited amount of bandwidth, this can slow down read and write operations for both backups and file storage. You can always pause your Time Machine backup by clicking on the menu bar icon or turn off automatic backups under Time Machine settings (as long as you remember to manually initiate the backups).
3
Back Up Time Machine to a Networked Mac
Using a networked Mac computer as a Time Machine destination is surprisingly straightforward with a bit of setup on your part. The best thing about this method is that you can back up multiple computers to a single networked destination, and have the process take care of itself invisibly in the background.
To get started, pick a nice big drive and format it to APFS using Disk Utility’s “Erase” tool. Now partition the drive if you’re going to be using it to back up different Mac computers, giving each computer its own partition. While you can technically use a single partition, giving everyone their own should cut down on potential issues.
Don’t forget that you’ll also probably want a partition for that Mac that’s connected to the drive!
On the Mac that’s connected to the Time Machine drive, head to System Settings > General > Sharing and click on the “i” information button next to File Sharing. Use the “+” plus button to add your Time Machine partitions to the “Shared Folders” list and make sure your user has “Read & Write” access.
You can alternatively create a new user specifically to handle network shares on your Mac, which means you don’t have to save the main admin user’s login credentials on any backup sources in your household. If you go this route, just make sure that the user you create has “Read & Write” access to each partition.
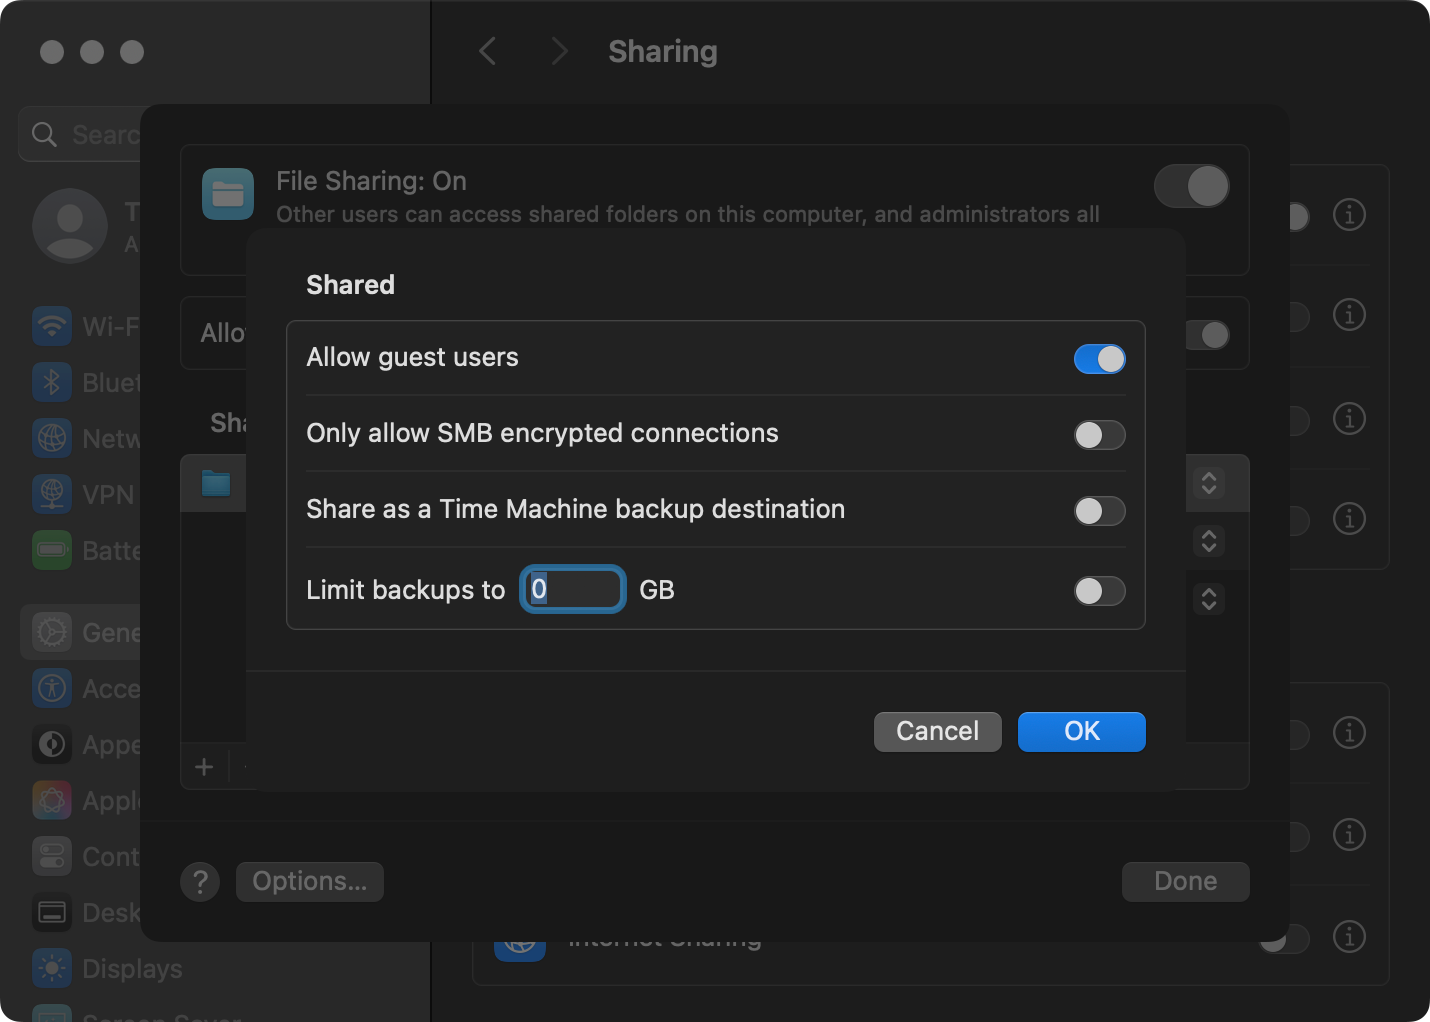
Now right-click on each partition, choose “Advanced Options” and in the window that appears make sure “Share as a Time Machine backup destination” is enabled.
On any Macs that you want to back up from, launch Finder and use Go > Network to find the Mac. Log in with either the main admin user or the network shares user as you would if you were logging in to a Mac at startup.
The final step is to head to System Settings > General > Time Machine and click the “+” plus icon then pick the network share you created for your Mac followed by “Set Up Disk…” and wait. You’re done! Now just repeat for any other Macs on your network.
The Pros and Cons of This Method
The upside here is that a single networked location handles all of your backup duties. The downside is that backups over the network can be slow, can cause network congestion (especially when multiples are running at once), and require that the networked computer be powered up, online, and connected to the destination drive.
4
Back Up to a Windows Share
You can also use a Windows computer as a destination for your Time Machine backup. The exact steps to do this are a bit outside of the scope of this article, and we haven’t been able to thoroughly test it ourselves.
The general gist is to first establish and connect to a Windows share from your Mac, with both read and write permissions. Next, you’ll need to create a sparse disk image using Disk Utility on the shared drive so that macOS has a destination that it can use for the backup. Next, add the disk image on the shared drive to your macOS login items so that it mounts every time your Mac boots.
With the image mounted, it’s time to tell Time Machine to use it as a backup destination with the following Terminal command:
sudo tmutil setdestination /Volumes/Name/
Replacing “Name” with the name of your mounted volume, followed by your password.
The Pros and Cons of This Method
If you have a Windows machine with a lot of storage, this is a great way to put it to use. Otherwise, this seems more complex than it’s worth. Since it’s a network share, it suffers from the same potential network speed and congestion issues as any other.
5
Back Up via Your Wireless Router
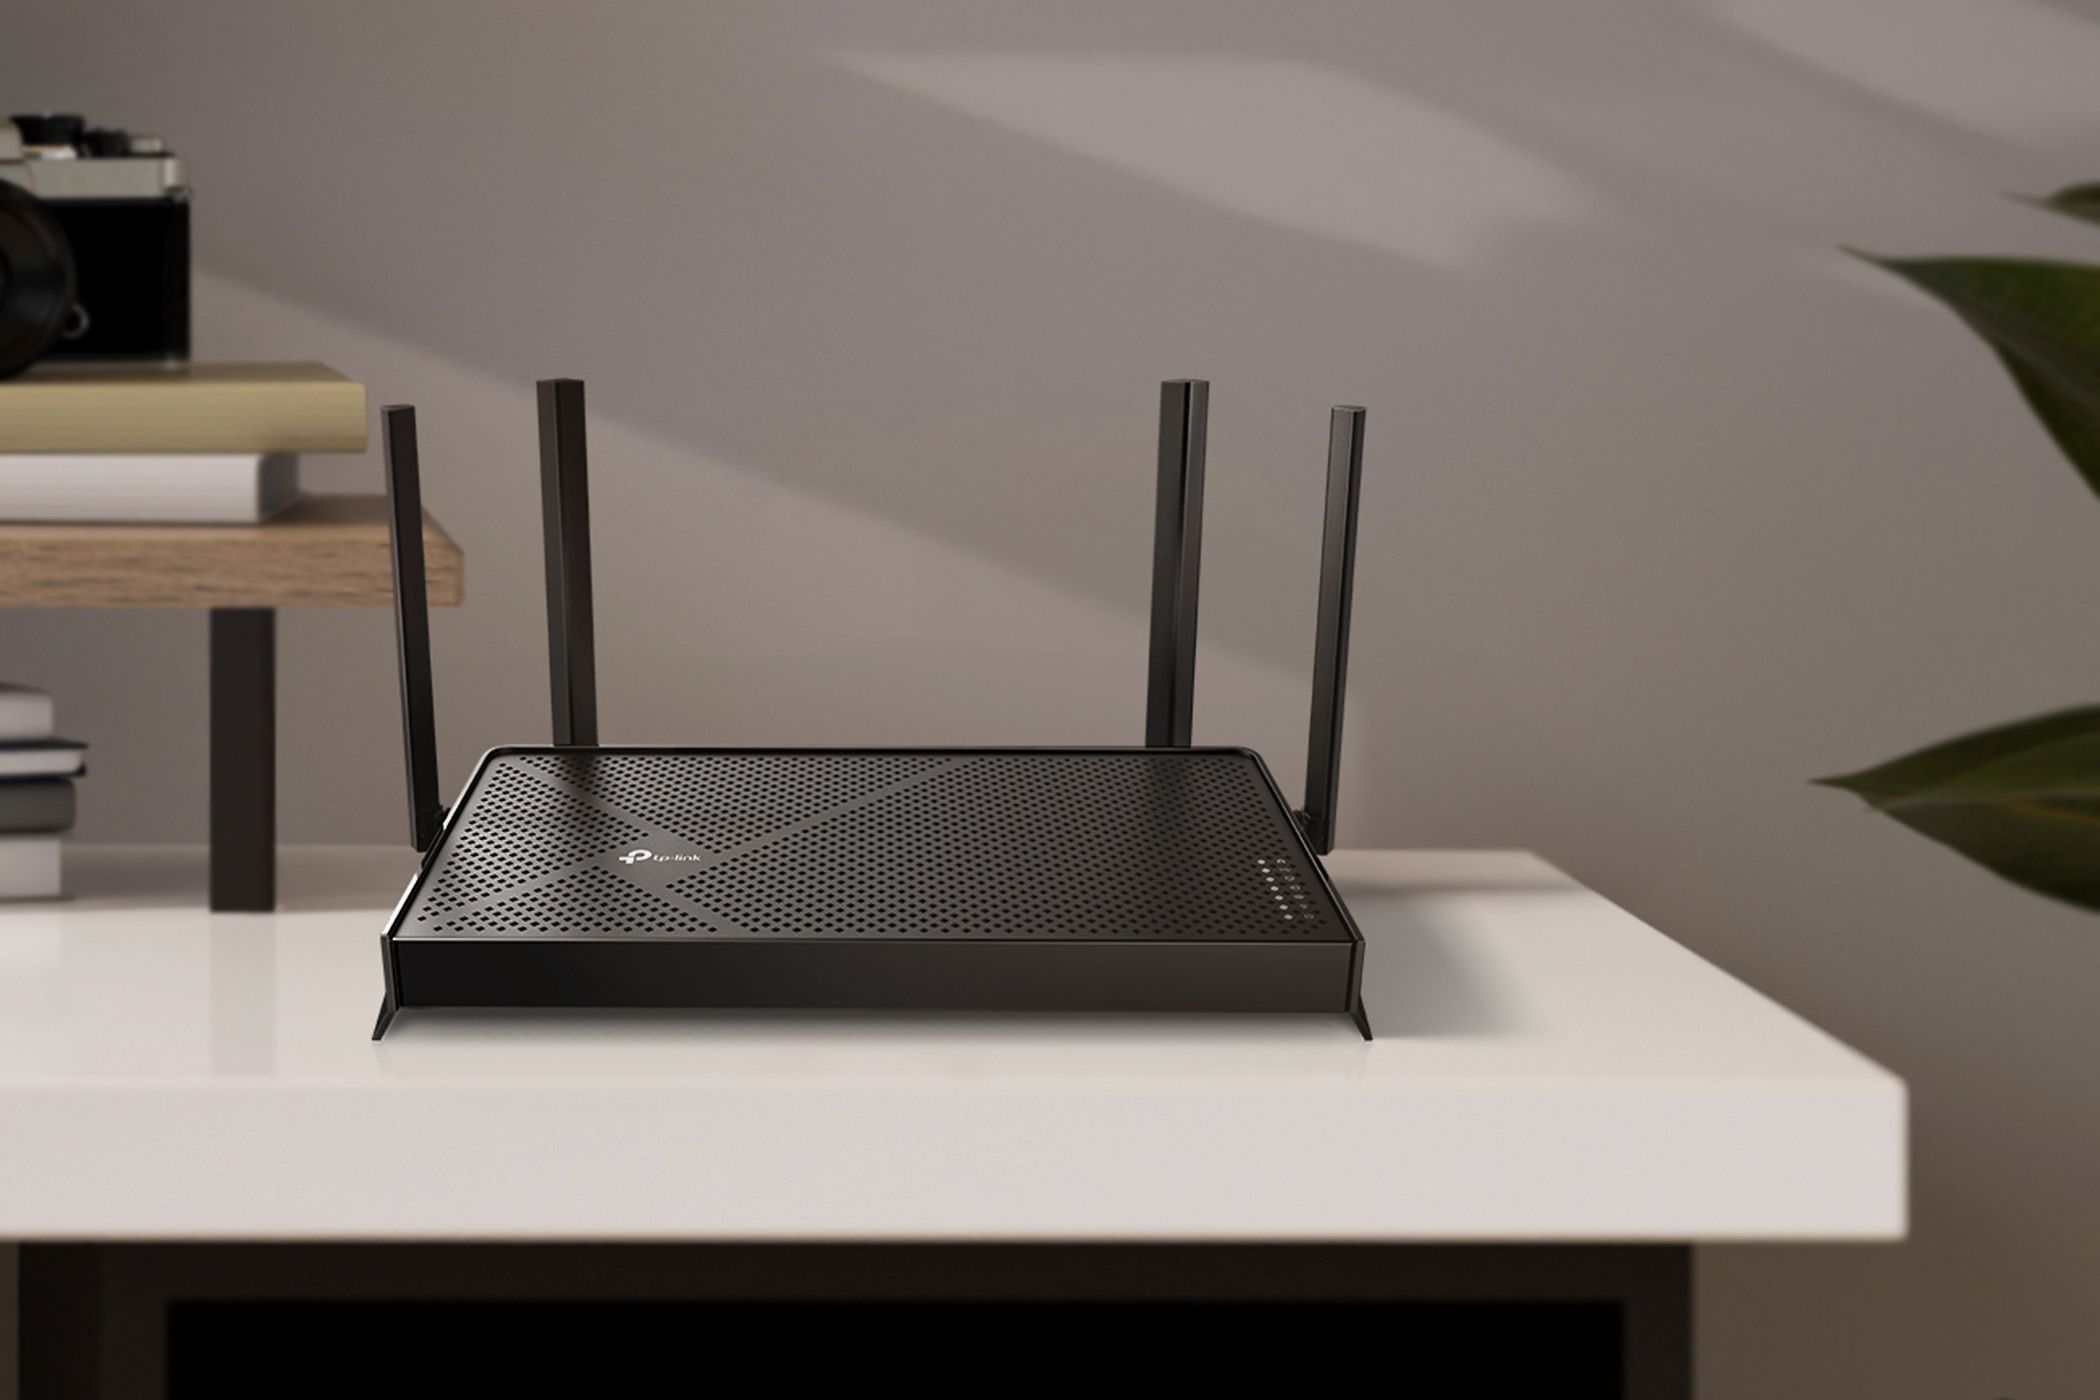
Some routers support backing up over Time Machine using a USB drive that’s connected to the router directly. This functionality will vary based on which router you have, how old it is, and what the exact setup procedures are. For example, ASUS has a FAQ about using this feature on supported routers. Some TP-Link routers also support backing up via Time Machine.
This generally involves connecting the drive to your router (ensuring that it’s first formatted in a manner that your router can access), and then enabling the functionality via the admin panel. On the Mac that you want to back up, select the destination drive from the list of destinations that appear and log in with the required credentials (also set within your router’s configuration).
The Pros and Cons of This Method
The biggest upside to this method is that using network hardware means you don’t have to dedicate a computer to being a backup destination. The downsides could be far worse though, including all sorts of compatibility problems, speed and congestion issues when backing up over Wi-Fi, and even performance issues due to your router sharing its available processing power with a backup service.
Alternatively, you can avoid using Time Machine altogether by backing up with an alternative backup solution. Remember that iCloud isn’t enough for Mac backups, even if you have Desktop and Documents sync enabled.


