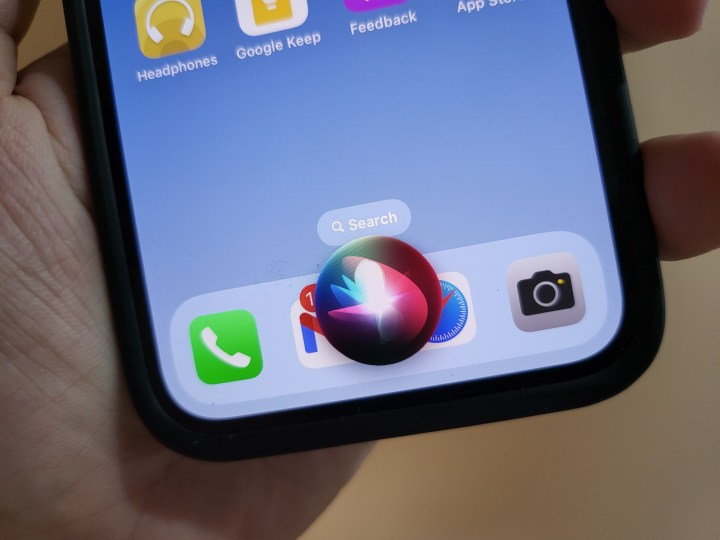
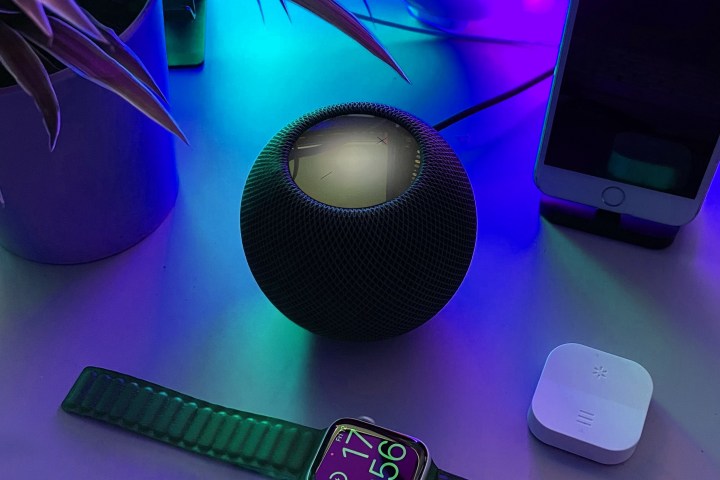
With the Homepod Mini being so accessible and rumors swirling that a new version of the Homepod may be coming soon, HomeKit has started to grow in popularity. Apple is typically touted as one of the better companies for keeping information secure, but you can always do more.
Whenever you ask Siri a question or to make a command, information is sent to Apple concerning your request. While Apple does its best to hide unique information about you, it still collects contact information, music preferences, smart home usage statistics, and more. Although Apple even goes as far as to delete information it collects from you after six months, there are settings you can disable (or adjust) to minimize the amount of personal data Apple has access to.

Disable the ‘Hey Siri’ trigger word
This setting is likely the first you’ll want to turn off on your HomePods, especially if you usually carry your iPhone or Apple Watch. Disabling this requires you to tap the top of a HomePod to ask Siri a question. This setting also prevents Siri from constantly listening, even if Apple says it only listens for trigger words.
To change “Hey Siri” behavior, first go to Settings then to Siri & Search. After that, tap to turn off Listen for ‘Hey Siri and Press Home or Side Button for Siri.
Enable confirmation chimes
This setting will ensure that a chime sound (or whatever you noise you choose) will play when Siri actively listens to an inquiry. It makes sense that you’ll want to know when Siri is actively listening, especially if you weren’t the one to trigger it.
To make this change, you first have to go to the Home app, then select the specific HomePod by touching and holding the specific device. Scroll down to the bottom of the list and then tap Turn on Sound When Using Siri.
Turn off listening history
With this setting, you can stop Siri from accessing information from Apple Music and Podcasts. Apple uses this information to learn more about what you like and listen to for music suggestions.
In order to turn off listening history from media apps, go to your Home app and then tap Home Settings. From there, tap a user and then select Update Listening History. After that, you can turn off listening history for each HomePod or other accessory.
Turn off location services
Although you won’t be moving your Homepod from place to place, it will know the locations you’ve taken your iPhone and other devices. It can also learn what addresses you consider Home, Work, and other saved places. Removing those locations from your devices will prevent anyone else from finding them.
To turn off services, open the Settings and go to the Privacy category. Then, select Location Services, Siri & Dictation > Never.
Delete stored Siri history
You can delete your Siri request and dictation history. If you don’t want Apple to hang onto it for those six months, a few quick taps will delete all that information.
To Delete Siri history, open the Settings app, and go to Siri & Search. From there, select Siri & Detection History > Delete Siri & Dictation History.
Turn off app integration
If you still want to use some apps with Siri requests or dictation, you can customize which app Siri taps into. This setting will allow you to only use Siri with the apps that need it.
To customize which apps can integrate with Siri, go to your Settings app. Go to the Siri & Search category and choose the specific app you want to change Siri behavior with. Then select or deselect Use with Ask Siri.
Apple might go above and beyond the competition in protecting user privacy, but it is still a massive company with millions of users. Some data will slip through the cracks. You can follow these steps to reduce the amount of data HomeKit can gather about you and do your part to keep your information safe.
Editors’ Recommendations


