I’ve lost count of how many times I’ve heard people complain about their car’s sound system. No matter how much they mess with the EQ or blast the volume, something always sounds off.
The bass feels hollow, the vocals fade into the background, and outside noise sneaks in, killing the mood. If that sounds familiar, stick around. You don’t have to follow every tip I’m about to share, but applying even a few can turn your car into a rolling concert hall.
6
Apply or Replace Rubber Seals
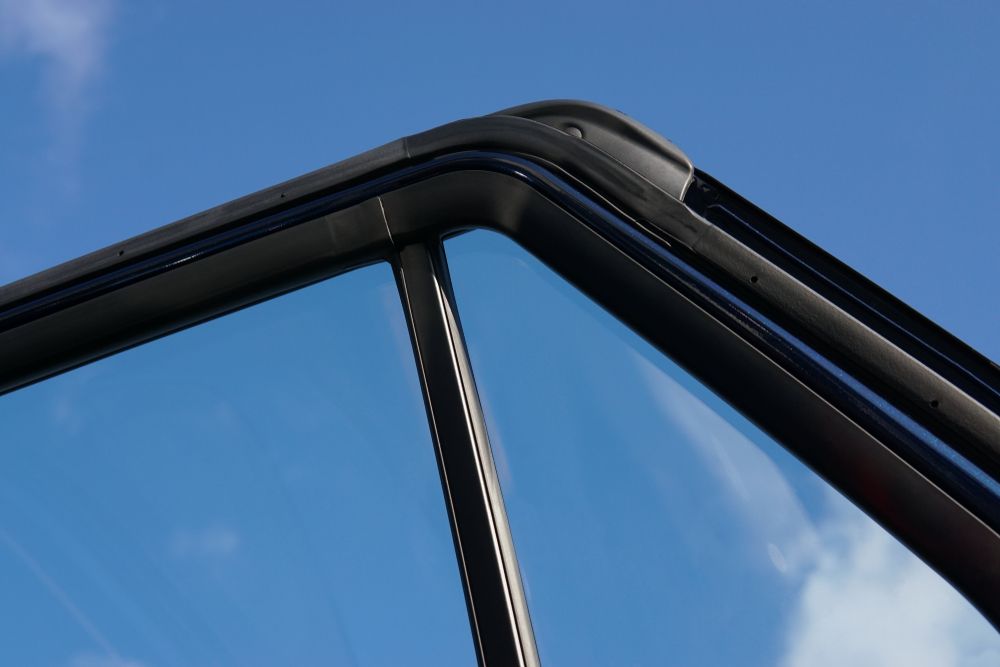
If you notice a faint whistling noise sneaking into your cabin as you drive at highway speeds, chances are the rubber seals on your car door, window, windshield, and even panoramic roof (if your car has one) aren’t doing their job anymore. These little strips of rubber play a massive role in keeping outside noise where it belongs—outside.
And, if your goal is to improve your car’s acoustics for better music quality, having intact seals is non-negotiable. To confirm that they are in bad shape, you can run your fingers along the seals to feel if they are brittle, cracked, or have gaps where they should be flush against the frame. If that’s the case, they’re due for a replacement.
Most auto parts stores sell universal weather stripping that you can cut to size, but if you want a perfect fit, OEM (original equipment manufacturer) replacements are the way to go. The installation process is pretty straightforward: remove the old seal (which might just peel right off or require a bit of scraping), clean off any leftover adhesive with some surface cleaner, and apply the new one.
Related
5
Install Sound-Deadening Mats on the Car Floor and Door
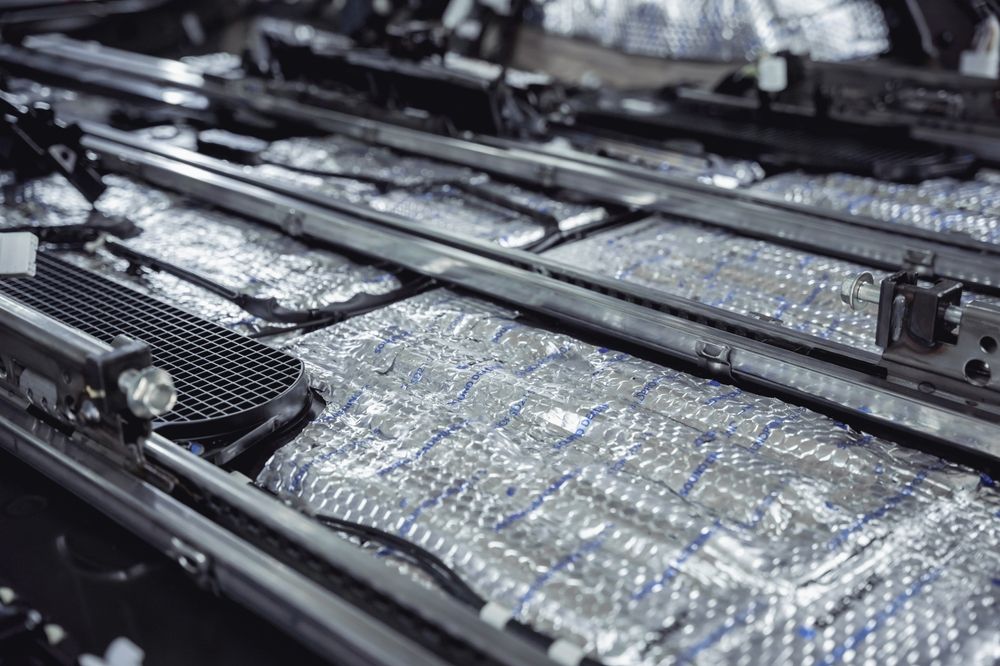
Sound-deadening mats are not the typical removable mats used for protecting car interiors from dirt and spills. Instead, they are specialized materials, often composed of butyl, foam, or similar substances, designed to be applied directly to the car’s metal floor beneath the carpet or to the door panels. These mats work by absorbing vibrations and dampening sound, particularly from road noise and engine vibrations, which can interfere with the clarity of music played through the car’s audio system.
The prices of these mats vary widely, but some good brands you can consider include Dynamat, Kilmat, Noico, FatMat, and Second Skin Audio.
Installation is a bit of a project, as it involves yanking out the seats, console, and carpet, cleaning the floor, and then cutting and rolling the mats down. For doors, the process involves removing the door panels, cleaning the metal surface, and applying the mat directly to the inner metal skin. Also, be sure to leave space for moving parts like window regulators.
I recommend going the extra mile by adding a layer of MLV under the mats for maximum effect. This process can be time-consuming, and if you’re not confident in your DIY skills, you should consider professional installation, which can ensure a flawless result but may add to the cost.
Related
8 Tech Accessories That Make My Car Life Easier
Want to enjoy your car more? These accessories may be what you need.
4
Install a Soundproof Headliner
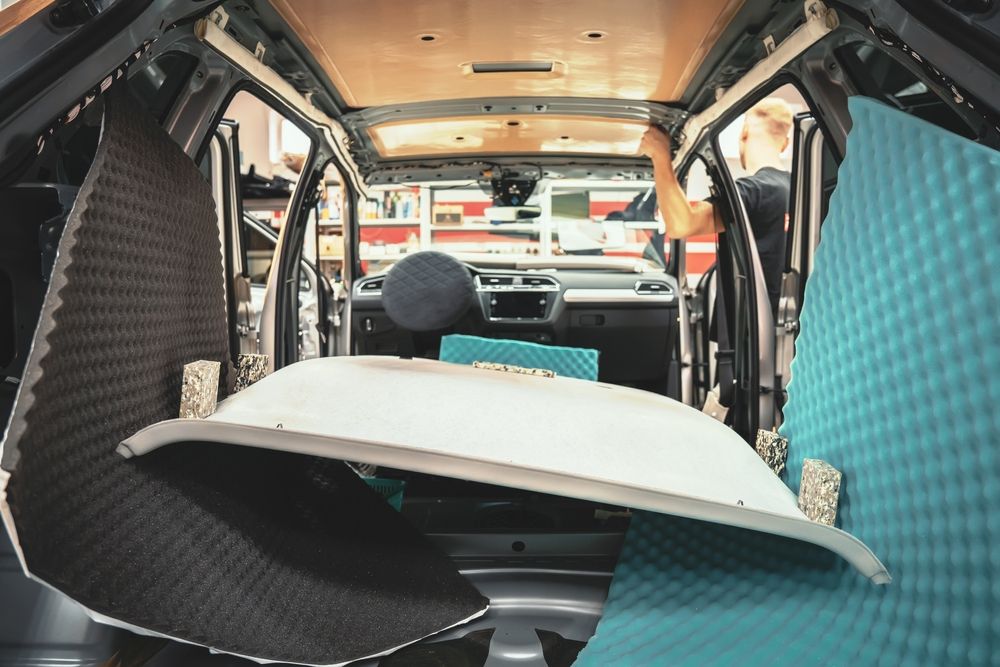
Your car’s headliner—the fabric-covered panel on the ceiling—can let in considerably annoying noise from above, such as wind or rain. To address this, you need to add some sound-absorbing or sound-blocking material between the actual roof and the headliner. Two popular options for this are sound-deadening mats or soundproofing spray. I think mats are the way to go for most people, as they’re less messy than spray and are easy to work with.
Installing a soundproof headliner is similar to the steps I outlined for the floor. Start by carefully removing the existing one, using a trim removal tool if necessary. Once removed, clean the metal roof thoroughly with a degreaser or alcohol to ensure proper adhesion of the soundproofing material. Let it dry completely before proceeding.
The next step is to apply the soundproofing material. Measure and cut the mats to fit, covering as much of the roof as possible. Press them down firmly with a roller for proper adhesion. With all the materials in place, it’s time to reinstall the headliner.
This should be the reverse of how you removed it. Position the headliner back in place, making sure it’s aligned correctly, and snap the clips back into place or use adhesive if needed. Reattach any trim pieces you removed earlier, like sun visors, grab handles, or lights. It should look smooth and clean, like nothing ever happened—except now, it’s quieter.

Related
4 Ways to Improve Your Car’s Audio (Without Buying New Speakers)
Drop the bass without dropping any cash.
3
Install a Soundproof Hood Liner
A hood liner is a layer of insulation attached to the underside of your car’s hood. Most vehicles come with some factory-installed insulation, but depending on the model, it can range from decent to barely there.
If your engine sounds like it’s trying to start a rock concert, upgrading the liner to a vibration-dampening material won’t make it silent, but it can help take a chunky bite off the noise. And while you’re at it, adding soundproofing to the trunk will make an even bigger difference.
Beyond some mild noise reduction, a hood liner’s main job is managing heat. It helps protect your hood’s paint from excessive engine temperatures and keeps some of that heat from radiating outward.
2
Install Sound-Deadening Wheel Well Liners
Wheel well liners are the covers inside the wheel arches, where tires are housed. These areas are significant sources of noise due to tire vibrations and road contact. Manufacturers often use thin plastic or metal liners with minimal soundproofing, which often doesn’t bode well and ultimately leads to noise transmission into the cabin. But by adding sound-deadening materials, you can dampen these vibrations, reducing noise by an estimated 3–5 decibels, according to Second Skin Audio.
Three options work for this: mass-loaded vinyl (MLV), the sound-deadening mats I mentioned above, and liquid kits like Spectrum from Second Skin Audio. These handy additions act like noise-canceling headphones for your tires, absorbing and blocking unwanted road noise before it can invade your car’s interior. Most modern luxury vehicles come with some kind of sound-dampening material in the wheel wells, but if you’re driving anything less than a high-end cruiser, chances are your vehicle could use an upgrade.
1
Upgrade to Noise-Reducing Tires
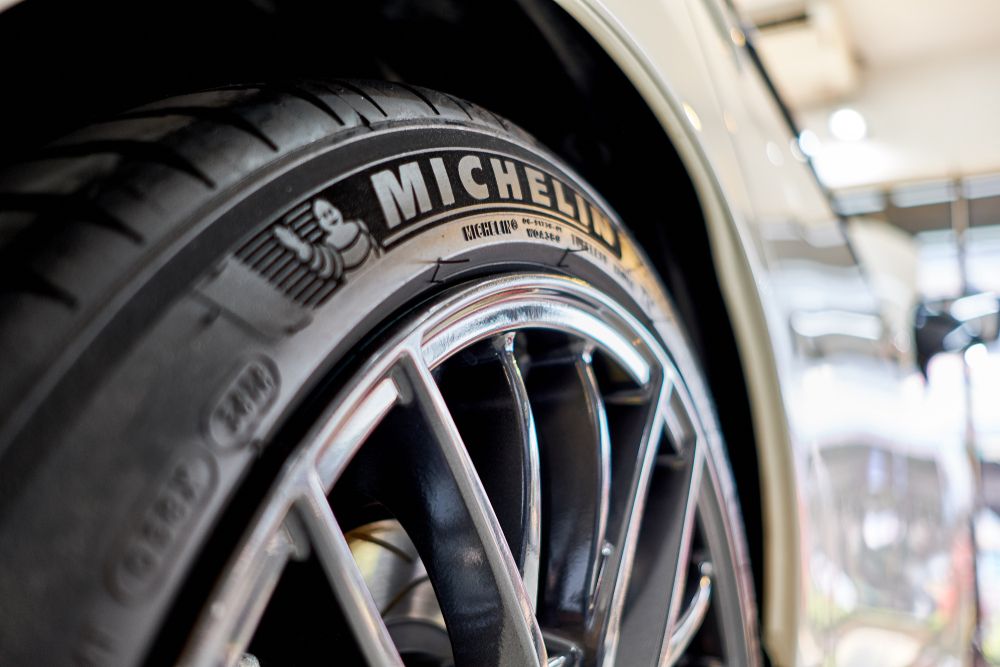
Standard tires often have uniform tread blocks, which can create a consistent frequency of noise akin to a drum beating at regular intervals. Noise-reducing tires, however, feature tread patterns with varying block widths. This irregularity disrupts the creation of a single, repetitive noise frequency, resulting in a quieter ride. Additionally, many noise-reducing tires incorporate foam inserts and optimized rubber compounds to further absorb and dampen sound.
If you’re considering an upgrade, look for tires labeled as “quiet” or “low-noise” or specific technologies, such as Pirelli Noise Cancelling System or Michelin Acoustic Technology tires, which claim to reduce interior noise by up to 20%. Other brands like Goodyear, Continental, and Bridgestone have great noise-reducing options, too.
Check online reviews for real-world feedback and ensure the tires suit your driving conditions, such as rain or snow, for safety. Don’t forget maintenance—keep them inflated correctly and rotate them regularly to maintain their quiet performance.
So, there you have it—six solid ways to turn your car into a soundproof sanctuary where your music can really shine.


