Professional recording studios are expensive and difficult to build, so it makes sense that our homes aren’t built similarly. Still, whether you’re a content creator or you just spend a lot of time in meetings, you might be looking for some simple tips to improve the sound of your room.
1 Carpet the Room
Soundproofing a room–meaning keeping outside sounds from leaking inside or the other way around–isn’t simple, easy, or cheap. The good news is simply reducing audio reflections bouncing around inside your room as well as dampening vibration overall will go a long way toward improving the sound and doesn’t cost anywhere near what reue soundproofing does. One of the easiest ways to start here is with carpeting.
If your floors are already carpeted, this may not be your most effective tip, but it’s still worth considering. For example, if you’re dealing with thinner, office-style carpeting, a few well-placed rugs can go a long way toward taking some of the reverberation out of the room. If you’re in a room with a hard floor, adding carpeting, even if just a few throw rugs, will go a long way to reducing reverb and echoes in the room.
To test where placing rugs may be most effective, you can try walking around the room and clapping. If you’re cursed with being an audiophile, you’ll likely have an easy time finding trouble spots. If you’re unsure, if you hear a sharp metallic ping, this may be a good place to try putting a rug.
2 Cover Large Windows
The shape of your room has a lot to do with how reflective it is in terms of audio, but most of us don’t have the luxury of completely redesigning our spaces. Yet, it’s useful to know that audio is going to bounce directly off of any flat surface.
Aside from your floors, walls, and ceilings, your windows are likely the largest flat spaces in your room. They’re also tricky to treat in terms of acoustics, or at least they are assuming you’d still like to access your window from time to time. If you never use the window, you can take more drastic measures (we’ll look at some later) for treatment.
If you’re looking for a more flexible fix, try going for the heaviest drapes you can. The thicker, the more sound they’ll absorb and dampen, at least in general. You can look for “noise blocking” or “sound dampening” curtains specifically.
3 No Bare Walls
This is where you can start to get creative. It doesn’t matter what type of walls you have, you want to get them at least somewhat covered up. How you do that will have an effect on the sound, but here we’re looking at more traditional types of decorations, rather than bespoke acoustic treatment.
For example, placing a few posters around isn’t going to do much, but hanging some tapestries will have more of an effect. Hanging a quilt or even something more utilitarian like a moving blanket will be somewhat more effective, but this won’t be an option for everyone.
If you’re setting up for streaming or remote work, make sure to double-check the fire safety of any materials you’re using. If these are going to be used near lights, you’ll want to be extra sure that everything is nice and safe.
4 Use Bookshelves
One of the simplest ways to adjust the sound of a given room is to just start moving things around. Just as some people might arrange their furniture around their TV to maximize the sound quality, you can use a similar approach to minimize reflections in your room.
You can use any furniture to change the sound of a room, but to minimize reflections, bookshelves are the ideal choice. The varying depth of books in the case of most bookshelves is great for disrupting reflections, and the paper in the books does have some damping qualities that may help with soundproofing as well.
In general, the best location for the bookshelves will be on the opposite wall of wherever the problem sounds are coming from. If that doesn’t make sense in your situation, or you’re not sure where the biggest problem is, go with wherever you have room and adjust as necessary.
5 Decorative Acoustic Panels
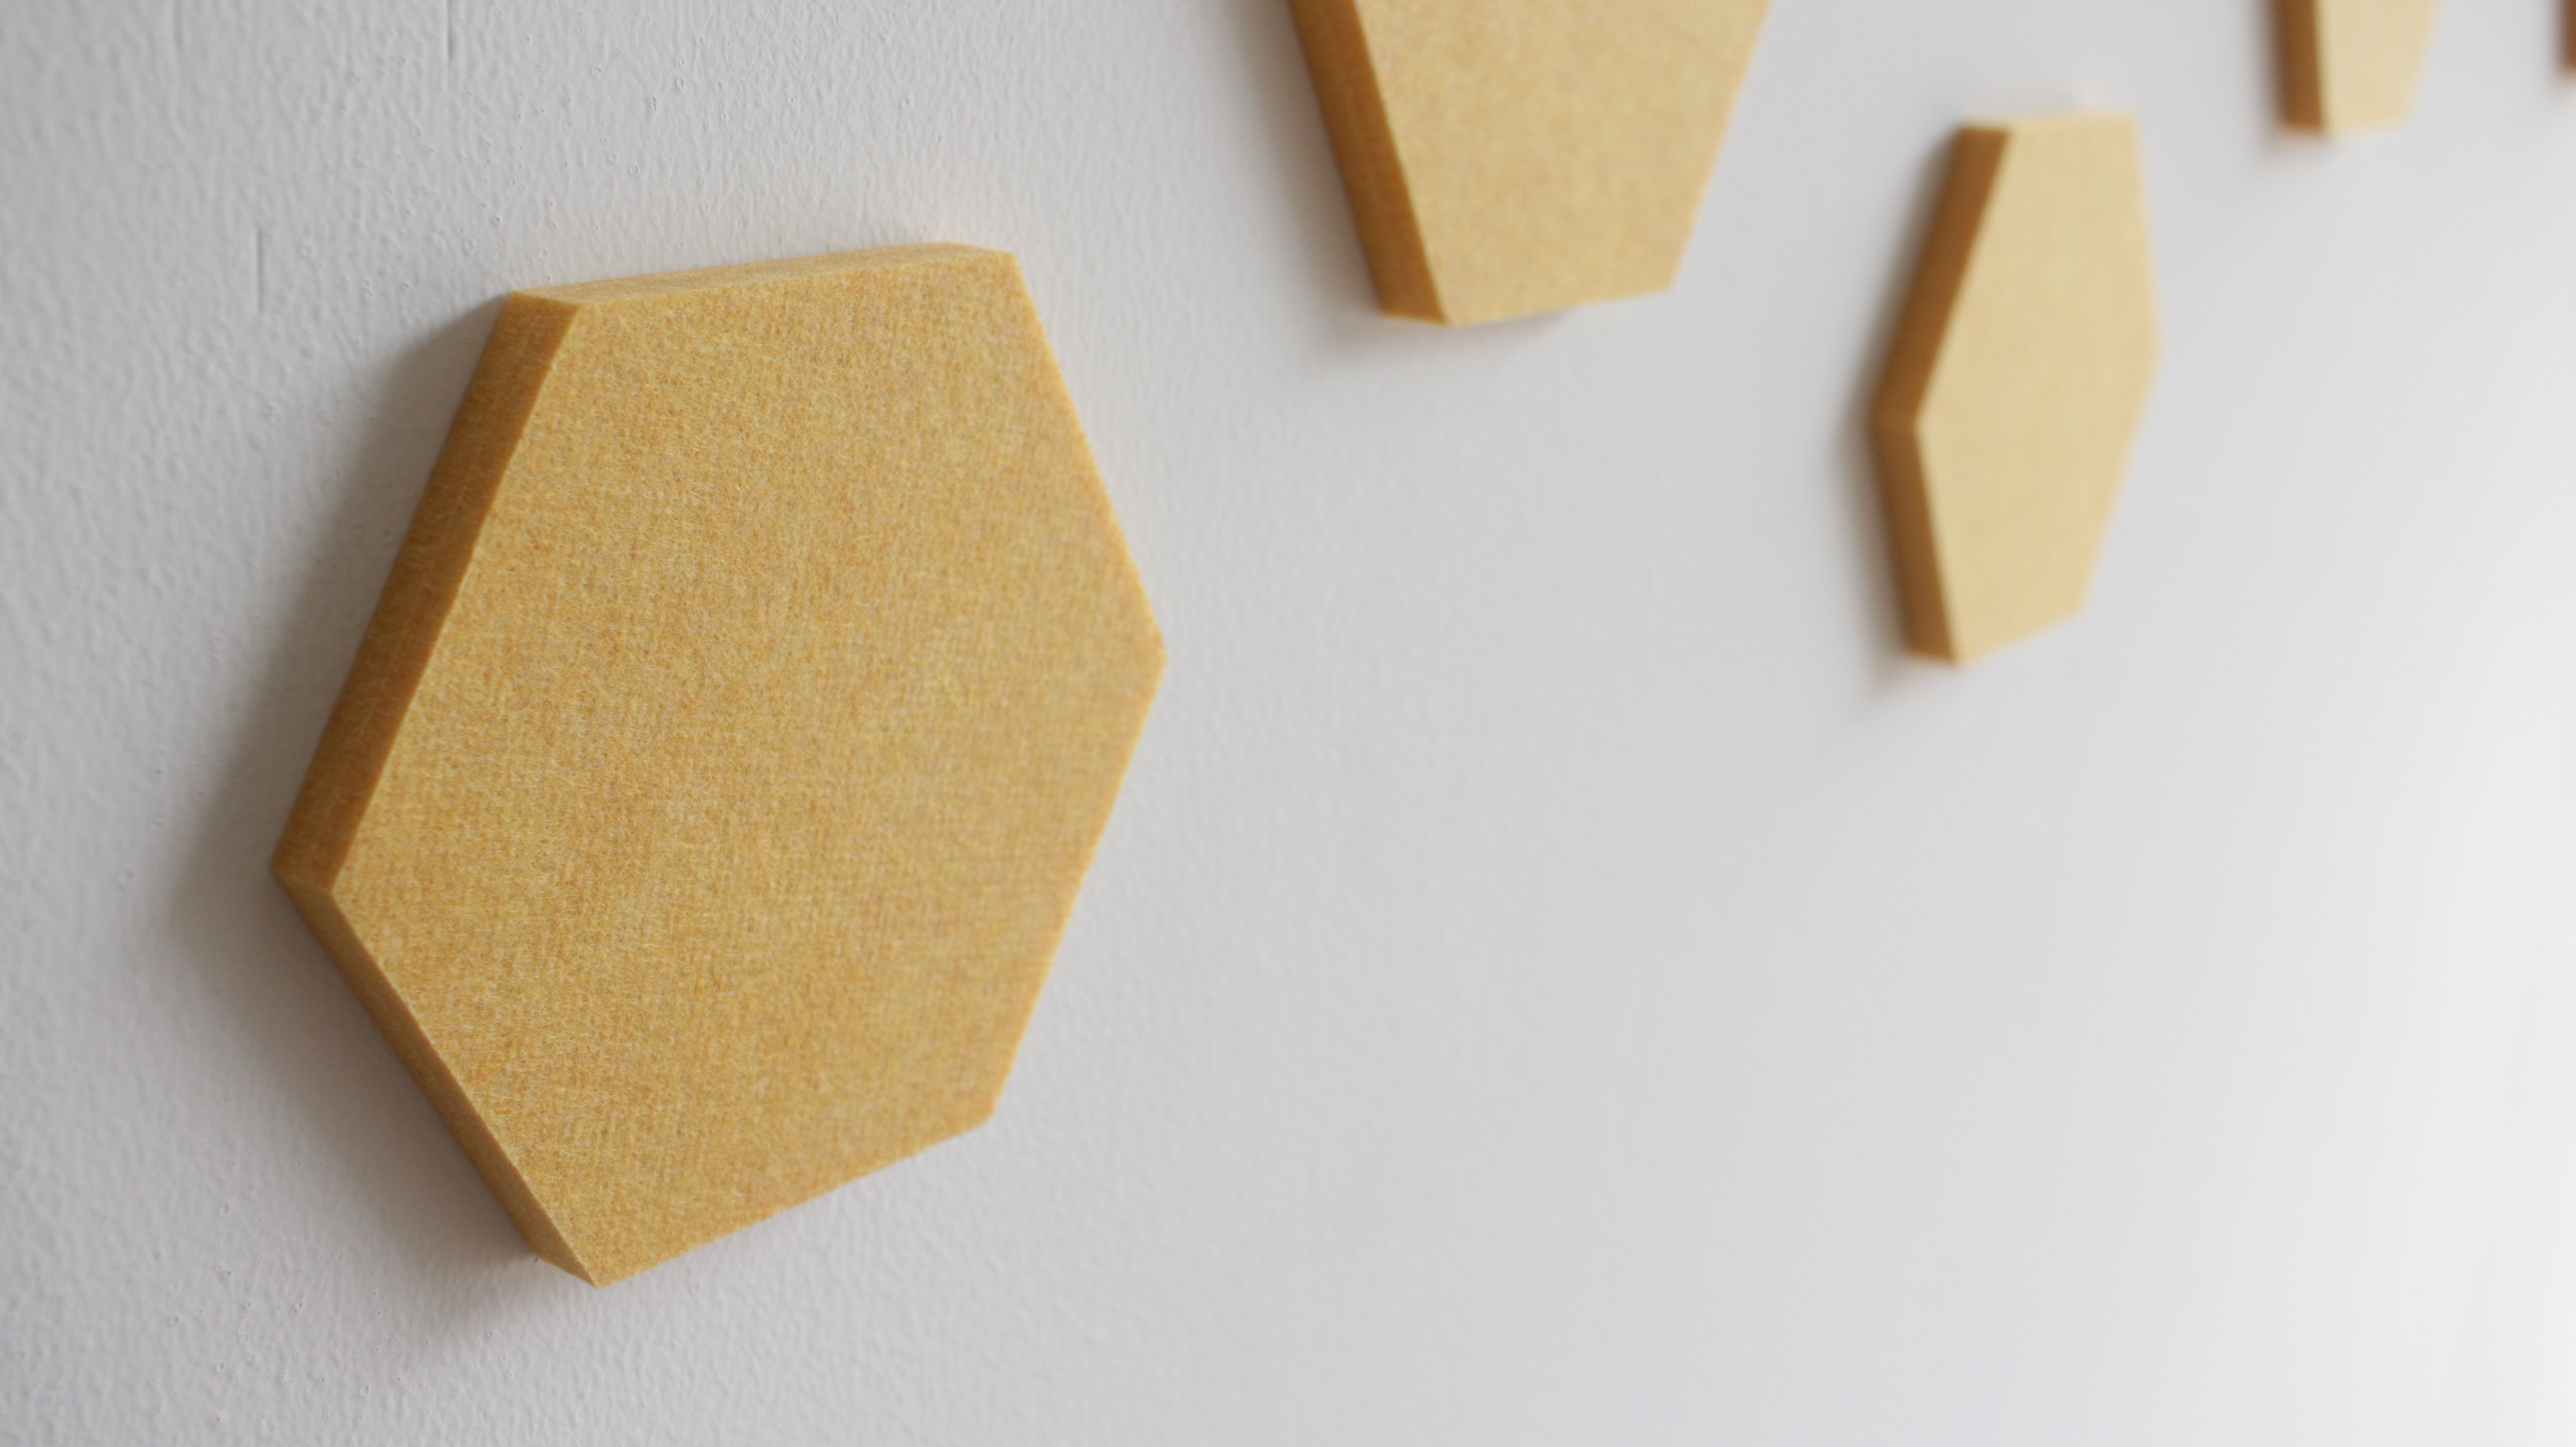
All the options we’ve looked at so far have been ones you can typically try with whatever you have around your home or office. That said, if none of the above solutions have worked or will work for you, you can always opt for a more drastic option. Unlike the acoustic tiles in office ceilings, decorative acoustic tiles can help treat reflections while adding to a room’s decor.
There are multiple brands selling decorative acoustic tiles ranging from small, easily placed squares all the way up to larger custom sizes. Most manufacturers offer various colors and patterns, but you’ll find other fun variants like panels covered in coffee bags.
In general, these types of panels are thinner and don’t offer as much acoustic absorption as pro-level acoustic panels. On the other hand, they fit in environments where larger panels wouldn’t, and they’re significantly more affordable.
6 Consider Acoustic Foam
Decorative panels are a great option for an office setting where there is a certain look to maintain. On the other hand, if you’re setting up a dedicated streaming space, podcast studio, or even just a home office where you plan to be on a lot of calls, you have more options. If you’re looking for decent reflection handling at a moderate price, acoustic foam might be the option for you.
While it comes in multiple colors, acoustic foam is typically black, and it’s what you’ll see inside many DIY vocal booths. It’s not especially dense, so it’s not a great idea for rooms where you’re recording loud music, but it is typically good at absorption in the same range as the human vocal range, so it cuts voice echo fairly well.
One of the most versatile aspects of acoustic foam is that it’s easy to cut to any size, so even if you don’t rely heavily on it, you can use it to supplement other techniques.
7 More Substantial and DIY Options
Beyond acoustic foam or thicker panels, you have two options: go significantly more expensive or go DIY. As mentioned above, true soundproofing is difficult, but you have options for DIY acoustic treatment.
If you’re setting up a space for music, many of the options here aren’t going to cover the entire range of frequencies. Essentially, the thicker the absorption, the better the coverage, so you need more material. Roughly four inches is around the ideal starting point for full-range coverage.
You can buy four-inch and thicker acoustic panels, but they’re not cheap and outfitting a room can add up quickly. To save money, you can buy DIY kits or make them yourself entirely, but this does involve handling fiberglass, so it’s definitely not for everyone.


