Buying a used GPU is a great way to save considerable money on your PC build, especially with today’s high market prices. However, it can also be tricky, so when possible, test the card first and make the purchase in person.
Assuming you’ve already bought the card, it’s time to take a closer look by inspecting and testing it thoroughly. Follow these steps to ensure your used GPU is running in optimal condition.
1
Inspect for Physical Damage
Regardless of whether you inspected the card in person before buying or purchased it sight unseen, you should thoroughly inspect your used GPU before plugging it into your system. If you find signs of physical damage, inform the seller immediately and return the card if possible.
Inspect the more visible parts first—check for broken fan blades, bent heatsink fins, and scratches on the backplate. Pay particular attention to the power connectors. You might be able to bend a slightly bent power pin back into place, but a missing one could cause a heap of issues like crashes and poor performance caused by the unstable power delivery.
Related
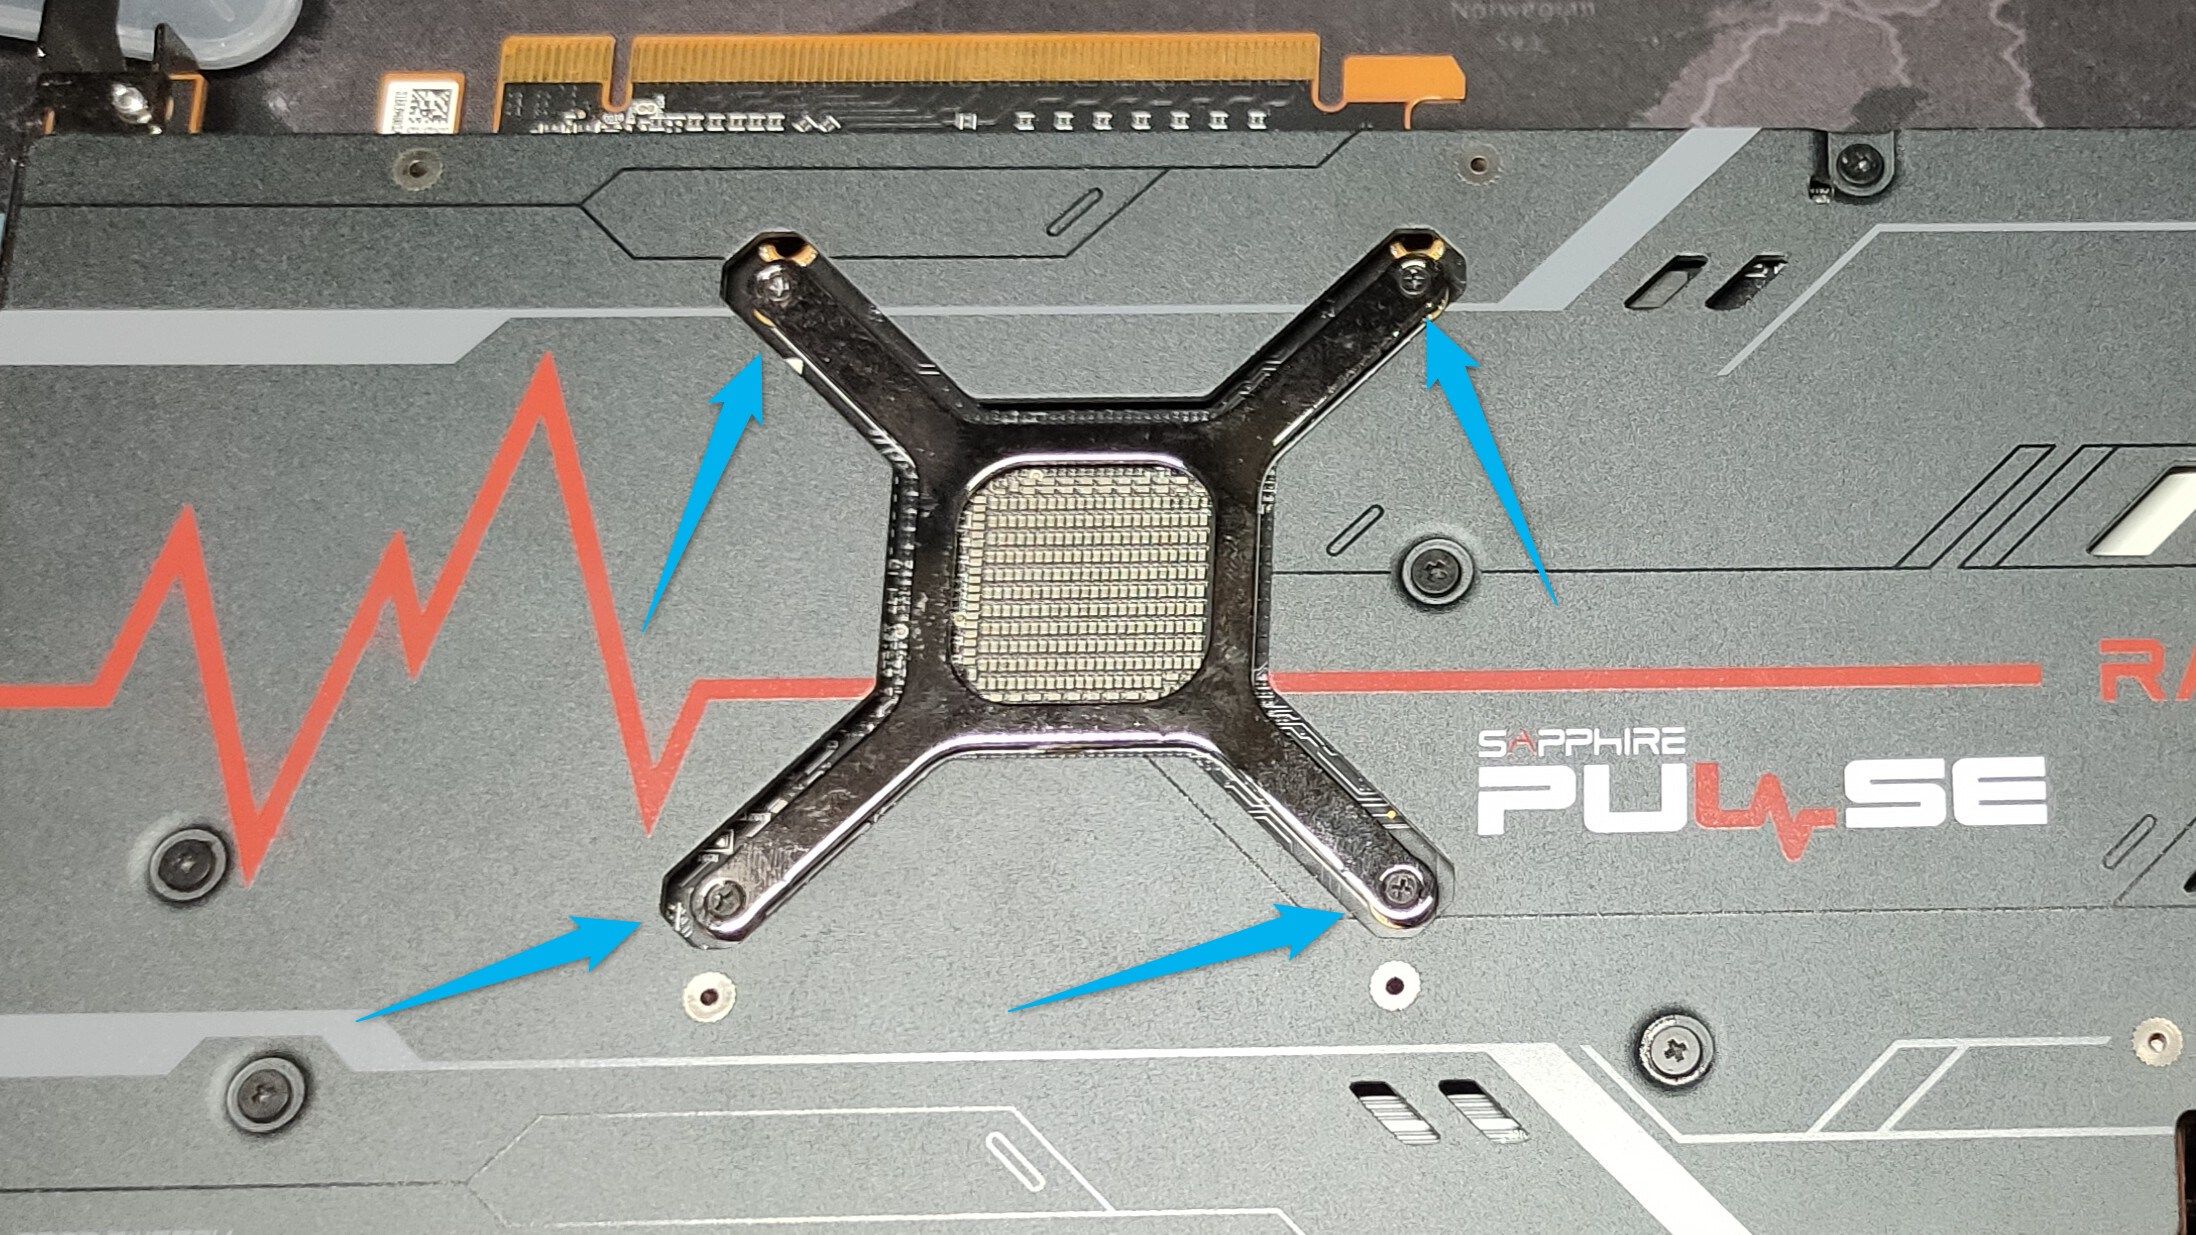
Also, check if there’s still a warranty seal. It’s usually in the form of a small circular sticker on the back of the GPU, on top of one of the screws. If the seal is missing or broken, it indicates that the GPU has been opened.
This often means that the previous owner may have replaced the thermal paste or pads, though there’s also a chance the card has been repaired. A broken seal usually voids the warranty, and it’s also important to be aware of it in case you want to do any maintenance later on.
The warranty seal is missing on this GPU, indicating that it has been opened and tampered with. In this particular instance, I was the one who removed it.
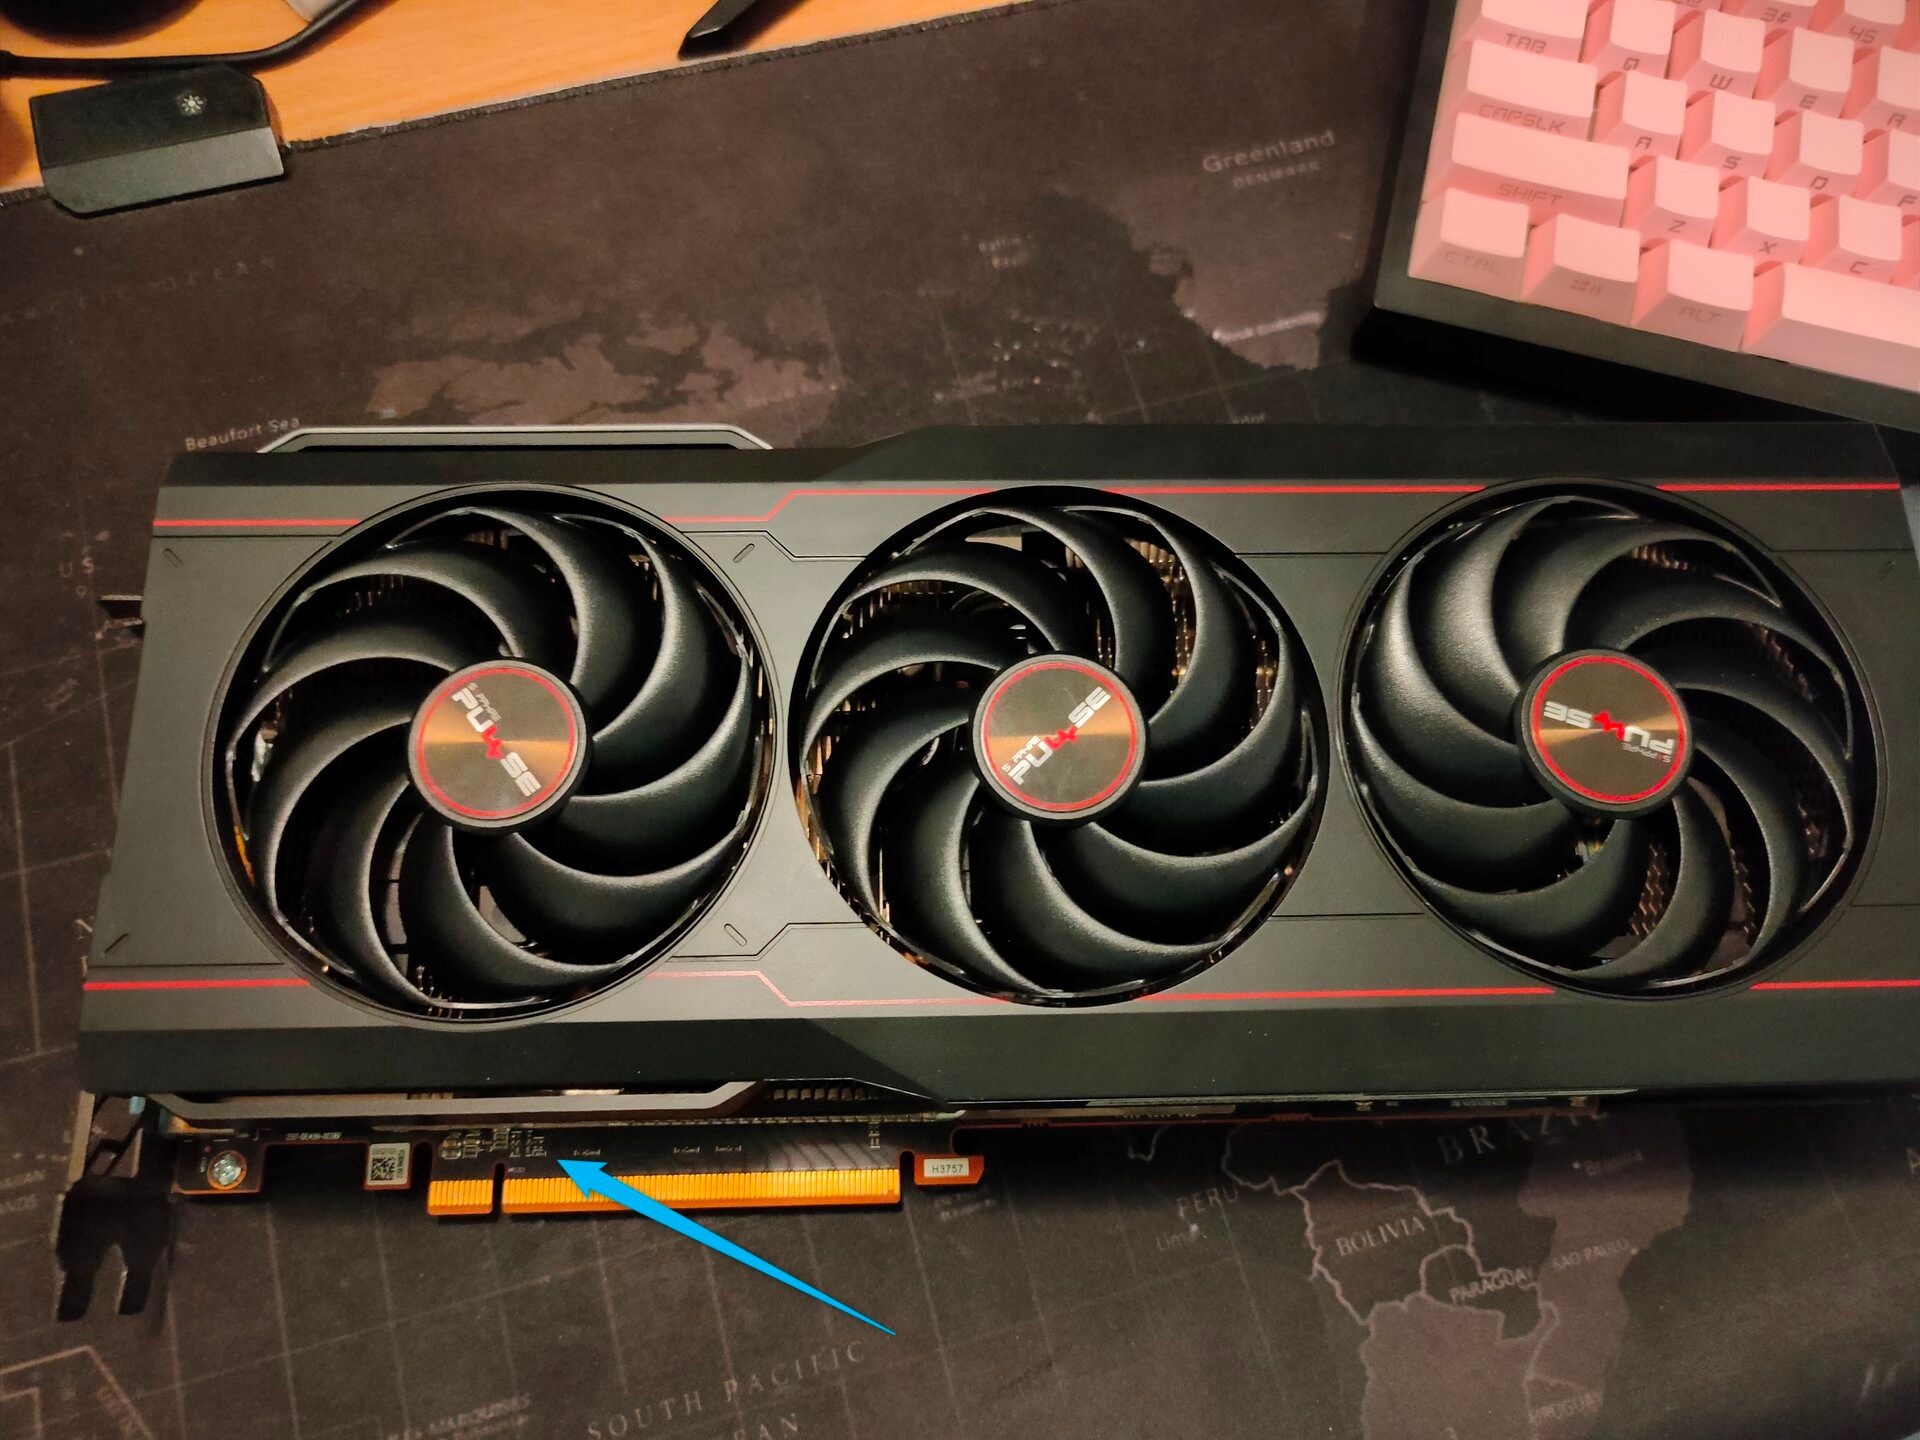
After inspecting the more visible components, check the gold PCIe contacts on the bottom. Make sure that none of the pins are broken, but be aware that some are intentionally shorter. Typically, the second-to-last pin is shorter, though this can vary depending on the GPU. If the contacts show obvious signs of wear, it could indicate that the GPU has been installed and removed many times—possibly because it was part of a mining rig.
One often overlooked detail you should check is the SMD capacitors. These are the tiny black squares on the GPU’s PCB. On some GPU designs, like my AMD RX 6800 XT, some SMD capacitors above the PCIe contacts are exposed. They can be easily knocked off with a nail when installing the GPU, so I recommend finding close-up photos of your GPU model and visually inspecting both sides to make sure everything is in place.
2
Clean the GPU
After confirming that the GPU is in tip-top physical shape, it’s time to dust it off. Go outside and use an air duster or a can of compressed air to blow away the dust. Be careful not to apply too much pressure, especially on the fans, as the delicate blades can snap off if too much force is applied. Also, hold the fans in place while cleaning to prevent them from spinning, as they essentially act as mini generators and can short-circuit your GPU.
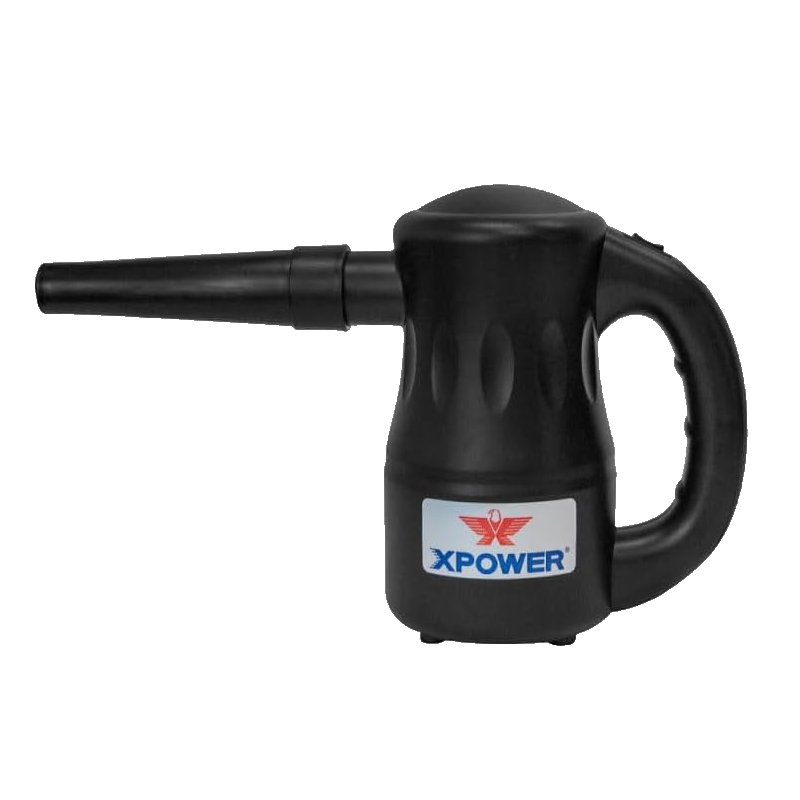
XPOWER A-2 Electric Air Duster
Keeping your gaming PC and consoles free of dust is of utmost importance, but buying compressed air all the time is expensive. The Xpower A-2 Electric Air Duster, on the other hand, is reusable and doesn’t release compressed gas.
After removing most of the dust, finish cleaning the GPU with a microfiber cloth. You can dampen it with isopropyl alcohol, though I find a dry cloth is sufficient for removing surface dust. Besides, the GPU will likely accumulate a layer of dust again within a few weeks once it’s in your dusty PC.
3
Confirm Power Supply Requirements
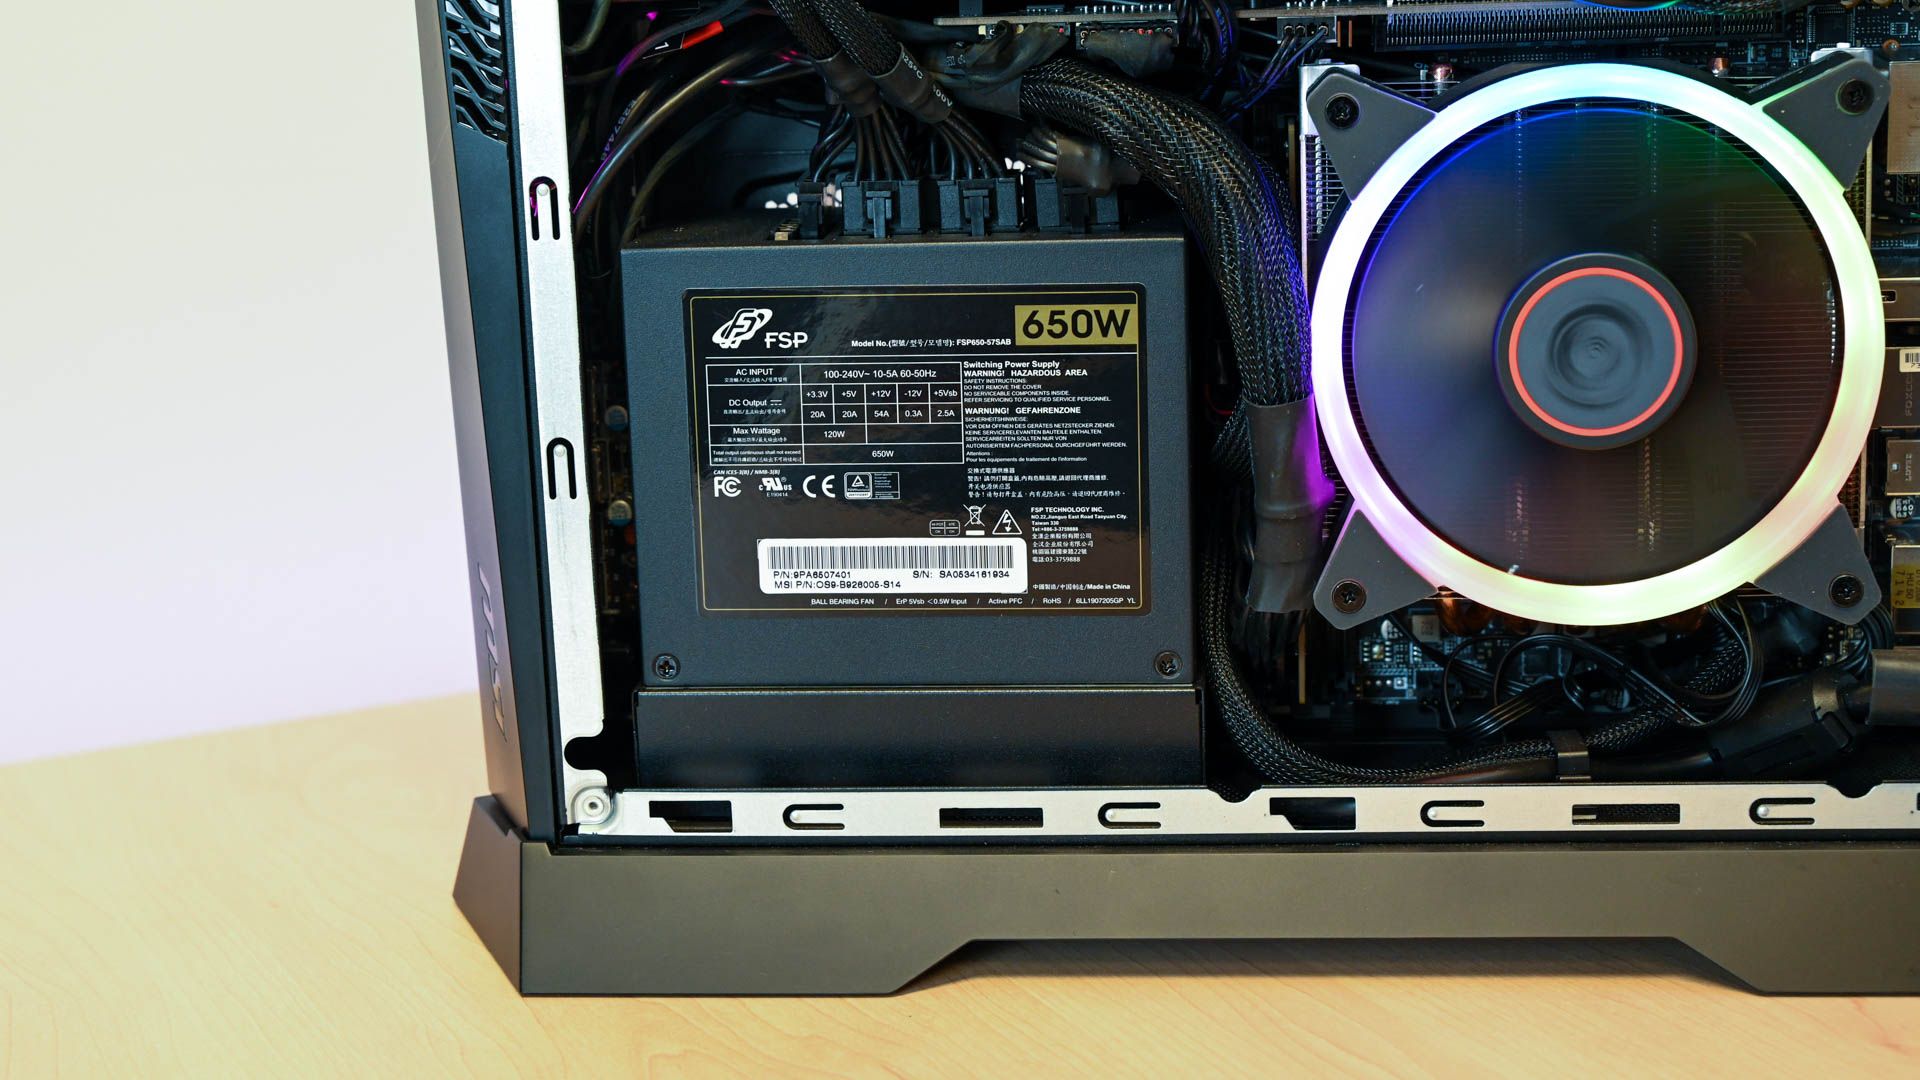
The last step before installing your newly acquired GPU is to confirm that your PSU has enough wattage to handle the GPU’s power requirements. The PSU’s label should indicate its wattage, but if it’s unclear, take note of the model and look it up online. This wattage rating assumes your PSU is no more than five years old and is from a reputable brand. You can check your PSU’s ranking on the PSU Tier List to verify its quality.

Corsair RM1000X 1000W PSU
It’s no $50 special, but it’s one of the top rated PSUs around with high-efficiency, quiet operation, and power to run next-gen GPUs.
As for the GPU’s power requirements, the GPU box often indicates the minimum power supply needed, or you can look up the power supply requirements for your specific GPU model.
If the GPU requires a wattage higher than what your PSU can handle, don’t bother installing the GPU—it won’t work. I tried my GPU which requires 650W+ with a 500W PSU out of curiosity. The PC stuttered, performed poorly, and eventually shut down to protect itself. It’s better to upgrade to a more powerful power supply instead.
Related
Stop Wasting Money Trying to Future Proof Your PSU
Maybe you should remove that 1,000W power supply from your shopping cart.
4
Install the GPU Into Your System
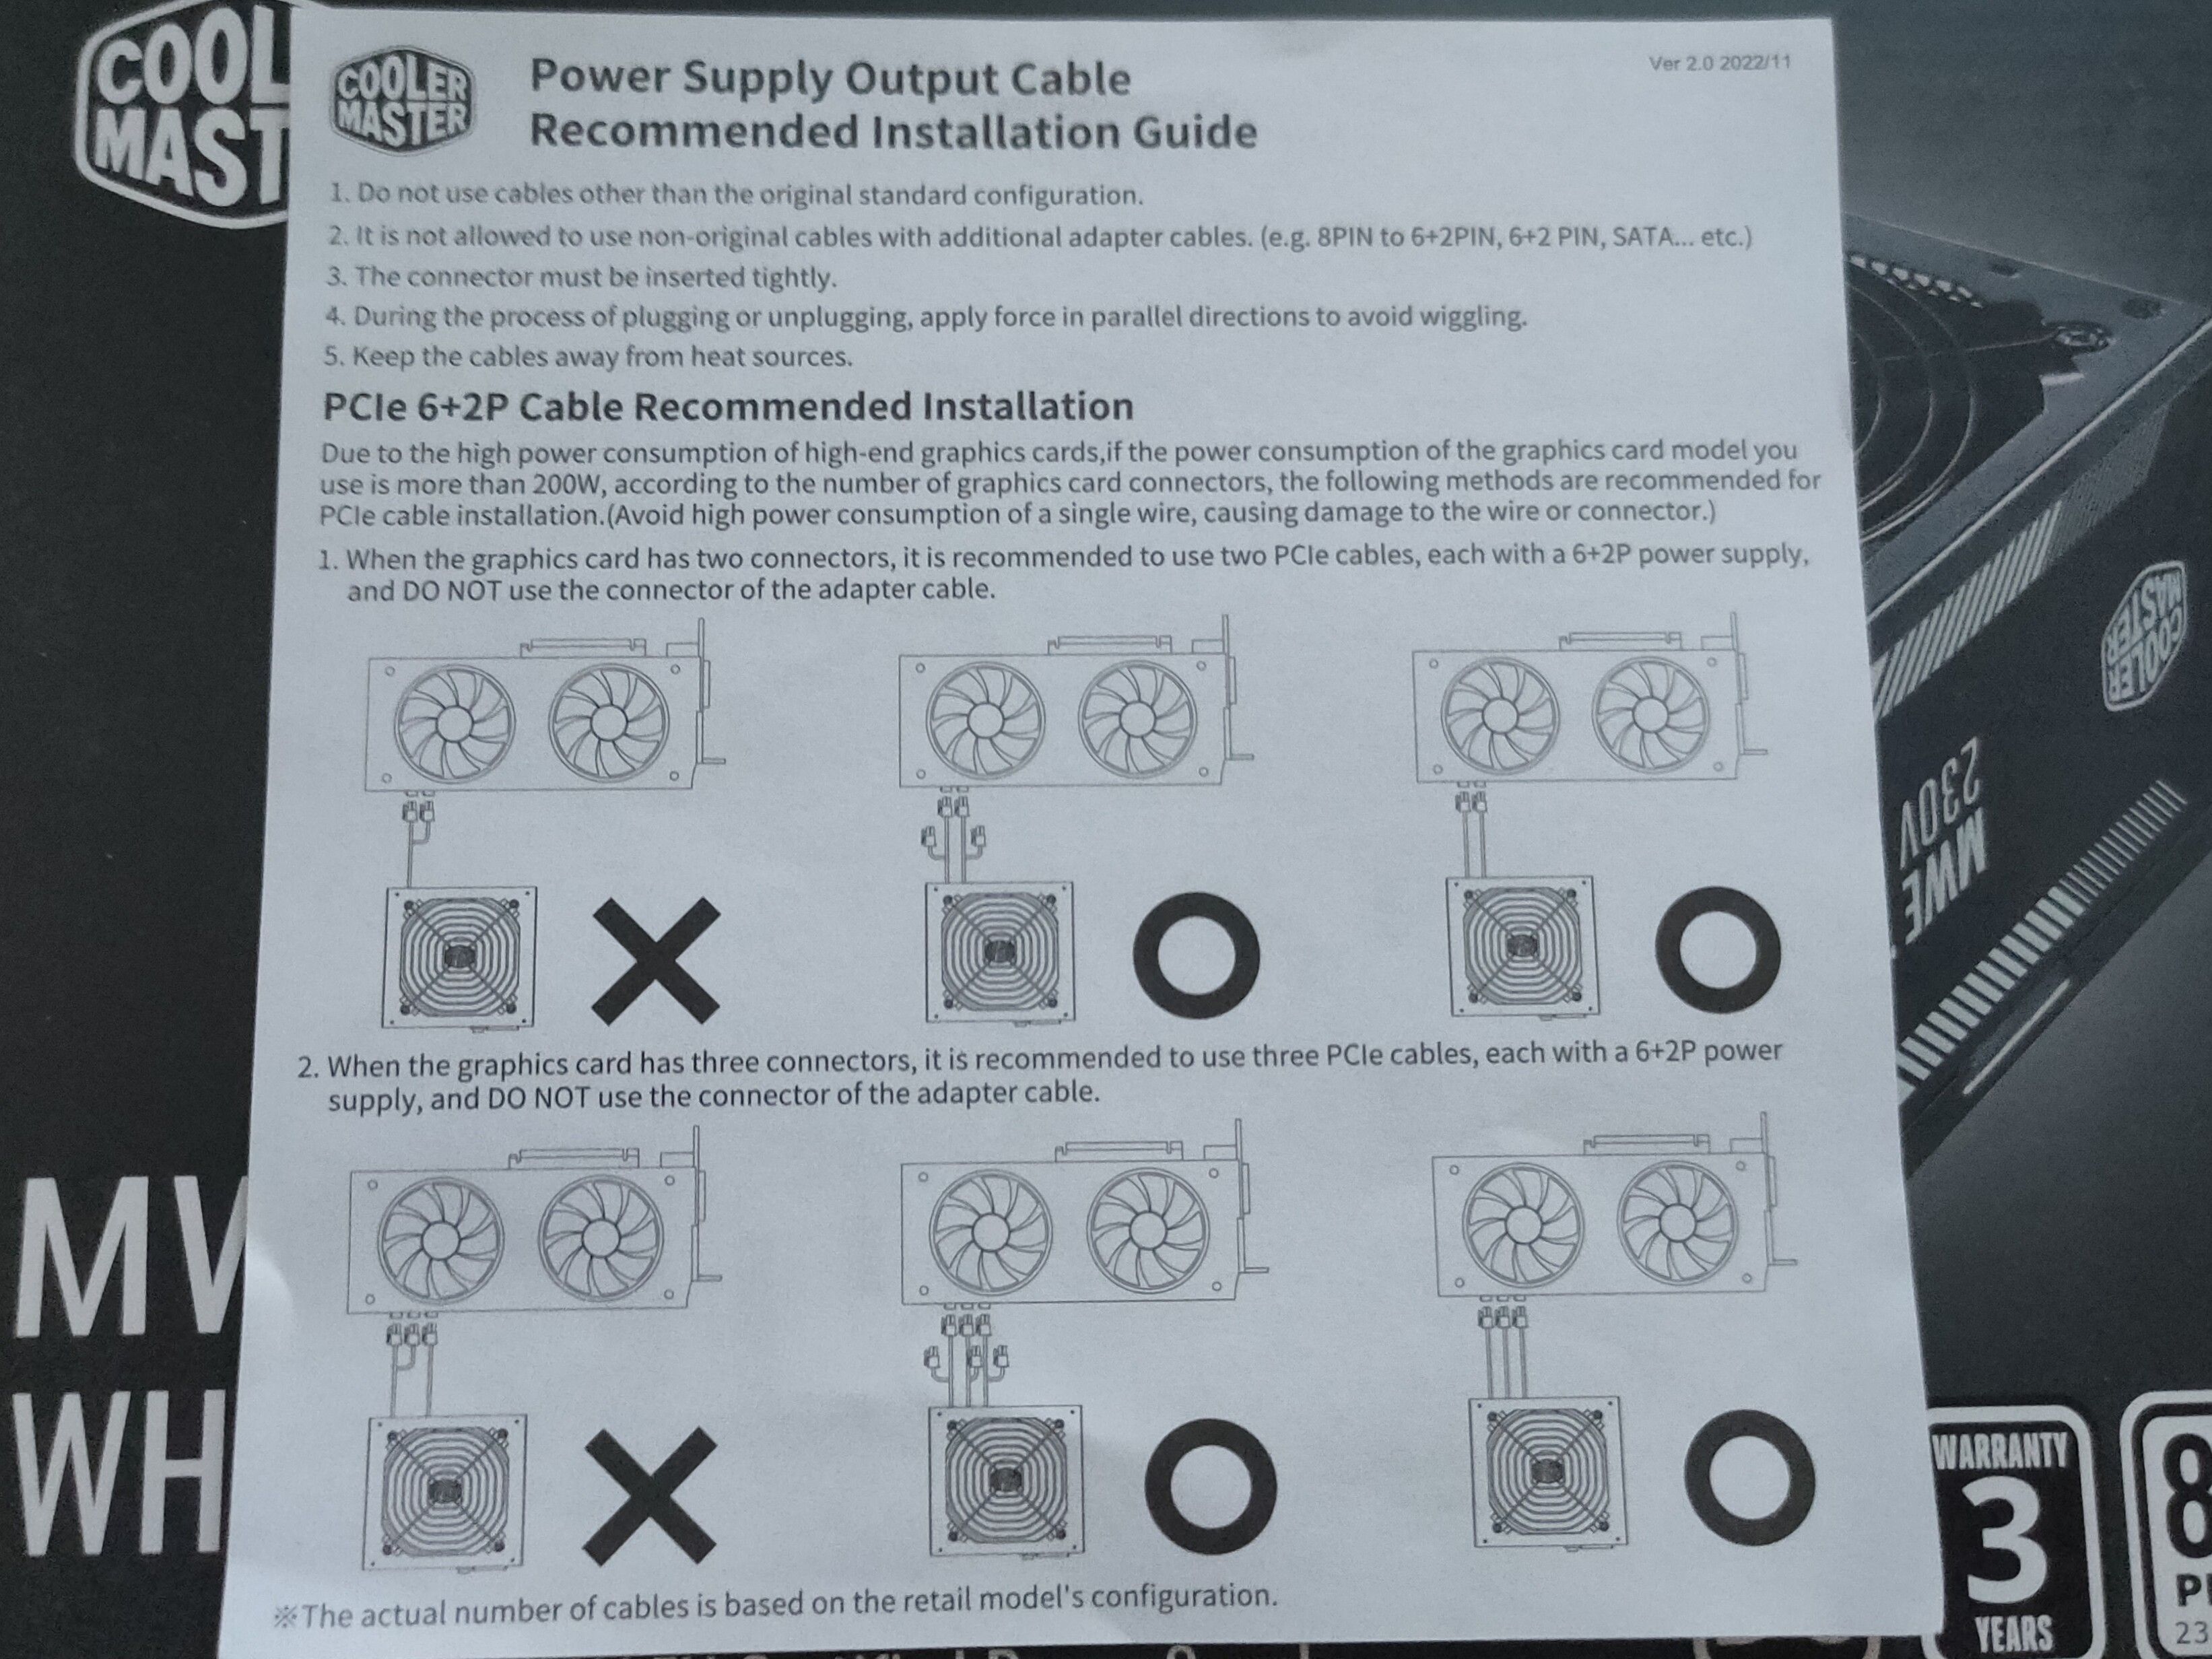
You can now finally install the GPU by firmly slotting it into the top PCIe x16 slot on your motherboard. Connect the required 6-pin or 8-pin power connectors from your power supply, using separate PCIe cables rather than a single daisy chain. This ensures stable power delivery and prevents overloading a single cable.
5
Install and Optimize Driver Settings
After installing the GPU and successfully booting your PC, visit the NVIDIA, AMD, or Intel website to download the latest drivers for your GPU. Once the drivers are installed, reboot your system.
Related
How to Update Your Graphics Drivers for Maximum Gaming Performance
Don’t let old drivers drag down your performance.
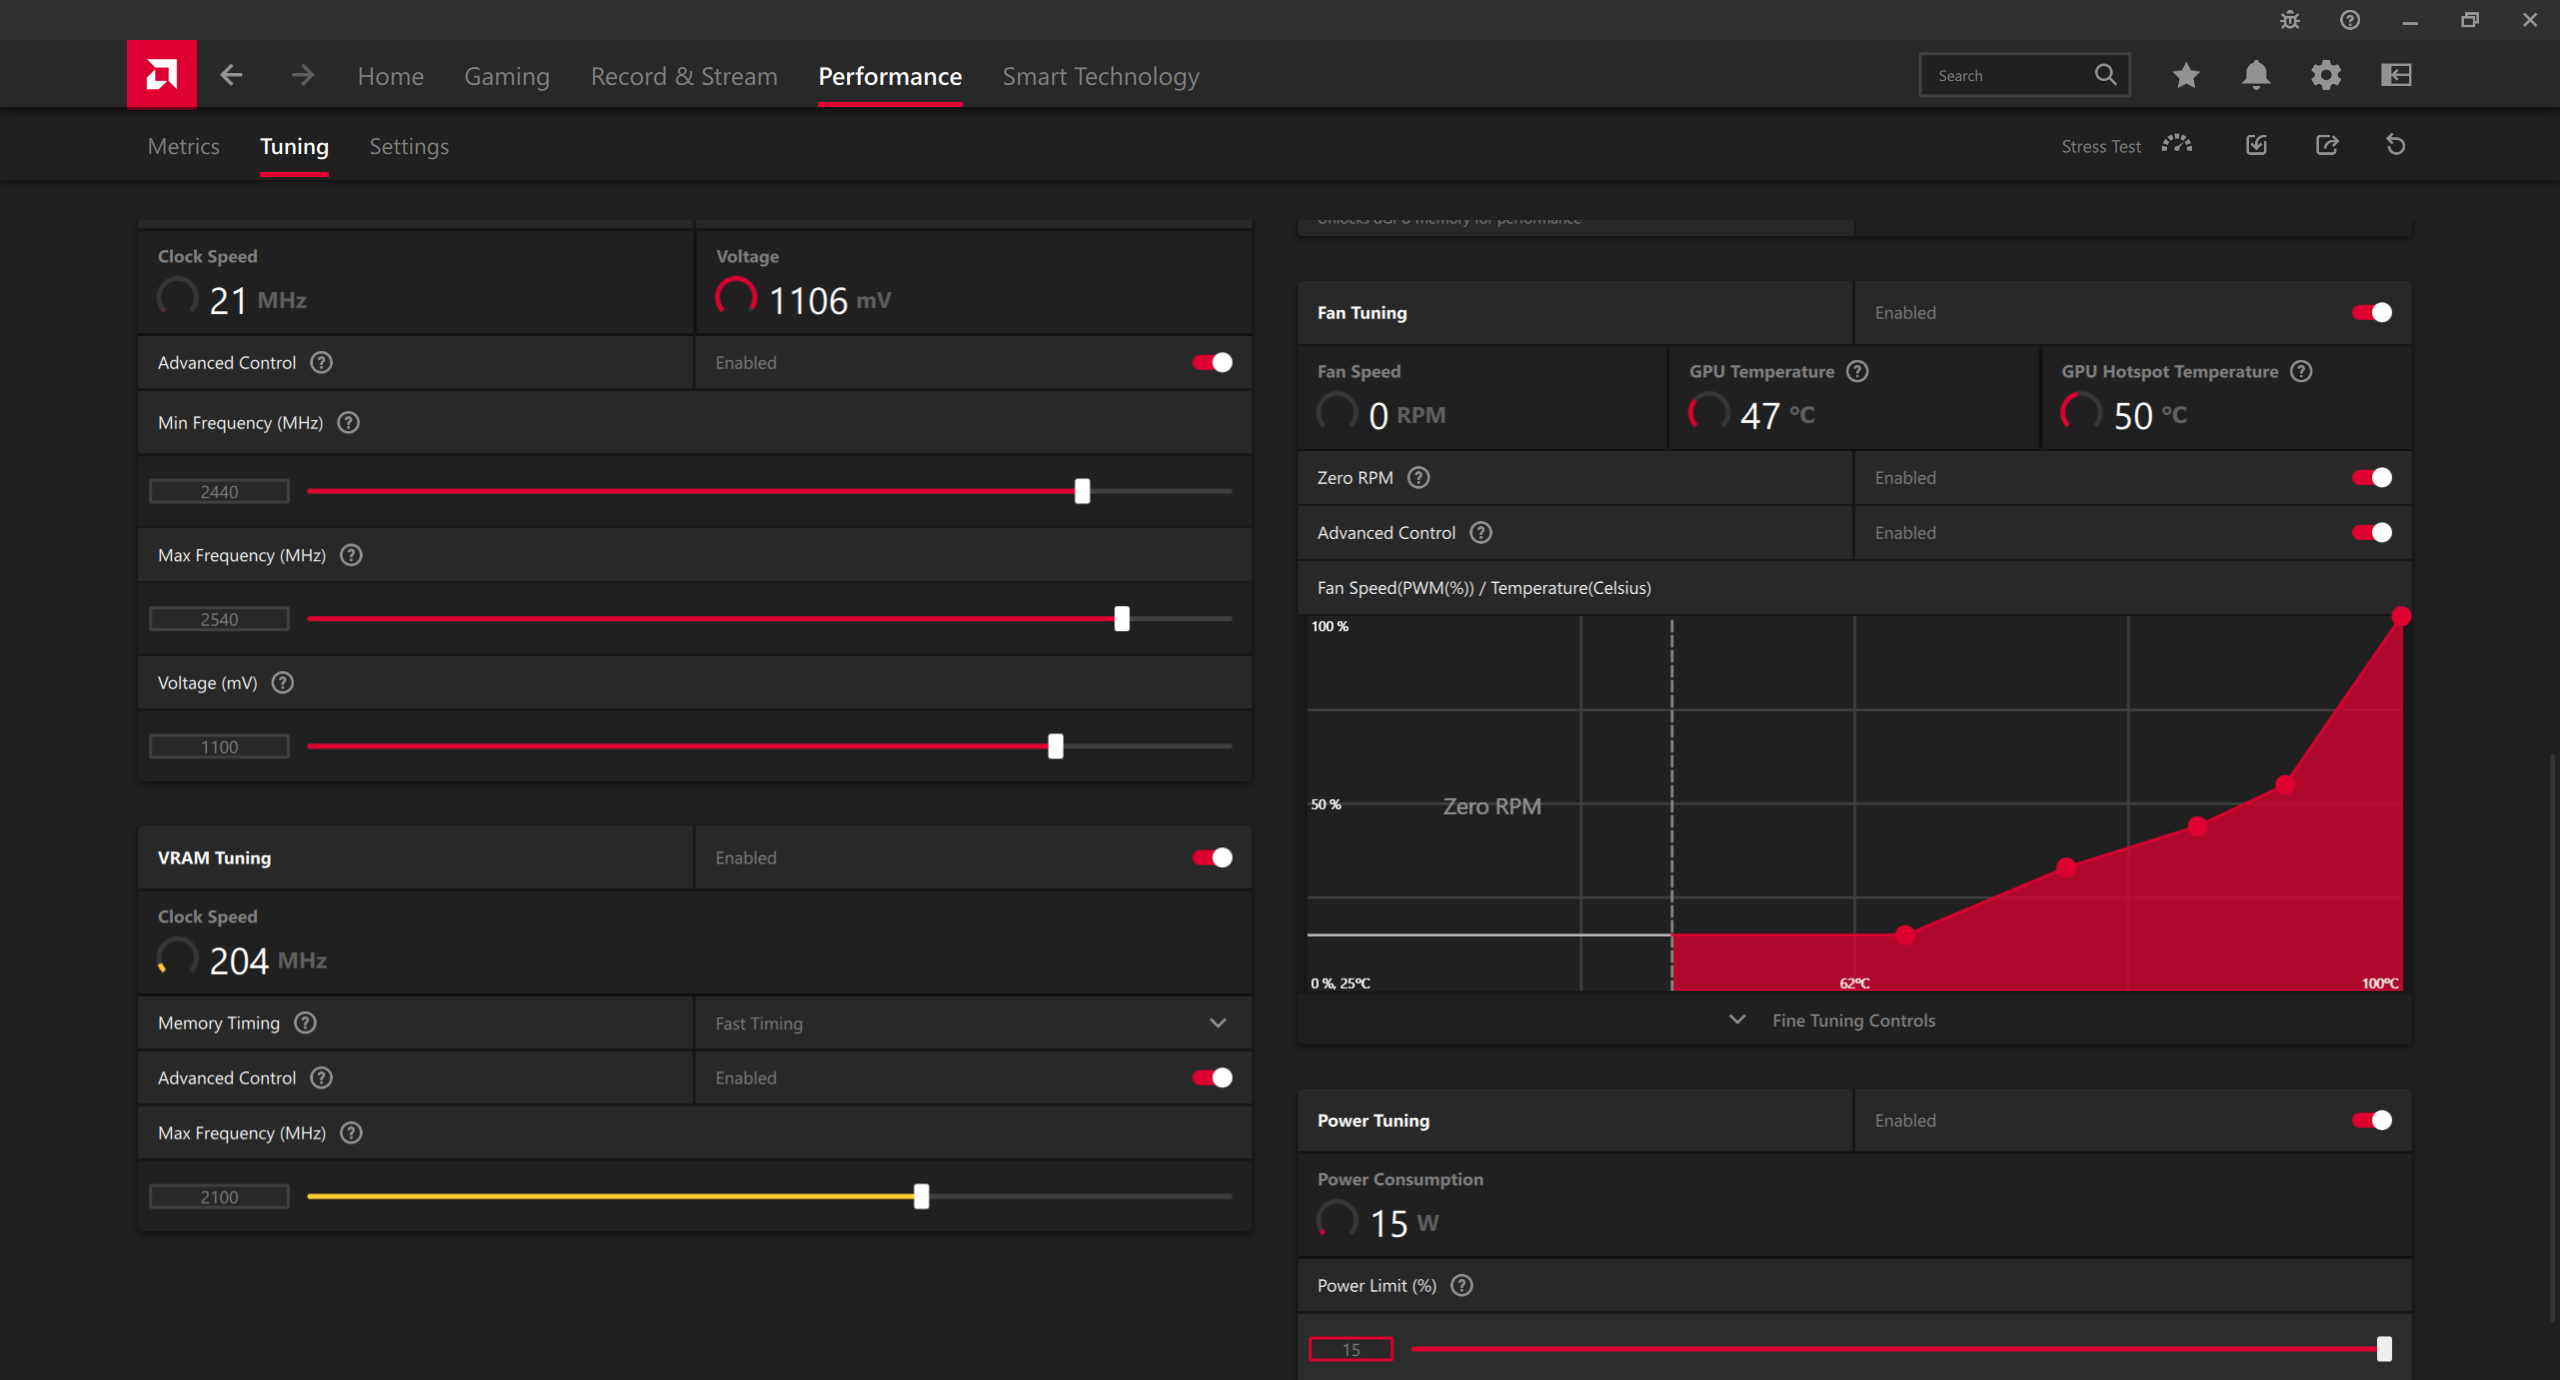
Now that your GPU has the latest drivers, it’s time to dive into the settings. While you could play games at the current settings, you can squeeze a few more frames out of the card by tweaking it. For instance, most GPUs will work better with a custom fan curve, as it prevents overheating in demanding titles. Plus, the fan curve allows your GPU to run at its maximum clock speed thanks to lower GPU temps.
Another thing you should configure is the power limit. Stock power limits are usually optimized for noise and power consumption. Increasing the limit often improves performance by allowing your GPU to draw as much power as it needs.
You can use the “Rage” tuning preset in AMD drivers or increase the power limit manually. Intel has a similar power limit slider, and on NVIDIA, there’s a power management option in the 3D Settings.
There are some additional driver tweaks that you can do, like enabling AFMF2 on AMD for certain games, but with so many options, I can’t give you clear-cut answers on most of them. Thankfully, you can ignore most of it, but if you love tinkering, feel free to do your own research to make further driver optimizations.
You should also consider overclocking and undervolting the GPU. While overclocking is relatively safe, it can still void your GPU’s warranty (except for NVIDIA’s Automatic Tuning). However, since your GPU is used, it’s likely out of warranty anyway, so why not squeeze out a few extra frames? Also, don’t forget to overclock the VRAM as well—it can have a bigger impact on performance than you might expect.
6
Stress Test the GPU
Benchmarking and stress testing your GPU with a dedicated tool like 3DMark and FurMark is a great way to check if your GPU is in good working order. These programs push your GPU to the limits and measure important metrics like FPS, 1% lows, temps, the number of artifacts, and more.
Testing is especially important if you overclocked or undervolted the GPU—there’s a good chance you’ll experience a few crashes before you dial the figures in.
Don’t just do your stress testing with dedicated tools. I’m happy to tell you that you can finally start playing games at this stage as part of your tests. Focus on demanding AAA titles with all graphics options turned up. Look for visual artifacts like random lines and shapes or unusual colors like pinks and greens instead of regular shadows and highlights.
Related
How To Understand GPU Benchmarks
Learn how to read GPU benchmarks and get the most bang for your buck.
7
Monitor Temperatures and Check the Thermal Paste and Pads
The final stage of your GPU testing should focus on temperature monitoring. Enable your driver’s overlay or use MSI Afterburner to keep an eye on both the GPU and hotspot temperatures.
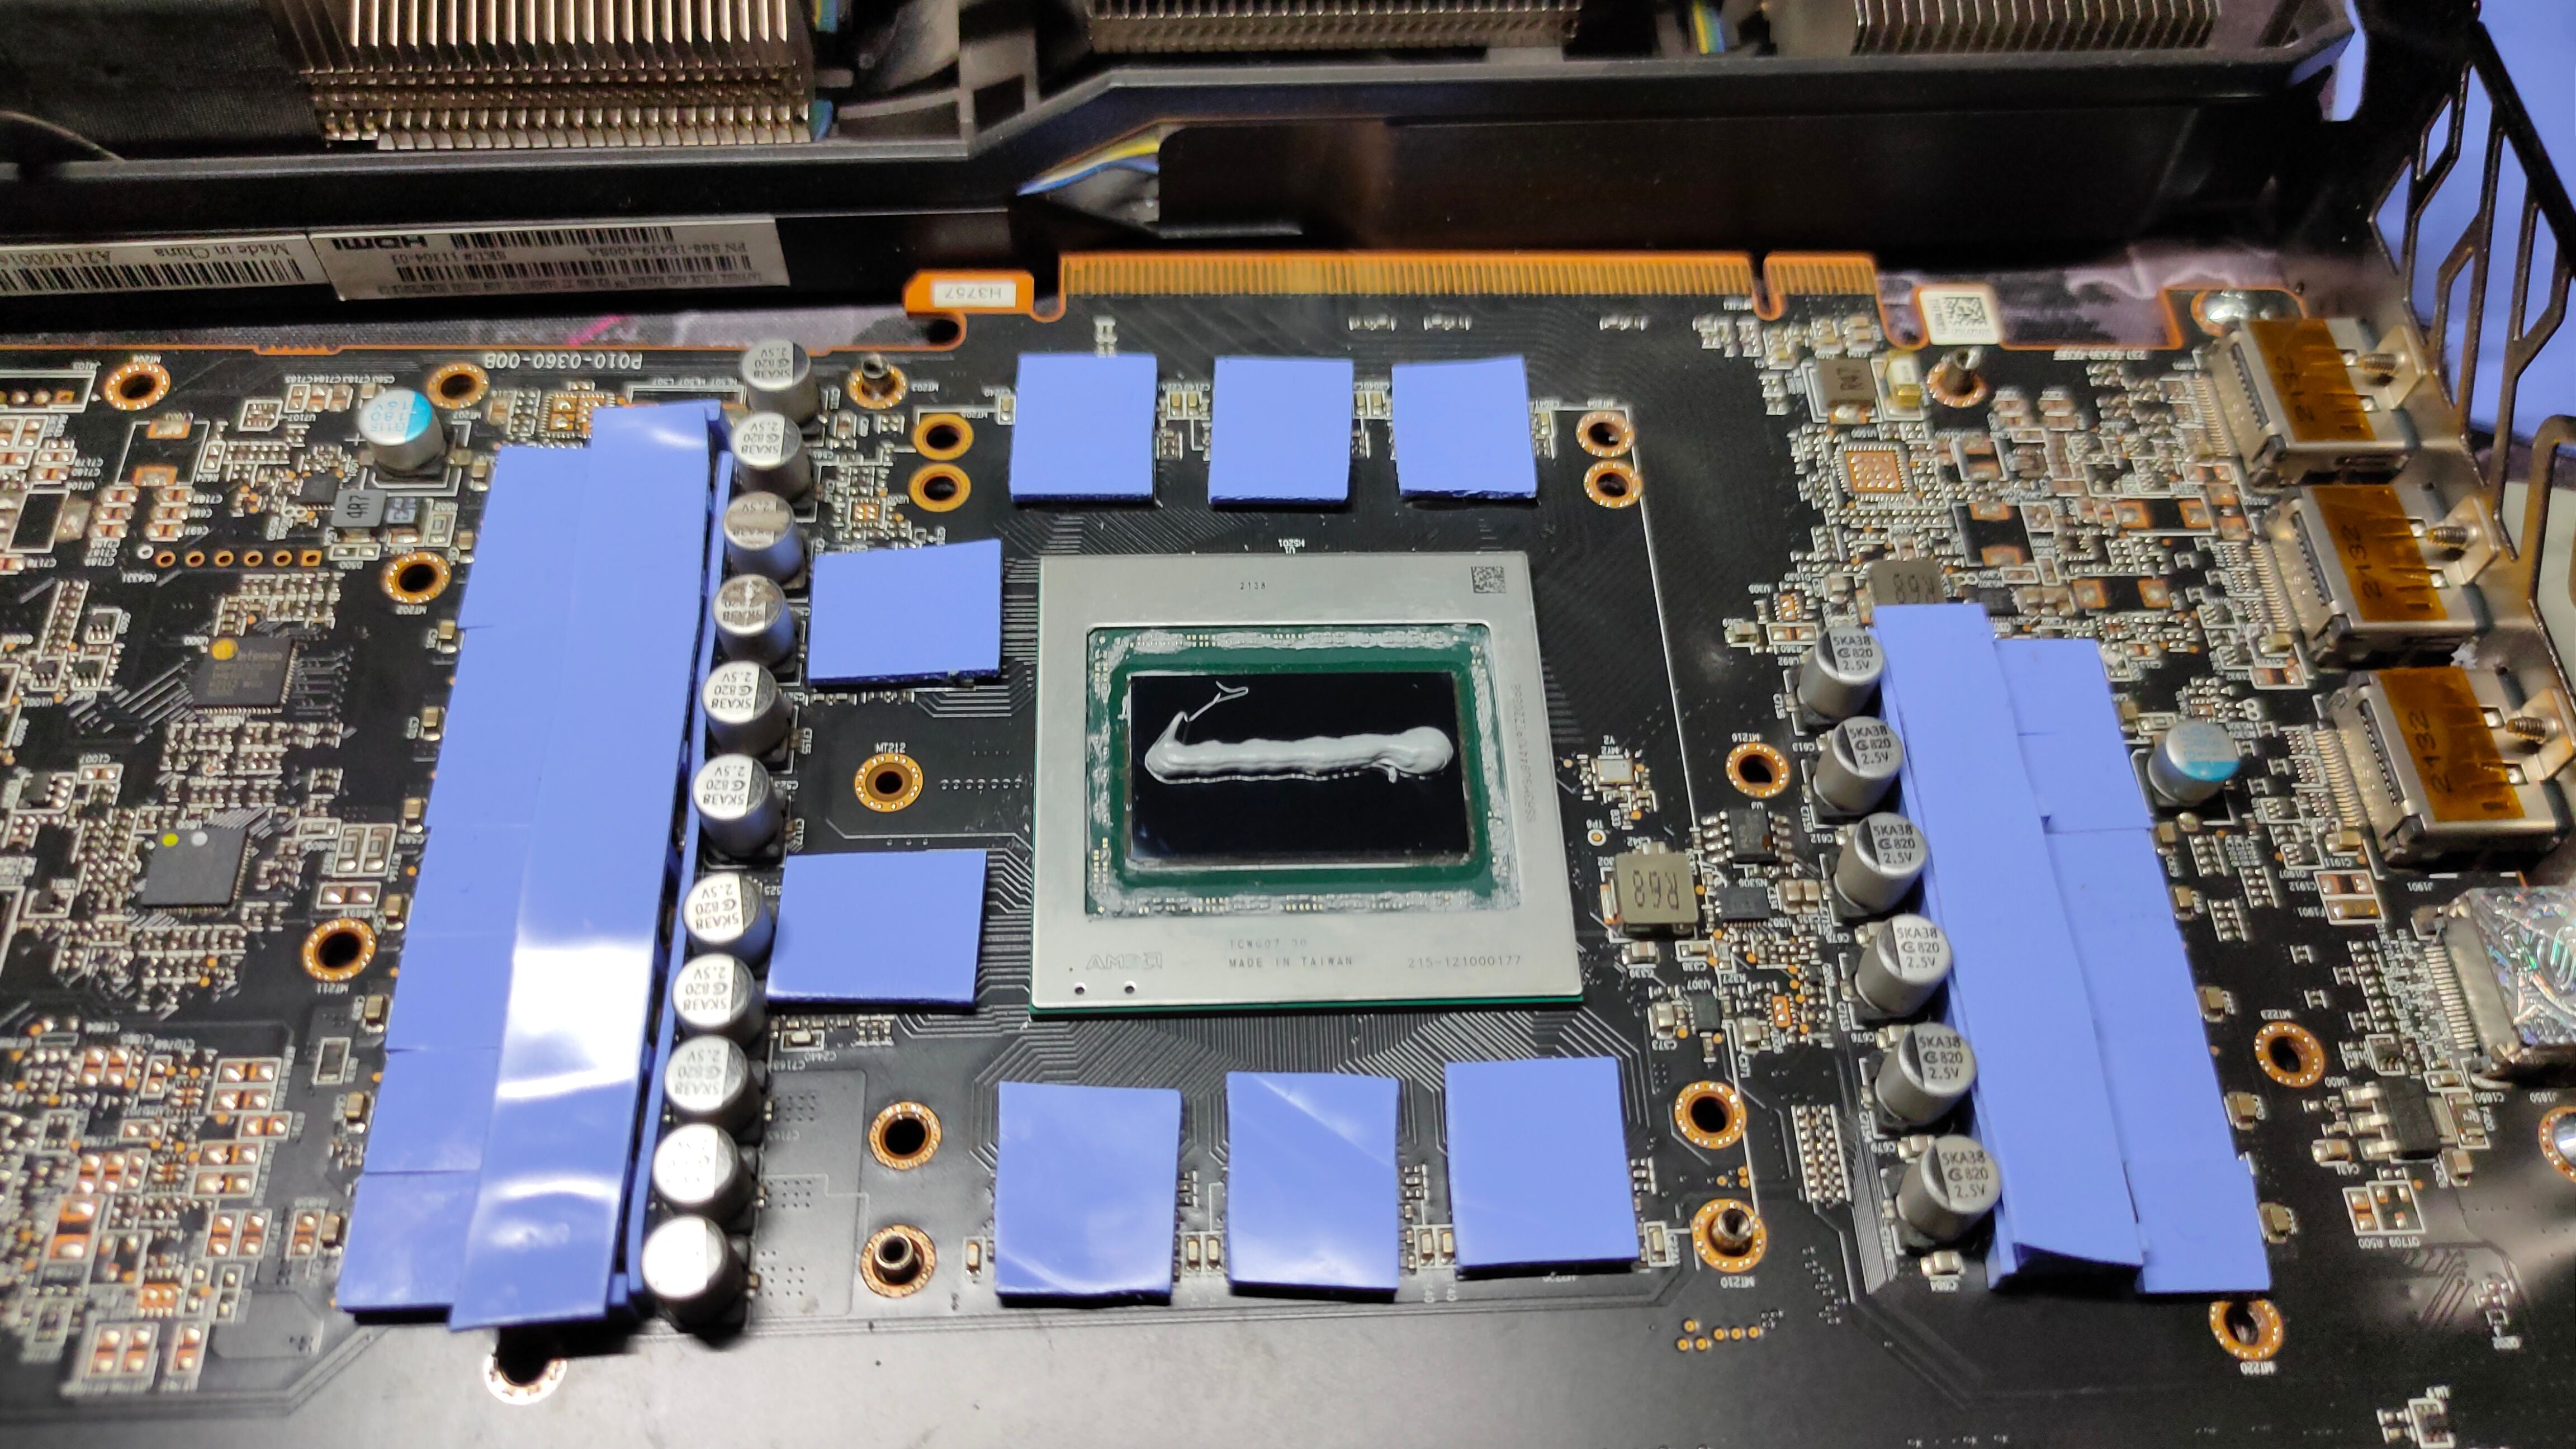
While it’s within spec for your GPU to heat up to its TDP and even thermal throttle, it shouldn’t do so constantly, especially if you have a custom fan curve in place. If it’s constantly running at TDP despite the fans spinning at maximum speed, it could be a sign that the used GPU needs a thermal paste and pad refresh.
In addition to voiding the warranty, opening your GPU is a risky procedure that can lead to permanent damage if not done correctly.
This advanced step involves taking the GPU apart, removing the heatsink, and replacing the old thermal paste and pads. While it can lower temperatures by a few degrees, only attempt it if you’re confident in the process. Otherwise, consider taking it to a technician or using an even more aggressive fan curve.
After all the inspecting, cleaning, and testing, you’re finally all set to use your newly acquired GPU. With any luck, the used GPU is in good condition, and you’ve encountered no issues—now it’s time to dive into your favorite games and enjoy the extra eye candy and FPS!


