You can automate many tasks on your Windows 11 PC using batch files. I’ll explain what a batch file is, how you can create one, and show you some interesting and useful uses of these files.
What Is a Batch File?
A batch file is a file that contains one or more commands to be executed subsequently. Instead of typing those commands in Command Prompt or PowerShell, you create a file that runs those commands whenever the file is launched. This lets you accomplish the tasks of those commands.
A batch file uses “.bat” as its file extension. You run batch files the same way you run other files—simply double-click a file to launch it. No third-party apps are needed to open batch files.
How to Create a Batch File
Creating a batch file is as easy as creating a plain text Notepad document. You create a new file in a plain text editor, add the commands you want, and save the file as a batch file. Your system will run the file the same way regardless of how it was created as long as it’s a proper batch file.
To create a batch file on Windows 11, open Windows Search (press Windows+S), type Notepad, and launch the app. Type the commands you want your file to have. The following sections have some useful commands that you can use to automate your tasks.
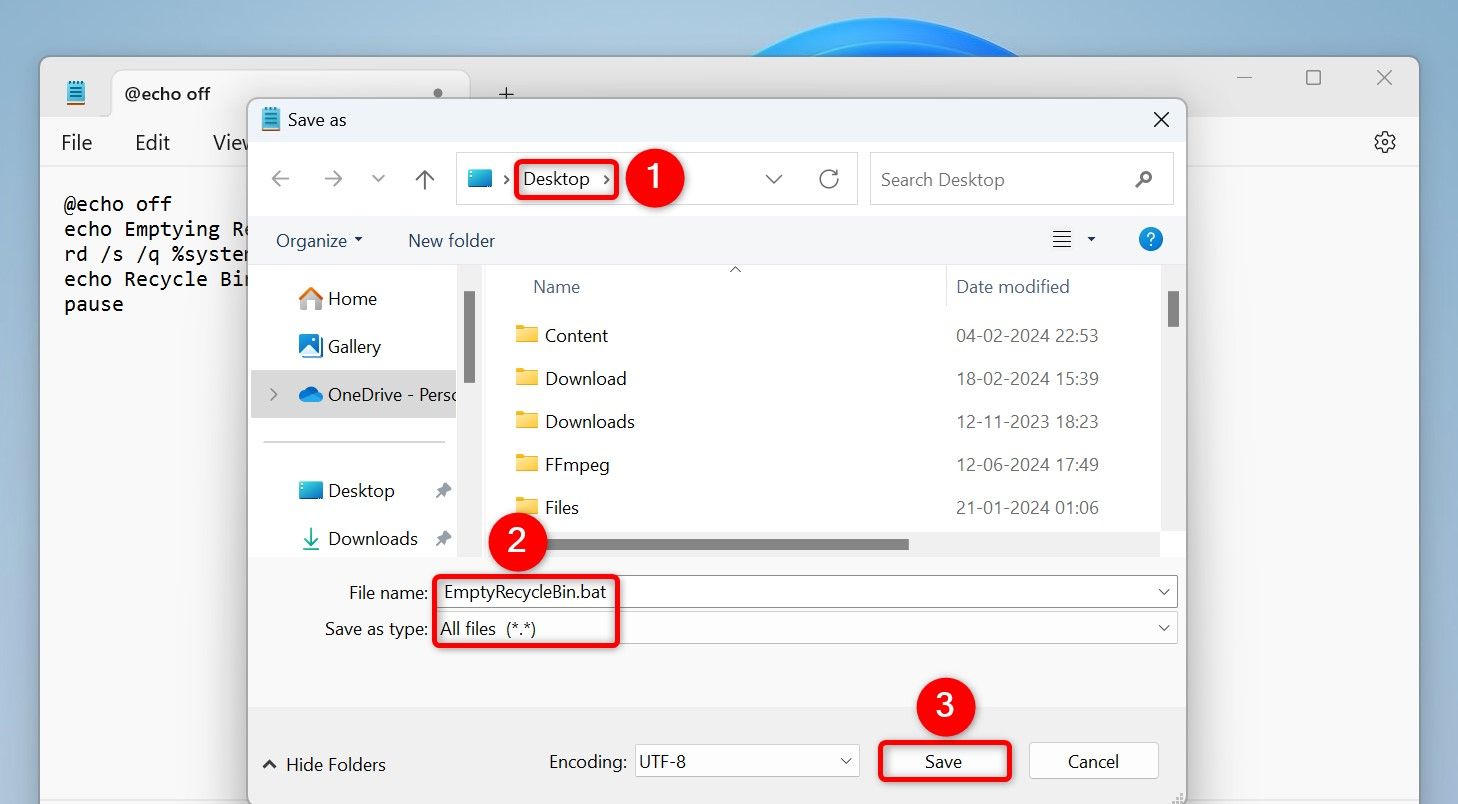
After entering the commands, from Notepad’s menu bar, select File > Save As (or press Ctrl+Shift+S). In the Save As window, choose the location to save your batch file. Click the “Save as Type” drop-down menu and select “All Files.” Select the “File Name” field, type a name for your batch file, add “.bat” at the end of the file name so it’s a batch file, and click “Save.”
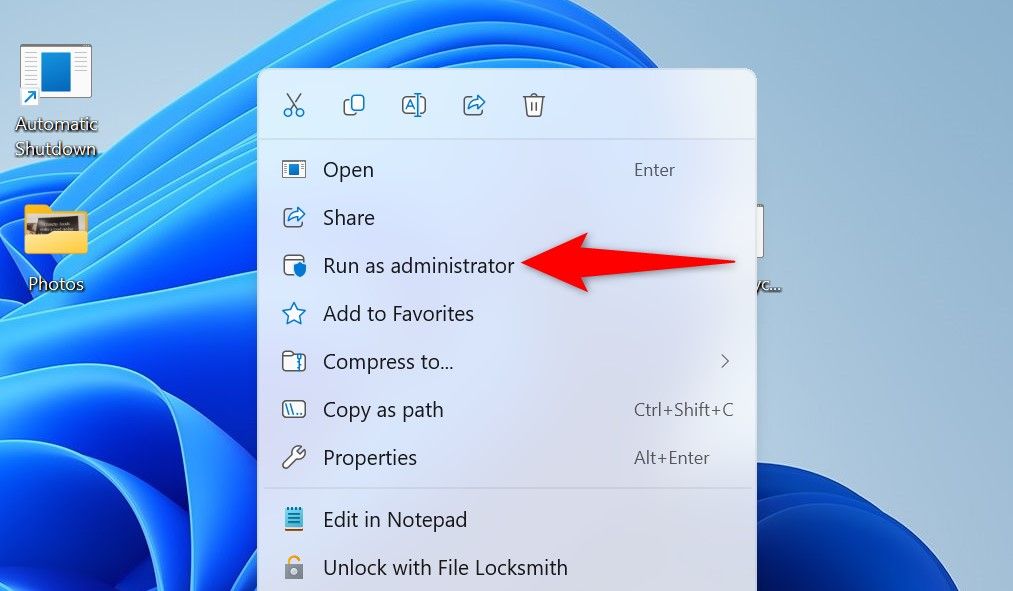
Your batch file is now ready. To run it, double-click the file. If a batch file requires administrative privileges (like the ones that delete temporary files), right-click the file and choose “Run as Administrator.” Make sure to choose “Yes” in the User Account Control prompt.
If you always want to run a batch file as an admin (so you don’t have to right-click the file and choose “Run as Administrator” each time), right-click the batch file and choose Show More Options > Send To > Desktop (Create Shortcut).
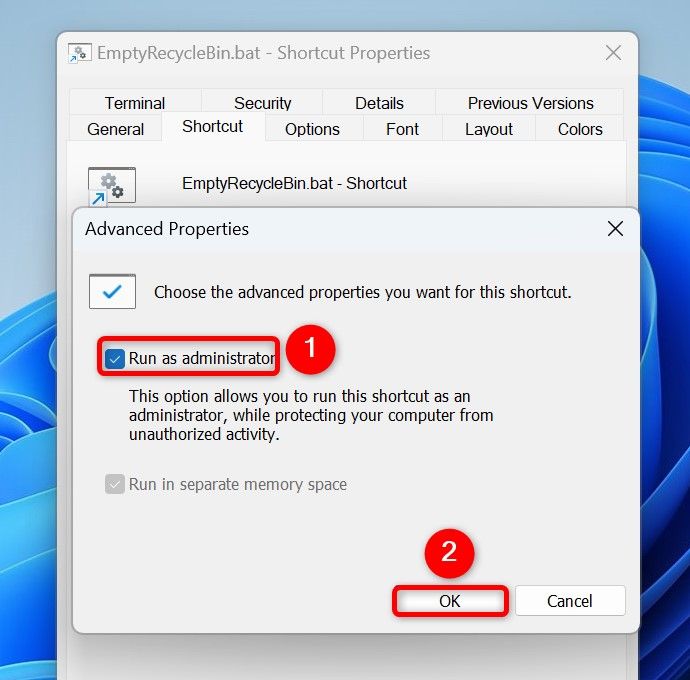
Right-click the newly created shortcut and select “Properties.” Access the “Shortcut” tab, click “Advanced,” enable “Run as Administrator,” choose “OK,” and select “Apply” followed by “OK.”
And that’s it.
Emptying the Recycle Bin
You can make a batch file that automatically clears all the contents of the Recycle Bin. This frees up your storage space and declutters your machine.
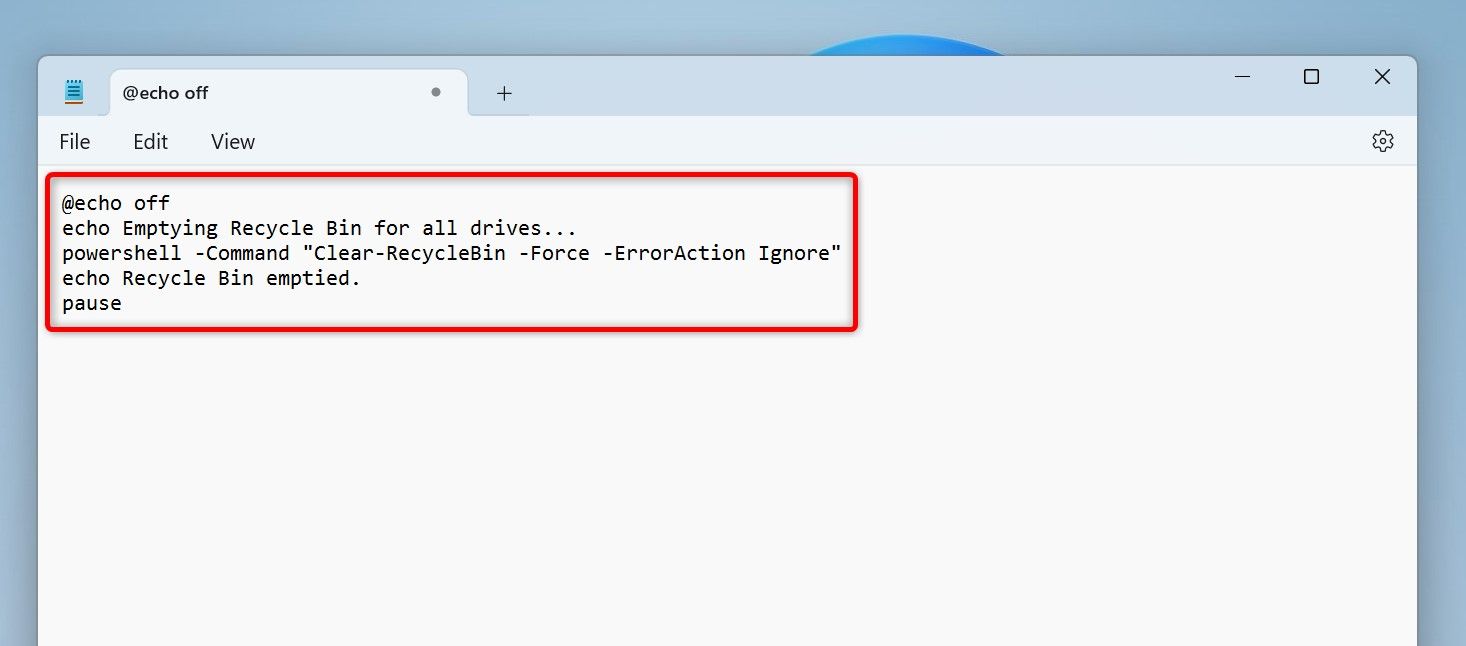
To do that, use the following commands in a batch file.
This batch file requires administrator privileges to run it.
        @echo off
echo Emptying Recycle Bin for all drives...
powershell -Command "Clear-RecycleBin -Force -ErrorAction Ignore"
echo Recycle Bin emptied.
pause
You’ll see the Recycle Bin Emptied message when the task is done.
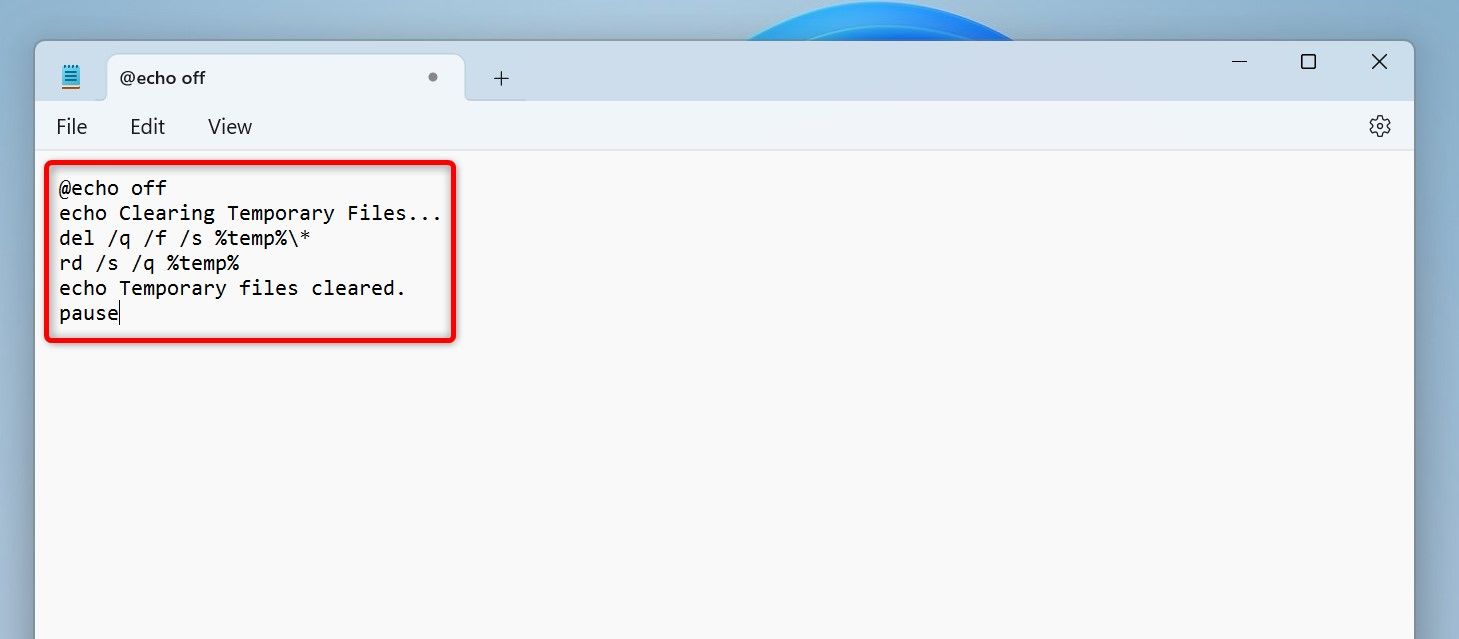
Clearing Temporary Files
Removing temporary files helps you free up your storage space and declutter your computer. The following commands help you do that.
Make sure to run this file as an admin to avoid running into any errors.
        @echo off
echo Clearing Temporary Files...
del /q /f /s %temp%\*
rd /s /q %temp%
echo Temporary files cleared.
pause
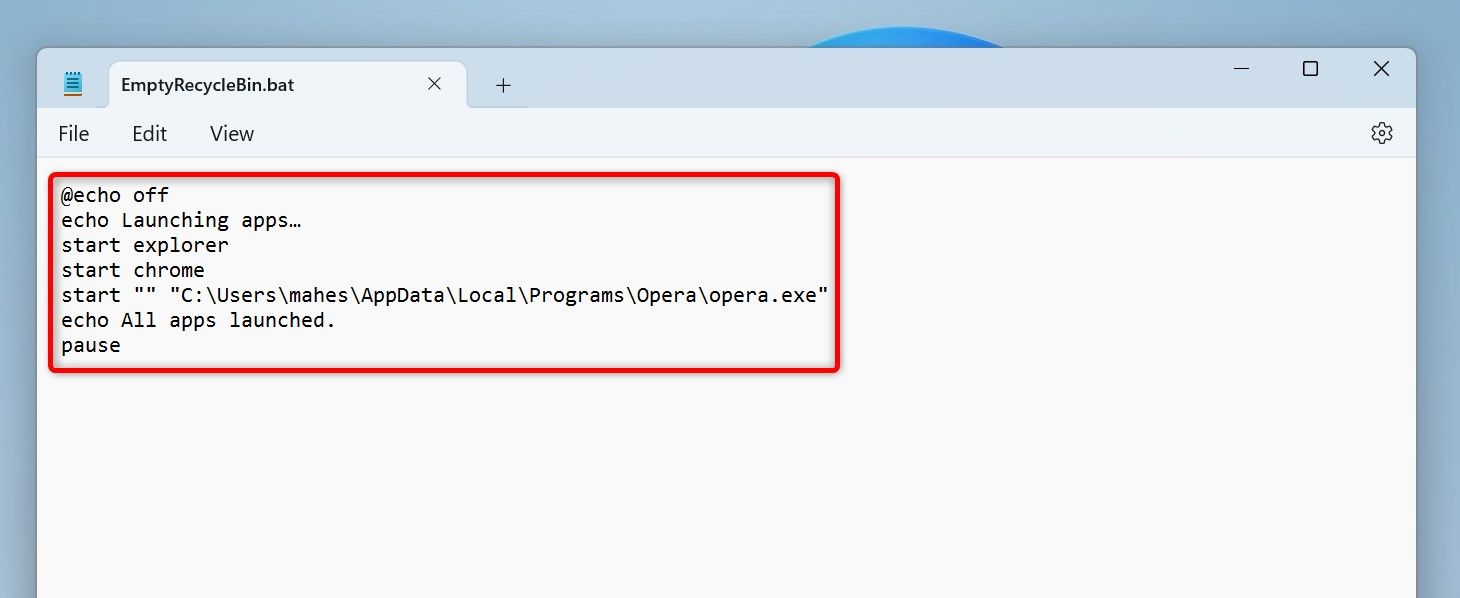
Launching Multiple Apps at Once
If you often launch certain apps one after another, you can create a batch file that automatically launches all those apps for you. You can specify the apps to be launched in the commands.
        @echo off
echo Launching apps...
start explorer
start chrome
start "" AppPath
echo All apps launched.
pause
As you can notice, the above script launches File Explorer and Google Chrome using their system names. To launch another app, replace “AppPath” with the full path to the executable file of the app you want to launch. Make sure to enclose the path in double quotes.
Back Up Files and Folders
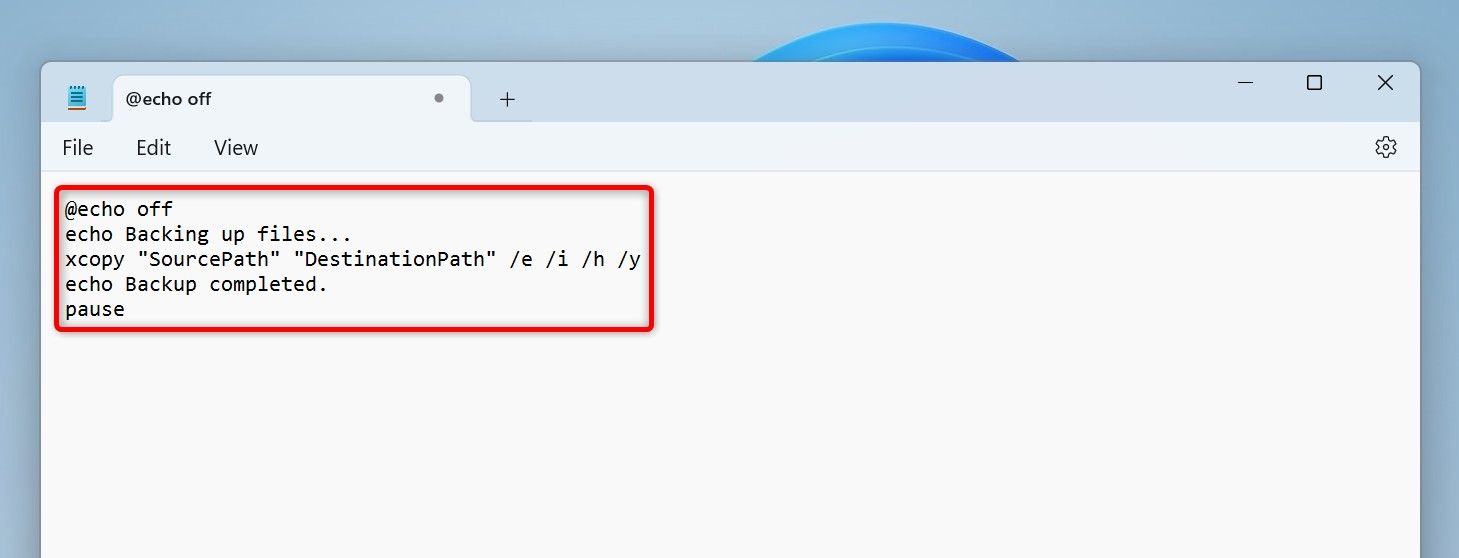
To back up certain files and folders, you can make a batch file that automatically copies items from one source and pastes those items at another path.
        @echo off
echo Backing up files...
xcopy "SourcePath" "DestinationPath" /e /i /h /y
echo Backup completed.
pause
In this script, replace “SourcePath” with the path where you want to copy items from. Replace “DestinationPath” with the path where you want to save the files.
Here, the “/e” parameter ensures the empty folders are copied as well. The “/i” parameter creates the destination folder if it doesn’t already exist. The “/h” parameter copies hidden files. The “/y” parameter overwrites files without prompts
Reset Network
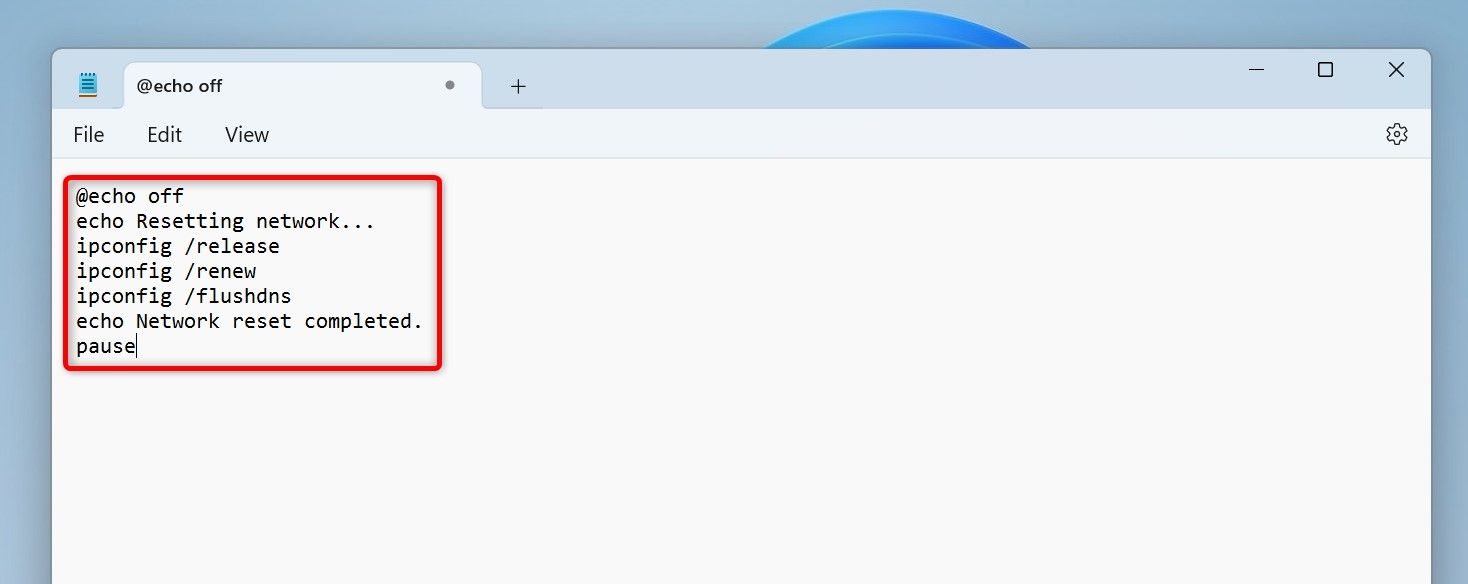
Often when you run into network problems, resetting your computer’s IP address and flushing the DNS cache helps fix issues. You can use the following code in a batch file to perform these tasks.
This batch file requires running as an administrator to function.
        @echo off
echo Resetting network...
ipconfig /release
ipconfig /renew
ipconfig /flushdns
echo Network reset completed.
pause
This file releases your computer’s current IP address, requests a new IP address from your router’s DHCP server, and flushes your DNS cache.
Create a System Restore Point
Making a system restore point is important if you’re going to make any significant changes to your system. This restore point allows you to undo your changes in case something goes wrong.
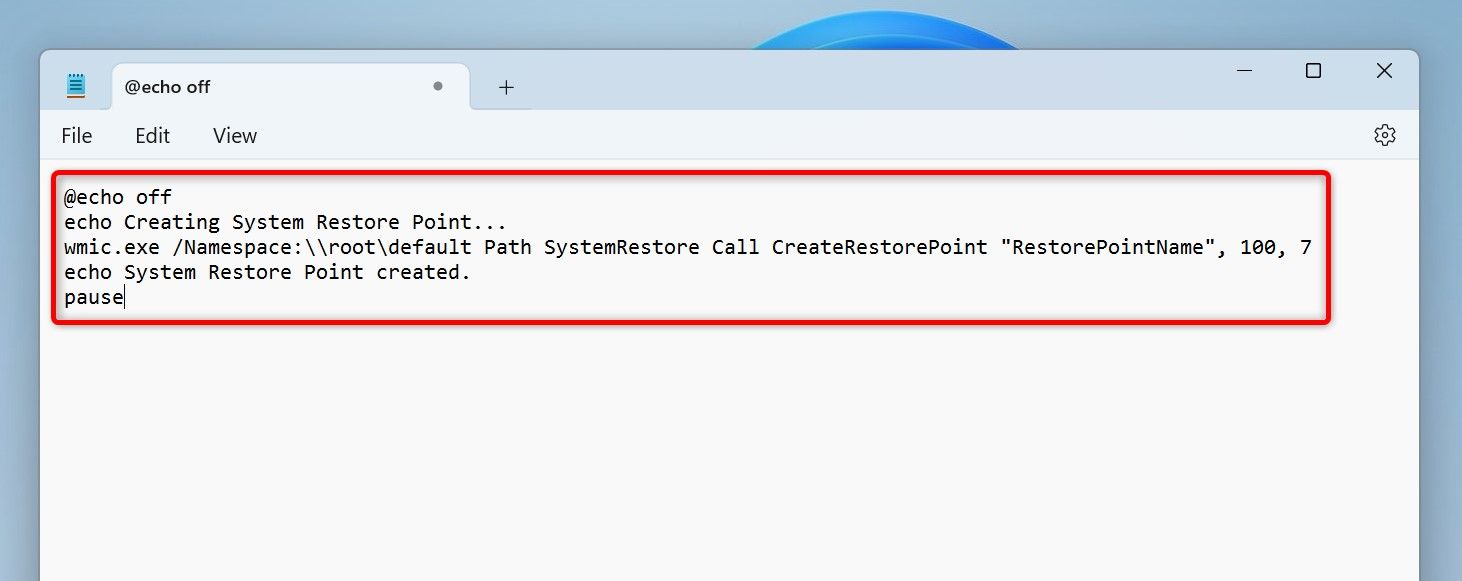
You can use the following commands in a batch file to automate the process of creating a restore point. In the code, feel free to replace “RestorePointName” with the name you like.
You need to run this batch file as an administrator.
        @echo off
echo Creating System Restore Point...
wmic.exe /Namespace:\\root\default Path SystemRestore Call CreateRestorePoint "RestorePointName", 100, 7
echo System Restore Point created.
pause
Switch Between Dark and Light Mode
Windows 11 has both dark and light modes, and you can create batch files to switch between these modes.
You need to run these files as an administrator as these files change a value in the Windows registry.
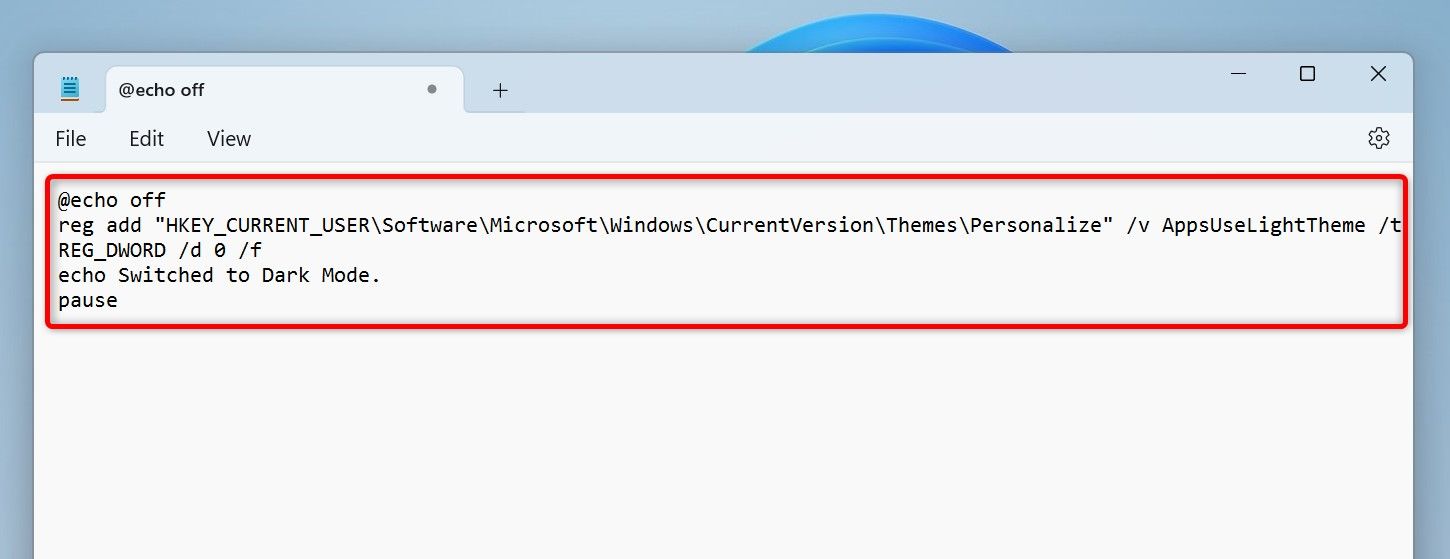
To switch to dark mode, you’ll use the following commands:
        @echo off
reg add "HKEY_CURRENT_USER\Software\Microsoft\Windows\CurrentVersion\Themes\Personalize" /v AppsUseLightTheme /t REG_DWORD /d 0 /f
echo Switched to Dark Mode.
pause
To switch to light mode, you’ll use the following code:
        @echo off
reg add "HKEY_CURRENT_USER\Software\Microsoft\Windows\CurrentVersion\Themes\Personalize" /v AppsUseLightTheme /t REG_DWORD /d 1 /f
echo Switched to Light Mode.
pause
You’re done.
And that’s how you automate many usual tasks using batch files on your Windows 11 computer. The possibilities are endless, as you can enter any commands you want in batch files and automate any tasks you want.


