

If there’s one thing Apple’s good at, it’s building operating systems that are simple to use and full of intuitive features. A prime example of that is its collection of Mac trackpad gestures, which let you work your way around macOS with just a few breezy swipes.
You might already know a few key trackpad gestures, like pinching to zoom or using two fingers to scroll. But look a little closer and there are many more little-known gestures that can seriously level up your macOS experience. Here, we’ve detailed nine of the best Mac trackpad gestures that give you new powers to control your computer.
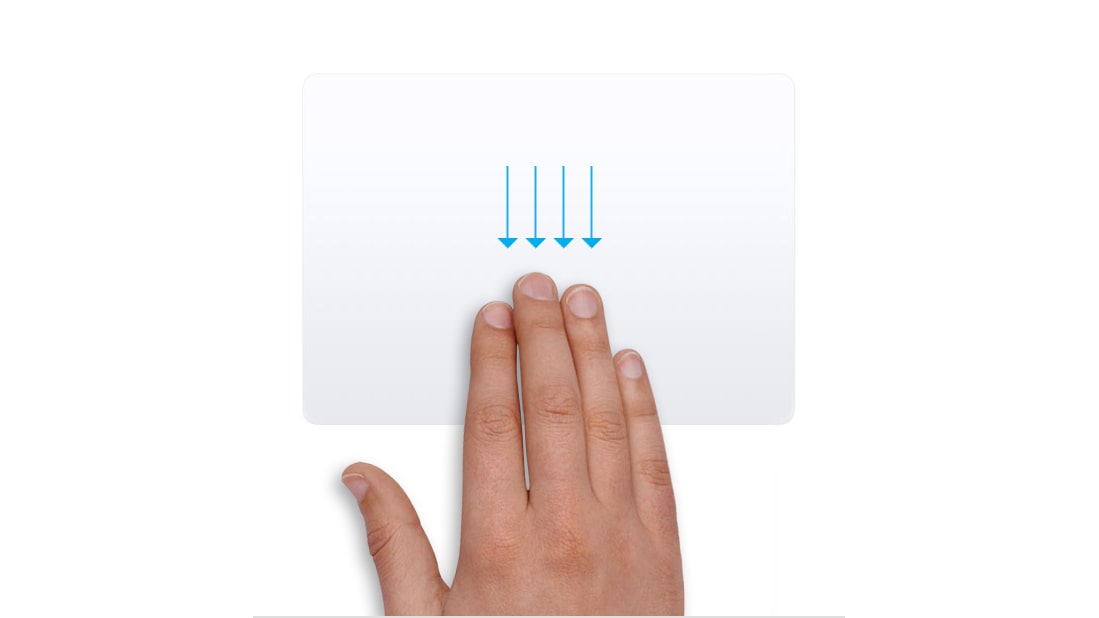
When you’re really knee-deep in a project on your Mac, you can quickly find yourself with multiple app windows clogging up your screen. Managing them all can be a pain, but there’s an easy way to do it: use App Exposé.
With a quick swipe, this feature will hide all windows except those belonging to the currently active app. That gives you a speedy way to see how many windows a particular app has open and to switch between them. As well as that, you’ll see a row of recent documents along the bottom of your screen, so you can open them without having to root around in folders looking for them.
App Exposé is turned off by default, but it’s one of the first things I enable whenever I get a new Mac. To do so, open the System Settings app and go to Trackpad > More Gestures. Next to App Exposé, choose either Swipe Down with Three Fingers or Swipe Down with Four Fingers from the dropdown menu.
Mission Control
Apple
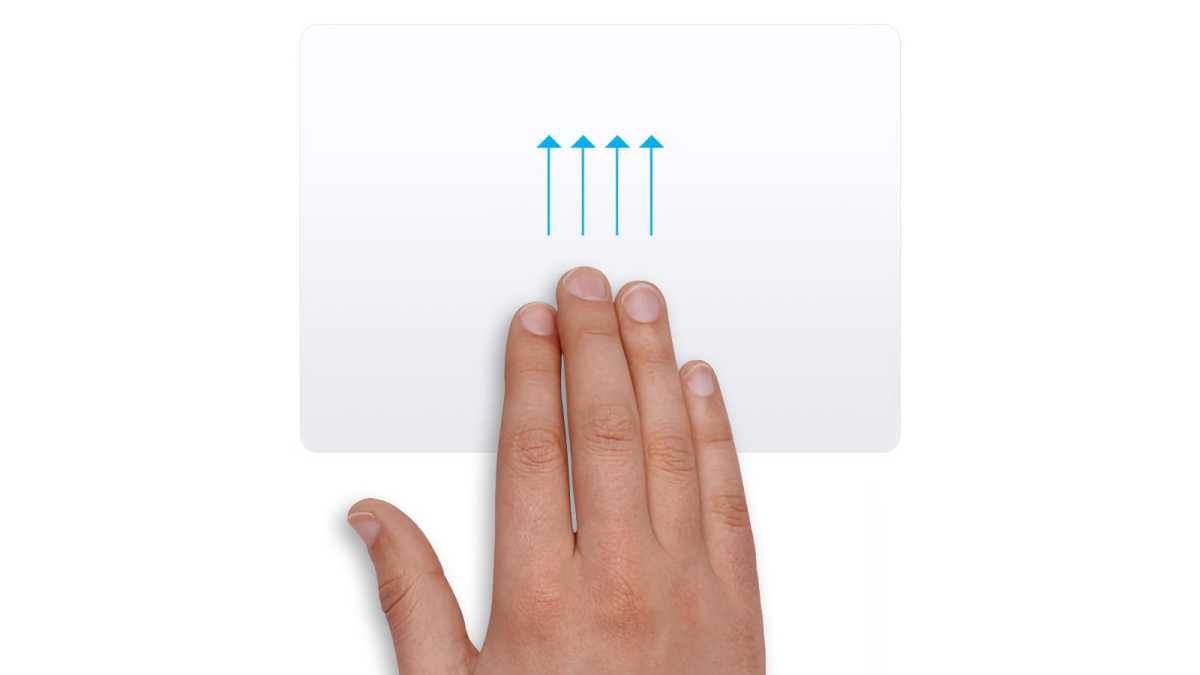
While App Exposé requires a downward gesture, swipe four fingers upward on your trackpad and you’ll activate Mission Control, which is enabled by default. It’s a helpful feature for when you have an app-laden desktop, but instead of hiding everything except the active app, Mission Control shows all your open apps and windows in one view. That means you can switch to the app you need without having to repeatedly tap Command-Tab.
Mission Control is also useful for viewing and switching to different virtual desktops (also known as desktop spaces). Swipe four fingers up to launch Mission Control, and your active desktops appear in a row at the top of your display. You can flip between them, add a new desktop, or remove any that you’ve created. Learn more about Mission Control.
Switch desktops and full-screen apps
Apple
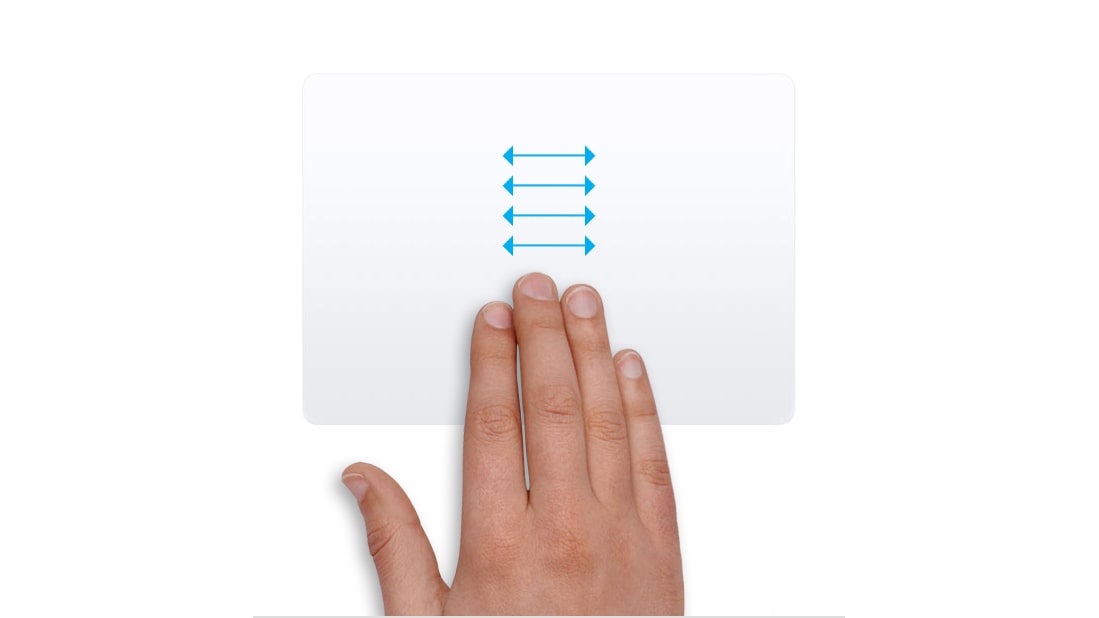
Speaking of virtual desktops, you don’t need to use Mission Control to see them; a simple trackpad gesture will do the trick. Once you’ve created more than one desktop, swipe four fingers left or right to switch between them. That’s much faster than launching Mission Control, finding the right desktop, then clicking to open it.
The same gesture works for full-screen apps, too. When you’re in a full-screen app, swipe four fingers across your trackpad to move between other full-screen apps and your virtual desktops. Each full-screen app occupies its own virtual desktop space, which you can see by opening Mission Control.
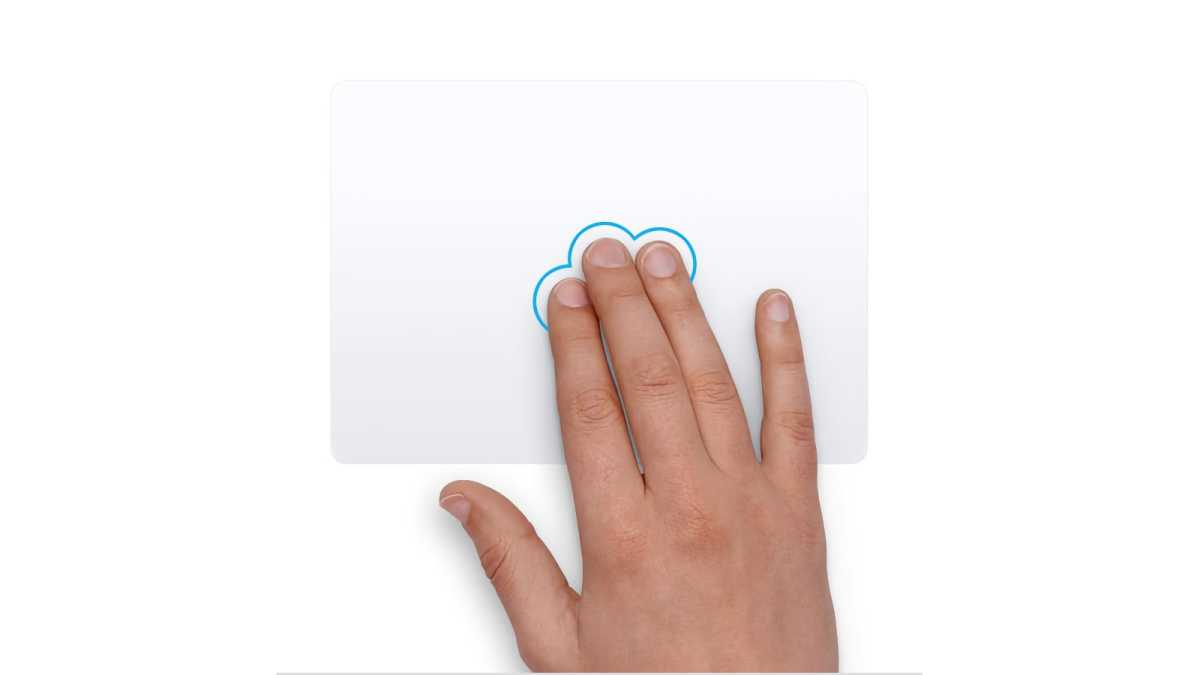
Show your desktop
Apple
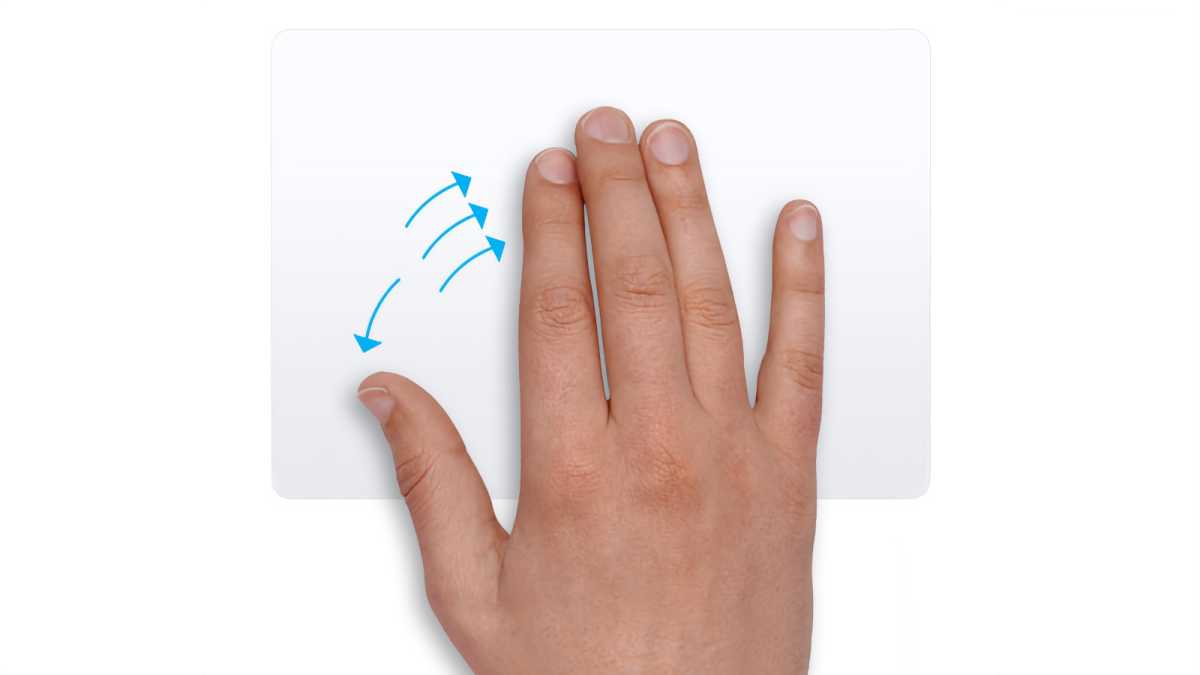
When your Mac is cluttered with open apps, it’s a pain to minimize them all one by one to get to your desktop. Instead, just place three fingers and your thumb close together on your trackpad, then spread them apart. All your apps will lift away to reveal your desktop.
You can cleverly pair this gesture with a mouse if you have one for your Mac. For instance, spread your fingers on your trackpad to hide your apps, then click and drag a file located on your desktop. While still holding your mouse button down, pinch your fingers together again on your trackpad. This process lets you hide your apps, pick up a file, then bring your apps back and drop the file into an app of your choice.
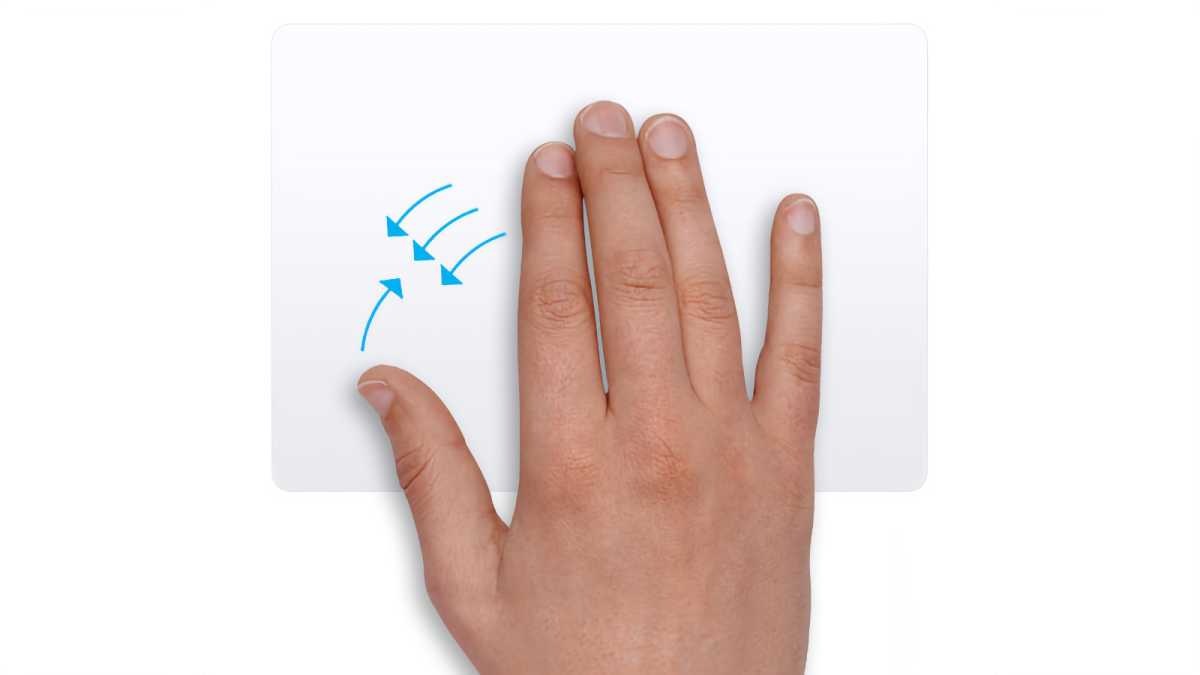
Find apps quickly using Launchpad
Apple
While moving your thumb and three fingers apart shows your desktop, doing the opposite action–starting three fingers and your thumb wide and then pinching them together–is a quick way to open Launchpad.
This is a grid view of all your installed apps, and it lets you open them quickly without delving into the Applications folder. You can arrange apps however you want and organize them into folders to neaten things up. And with this gesture, they’re just a quick swipe away.
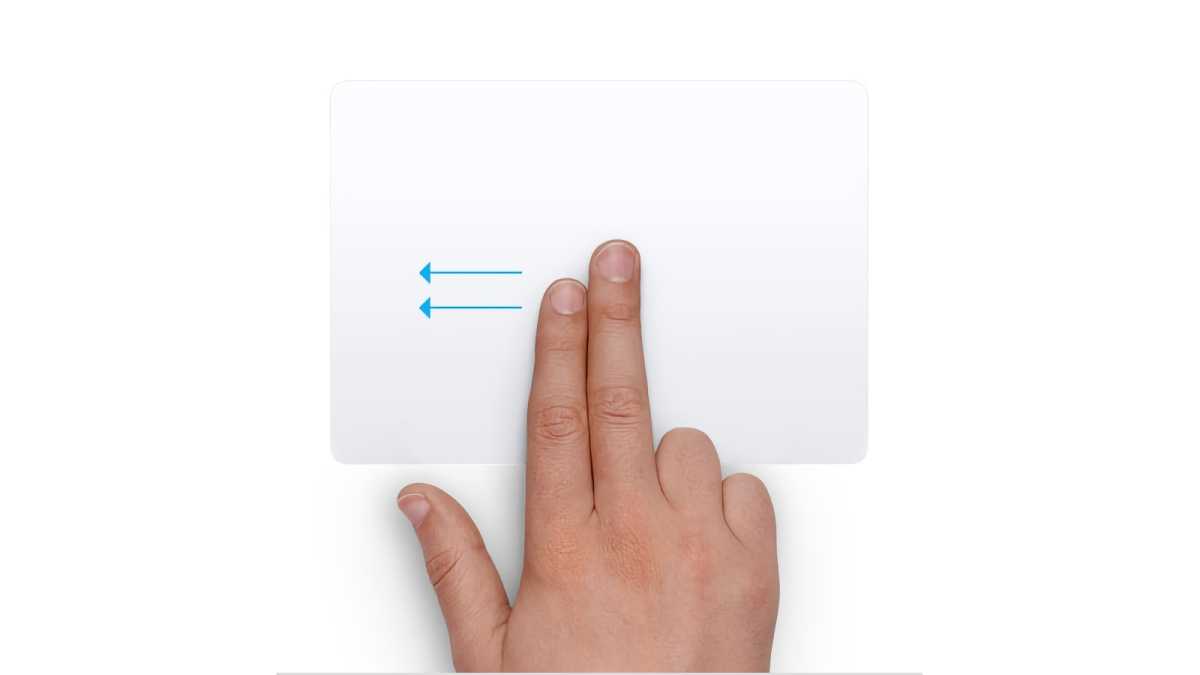
Open Notification Center
Apple
Heard of the Notification Center? It’s a dedicated widget area that can house a clock, a calendar, a weather forecast, and more. It lives off-screen on your Mac and can be summoned by clicking the time and date in your display’s top-right corner. It’s an underused part of macOS, but it’s a handy way to add a few widgets into the mix without having them permanently sitting on your desktop.
While you could activate the Notification Center by clicking your Mac’s date, you can also bring it out of its hiding place with a gesture. Move your mouse pointer to the right-hand edge of your screen, then swipe from right to left with two fingers. This will drag the Notification Center out into the open. To put it back, just swipe from left to right or click on any part of your display. Learn more about Notification Center.
A better way to move files
Apple
If you want to drag and drop a file from one side of your display to the other, things can get a little tricky with a trackpad, and it’s not uncommon for your fingers to bump up against the trackpad’s edge before you’ve finished moving your file. Fortunately, there’s a feature that can help make this a little less fiddly.
Open the System Settings app and navigate to Accessibility > Pointer Control > Trackpad Options. Next, enable the toggle next to Use trackpad for dragging. Now, pick an option from the dropdown menu next to Dragging style.
If you pick Without Drag Lock, you can double-tap a file, then, without lifting your finger after the second tap, move it, and it will “stick” to your pointer. Raise your finger to release the file. The With Drag Lock option is similar, except you don’t need to keep your finger pressed on the trackpad. Instead, double-tap a file and it will be attached to your pointer; you can then click to drop it. Three Finger Drag is the final option (pictured above), and it lets you drag a file by moving it with three fingers, no tapping required.
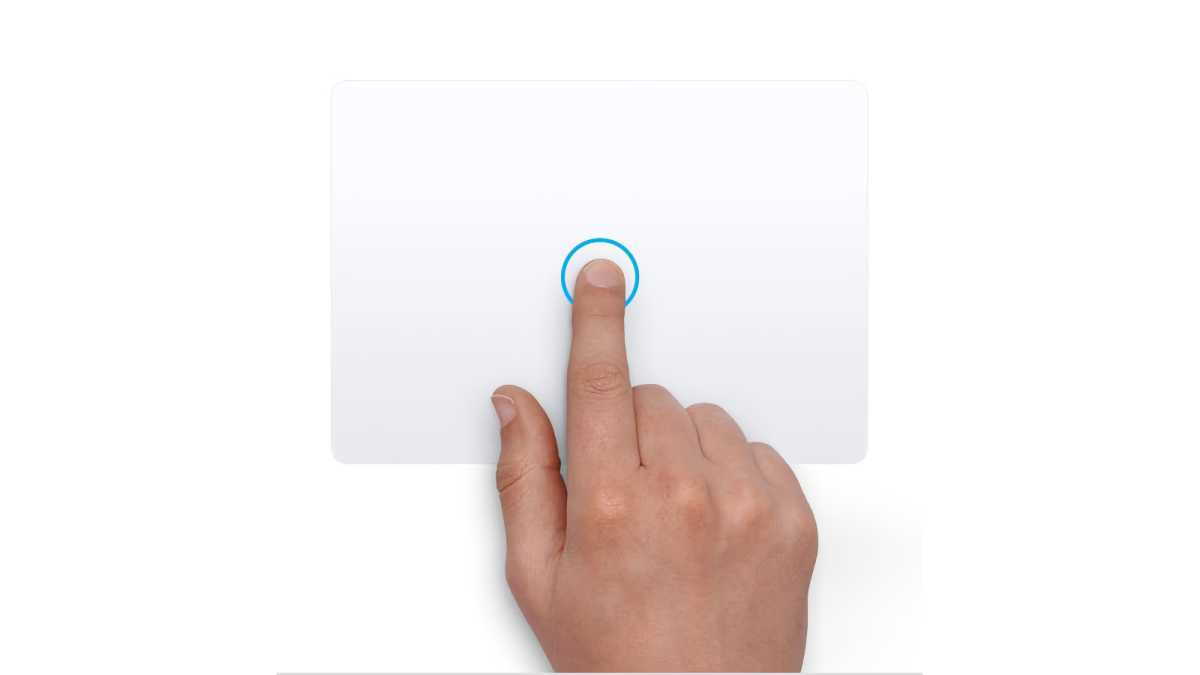
Look up words and manage dates and numbers
Apple
Many apps in macOS are smart enough to automatically detect things like phone numbers, email addresses, street addresses, dates, and times, then give you options on how to manage that data. For example, type an address into the Mail or TextEdit apps, and you might see a dotted box appear around the address when you mouse over it. Click the arrow that appears and you’ll get options to add the address to your contacts, view it in Maps, and more.
Instead of trying to click this small arrow, you can activate these contextual details (known as data detectors) with a gesture. In System Settings, go to Trackpad > Point & Click, then next to Look up & data detectors, choose either Force Click with One Finger or Tap with Three Fingers. When you next perform the gesture over a piece of compatible text, you’ll activate the data detector.
Not all data detectors show a dotted box and an arrow. Links in web pages, for example, will show a preview of the linked page when you use your chosen data detector gesture on them. Or you can highlight a word, then use the data detector gesture on it to look up a definition of what it means.
Note that you might have to enable data detectors in the first place. To do so, open an app and find Edit in the menu bar, then go to Substitutions and click Data Detectors.


