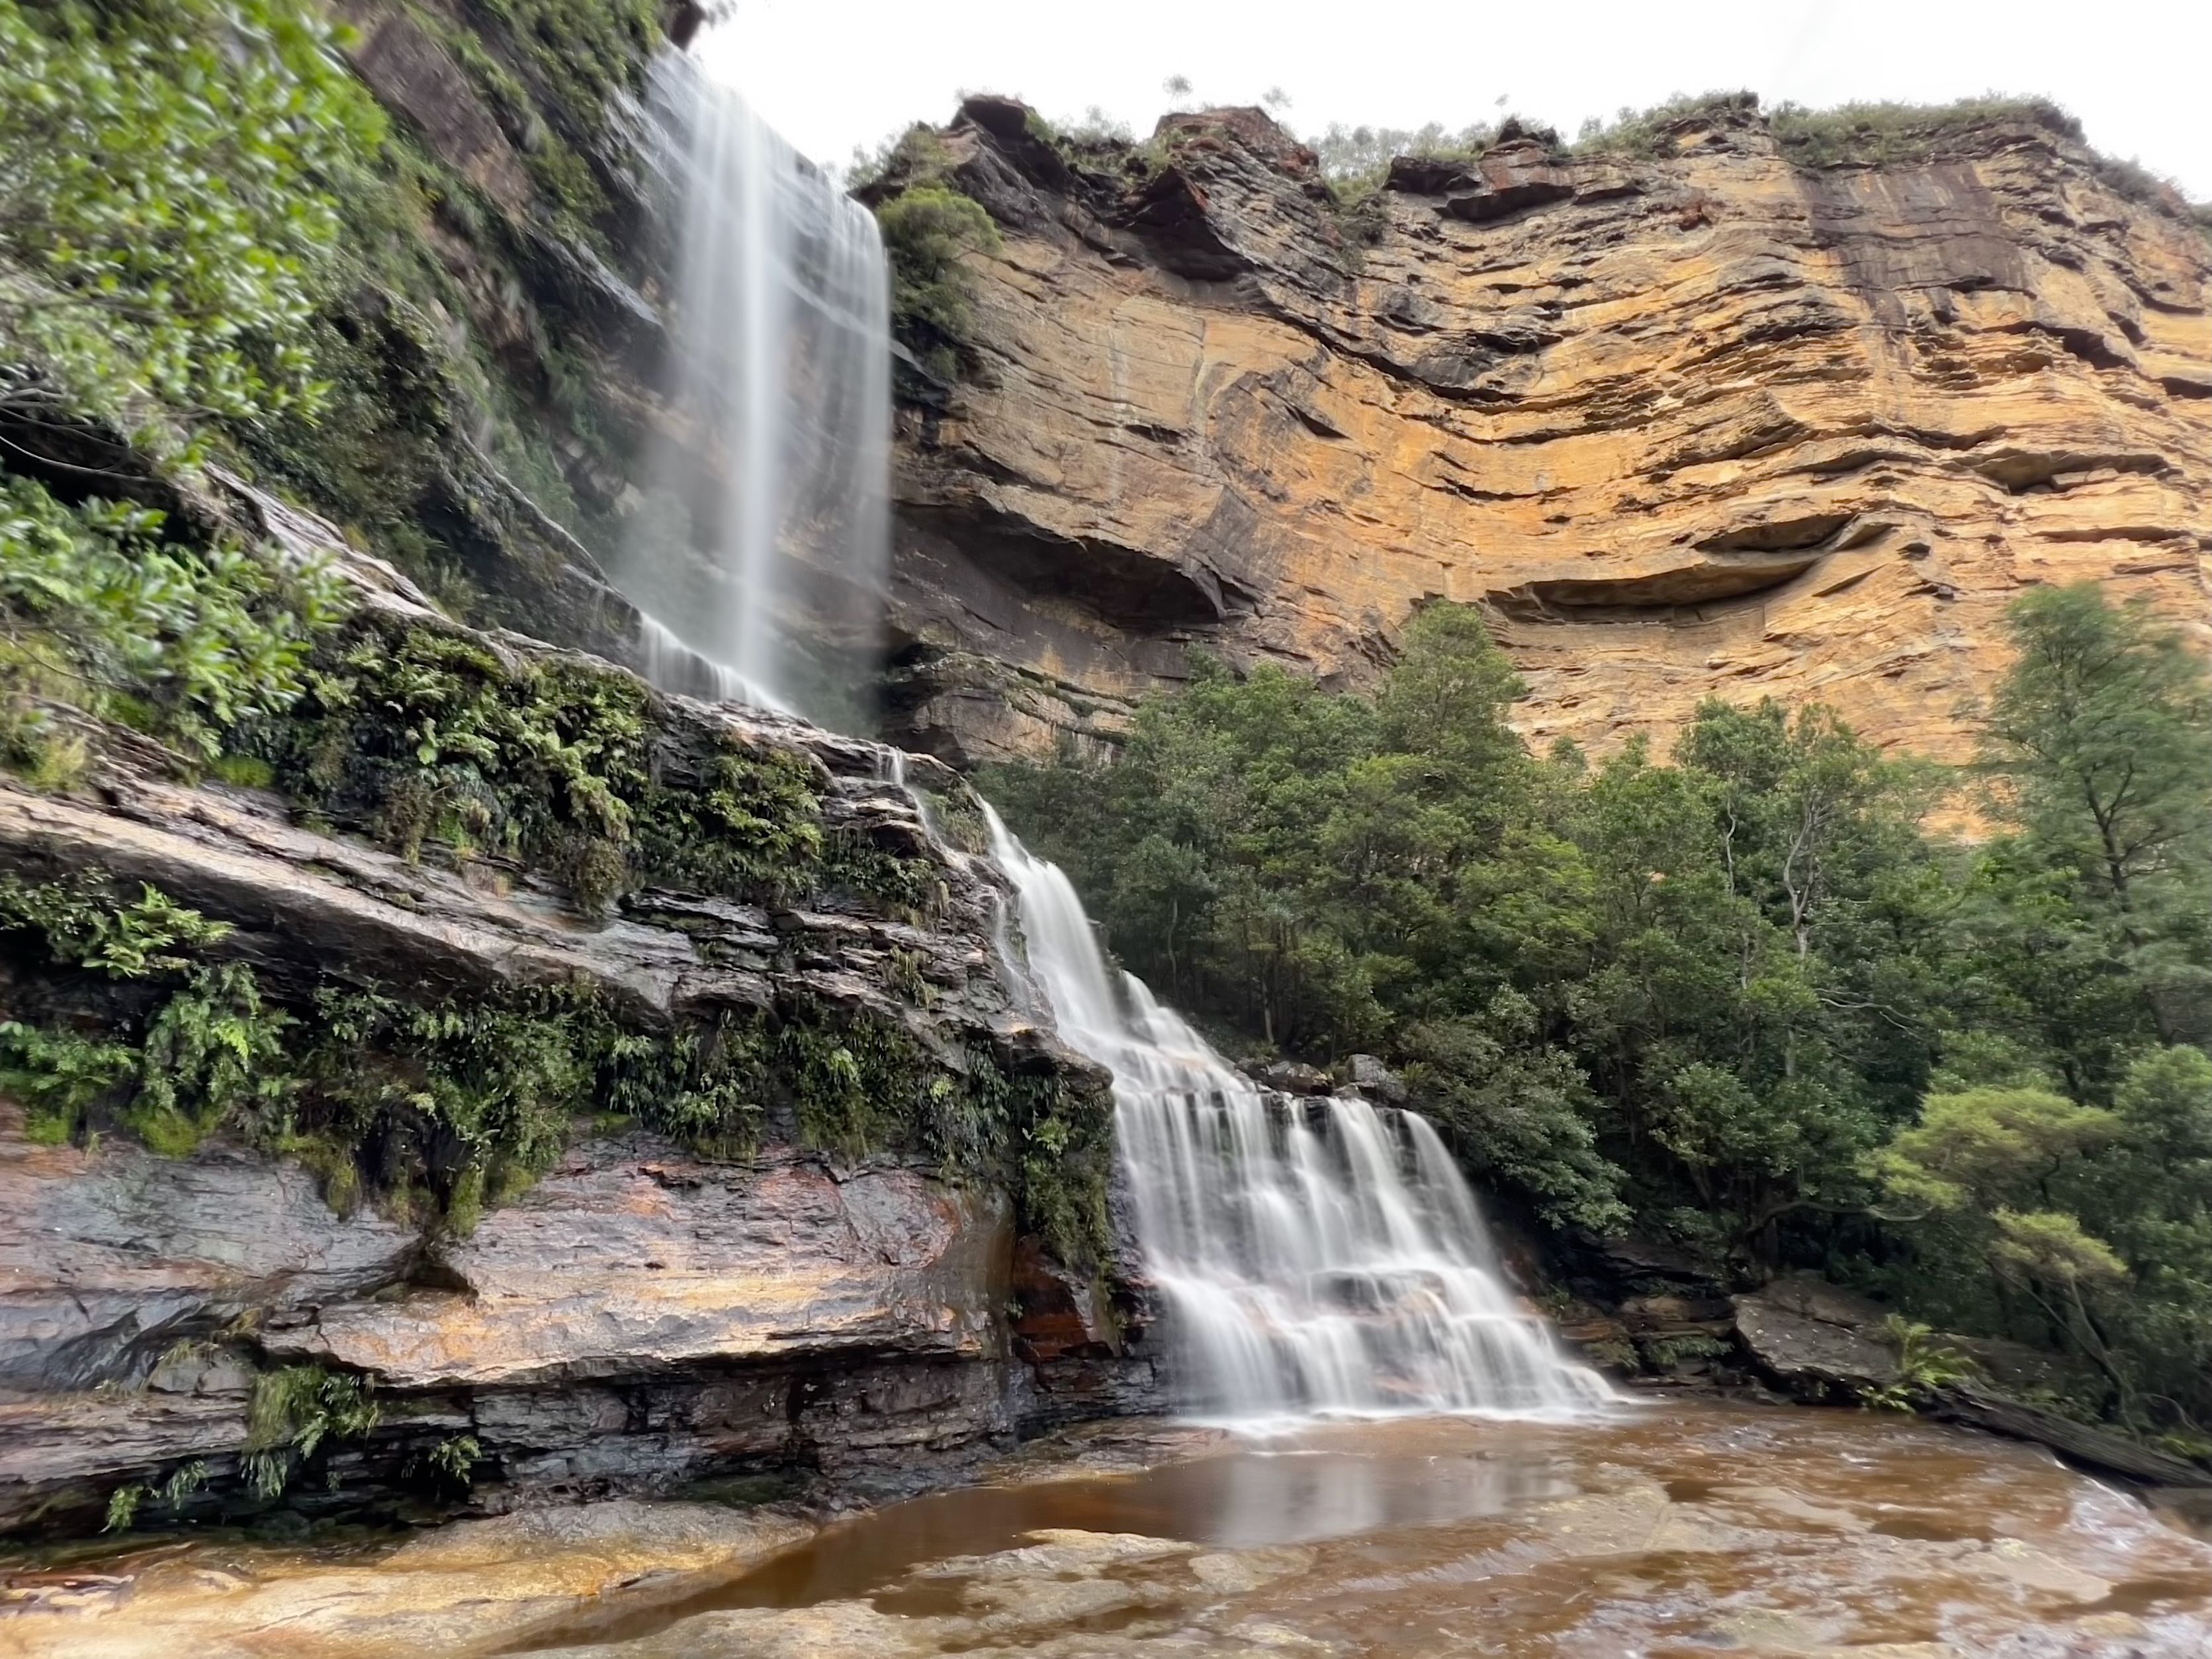
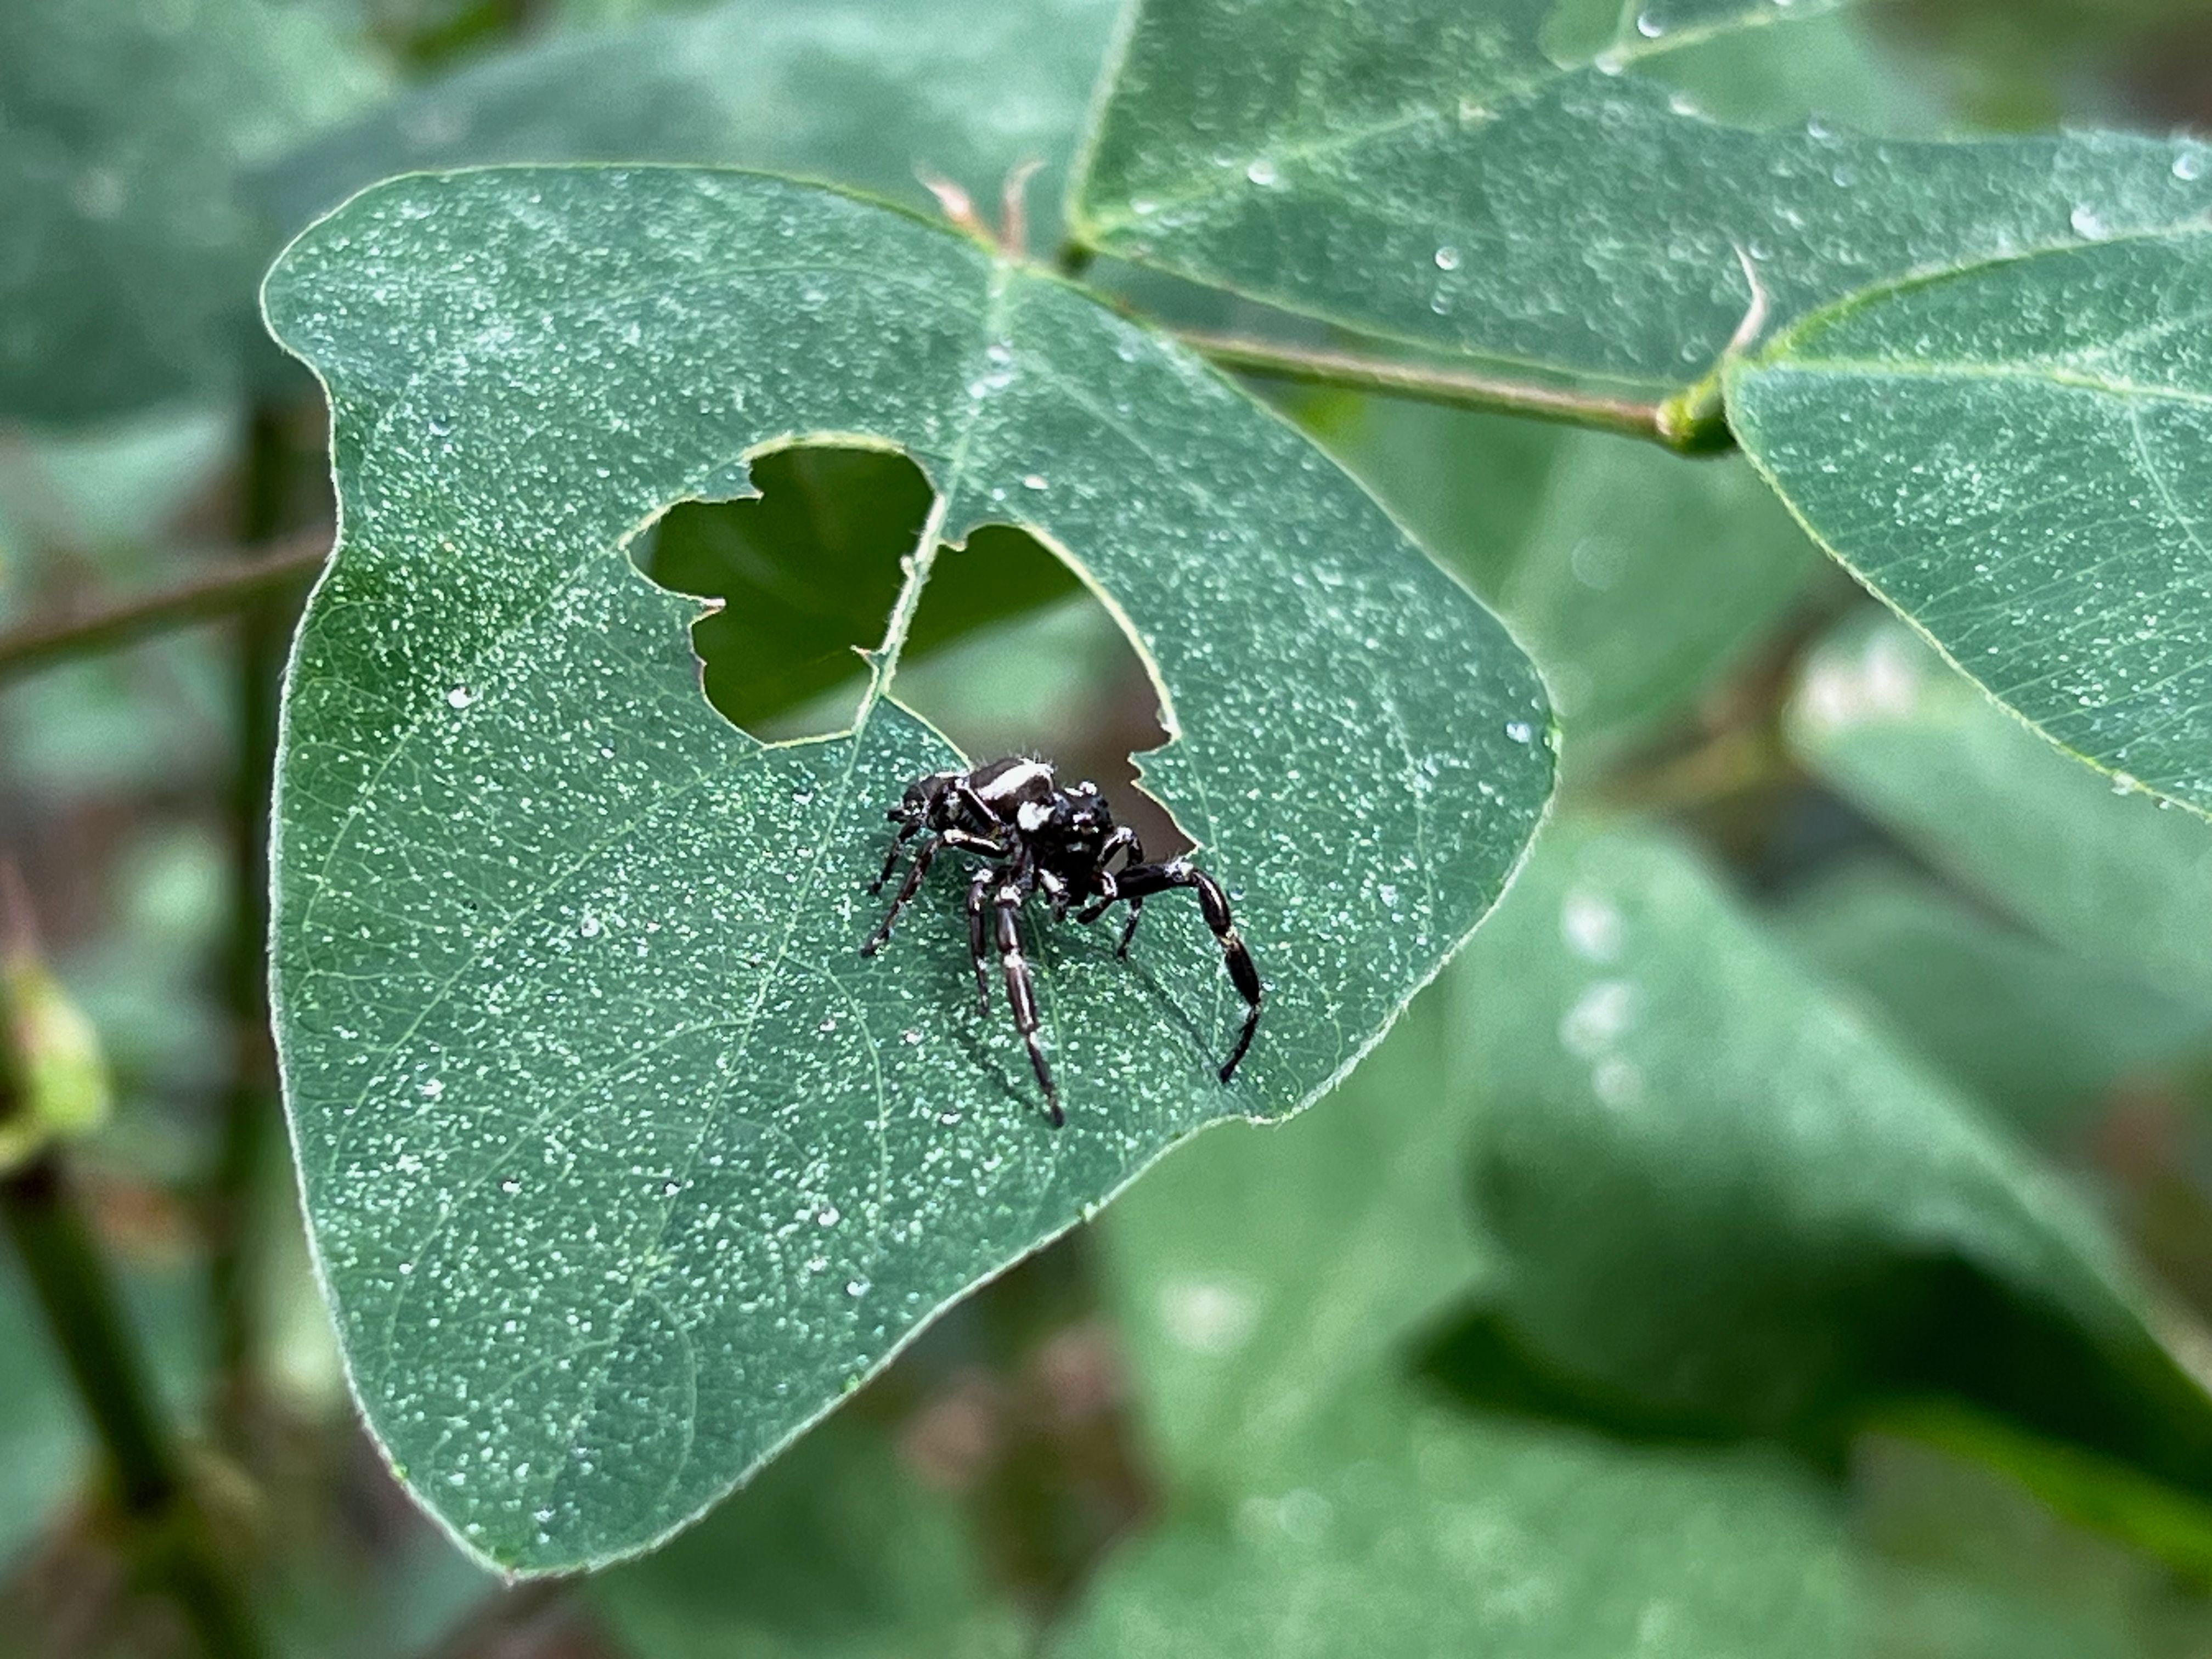
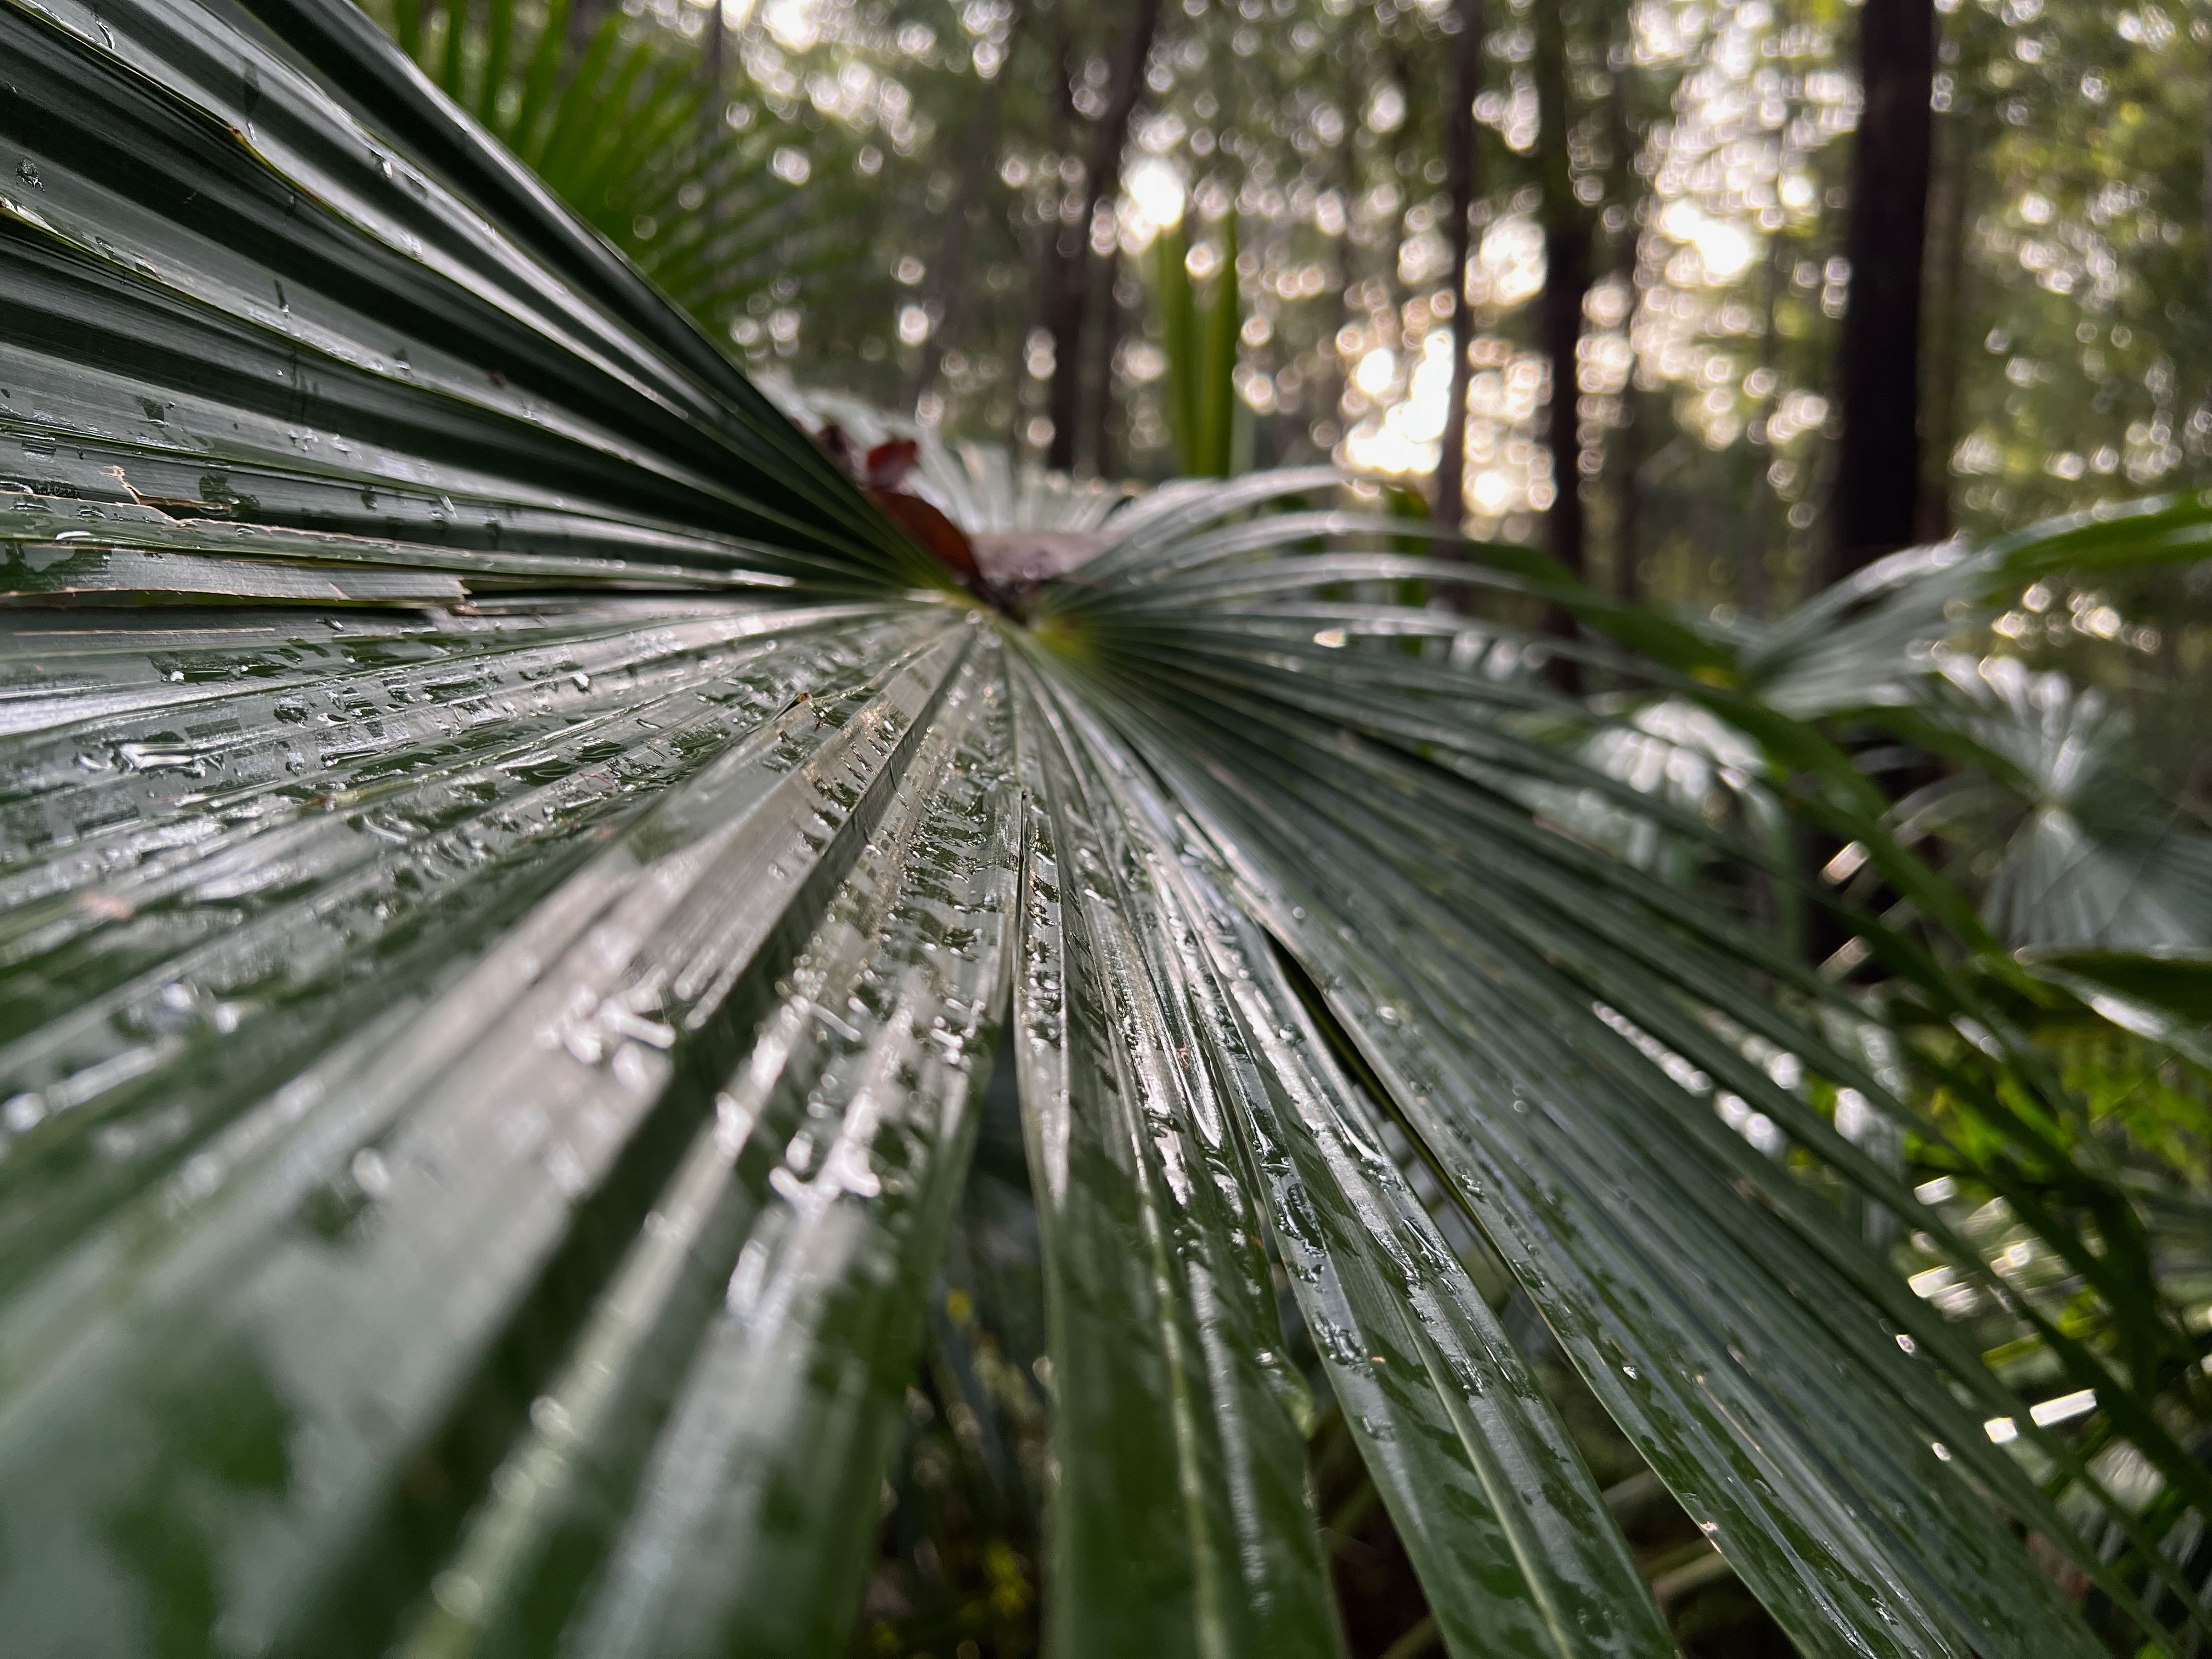
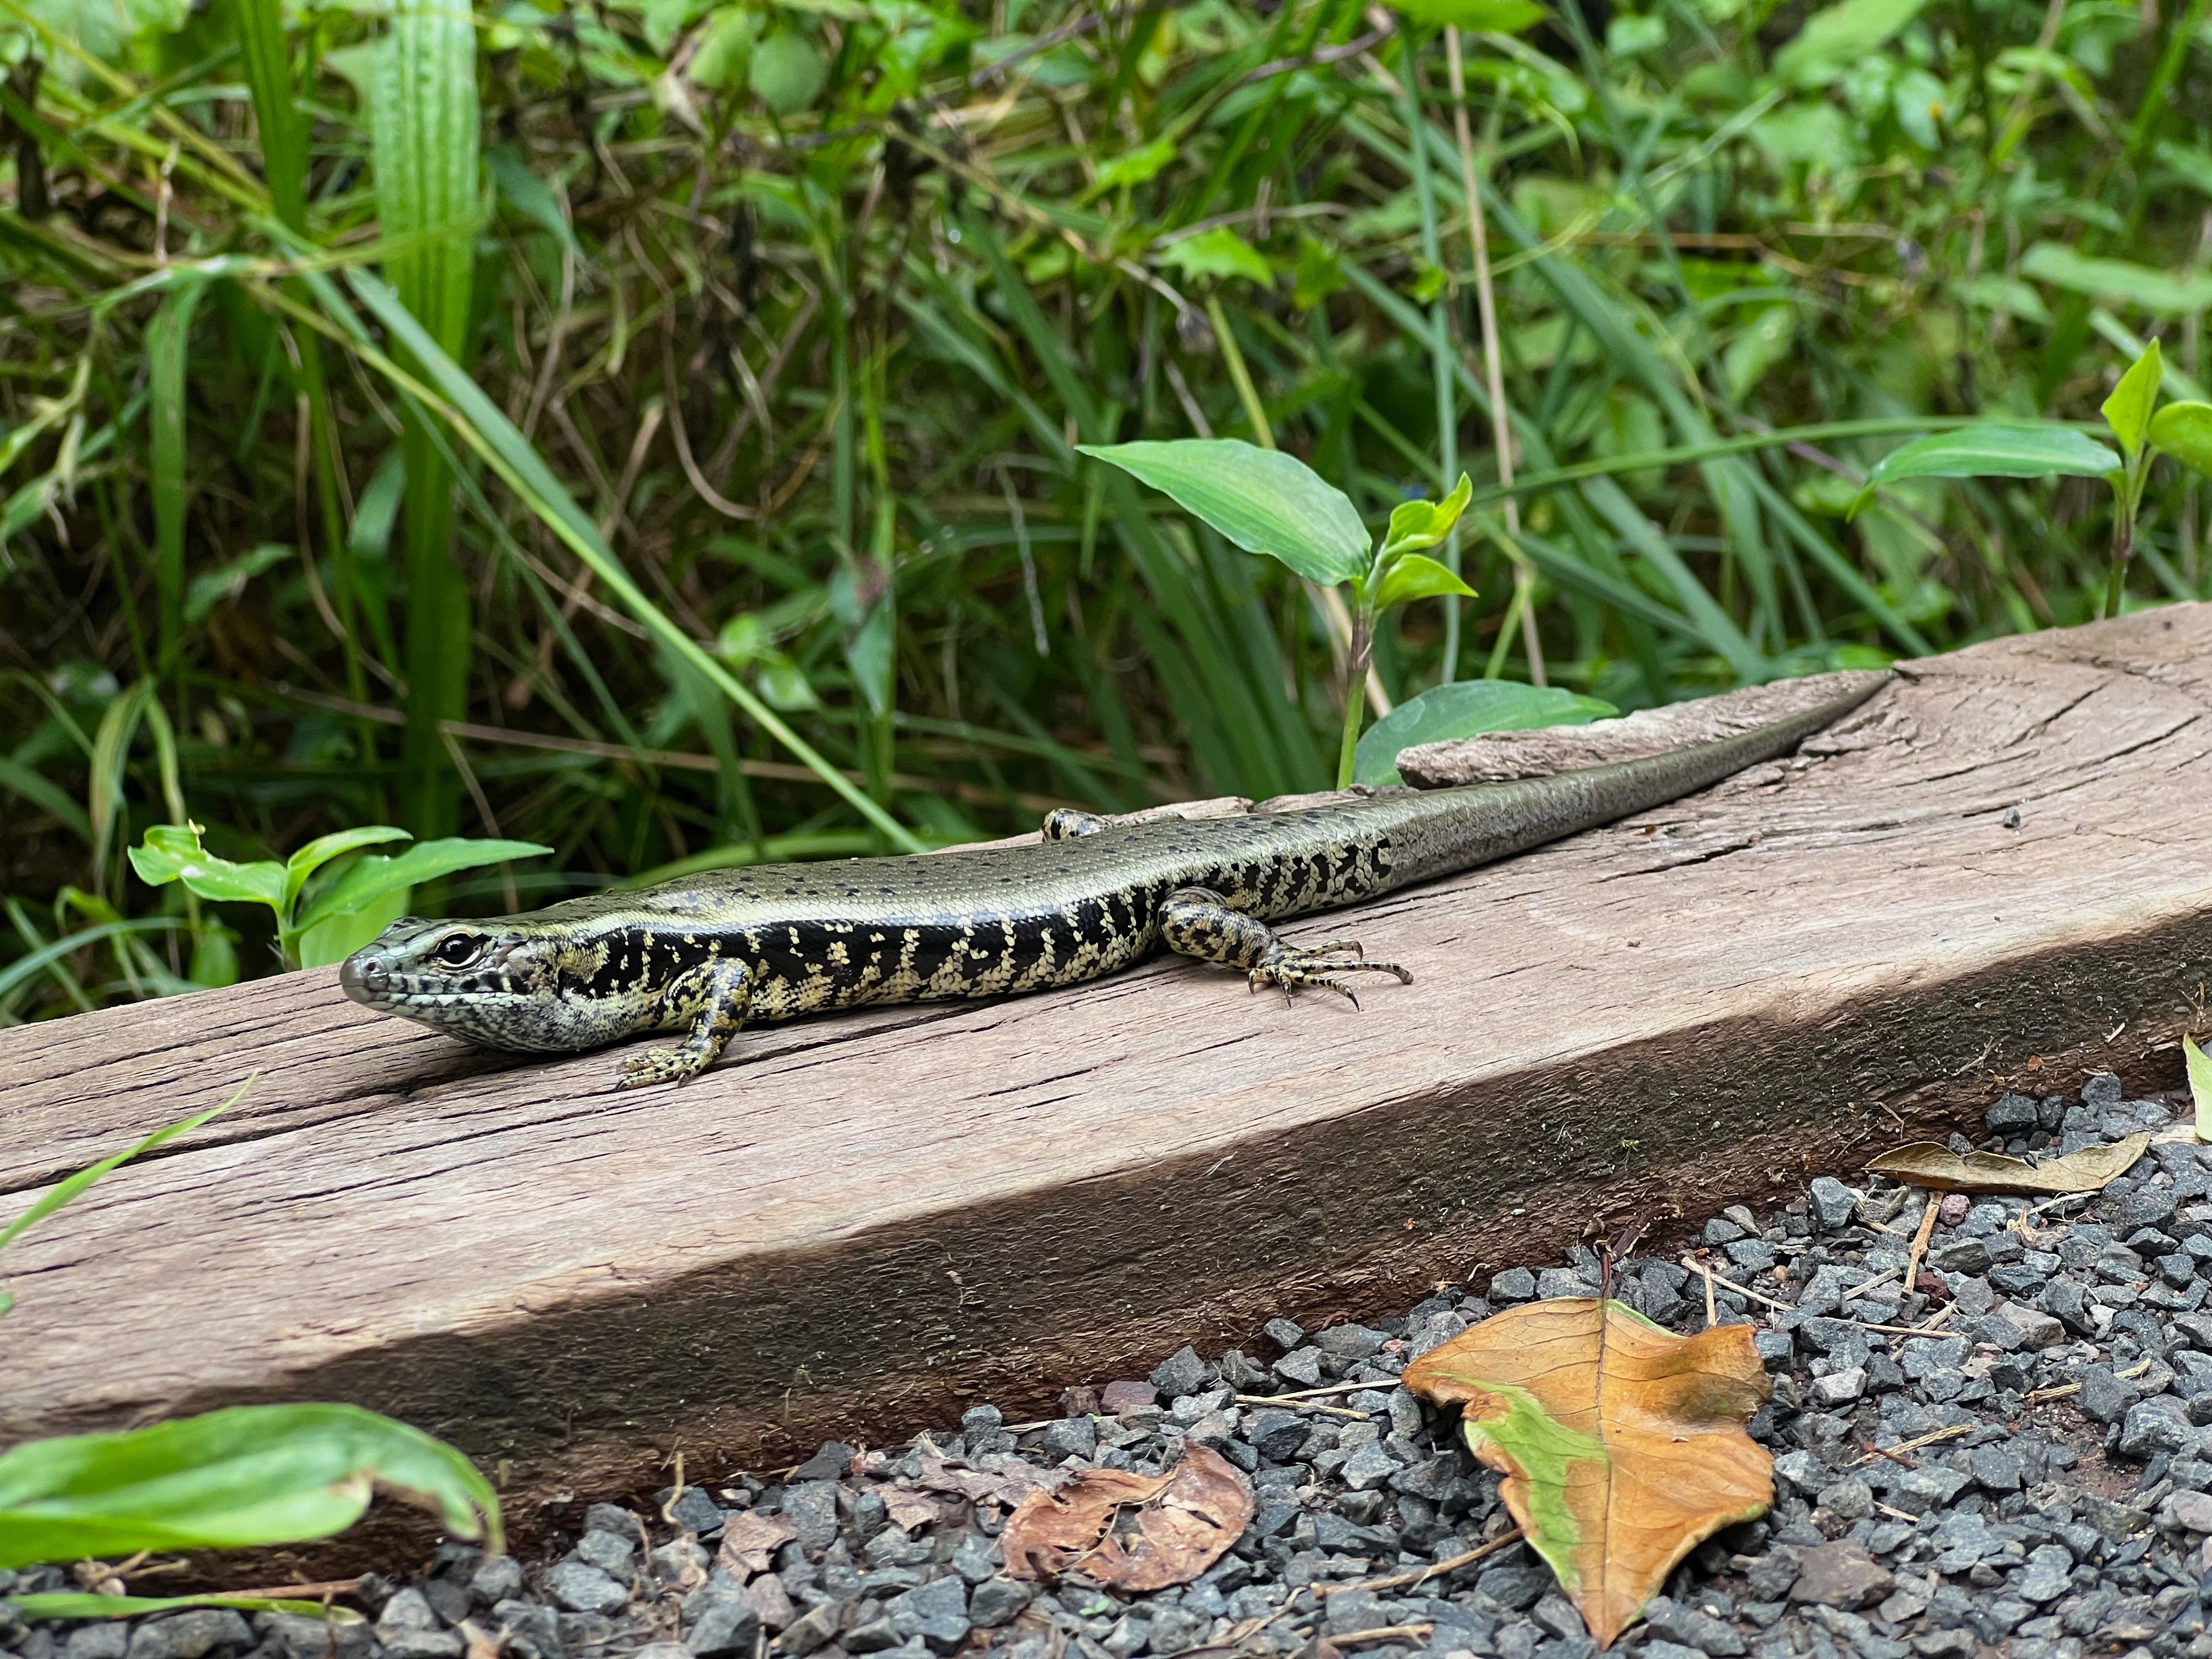
My iPhone goes everywhere with me, but my Sony mirrorless camera does not. While a smartphone can’t quite compete with a camera that has a much larger sensor and dedicated glass, the gap is certainly narrowing.
There’s nothing wrong with using your smartphone as a primary camera, and for many it’s preferable. Here are some tips you can use to improve your nature photography, even with a humble smartphone camera.
Pick the Right Time of Day
Lighting is arguably the most important characteristic in any photograph, and in nature there’s only so much you can do to control the light. While you can sometimes have success with external light sources, shooting at certain times of day or in specific conditions is the best way to walk away with photos you’re really proud of.
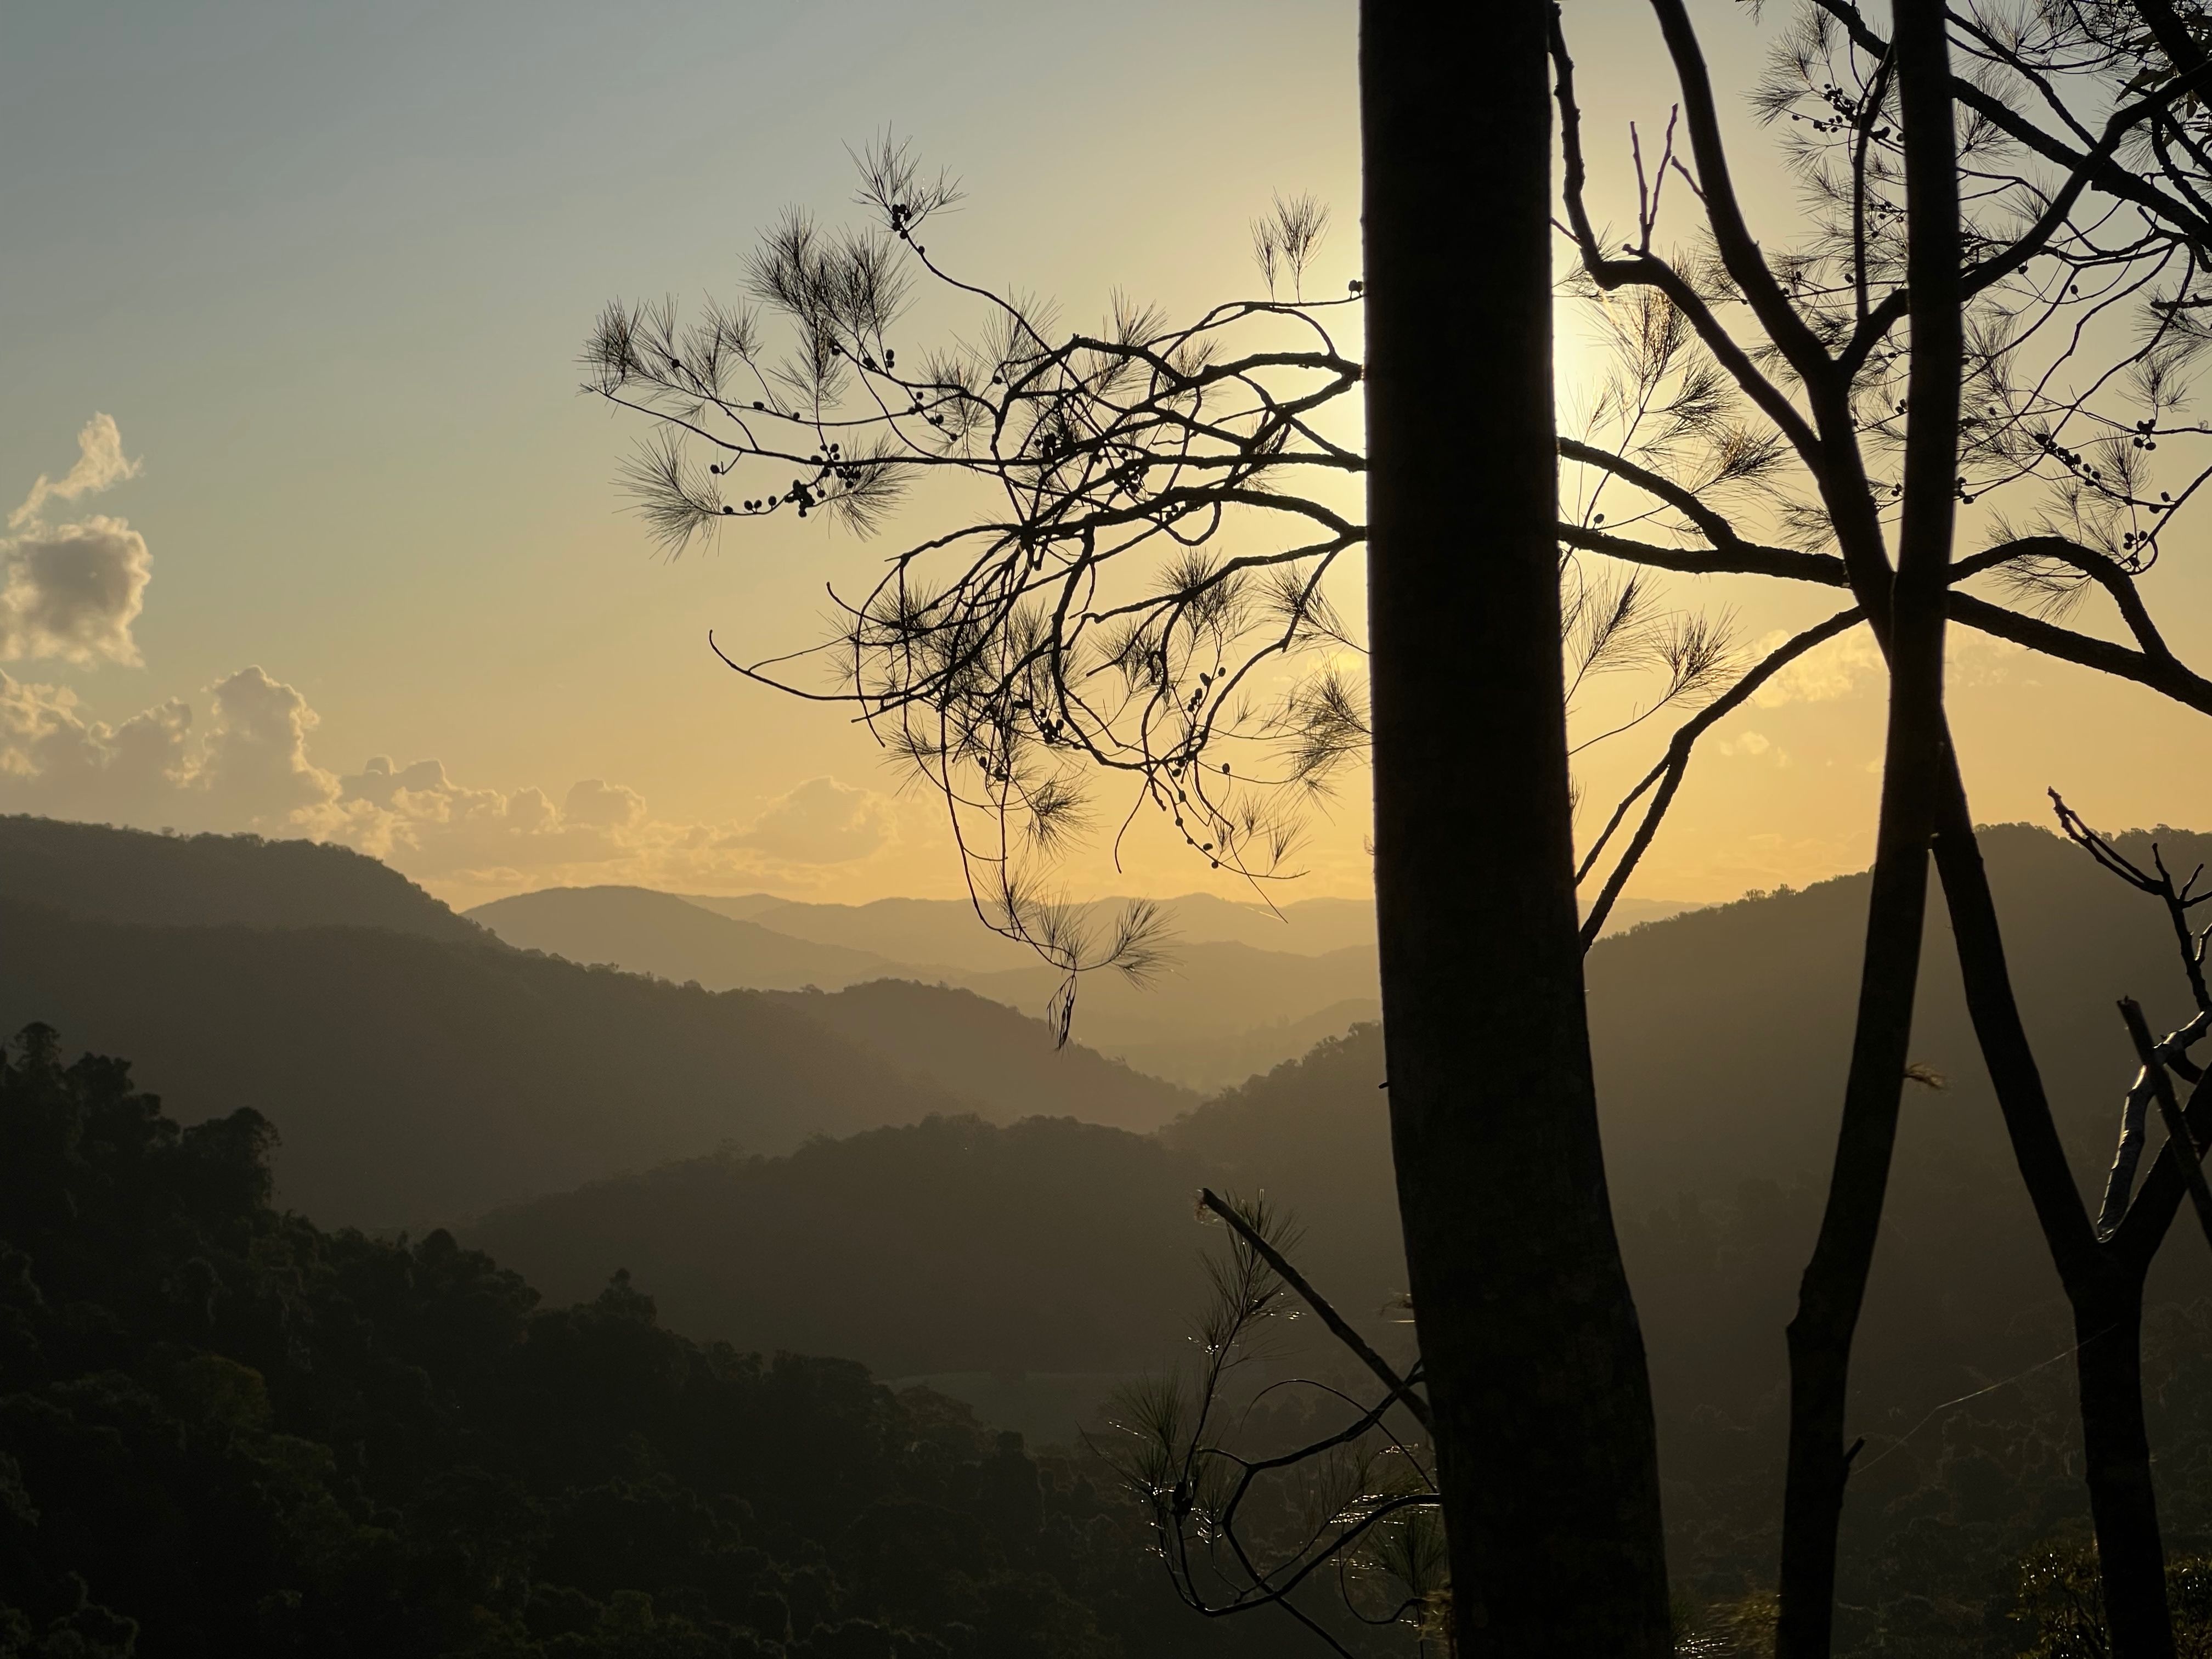
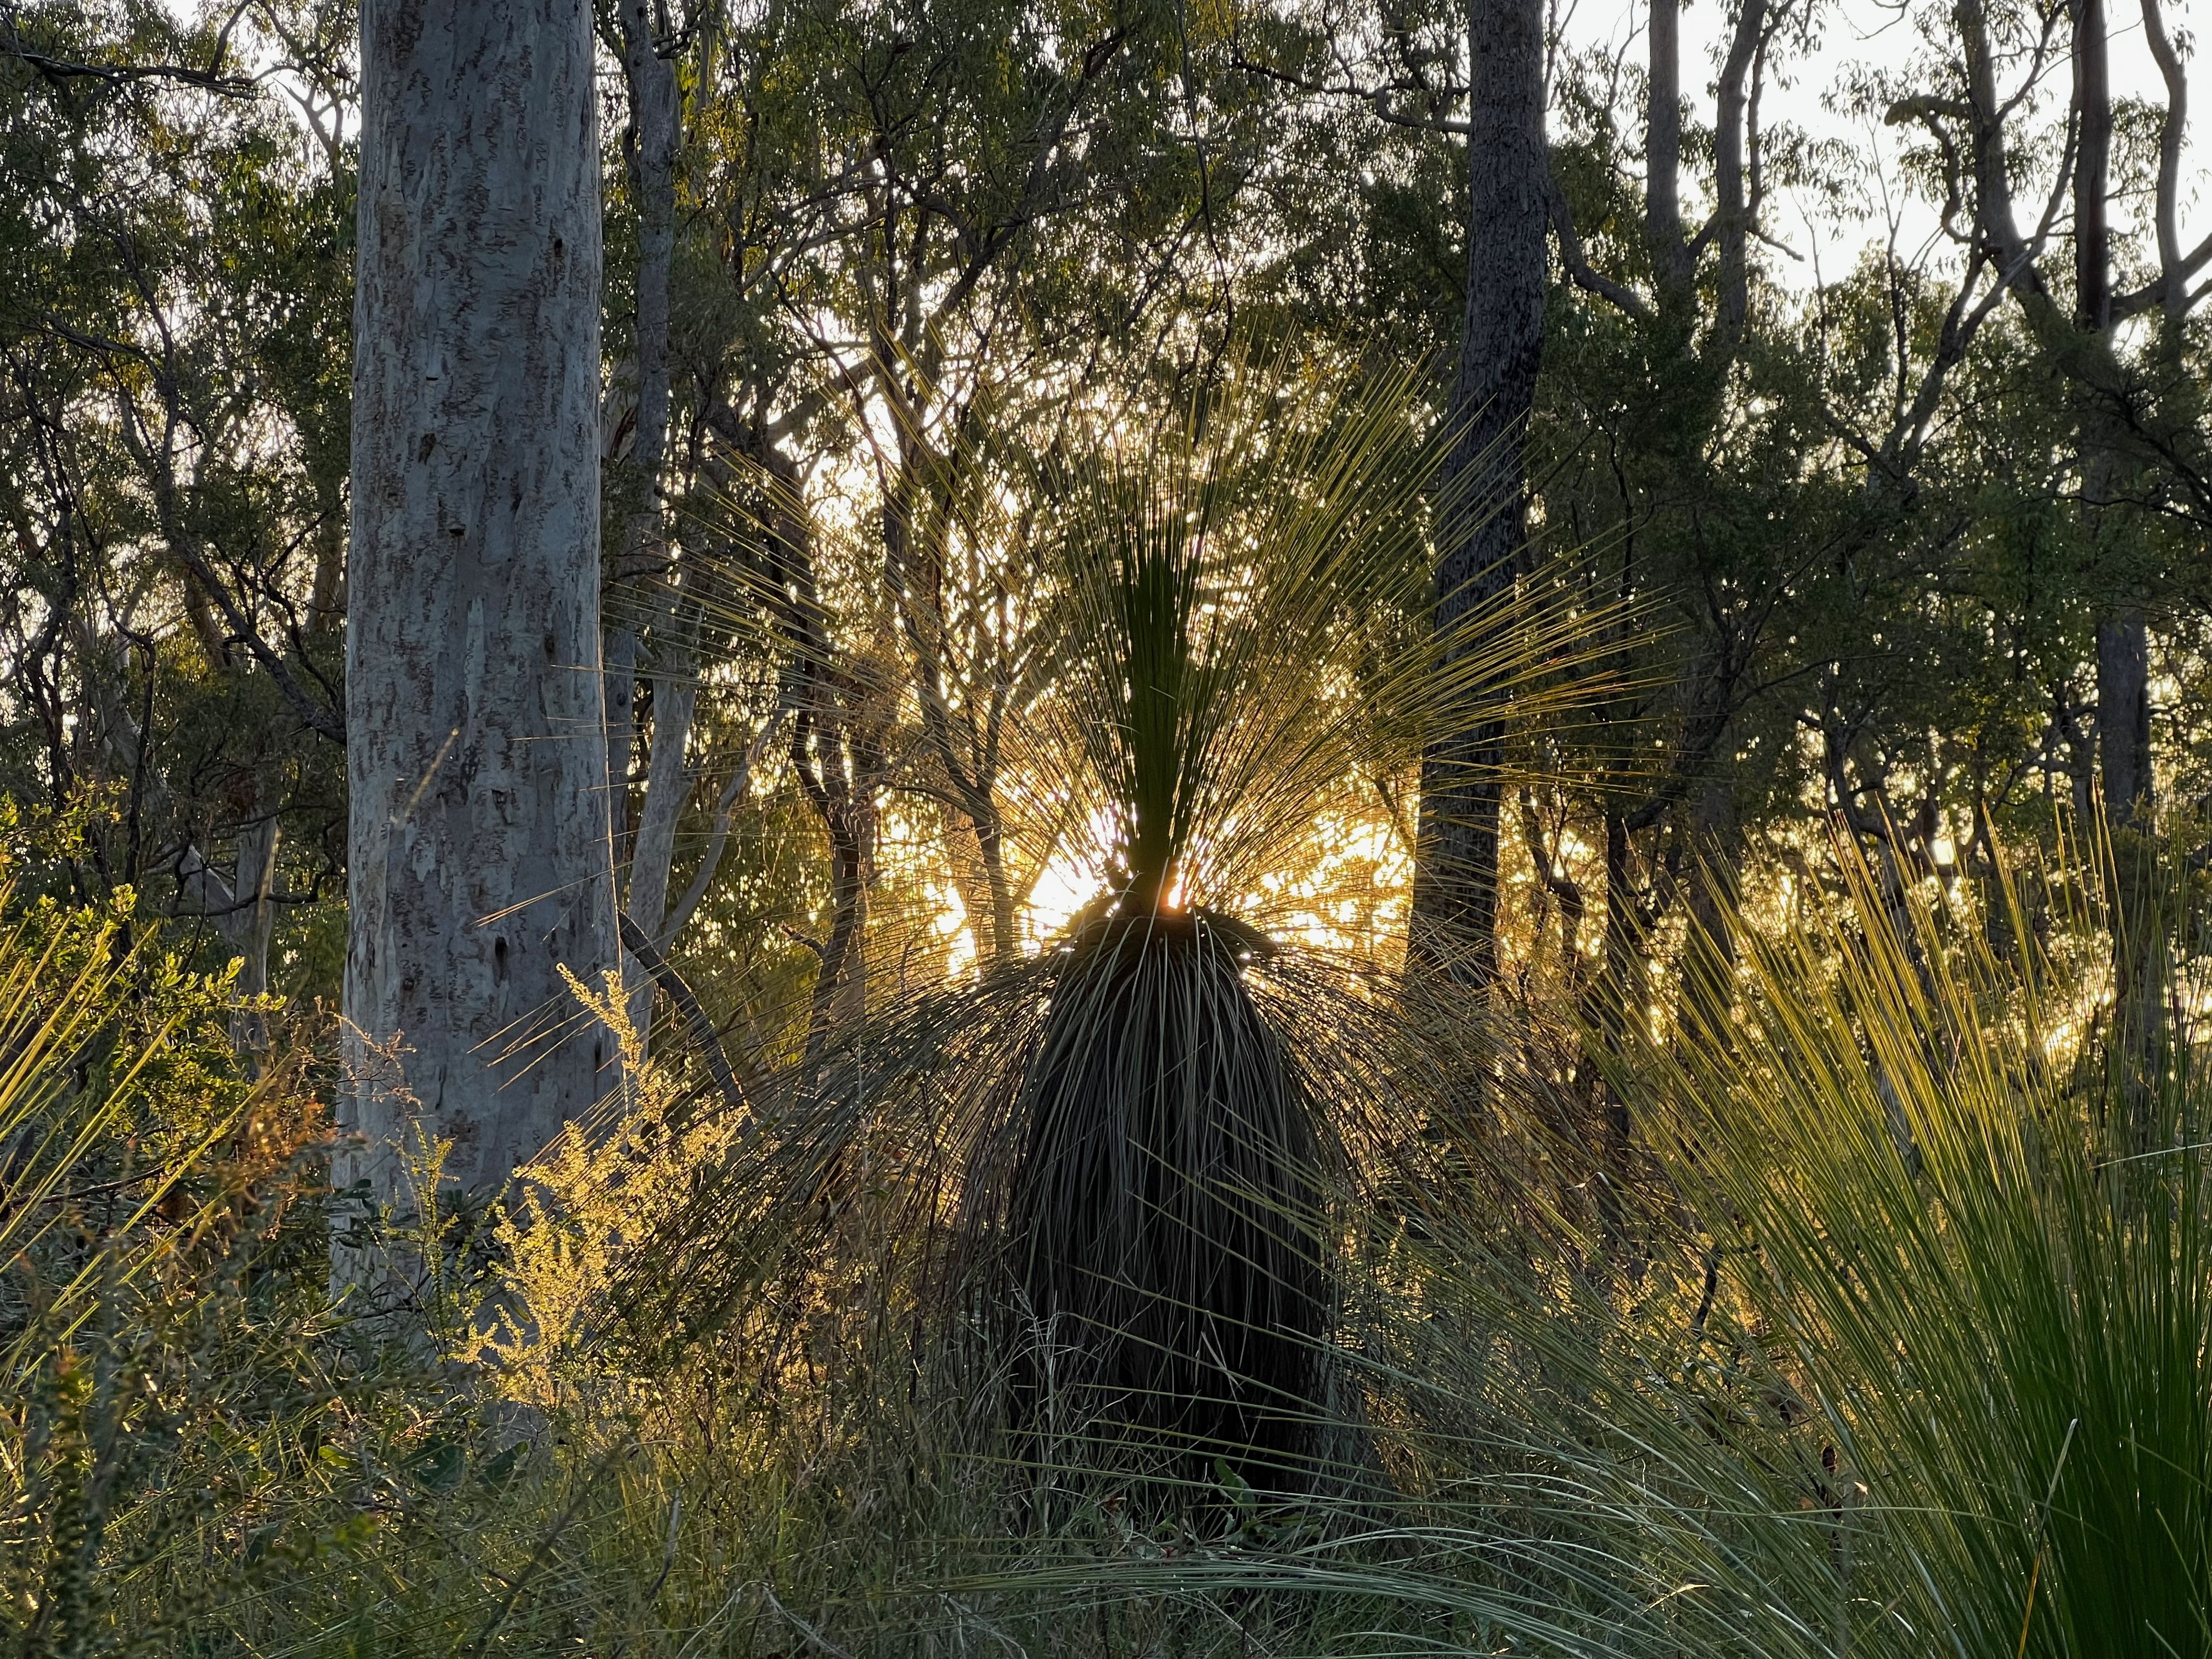
Golden hour, the short period of time right before sunrise or sunset, is often cited as the best time of day to take pictures in nature. As the sun is so low in the sky, it casts reddish hue on everything. Such an extreme angle makes for long, yet diffused shadows. The contrast between the brightest highlights and deepest shadows is lessened, making it easier to capture lots of detail.
Blue hour occurs right before or right after these times, where light takes on a blueish hue and the lack of sun results in no shadows. It can be fun to experiment with this, especially if you’re already out for golden hour, but keep in mind that smaller smartphone sensors can really struggle in low-light situations.
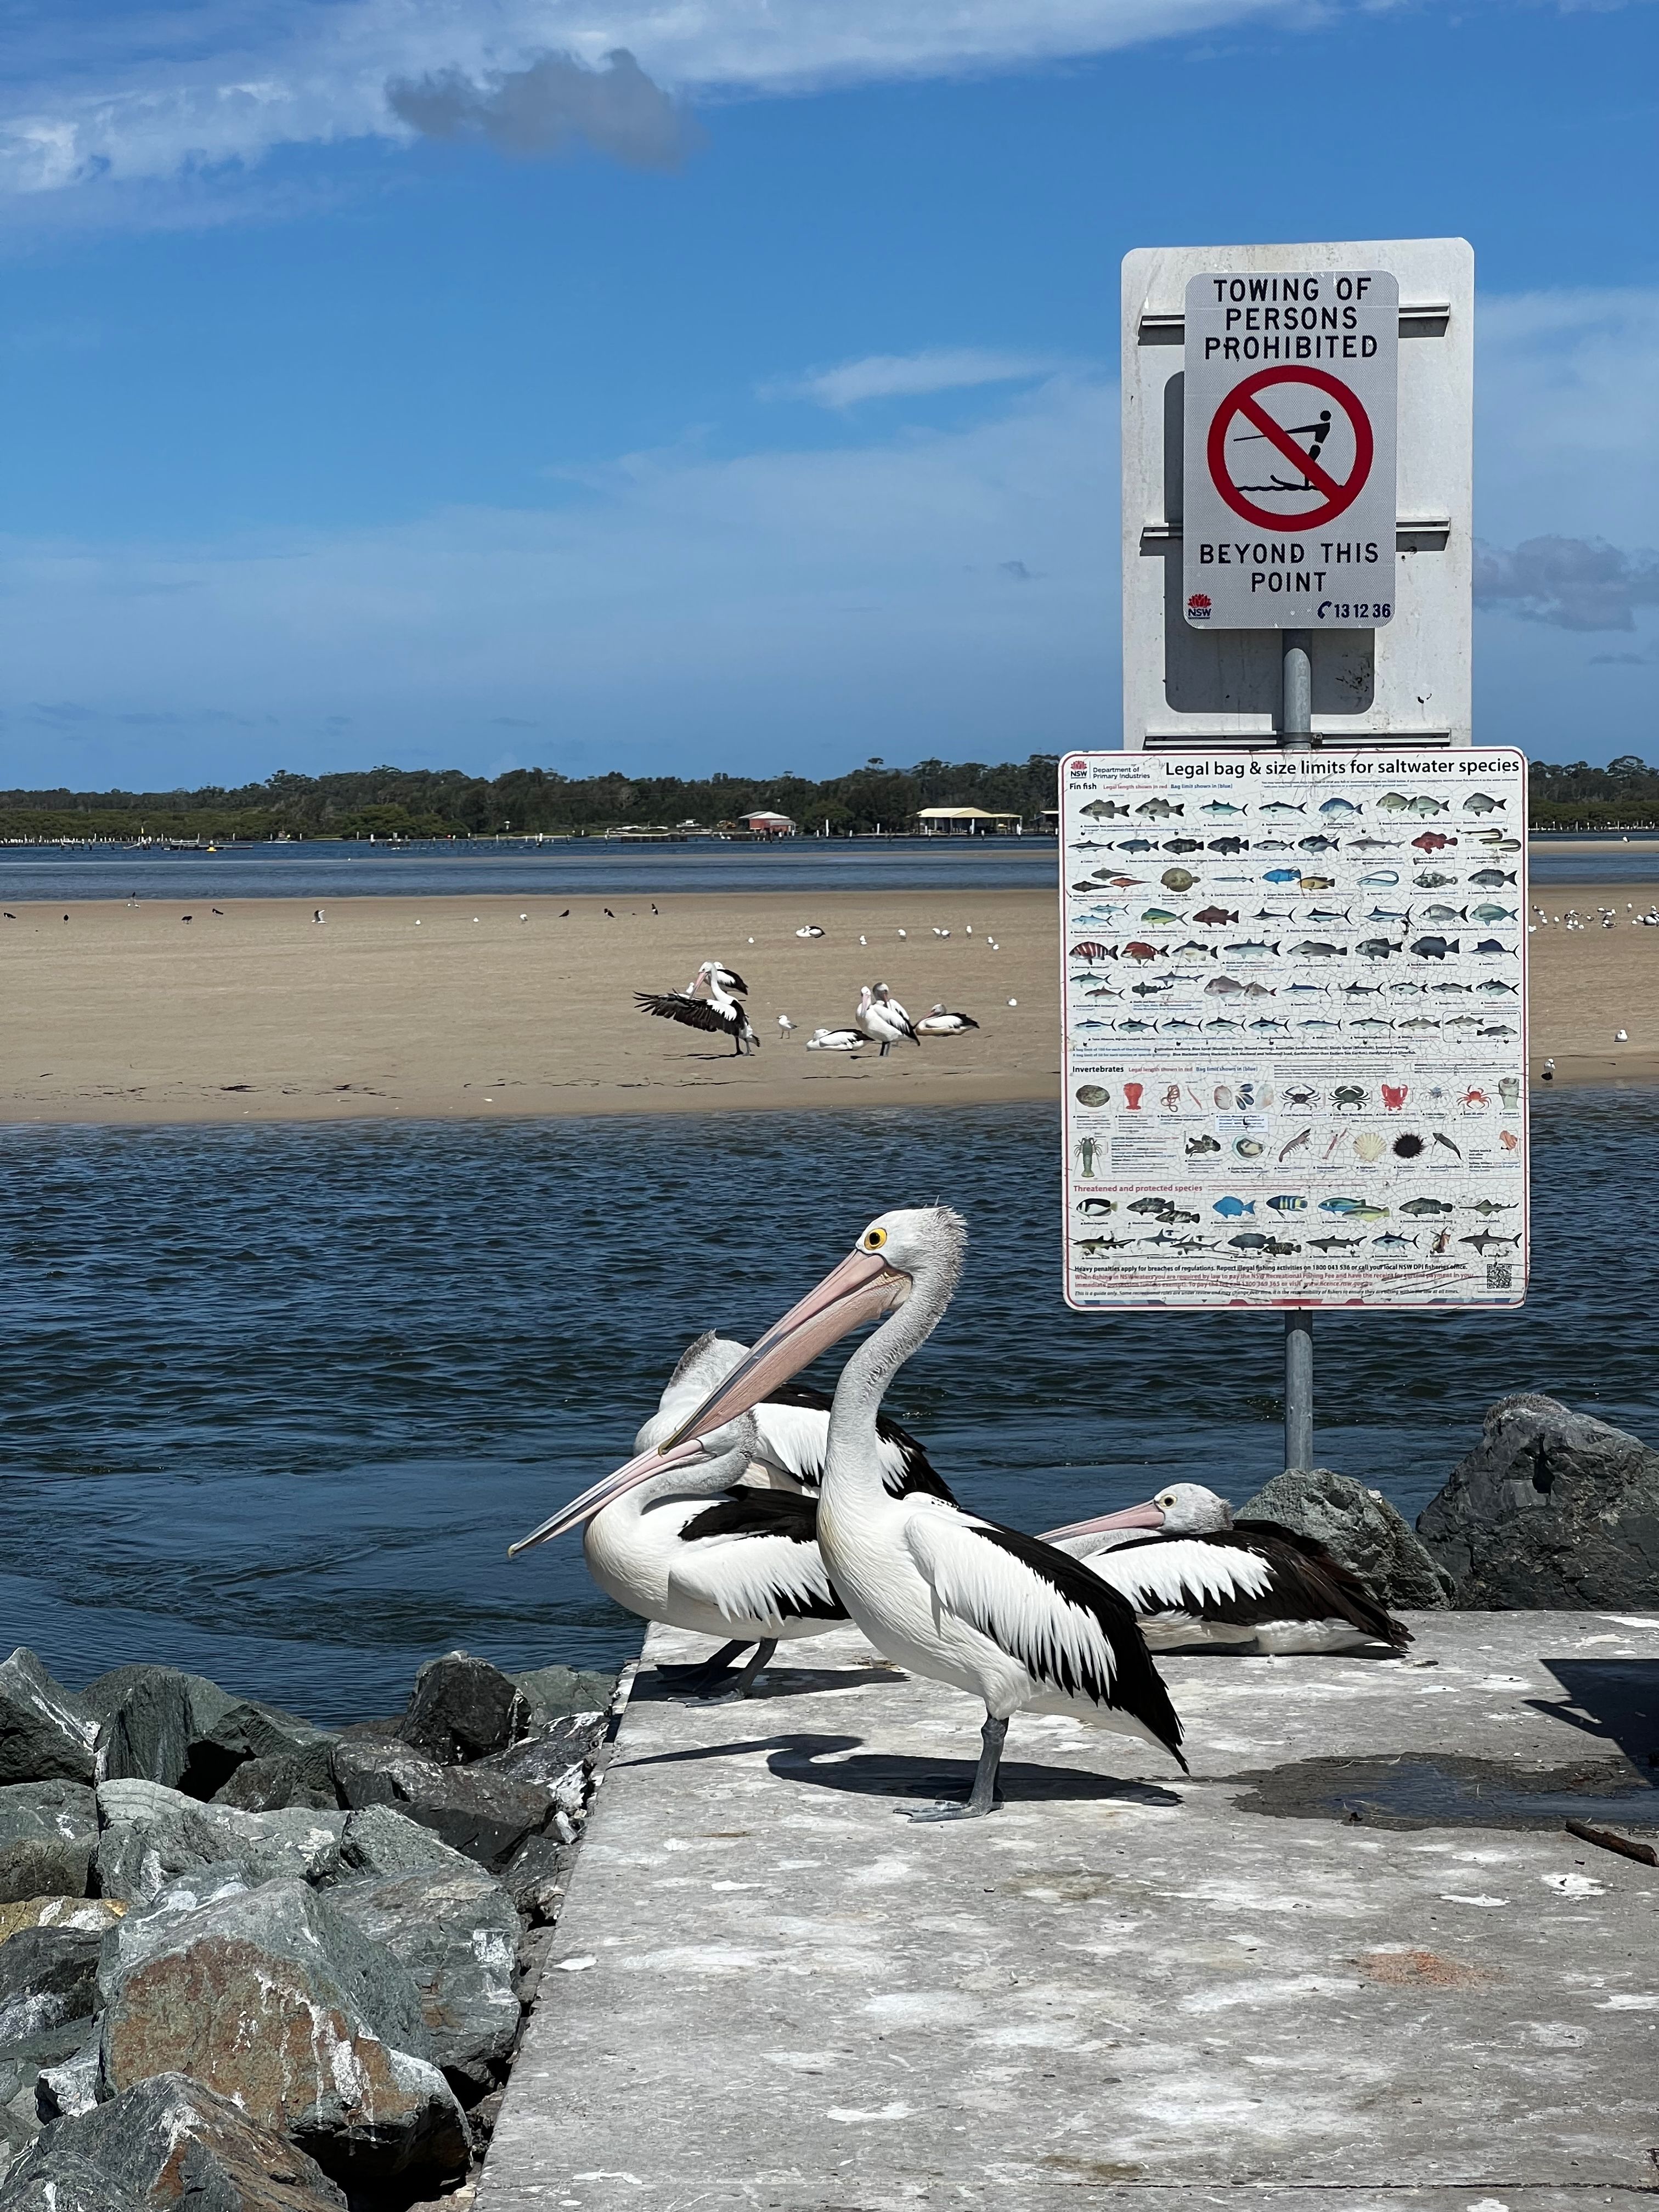
I strongly believe you can take good photos in any weather, but it’s true that some conditions are better than others. Direct midday sun casts harsh shadows, and the contrast can make it easy to blow out the highlights or lose detail in the shadows. Seeking a bit of shade and picking which subject to prioritize is vital.
Don’t underestimate an overcast day, either. White fluffy clouds are the sun’s best diffuser. While you’ll lose the warm hues, you’ll find it easier to capture evenly lit shots and avoid harsh shadows. This trick also works great for smartphone portrait photography.
Learn to Expose Properly
Most smartphones operate on a “tap to focus” basis, which also sets the exposure. Point your phone, tap the subject that you want to expose for, and take a photo. I use an iPhone, and my favorite trick is to lock both the exposure and the focus by tapping and holding the screen. With this locked, you can swipe up and down on the screen to adjust the exposure separately.
This allows you to focus on one part of the frame and balance the exposure so that you can get a more evenly lit photo. So if the object you’re focusing on is brightly lit but there’s some shadow detail in the background that you don’t want to lose, you can use this trick to balance the two.
This will differ depending on which phone you use, and which camera app you prefer. With a bit of practice, this is a great way to get digital SLR-like control over your smartphone snaps.
Zoom With Your Feet
Most smartphones come with multiple cameras, including ultra-wide lenses and a telephoto for zooming in. Based on my own experience (I’m still rocking an iPhone 13 Pro) and what I’ve seen in other smartphones, the base “wide” camera is usually better than the others. This mostly comes down to sensor quality and aperture size.
Instead of tapping the telephoto option, consider zooming with your feet by moving closer to your subject and prioritizing your best-quality lens. For me on an iPhone 13 Pro, that’s the wide lens. While telephoto is handy, and vital for some shots, images are noticeably noisier because the smaller aperture doesn’t let as much light in.
This will hopefully be less of a problem going forward on modern smartphone cameras. Apple already improved the iPhone 16 Pro’s ultra-wide with a 48MP sensor, but the 5x telephoto lens is stuck at 12MP with only a f/2.8 aperture to work with (compared to the f/1.78 on the regular wide lens).
Don’t Forget About Panoramas
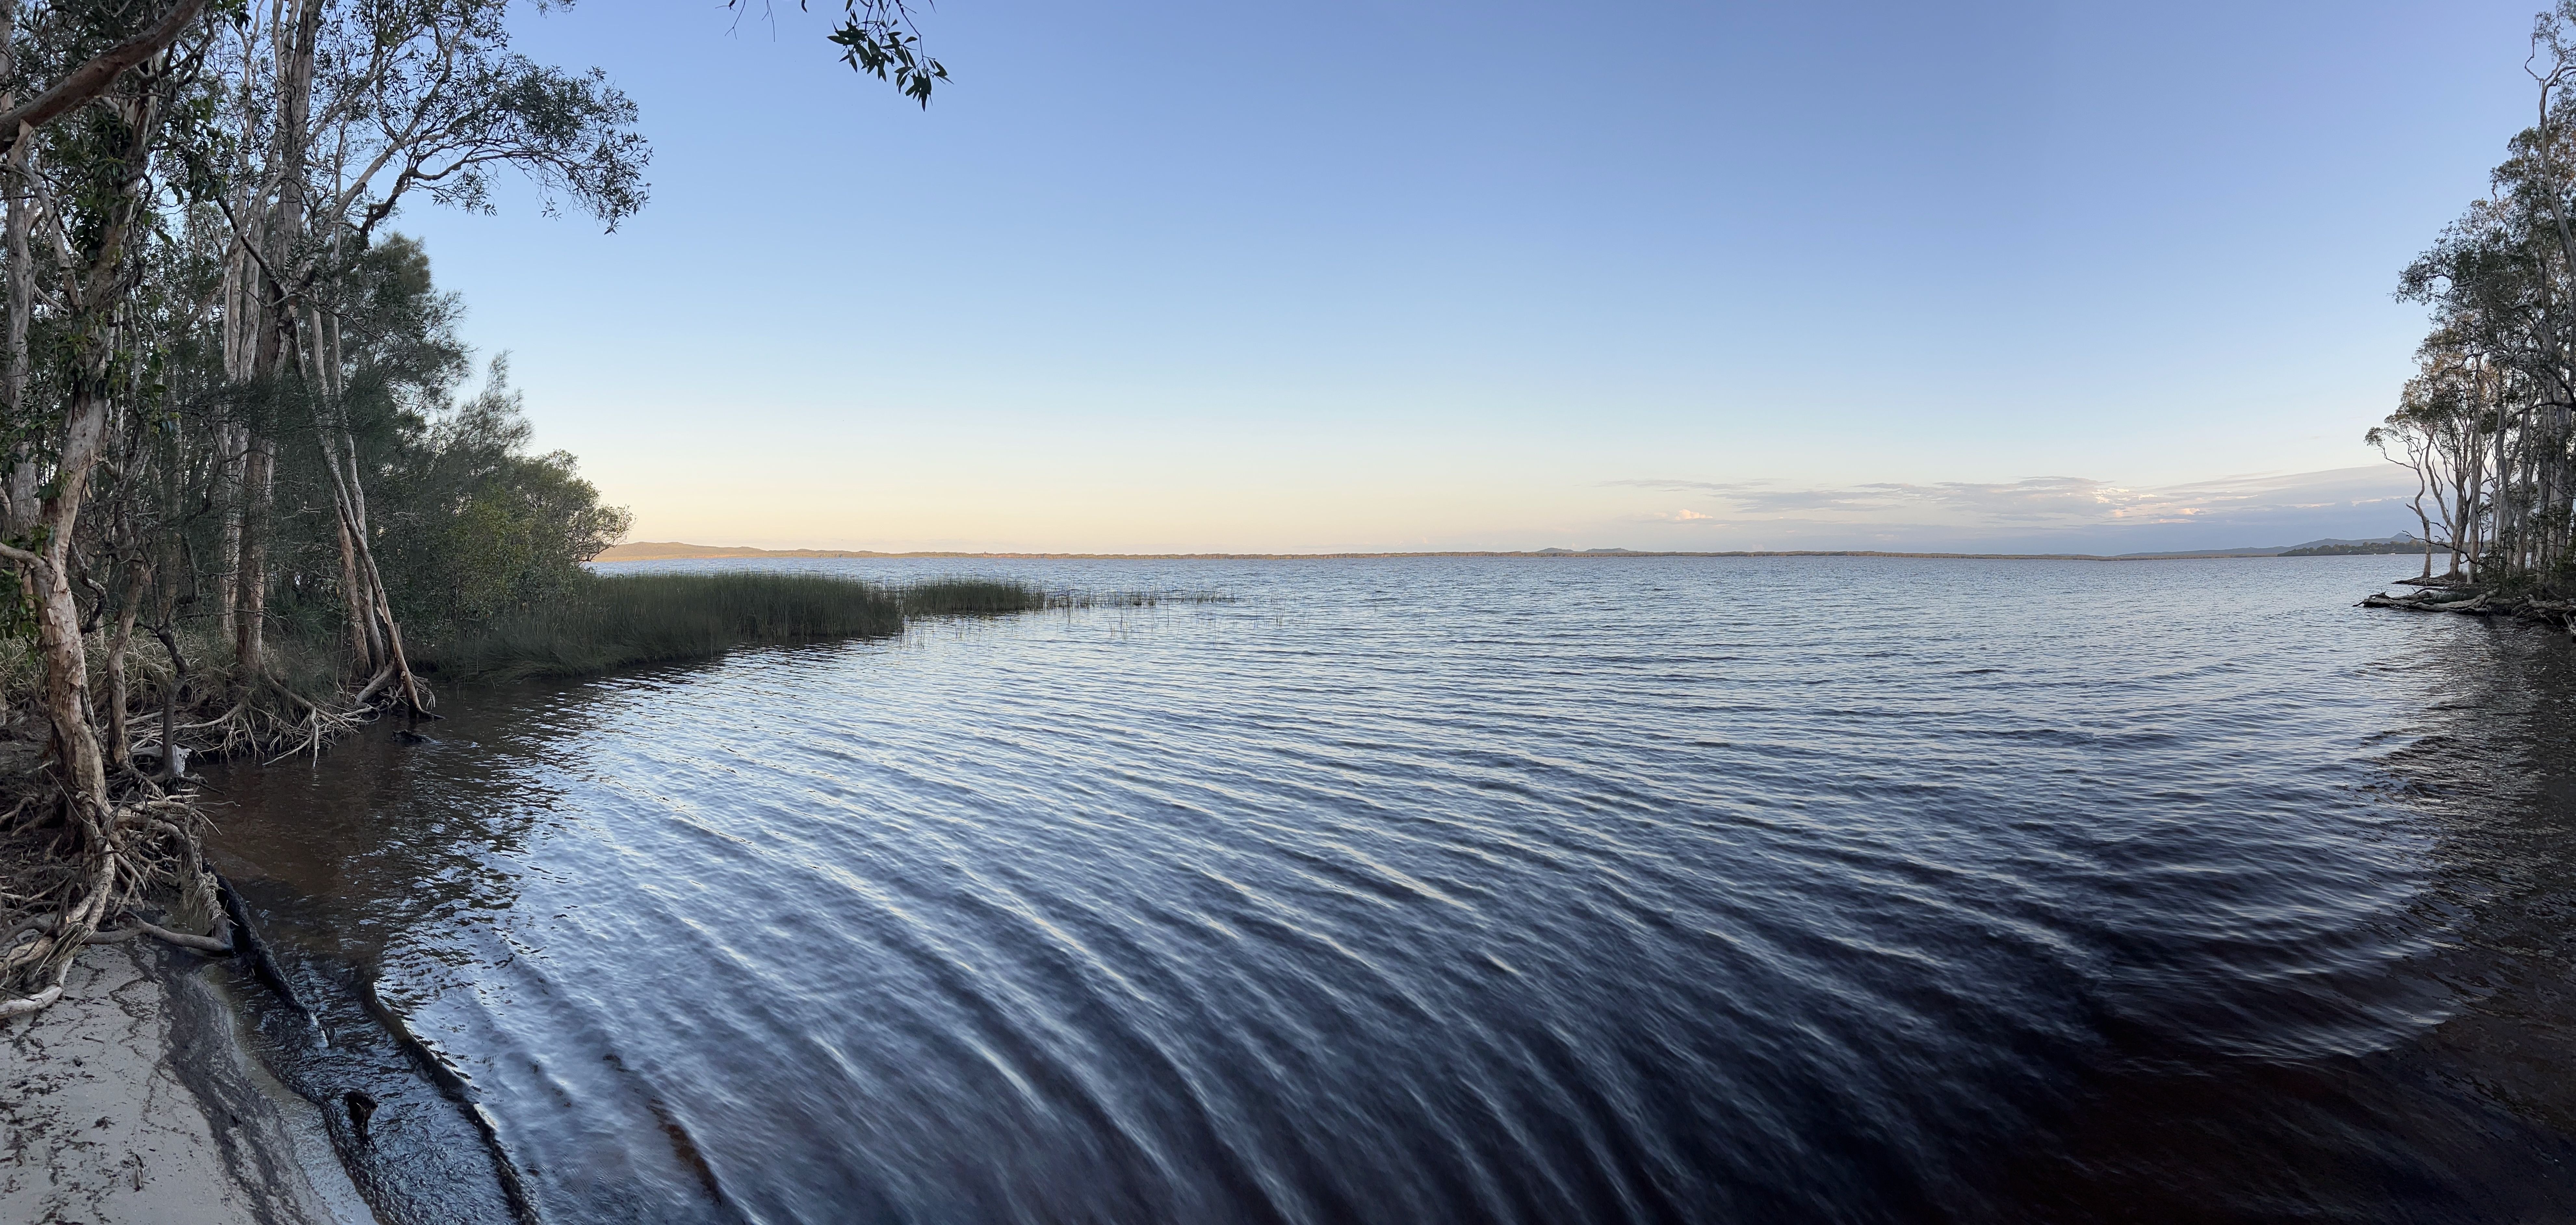
Smartphone panoramas are a neat trick and one that’s benefitted massively from the improvement in processing power over the past decade. Though the feature is old news at this stage, your modern smartphone is great at capturing continuous wide shots. The problem is that this feature is really easy to forget about.
On the iPhone, you can swipe right until you see “Pano” and then tap on the panorama tracker in the middle of the screen to switch between a left and right start point. From here, it’s a case of hitting the shutter button and slowly scrolling across the landscape that you want to capture in glorious widescreen.
You don’t have to use the full “width” of the panorama, either. Most panoramas are better when you stop them short since this lessens the perspective distortion inherent in capturing a scene that’s wider than what your eyes can see.
You can also use the panorama mode of most smartphones to shoot vertical images. Pick a starting point and move your phone slowly up or down to capture. This is great for taking pictures of trees, mountains, waterfalls, and so on.
Incorporate Motion Into Long Exposures
There’s a good chance your smartphone can shoot long exposures, either as part of the default camera app or using some sort of app. On an iPhone, shooting a long exposure requires that you first capture a “Live Photo” (by checking that the icon on-screen doesn’t have a line through it). From here, head to the Photos app and tap on “Live” then pick “Long Exposure” from the list of options. There are separate techniques for Google Pixel and Samsung Galaxy devices.
While apps and techniques vary, the result is usually the same: an image that blurs movement with smooth patterns or trails. The most obvious place to use this trick is around bodies of water. Though long-exposure moving water shots are a bit overdone at this point, they’re still fun. It’s a great way to turn a relatively standard shot of a river into something a bit more interesting.
If you can stand relatively still, you probably don’t need a tripod for this trick, at least that’s the case when shooting on an iPhone. If you don’t want to carry a tripod with you, consider wedging your phone somewhere stable and using the timer function to shoot your photo.
Many Smartphones Shoot Macro Photos Too
Macro photography is the art of capturing small objects close up. You’ll need a decent macro lens and a digital SLR or mirrorless camera to get impressive shots of very small objects (like tiny insects or water droplets), but you can still have some fun and get good results using your smartphone’s built-in macro function.
The iPhone implementation uses the ultra-wide lens to focus on objects that are close to the camera, and by default this mode kicks in whenever you get close to an object (you can change this in the Camera settings if you want). Unfortunately, the nature of an ultra-wide lens “pushes” these objects further away in the frame so it can be tough to nail the shot. Sometimes, it might be worth using your telephoto or regular wide and moving back to just within focus distance.
As a photographer, you might need to remind yourself to be on the lookout for these sorts of photo opportunities more so than the obvious vistas and landscapes. Look down, get up close and personal with flora, and keep an eye out for butterflies or other insects.
Unconventional Angles Are Fun
Smartphone photography is great because it’s so accessible, but another big benefit to shooting with a small device is that you can get your camera into all sorts of weird and wonderful places. This goes hand in hand with the previous point about macro photography.
Get close to the ground, poke your phone over the top of hedgerows or logs, and be experimental. There’s an immediacy to smartphone photography, more so than even conventional digital photography, that makes it easy and fast to quickly thumb through and delete anything that’s not worth keeping. Use this to your advantage: shoot lots, experiment plenty, and keep what works!
Learn to Pan With Subjects
While most people associate nature photography with relatively static scenes, there are times when you might want to capture a moving target. Birds are the obvious example here, but so are insects, flying leaves, a friend on a rope swing, and so on. For best results, panning with your target so that your smartphone is moving at the same pace will yield the best results.
Not only will the target be in focus, but you might be lucky to get a blurry background that adds to the effect.
Slow Down Your Videos
While most of the tips here apply to both videos and photos, there’s one trick I love to use when creating videos shot in nature and that’s to slow things down. This helps to give your videos a dreamy quality, which is particularly effective when taking videos of branches swaying in the breeze, birds flying past, or the lapping of waves at the seashore.
While you can technically use your smartphone’s slow-motion video mode for this, I find slow-mo video on my iPhone to be inferior to standard video modes. I lose out on HDR, and the image seems a bit grainier overall. I also don’t need 240 frames per second, as I’m not looking to slow the video down quite so much.
Instead, I shoot at 4K resolution in Dolby Vision HDR at 60 frames per second. I then slow the video down by half speed in my editor of choice. This gives you a solid 30 frames per second, which is enough to achieve the desired effect without feeling overdone.
Though I own a decent camera (and I actually use it, from time to time), I take the vast majority of photos on my iPhone, and that includes hikes and other adventures in nature. As smartphone cameras get better, so too will my photos, and at this stage that’s the main reason to upgrade my phone every few years.
In addition to using my iPhone for all my hiking photography, I also use it for navigation with this must-have app.


