Trying out a Raspberry Pi device for the first time can be fun but daunting, especially if you’ve never used a Linux-based operating system before. Gone are the old familiar menus, commands, and shortcuts you’d find on a PC or Mac. Thankfully, though, Raspberry Pi OS is a breeze to work with, once you’ve got the basics down. And once you know what you’re doing, getting some fun projects up and running shouldn’t be too much hassle.
There are just a few things to help you really start to make the most of your new Raspberry Pi. Here are nine tricks I found incredibly useful to know when using the Raspberry Pi 5 and 4.

Raspberry Pi 5 review: Just delightful
The Raspberry Pi 5 has plenty of upgrades, but do you need all that extra horsepower? I put it to the test.
1 Do this first: Change your password
Safety first on a new device
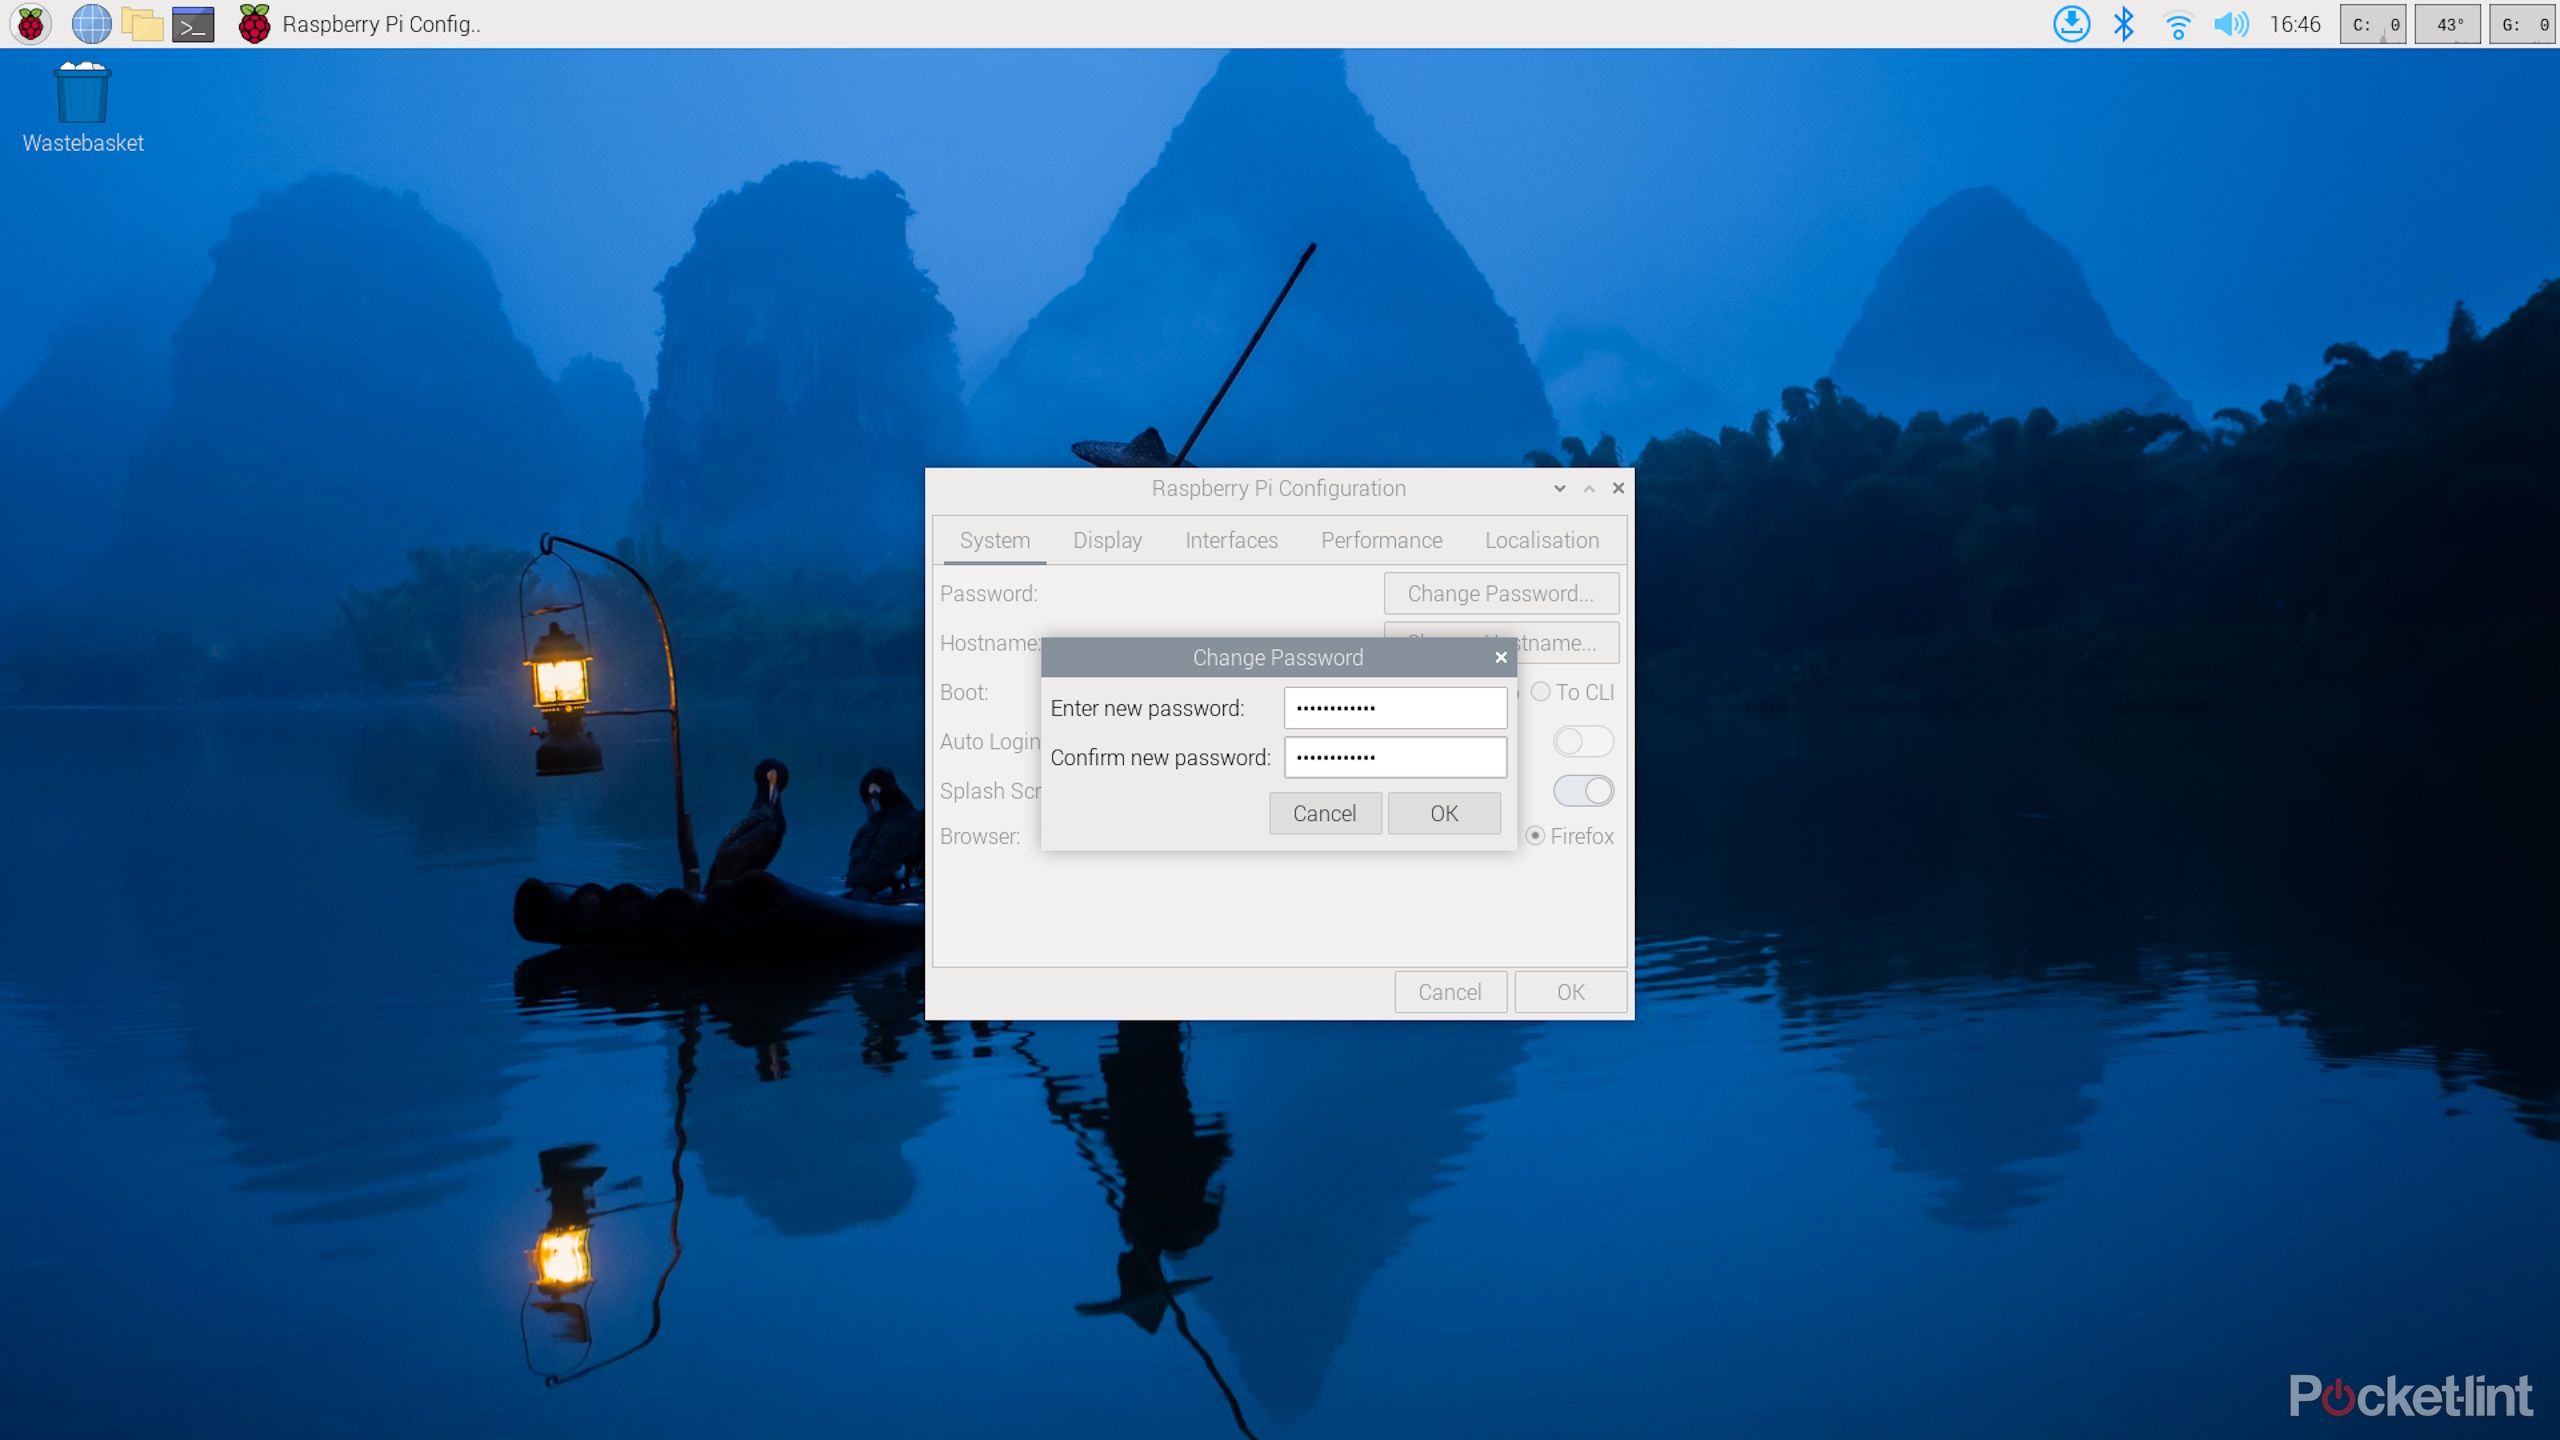
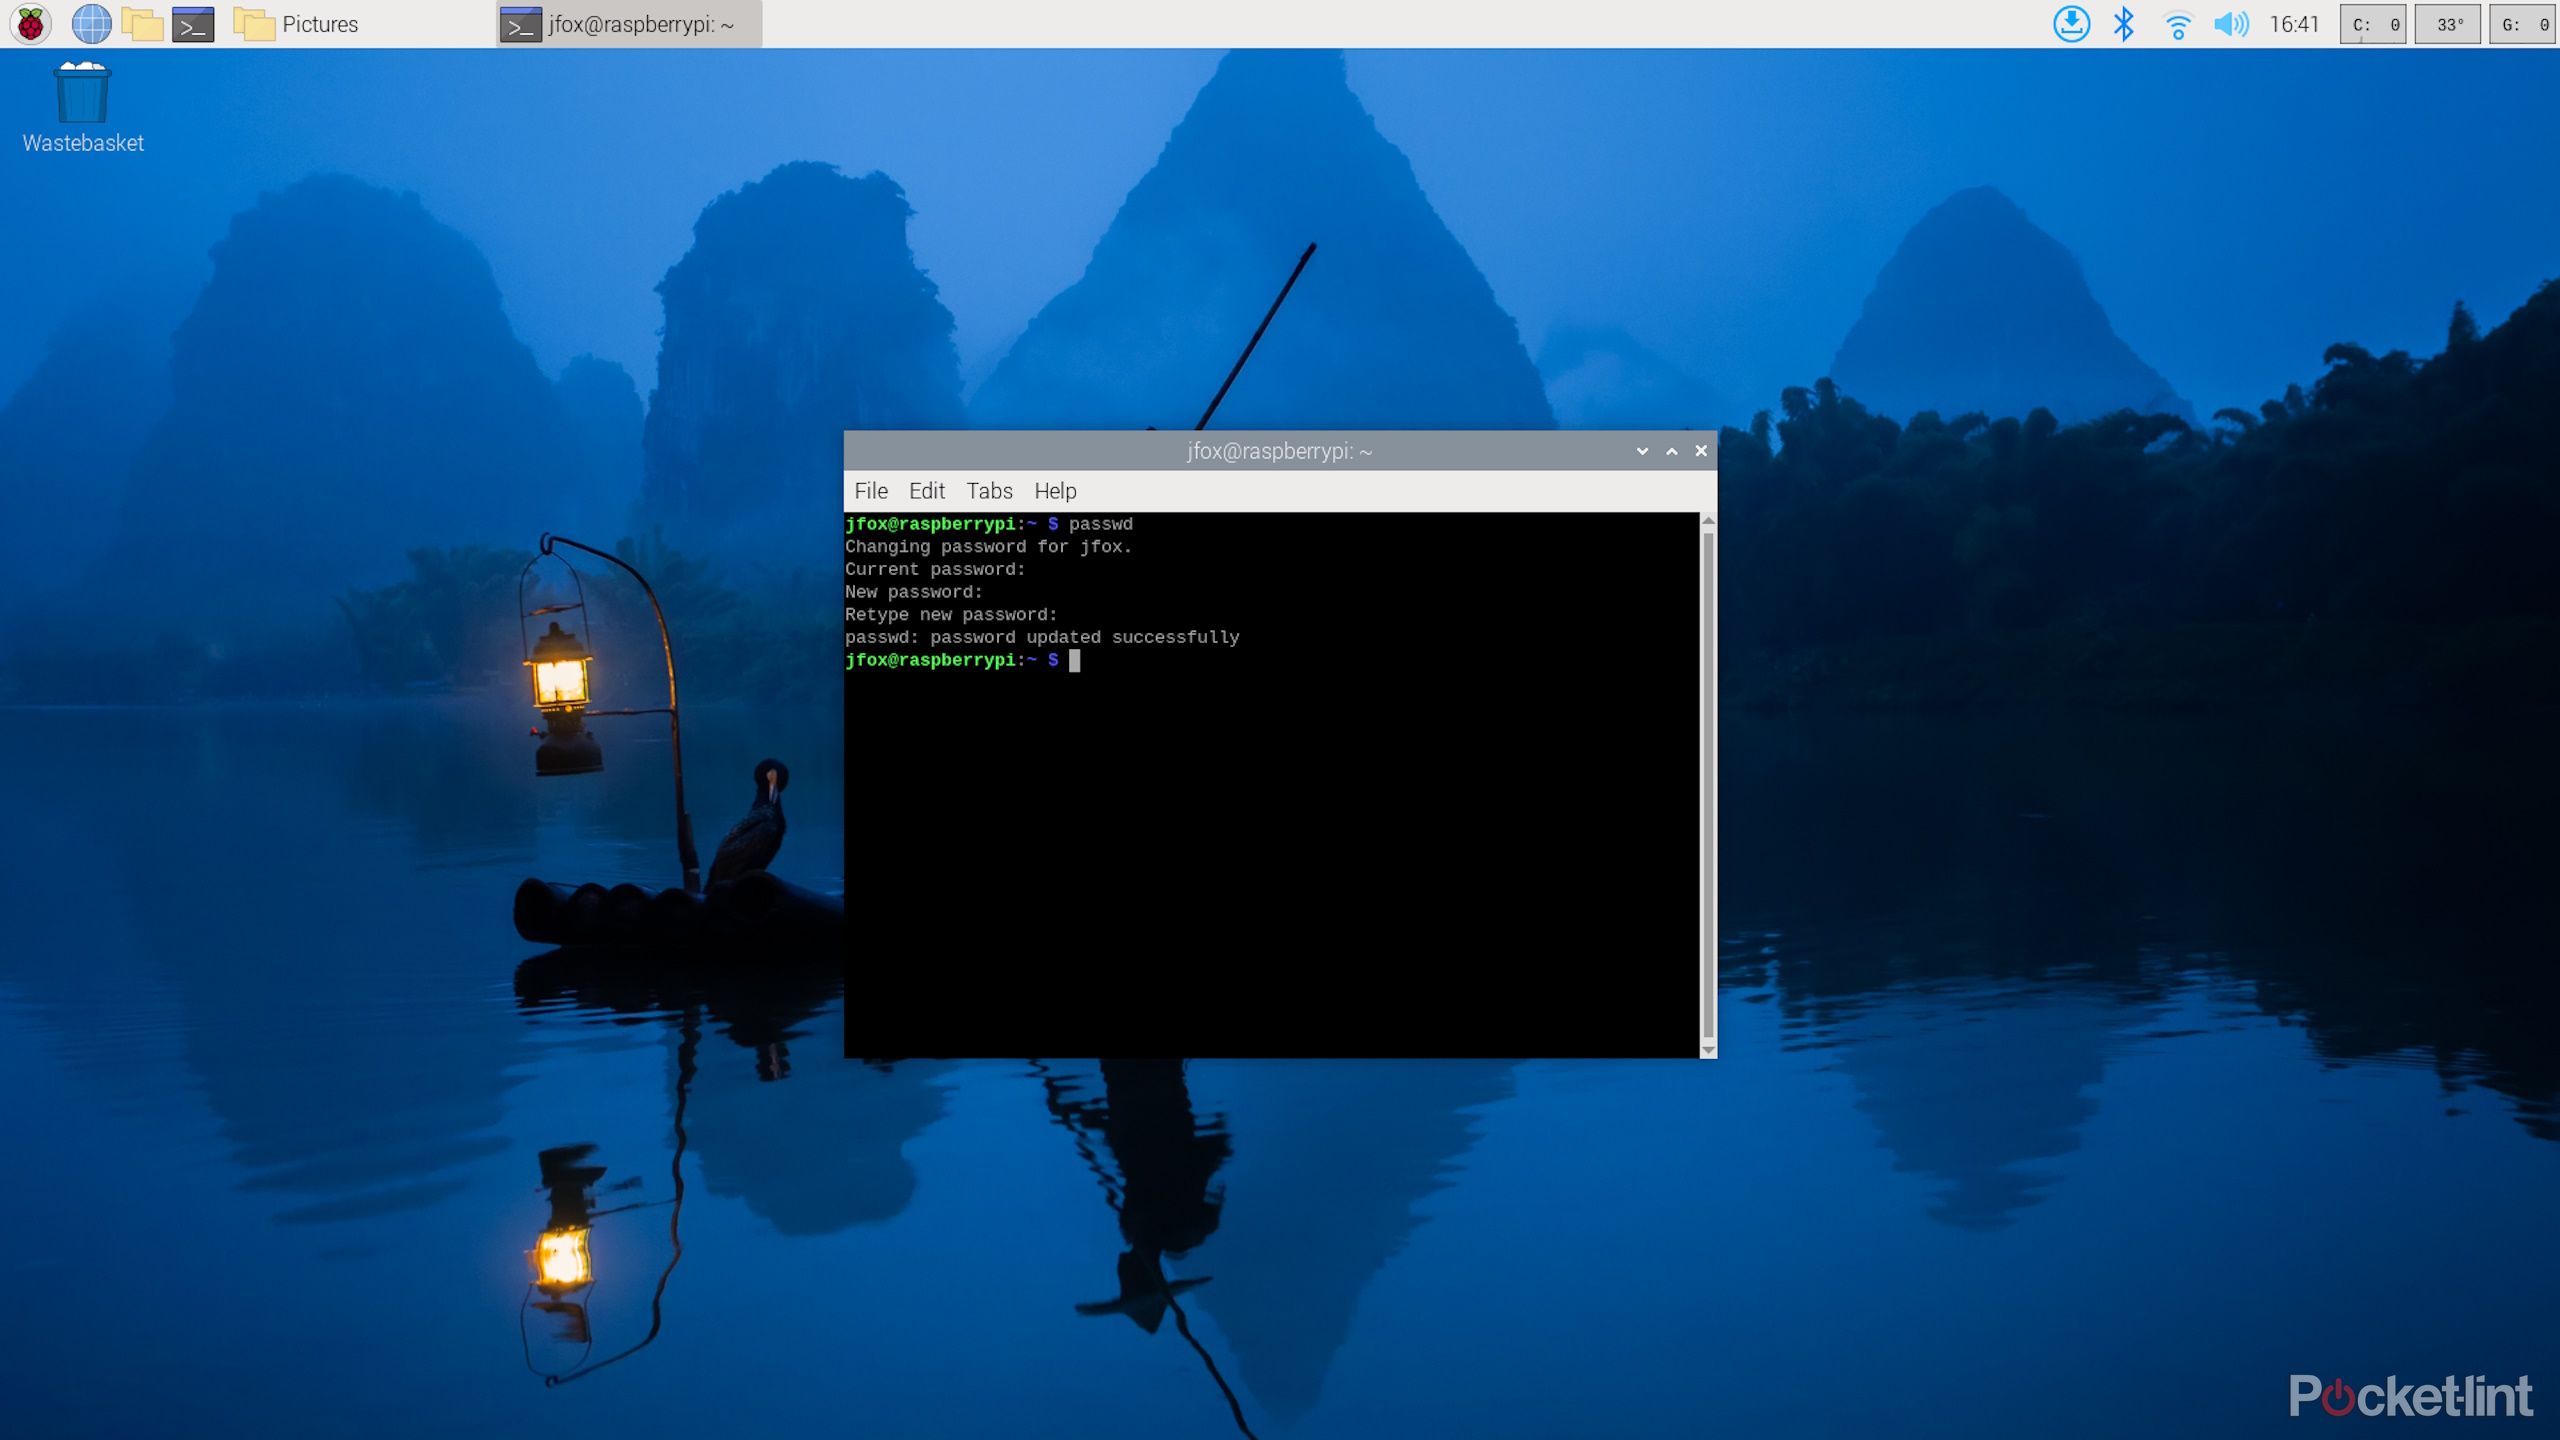
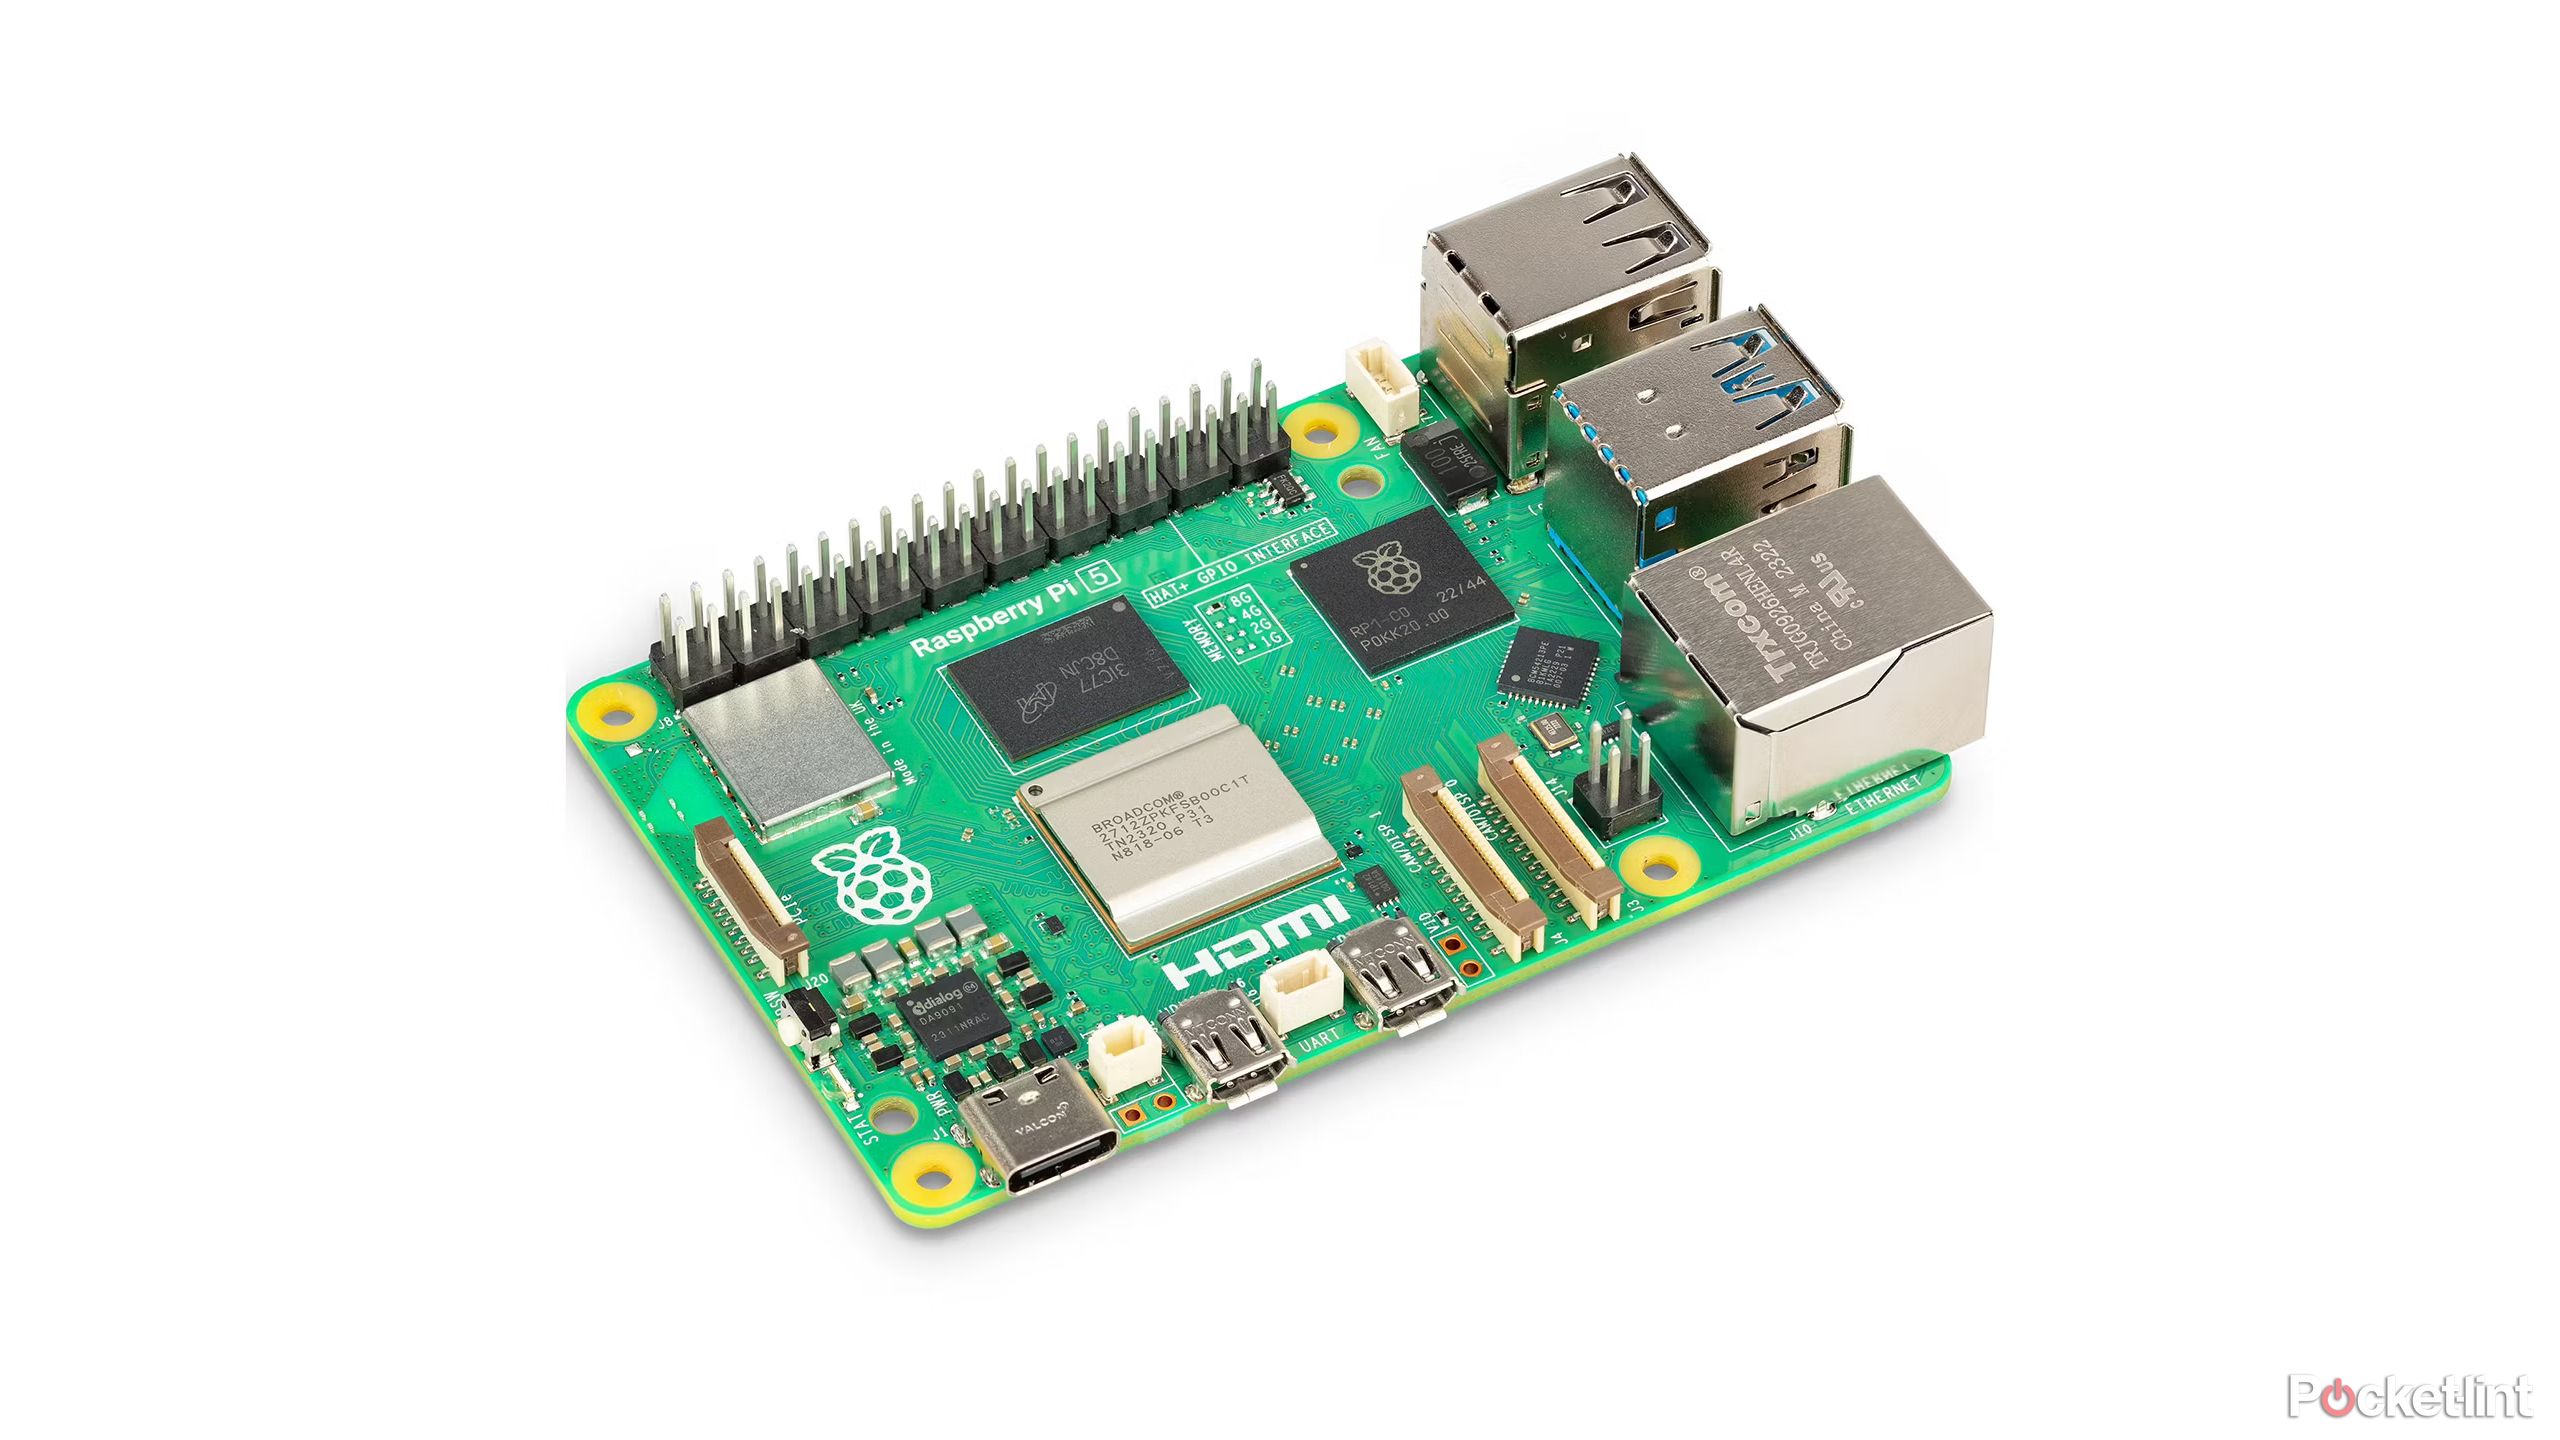
While you should be prompted to create a password upon installation and setup of the Raspberry Pi OS, you might need to change this password in the future. Thankfully, it’s easy to do so.
To change your Raspberry Pi’s password, press the Raspberry Pi menu icon, and navigate to Preferences > Raspberry Pi Configuration. Then, under the System tab, select Change Password.
How to change the password via the command line
To change your Raspberry Pi’s password via the command line — which might be useful if, for example, you’re connecting to your device via Secure Shell (SSH) — do the following:
-
Open the
Terminal
app with
Ctrl + Alt + T -
Type
passwd
and press Enter -
Enter your
current password
and press Enter -
Enter your
new password
and press Enter -
Enter the
new password again
and press Enter to verify your new password
You can also remove your password entirely by typing sudo passwd <username> -d, replacing the enclosed element with the username you set for yourself when setting up the Raspberry Pi. You’ll be prompted for your current password before it deletes the password as requested.
What is the default Raspberry Pi username and password?
Older Raspberry Pi devices and operating systems had a default username and password that you could later change. We recommend you change this once logging in. On these devices, the login information is as follows:
-
Username:
pi -
Password:
raspberry
2 Get connected to Wi-Fi
A computer without an internet connection isn’t all that useful
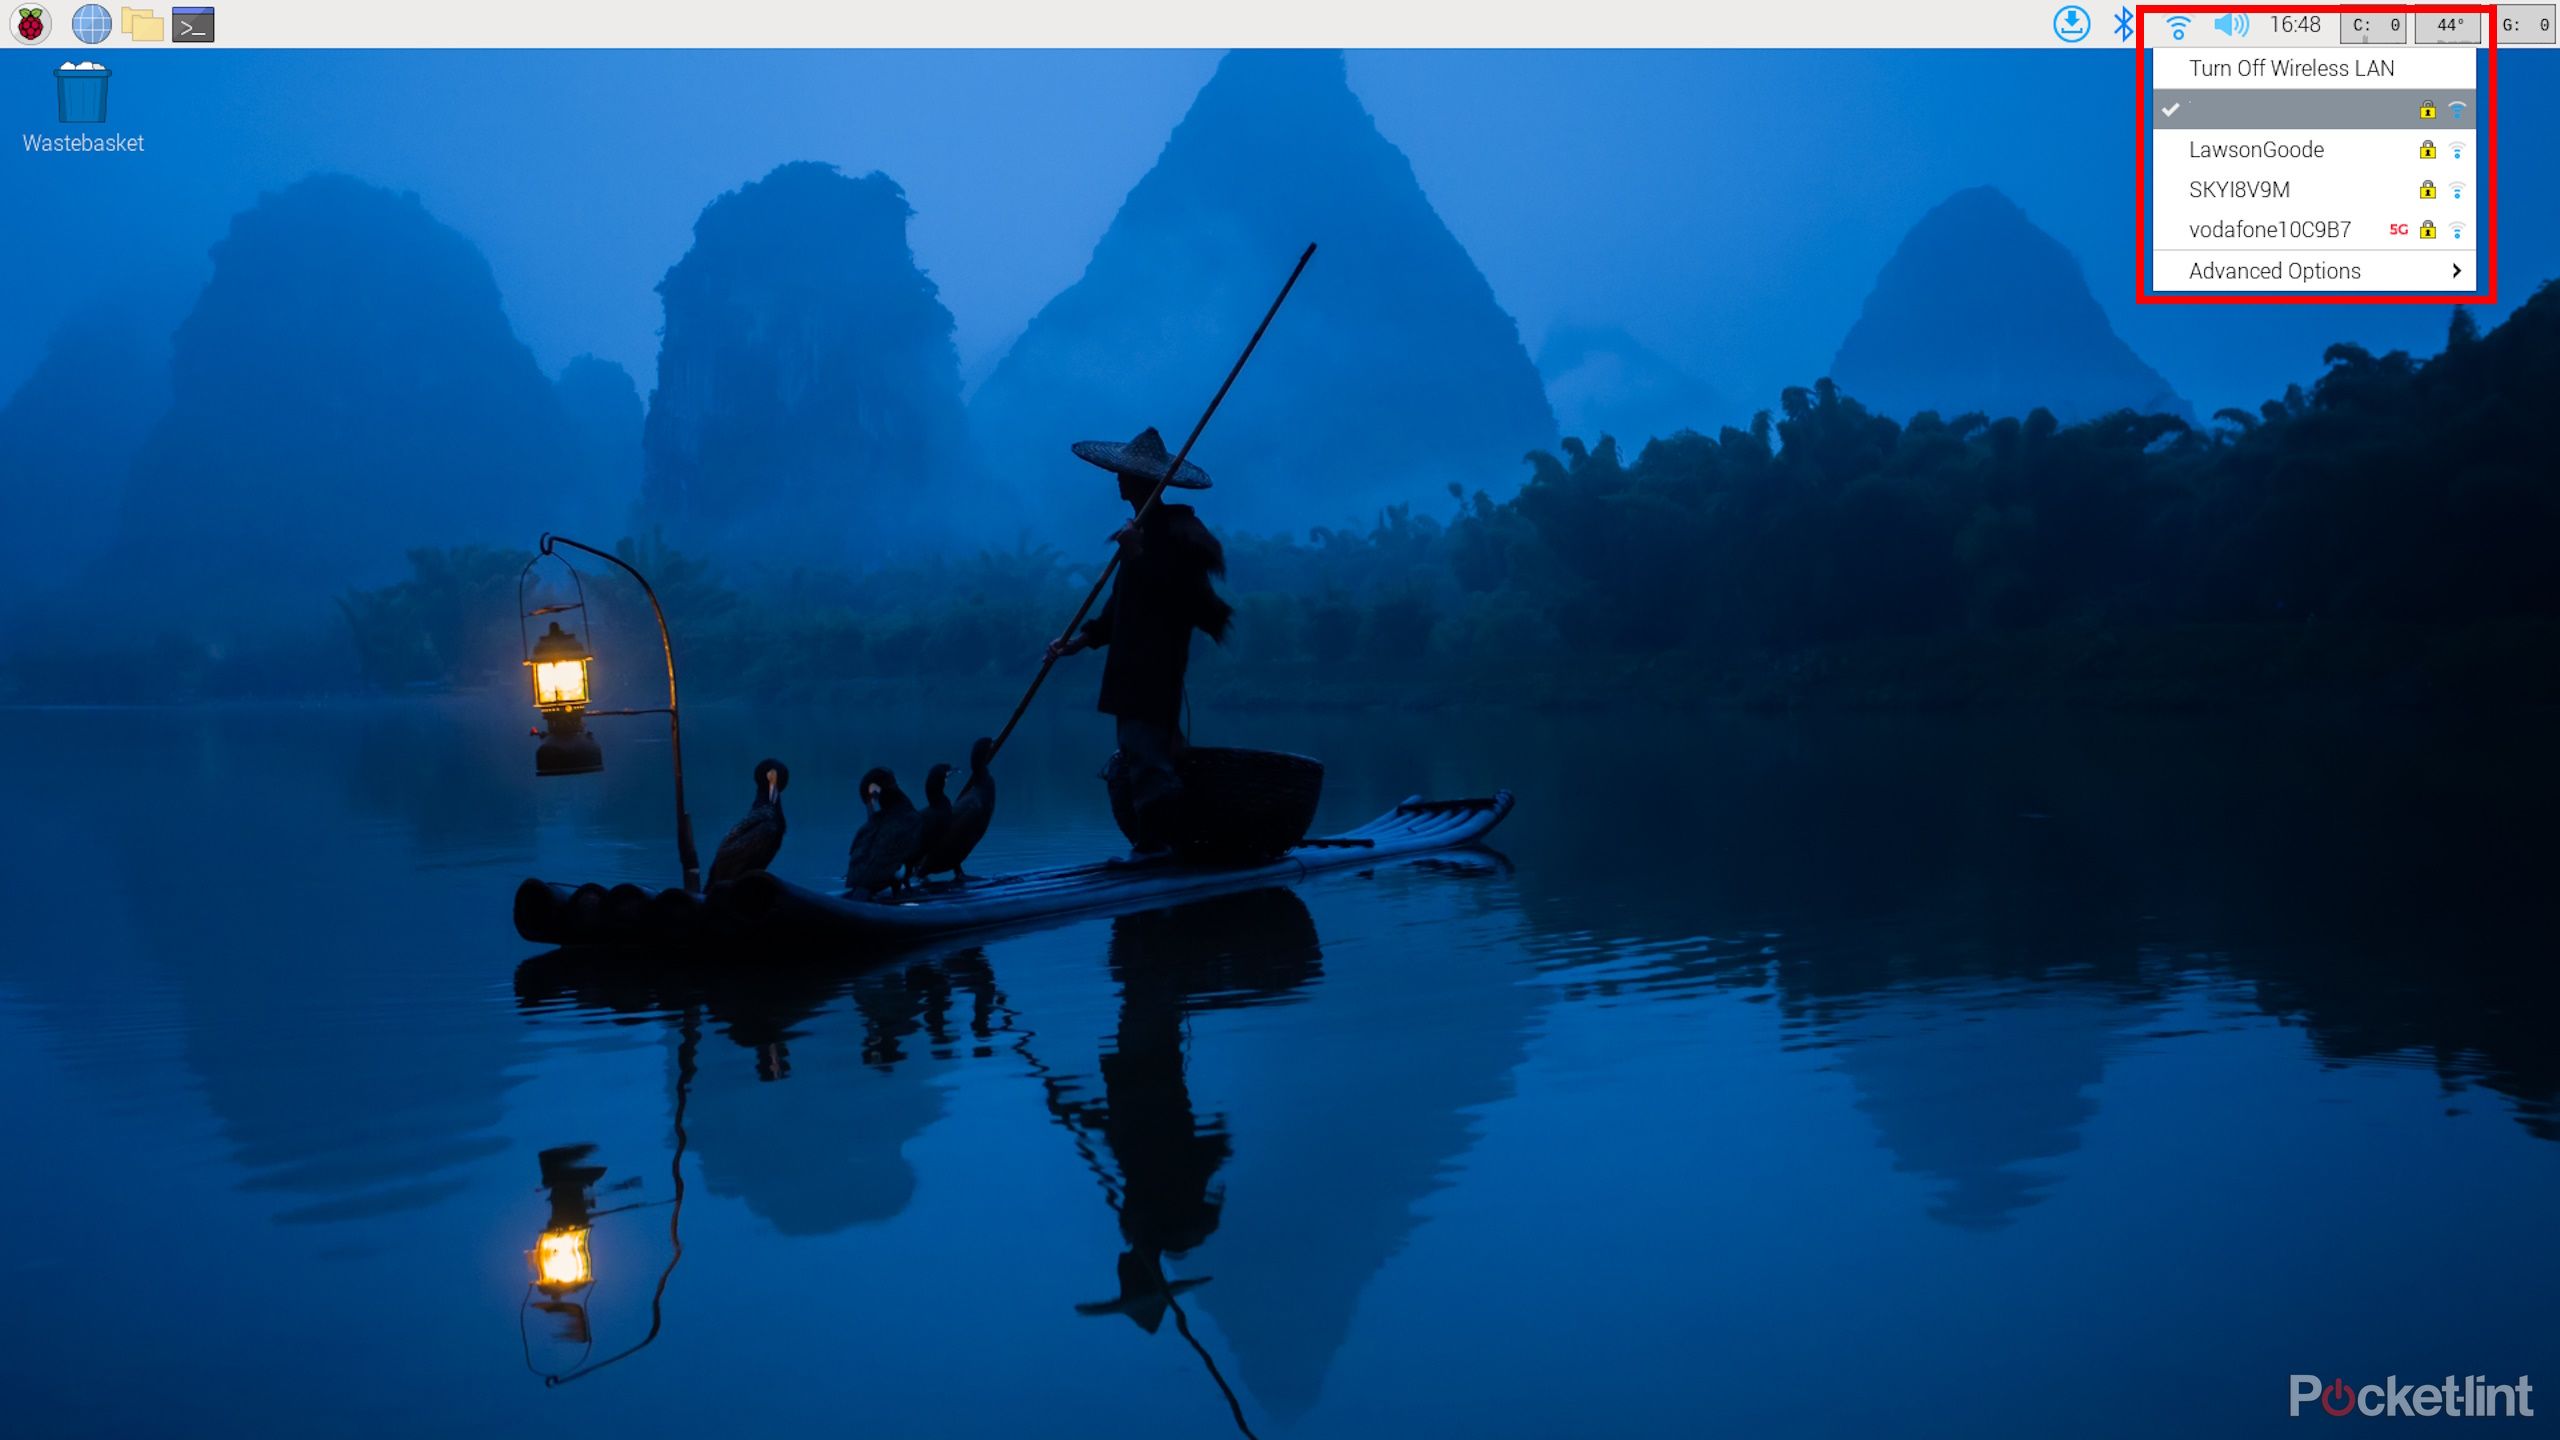
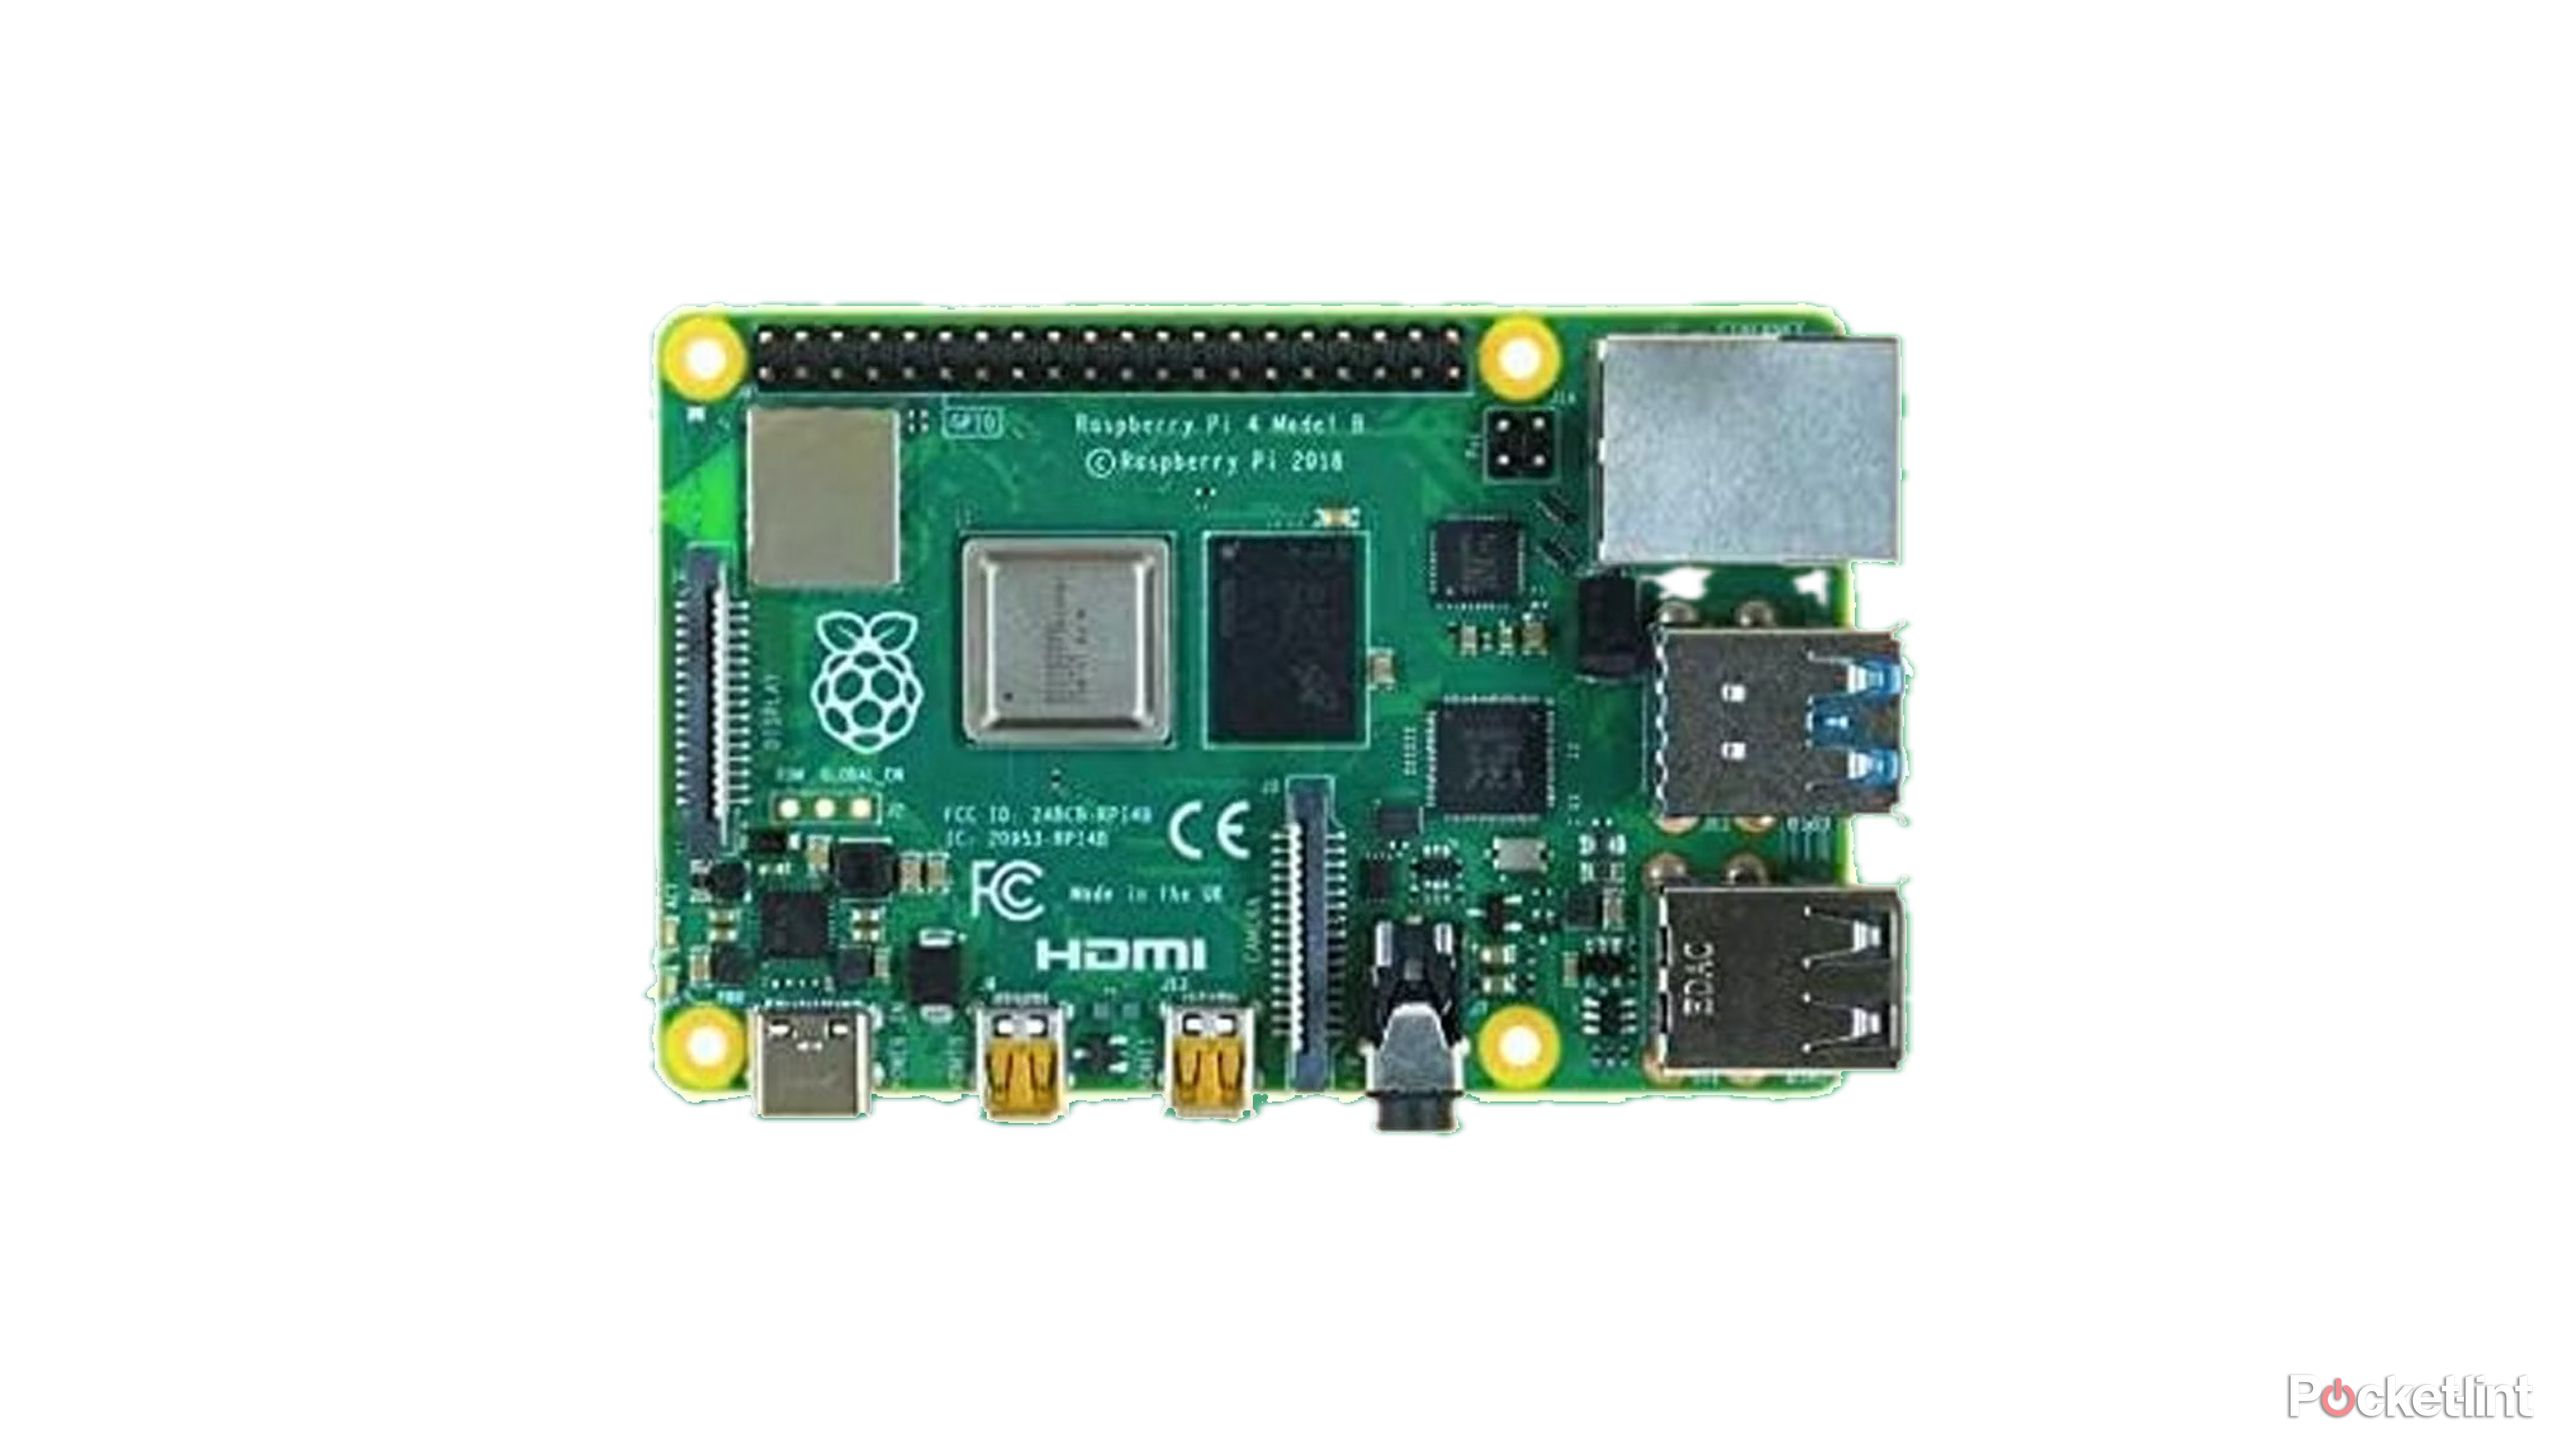
If you have a Raspberry Pi Model 3B or later, your RPi should have Wi-Fi capabilities straight out of the box. If you have an older version, you’ll have to buy a Wi-Fi adapter for it. You can set up your Wi-Fi connection in advance, during the Raspberry Pi OS setup and installation process, but if you skipped that step, it’s easy to quickly get connected.
To connect to a Wi-Fi network in the Raspberry Pi OS, click the Network icon in the toolbar on the top-right of your screen, select the network you wish to connect to from the drop-down menu, and enter the password.
To connect to a hidden network, from the Network drop-down menu go to Advanced Options and select Connect to a Hidden Wi-Fi Network. From there, you can enter the Wi-Fi SSID and password.
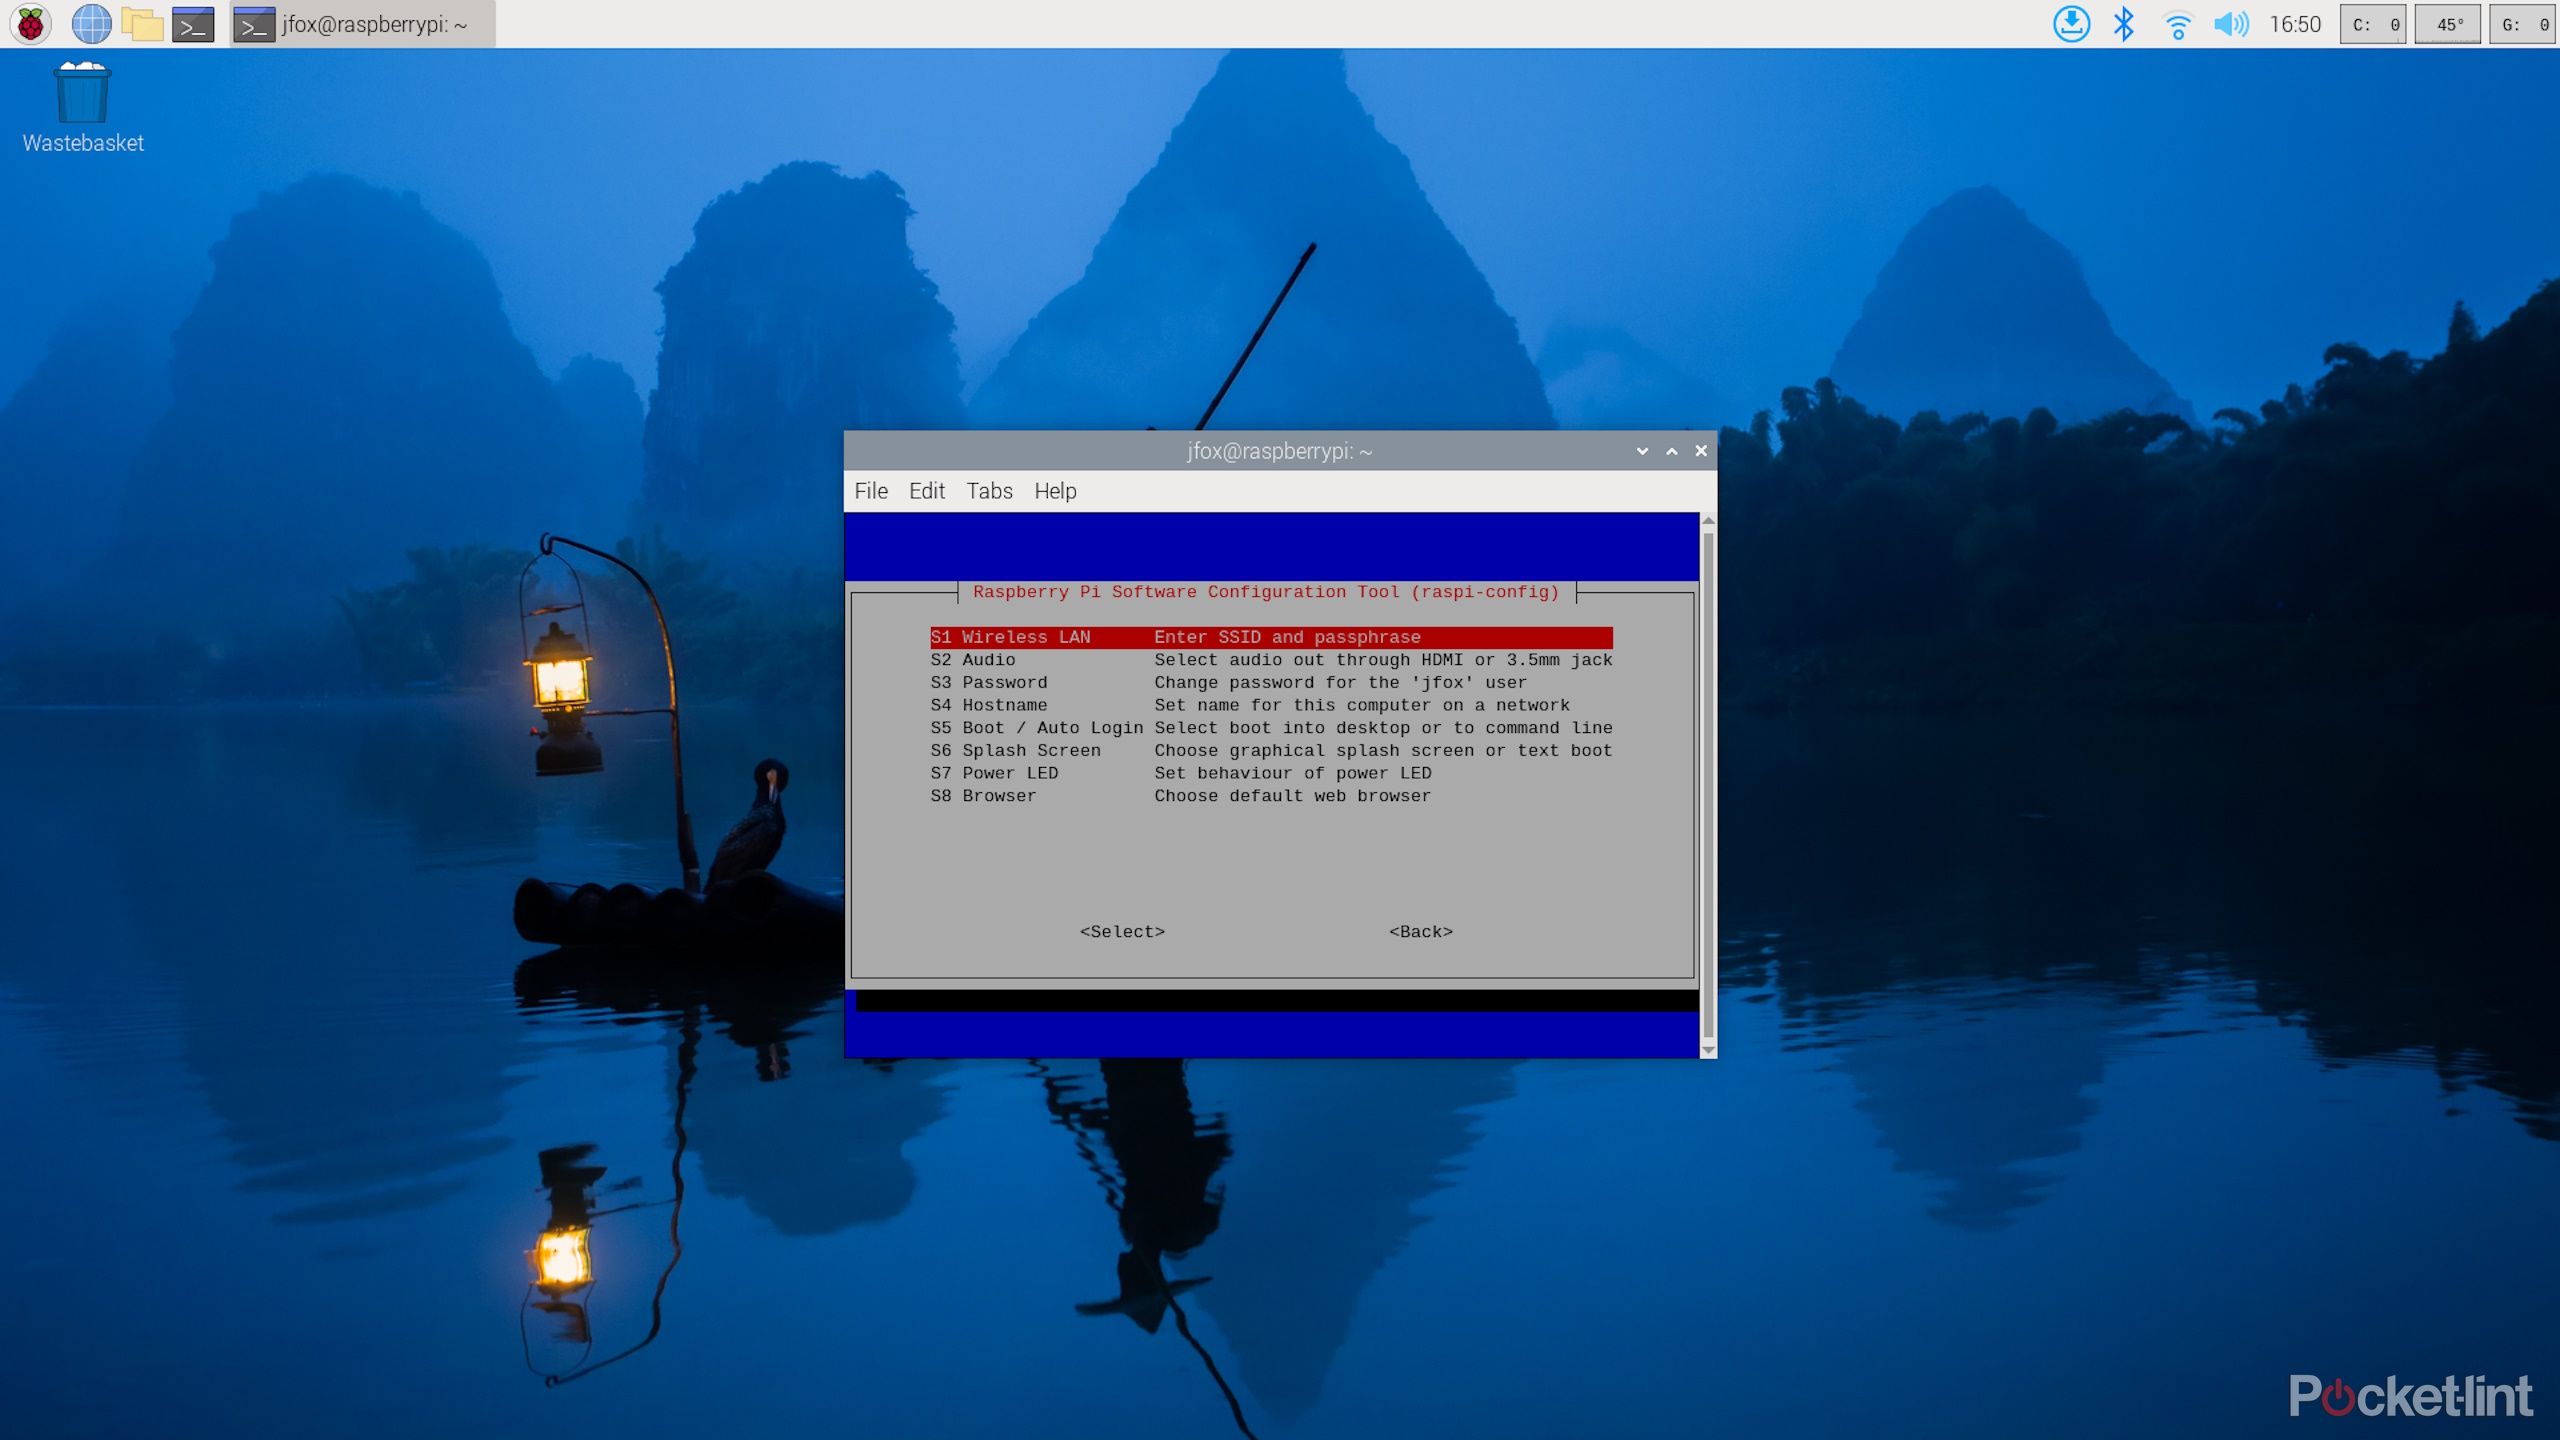
You can also connect to Wi-Fi via the command line by doing the following:
-
Open the
Terminal
app
(Ctrl + Alt + T) -
Enter
sudo raspi-config -
Enter your
password -
Go to
System Options > Wireless LAN -
Enter your
SSID and password -
Hit
Finish
Use the raspi-config command to change your system settings via the Terminal app, which is extremely useful when remotely accessing your Raspberry Pi device via SSH (more on how to do that below.)
3 Update the Raspberry Pi OS with ease
Get all the latest features and security fixes
When there are pending software updates, Raspberry Pi OS should tell you as much by displaying an update icon on the toolbar. To update via the toolbar, select the update icon, select Install Updates, enter your password, and click Authenticate.
To update via the terminal app, do the following:
-
Enter
sudo apt update -
Enter
sudo apt upgrade -
Enter
sudo apt autoremove
Step 1 updates the list of packages that you can install from. Step 2 updates any apps that are already installed if there are updates available, while Step 3 removes anything no longer needed that’s been installed alongside applications.
4 Pi-Apps is an easy way to install new apps
Ditch confusing Terminal commands when installing apps
If you want to install new applications on your Raspberry Pi — applications that aren’t included in Raspberry Pi OS’s preloaded “recommended software” utility — the easiest way for a beginner will be to install them via a third-party app called Pi-Apps.
To install Pi-Apps, open the Terminal app and enter the following command:
wget -qO- https://raw.githubusercontent.com/Botspot/pi-apps/master/install | bash
To launch Pi-Apps once it’s installed, go to the Raspberry Pi menu icon > Accessories > Pi-Apps.
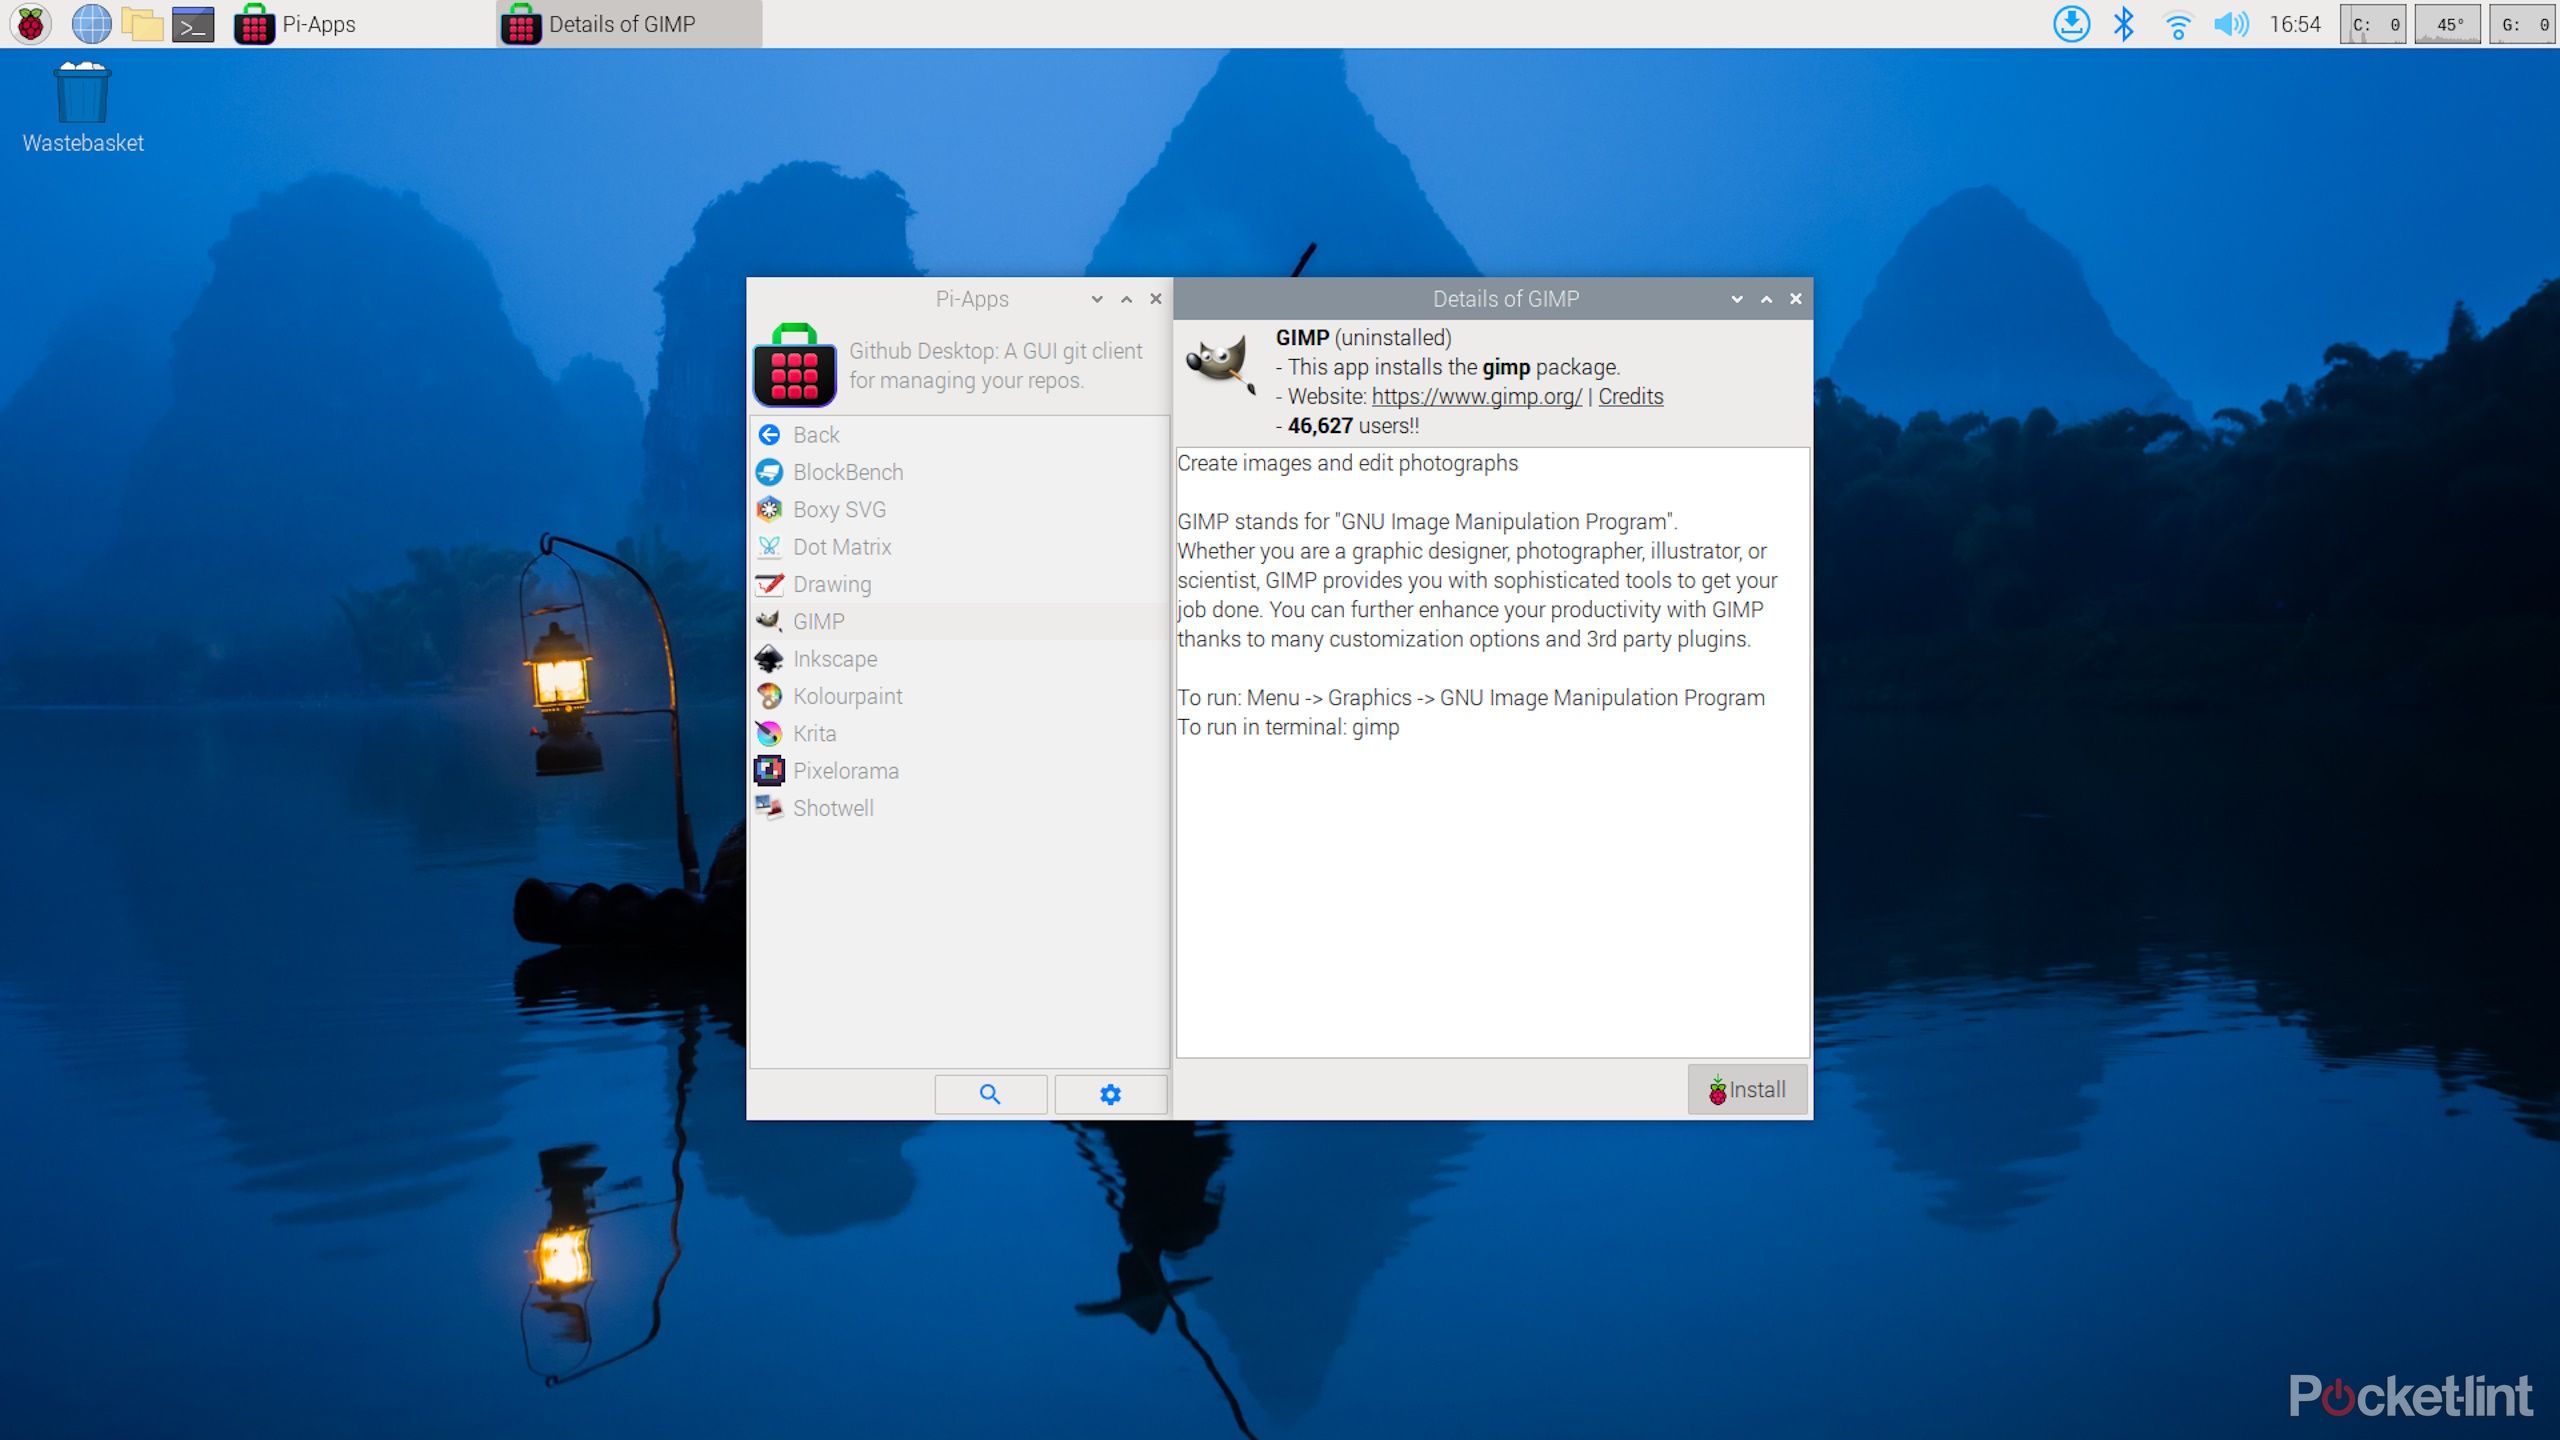
Within Pi-Apps, you can find tons of apps by browsing categories or searching for them. Clicking an app will give you a short description of what it does, as well as how many people use it, and a one-click button to install it. The app description box should also tell you how to launch it once it’s installed.
5 Don’t forget you can uninstall apps
Save space and simplify your setup
It’s easy to uninstall apps on your Raspberry Pi if you previously installed them using Pi-Apps (see the previous tip). Simply open Pi-Apps, find the application you want to remove, and select Uninstall.
If the app you want to uninstall isn’t found on Pi-Apps, there are several ways to uninstall an application via the Terminal. The following is, I think, the easiest way:
-
Open the
Terminal (Ctrl + Alt + T) -
Enter
dpkg –get-selections | grep <application>
to find the name of the application -
Enter
sudo apt remove –purge <application> -
Enter
sudo apt autoremove
In step 2, replace “<application>” with whatever you think the application is likely to be listed as. The Terminal should print out installed packages that match that term. From this list, find the name of the package you want to uninstall.
In step 3, replace “<application>” with this actual package name.
You can leave “–purge” out of step 3 if you want to keep the application’s configuration files intact, which might be useful if you want to reinstall the app in the future without losing your settings.
6 Find your Raspberry Pi’s IP address
Useful for hosting servers and connecting remotely
Many Raspberry Pi projects require the ability to connect to the Raspberry Pi from elsewhere on your network, or from a different network entirely via the internet. In many such projects, you’ll need to know either your Raspberry Pi’s local IP address or its public IP address.
To find your local IP address, you can either hover over the network icon on your toolbar, or you can enter hostname -I (that’s a capital “i”, not a lower-case “L”) in the Terminal, which will show you the local IP addresses for all network interfaces on your Raspberry Pi device.
Your entire network should share one public IP address, so this will not be unique to your Raspberry Pi if there are other devices on your network.
To find your public IP address, enter curl ifconfig.me in the Terminal, or, if this doesn’t work, find the IP address in your router’s configuration and administration panel.
Find your Raspberry Pi’s open ports
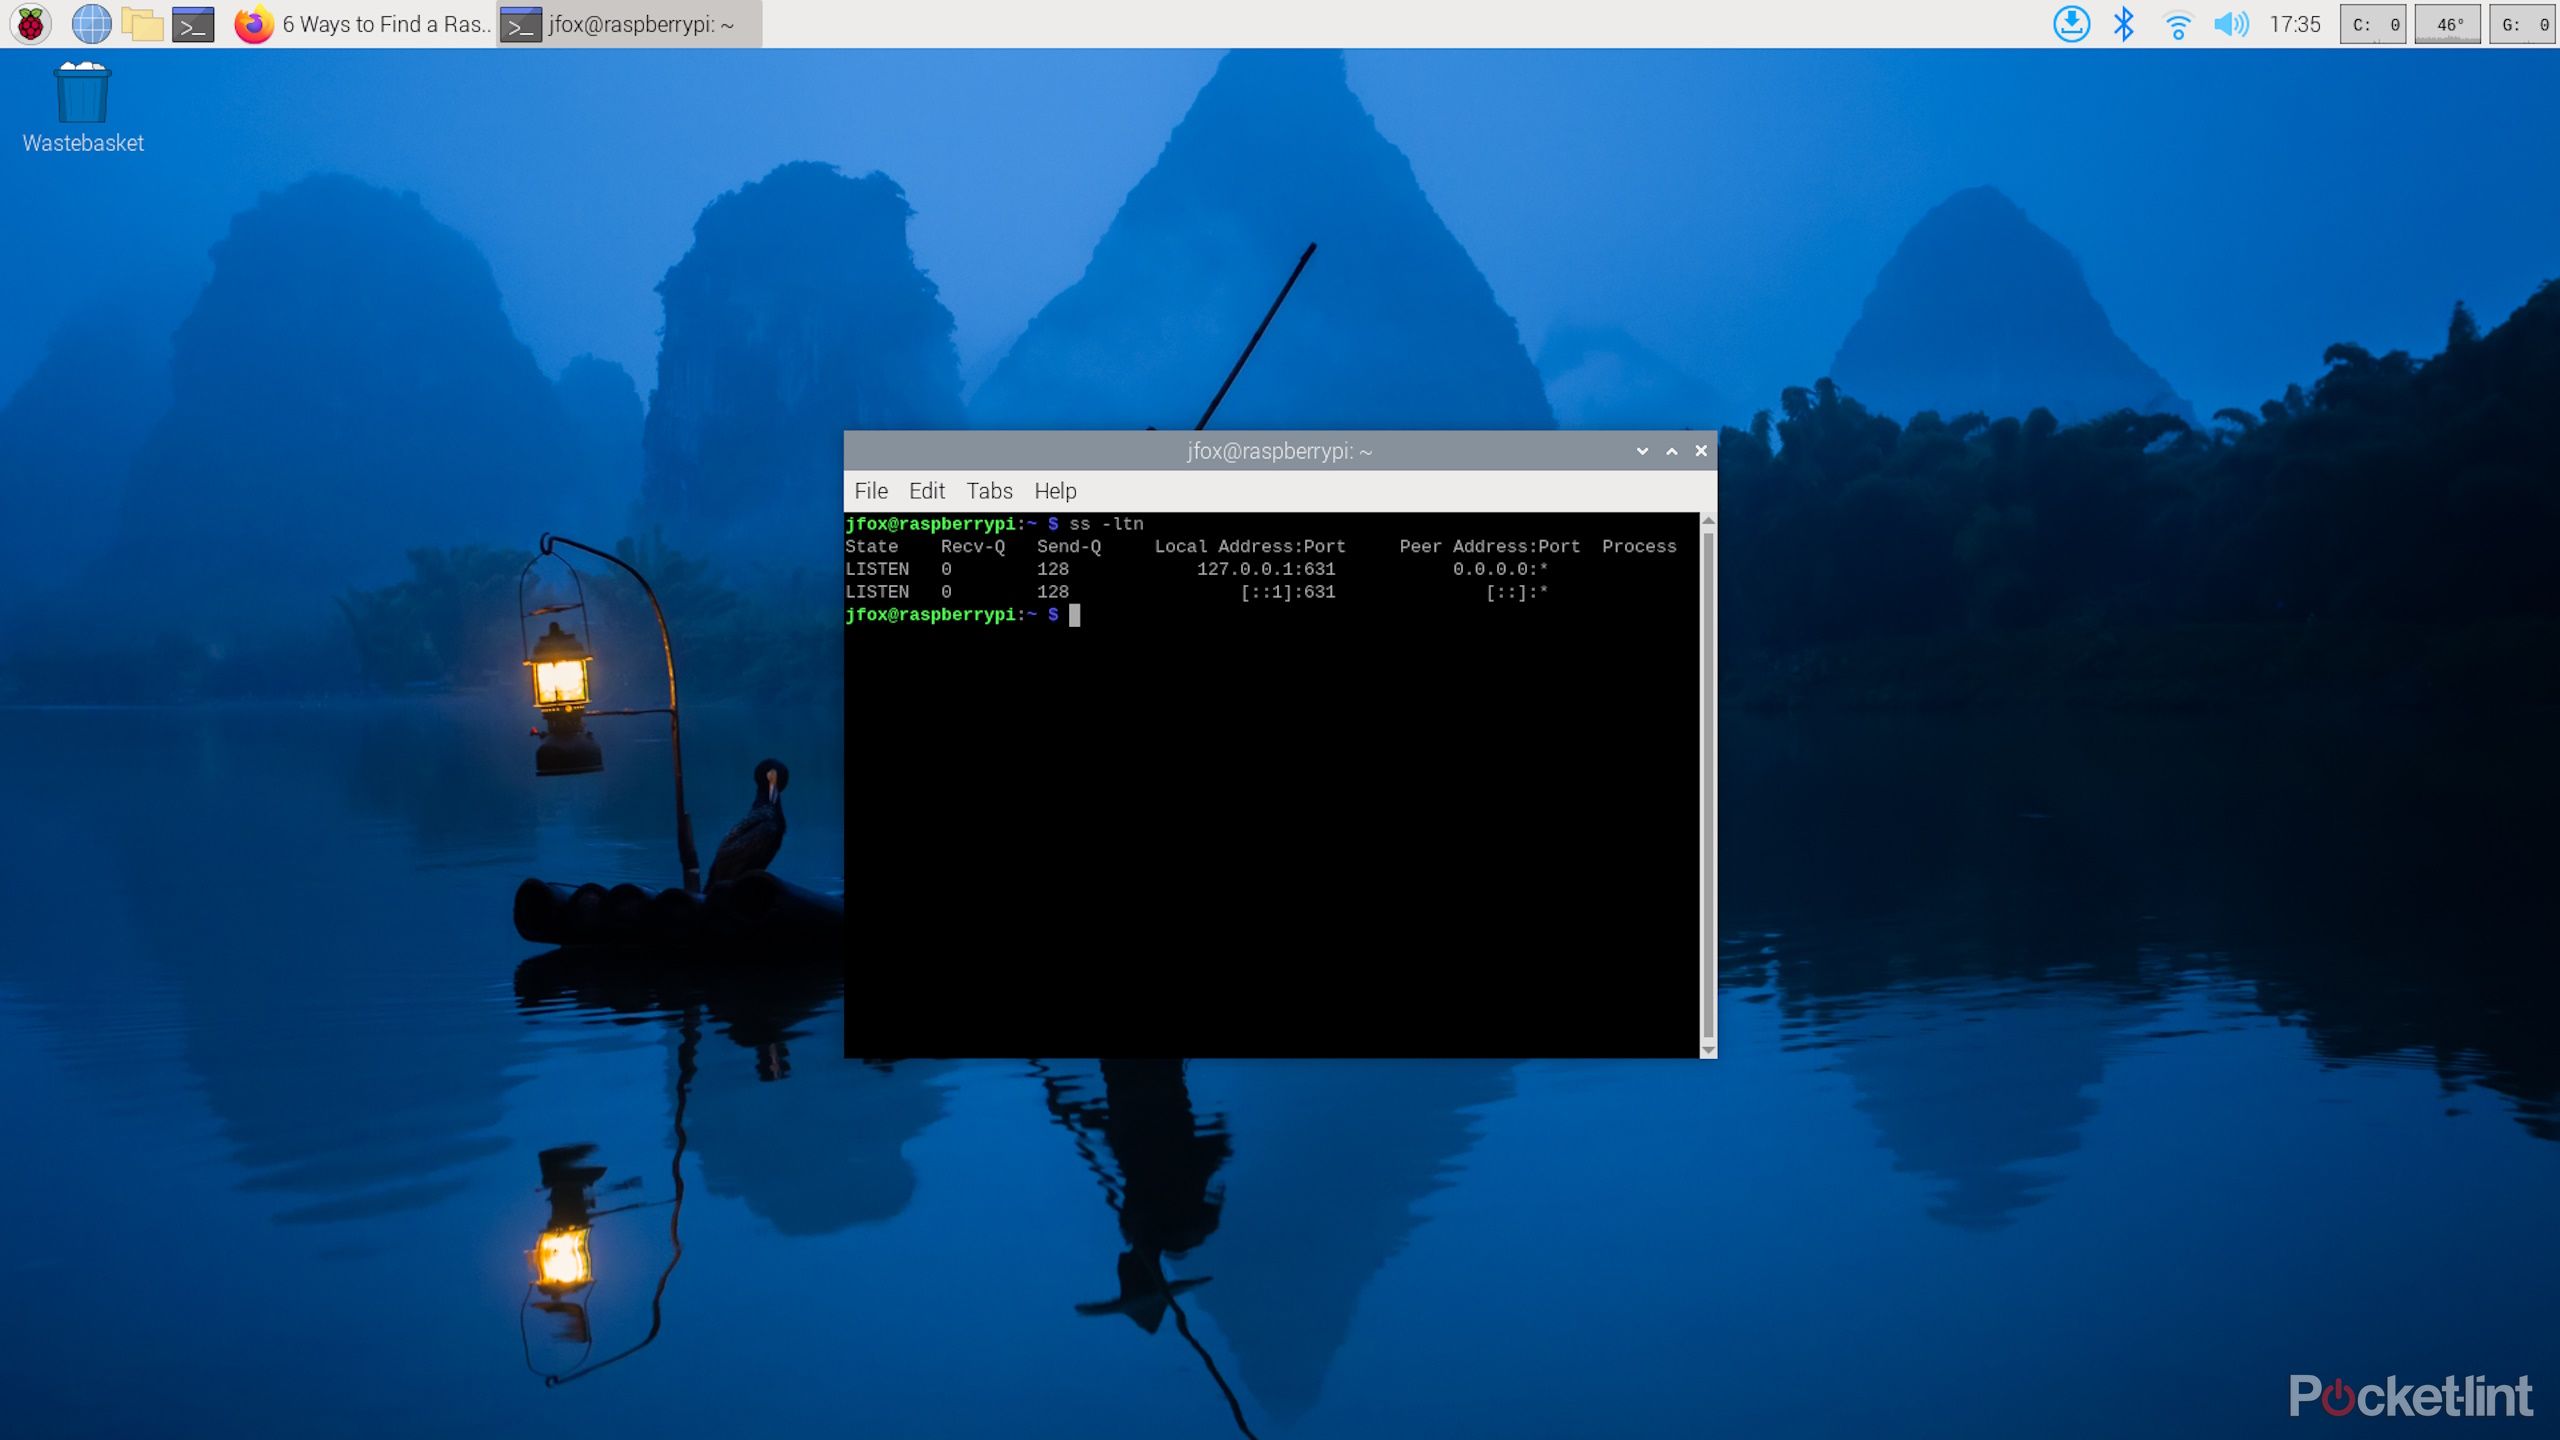
Connecting to your Raspberry Pi, or hosting things from it, might require managing your open ports. To check which ports are currently open on your Raspberry Pi, open the Terminal app and enter ss -ltn (that’s a lower-case “L”), and open ports will be listed under Local Address:Port.
7 Change your Pi’s system configuration
Make your Pi work for you, not the other way around
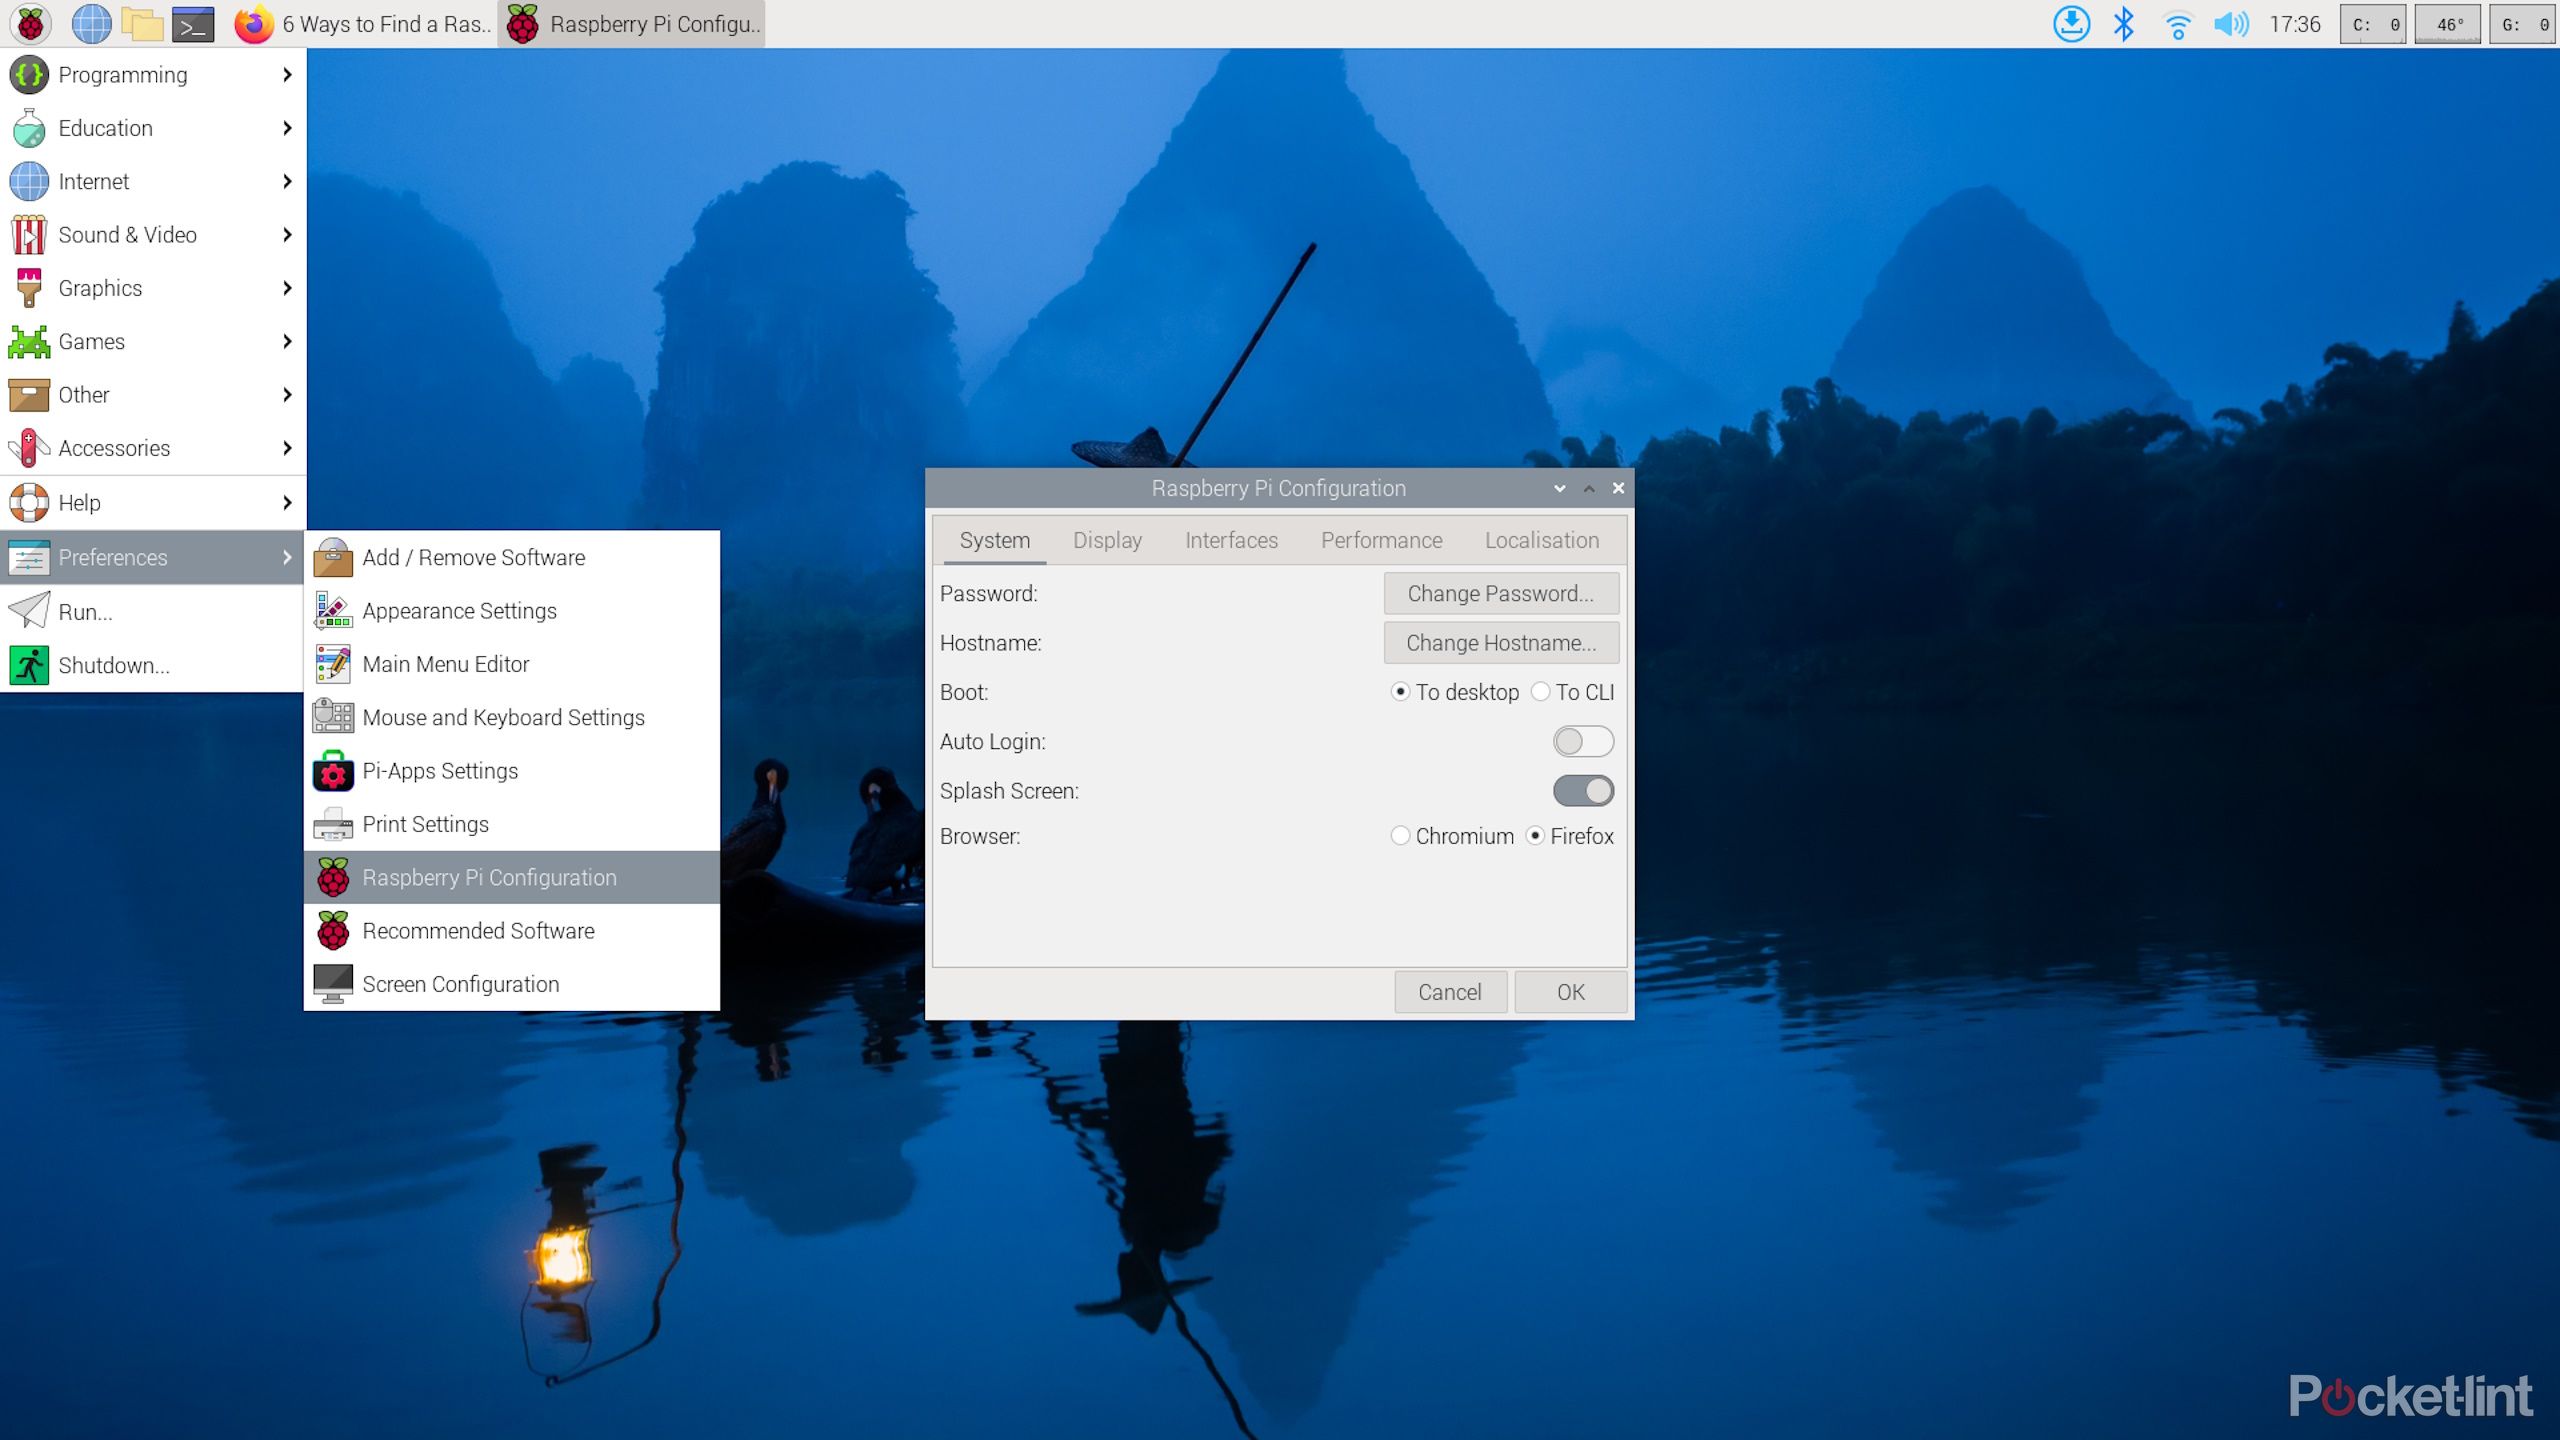
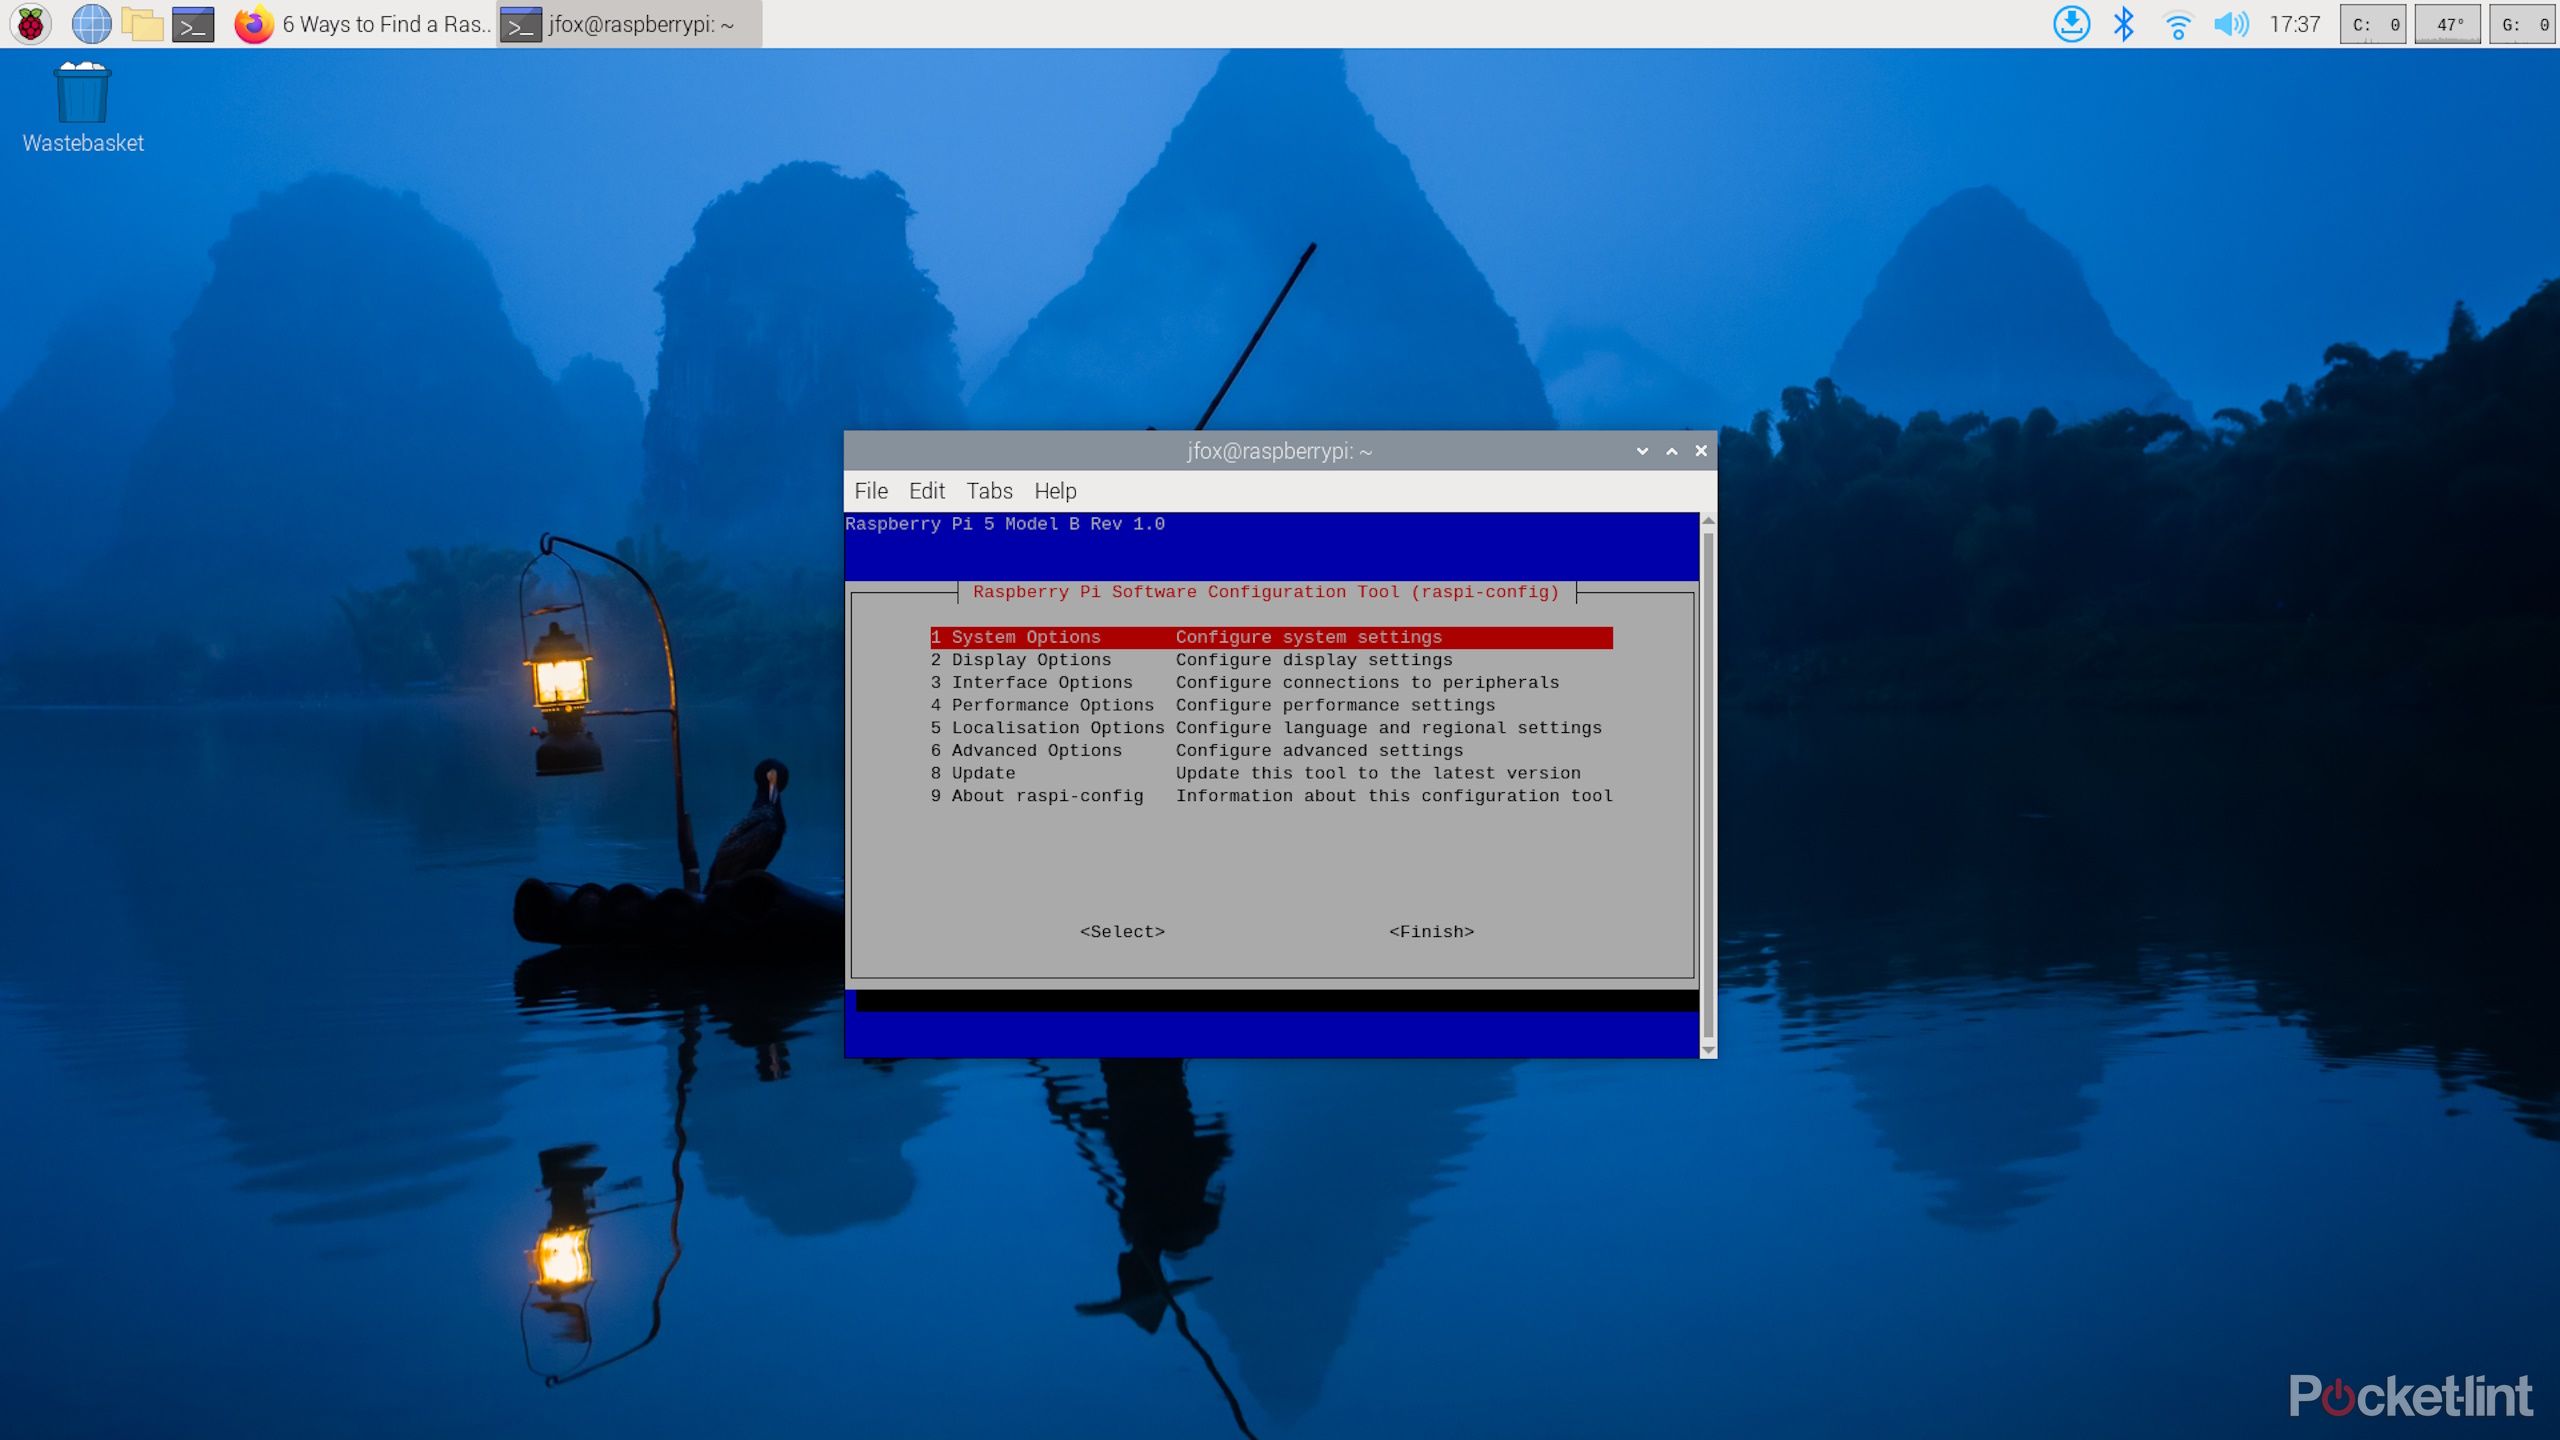
The Raspberry Pi system Configuration tool is one of the first things to get used to using when tinkering with your Raspberry Pi. It allows you to change all kinds of RPi settings, from network options to boot, interfacing, and performance options. Perhaps most importantly, given the RPi’s varied connectivity ports, it’s where you can configure the device’s interfacing options.
You have two ways of opening the Configuration tool. First, you can go to the Raspberry Pi menu icon > Preferences > Raspberry Pi Configuration.
If you want to access the Terminal version, open the Terminal (Ctrl + Alt + T) and type sudo raspi-config, then enter your password.
8 Connect to your Raspberry Pi remotely
Use SSH to access your Pi
Many Raspberry Pi projects involve accessing and interacting with the Raspberry Pi from a different device, like your laptop or tablet.
Connecting remotely to your Raspberry Pi from a Windows PC can be an easy way to practice using the Linux command line without having to leave the comfort of your home OS.
This is where Secure Shell (SSH) comes in. On both Windows and Mac, you can use SSH to connect to your Raspberry Pi’s terminal.
First, make a note of your Raspberry Pi’s IP address. Then, enable SSH on your RPi in the Raspberry Pi Configuration Tool. Now, you can connect to your RPi on Mac or Windows.
How to connect via SSH on macOS
-
Go to
Applications > Utilities > Terminal -
Enter
ssh <username>@<IP>
, replacing the enclosed elements with your Raspberry Pi’s username and IP address, respectively.
How to connect via SSH on Windows
-
Right-click
the
Windows menu icon
and select
Terminal (Admin)
or PowerShell. -
Enter
ssh <username>@<IP>
, replacing the enclosed elements with your Raspberry Pi’s username and IP address, respectively.
9 Run Raspberry Pi OS from a USB SSD
Because it’s faster and more reliable
Raspberry Pi OS is usually installed on a MicroSD card, to begin with, because it’s cheap and easy to do so. And with the Raspberry Pi 5, the SD card speeds aren’t too bad at all. But SD cards are prone to data corruption, and they’re not very fast or reliable compared to an SSD.
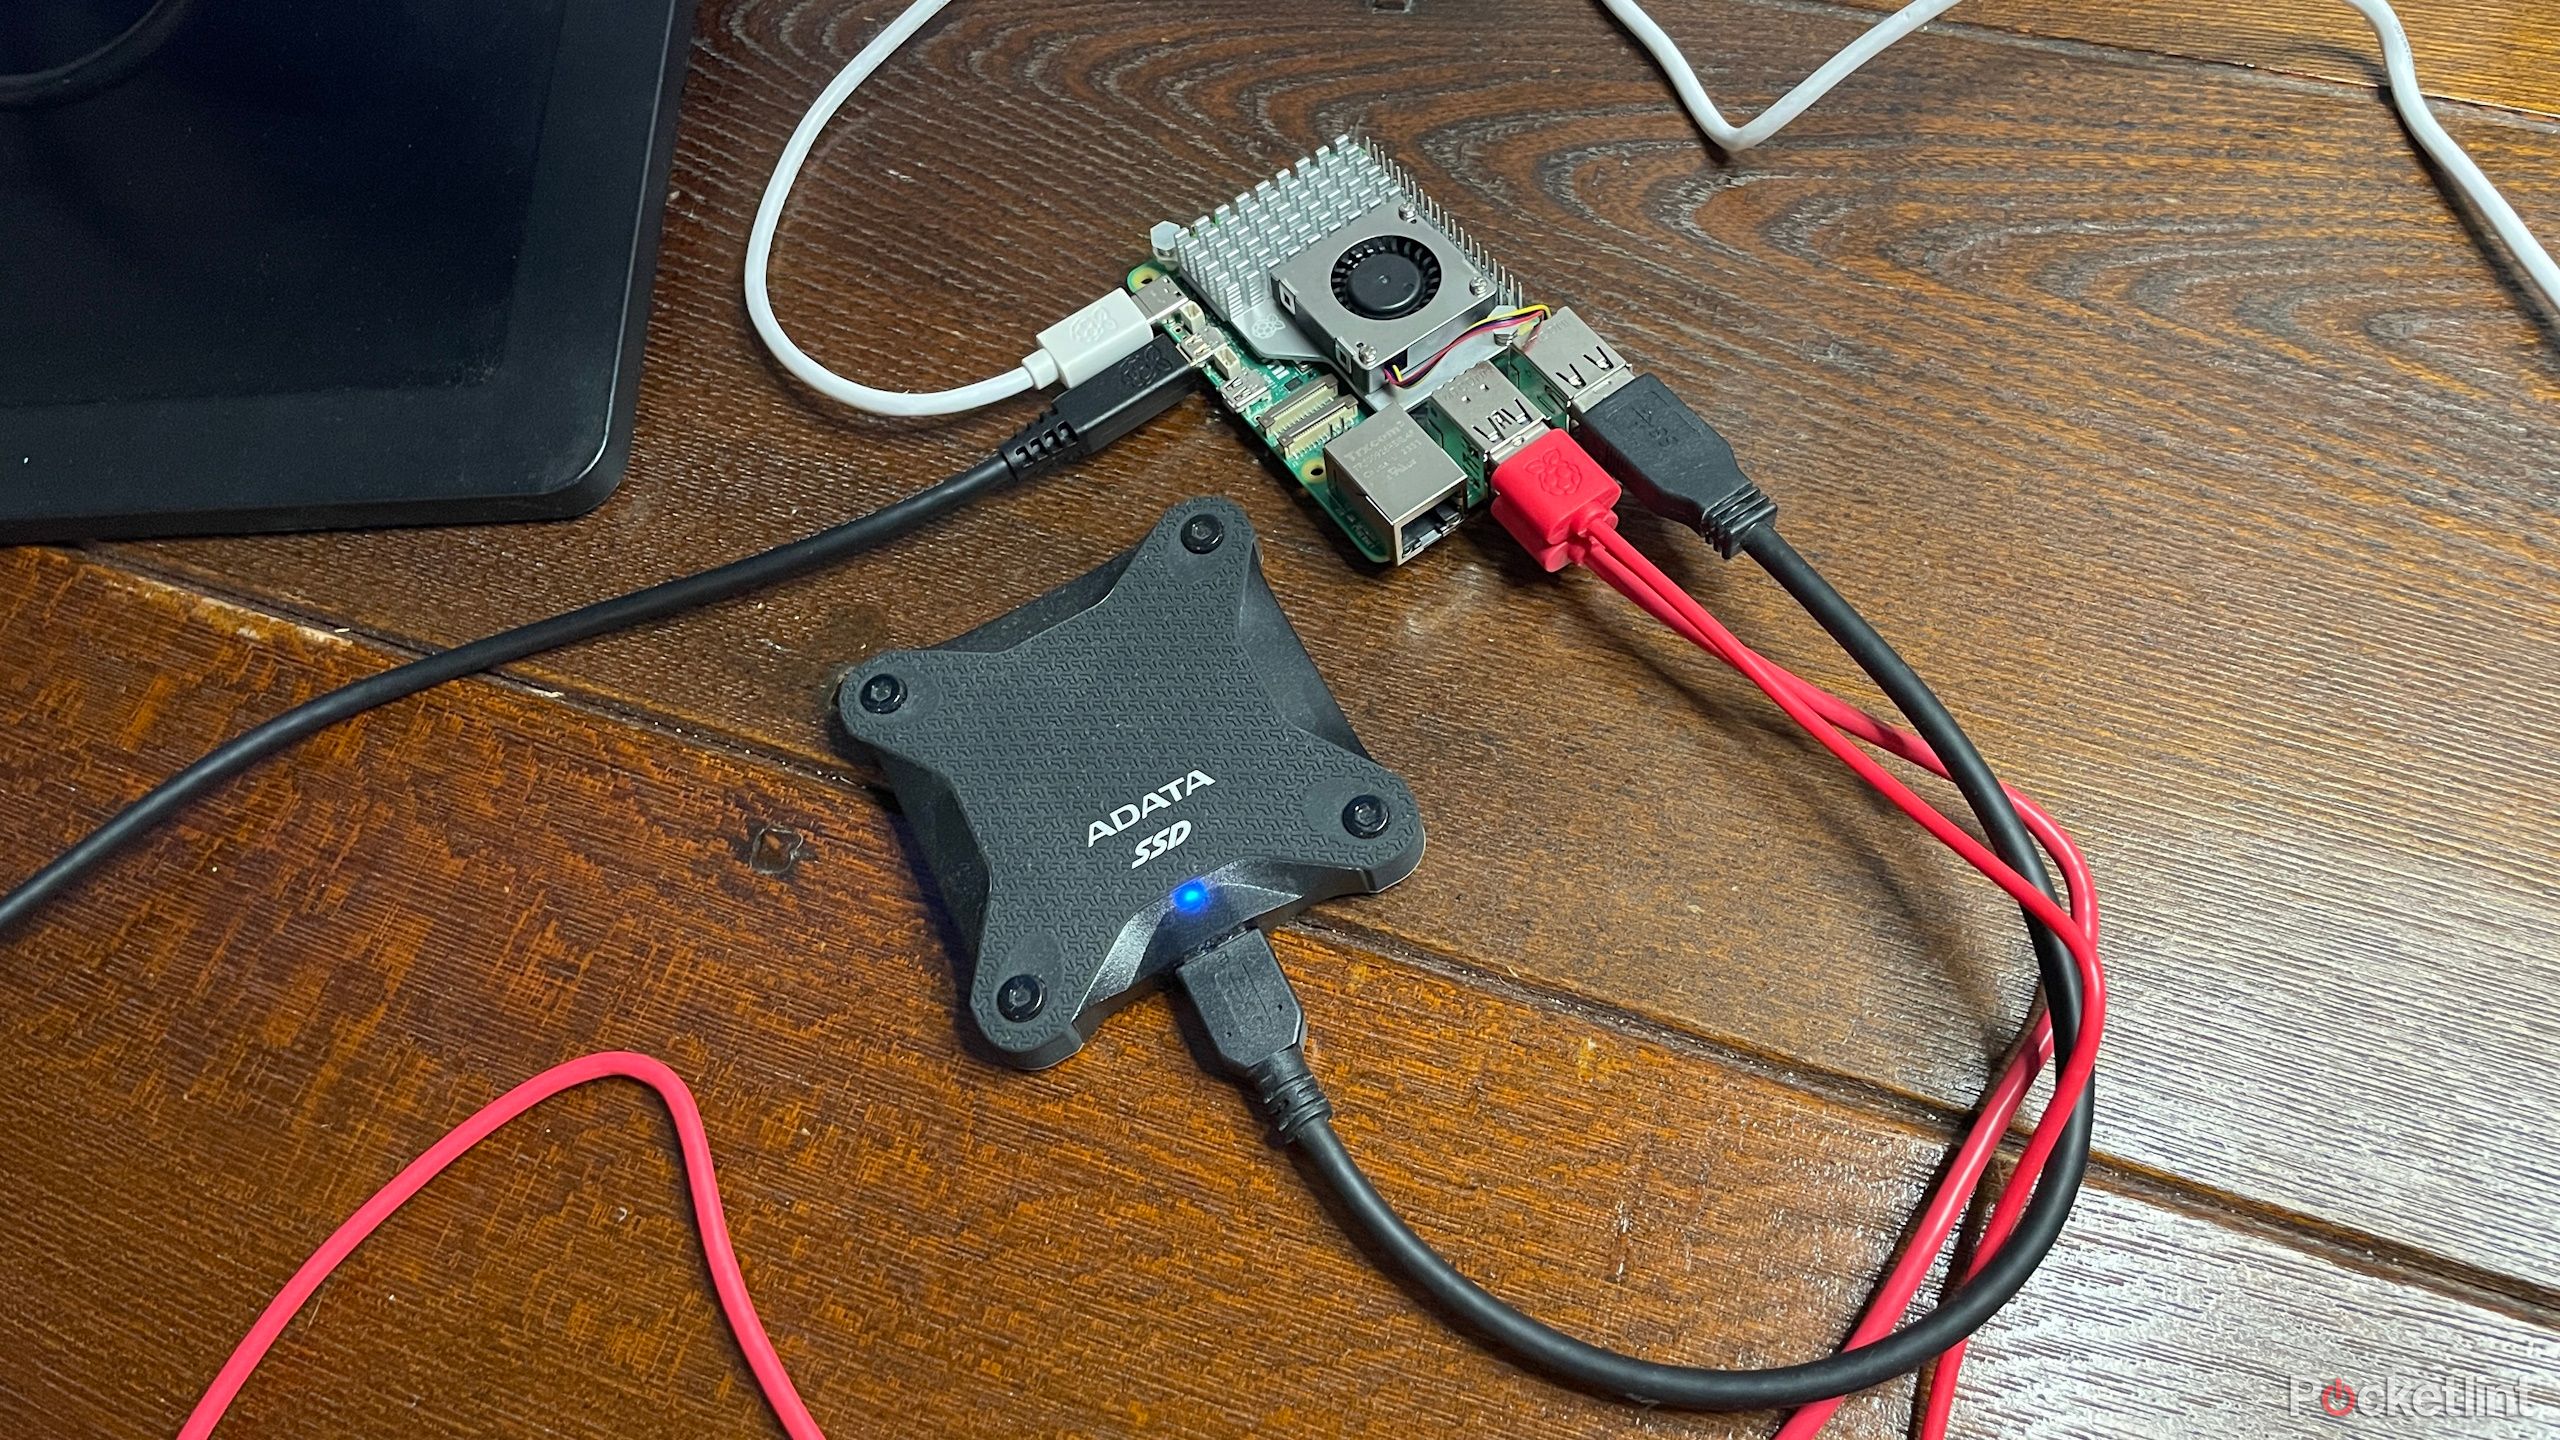
The good news is there are plenty of speedy, capacious, reliable USB SSDs ready and waiting to be used to host Raspberry Pi OS for you. You’ll need a MicroSD reader, a spare MicroSD card, a PC, and a USB SSD.
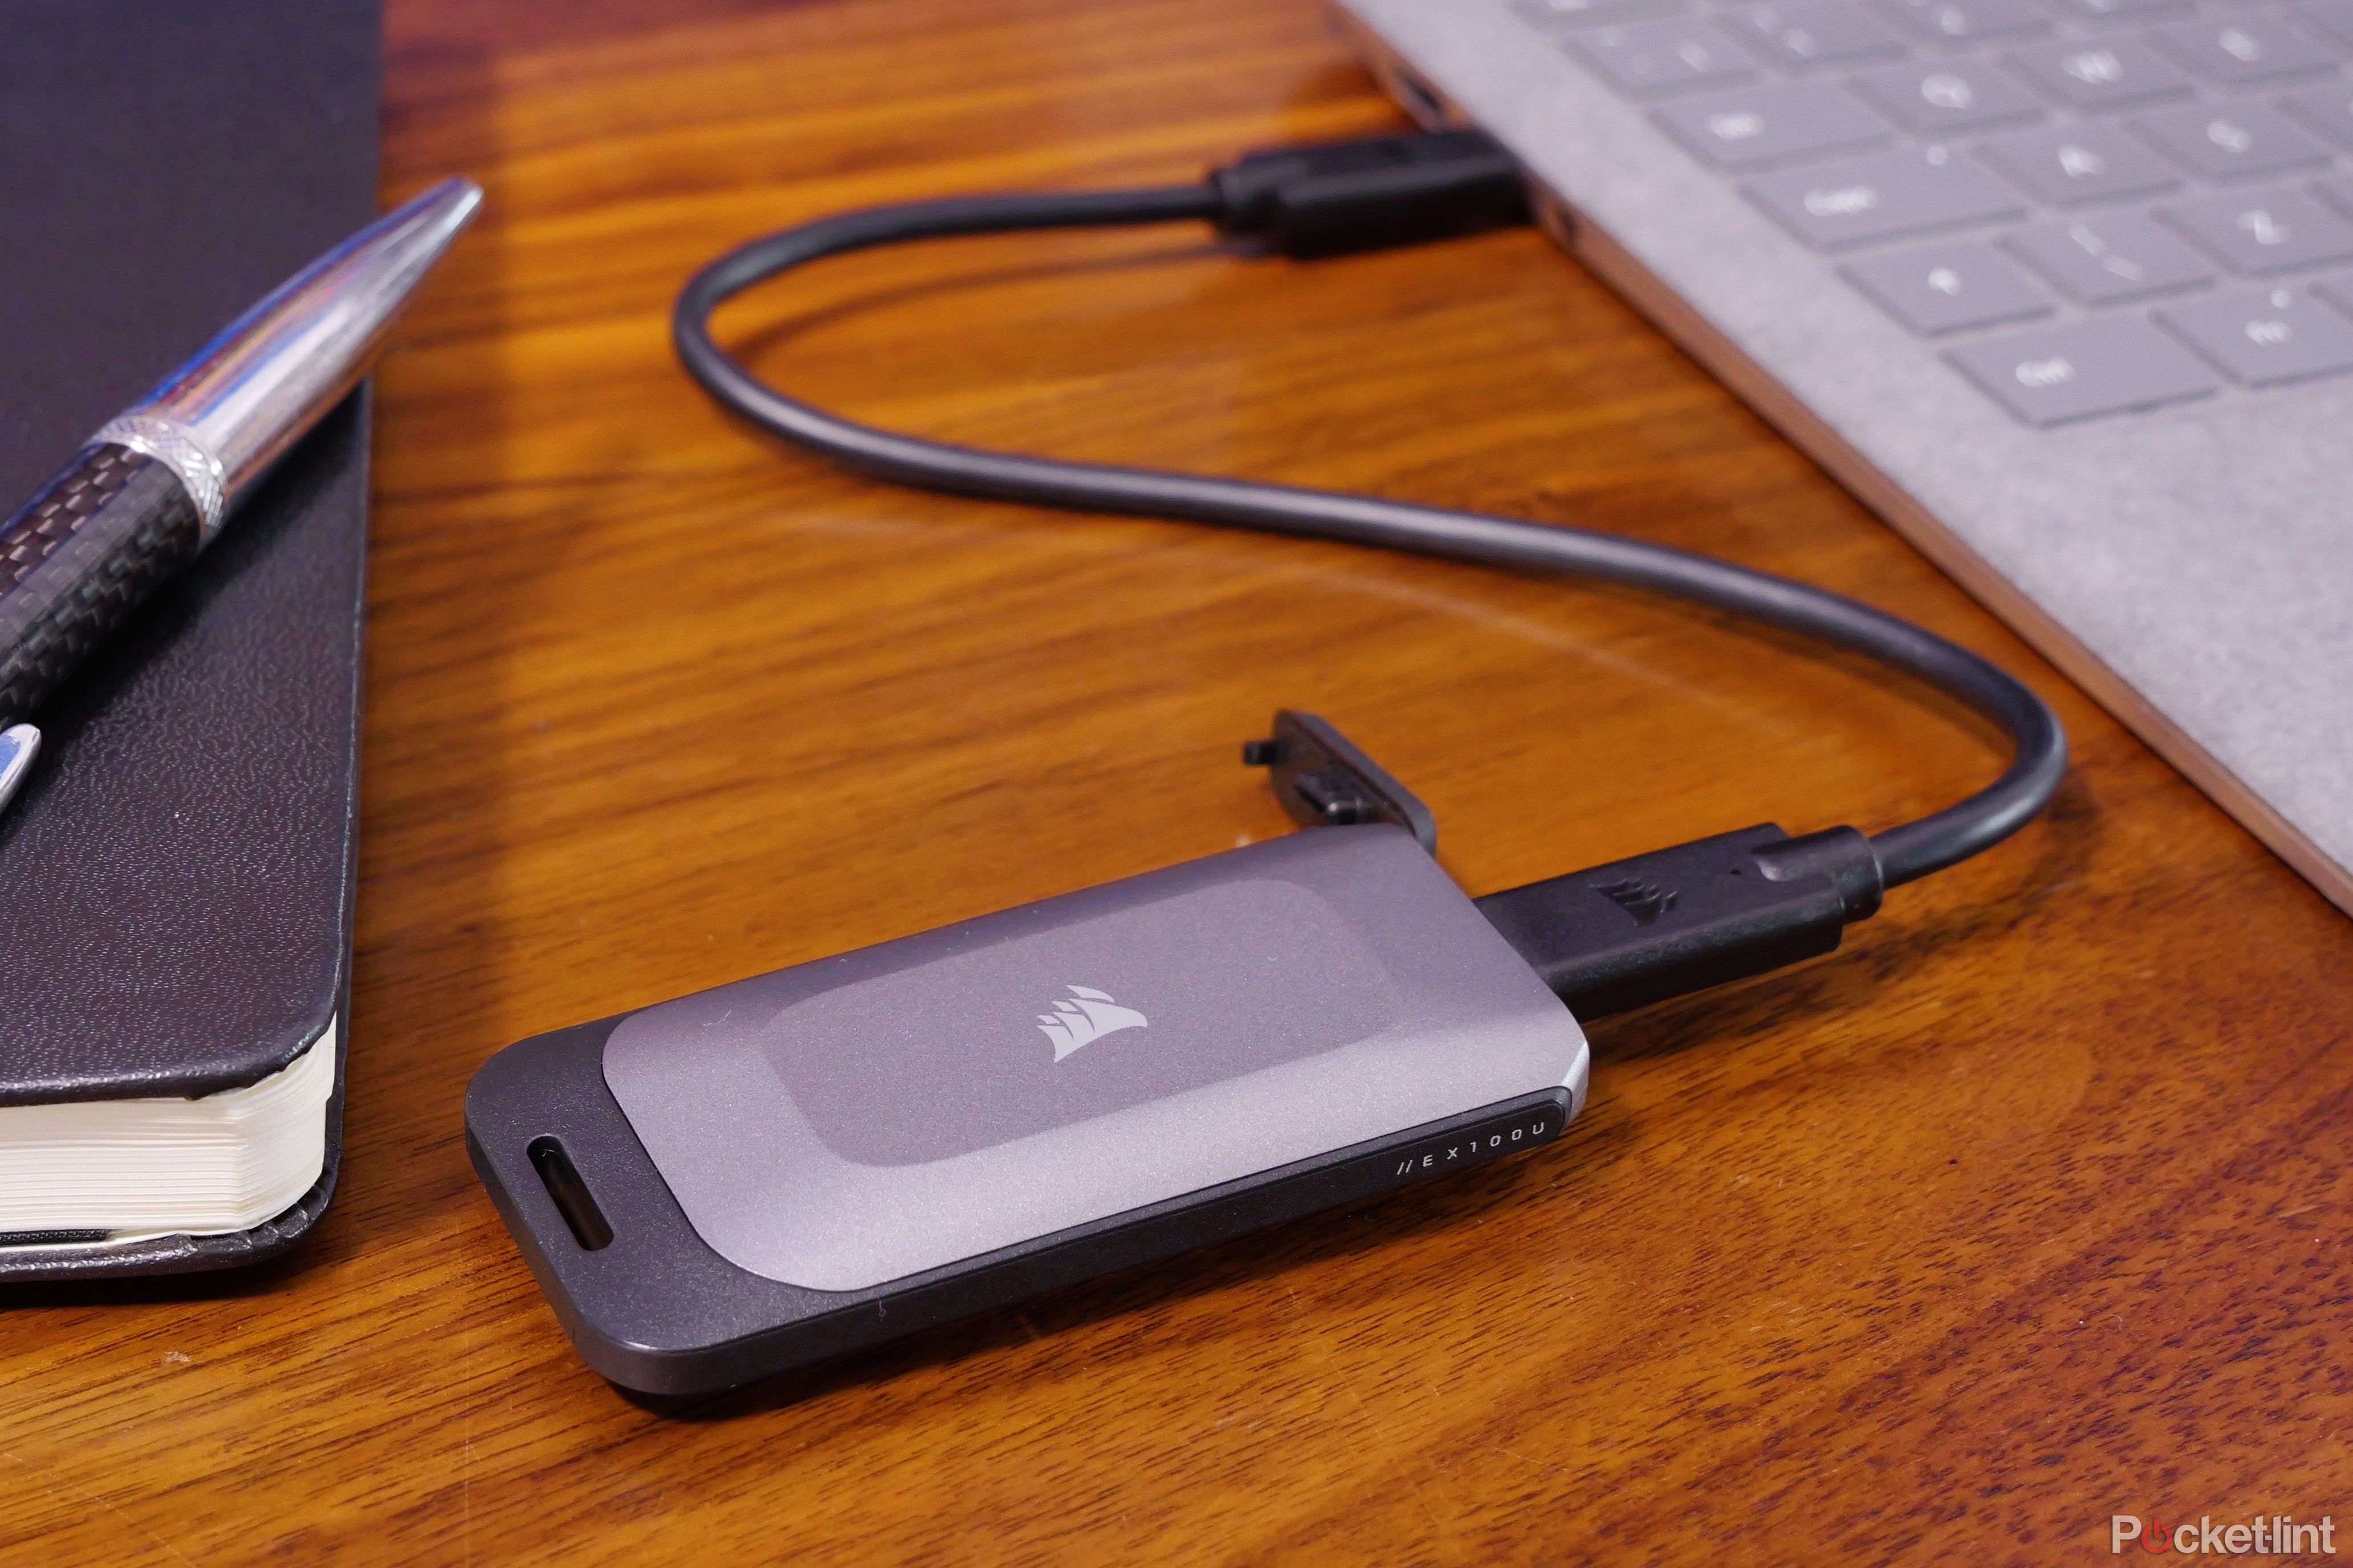
Best external hard drives and SSDs: Top portable external drives for your Mac or PC
What are the best external SSDs when you need a boost in storage? We’ve got you covered with the options.
To run Raspberry Pi OS from a USB SSD, do the following:
-
Download and install the
Raspberry Pi Imager
on your PC -
Use the
Raspberry Pi Imager
to flash a
USB bootloader
on your spare
MicroSD card -
Insert this MicroSD
into your Raspberry Pi,
turn your RPi on
, and wait until the
RPi’s LED blinks green regularly
. -
Turn off
the Raspberry Pi and
remove the MicroSD card
. -
Connect your USB SSD
to your PC -
Use the
Raspberry Pi Imager
to
flash Raspberry Pi OS
to your SSD -
Connect the SSD
to your Raspberry Pi and
boot up


