

Not everything on your Android phone has to be turned on or off manually. You can automate many tasks on your phone, letting it do useful things on its own. Here are some useful automations to use on your device.
The exact steps to follow vary by the phone model you use. I have performed the following steps on a Google Pixel 9 Pro XL running Android 15.
Schedule Do Not Disturb Mode
You can get your phone to automatically mute notifications and other items by scheduling Do Not Disturb mode. Your phone will then turn the mode on and off at the specified time.
To do that, launch Settings on your phone and select “Modes.” Choose “Create Your Own Mode.” On the Create a Mode screen, select “Custom.” Tap the “Mode Name” field and type a name for the mode. This could be something like Scheduled DND Mode. From the icon list, choose an icon for your mode. Then, in the bottom-right corner, tap “Done.”
Next up, select “Set a Schedule” to turn on and off the mode at the specified time. On the Schedule Based On screen, choose “Day and Time” and select when you want to enable and disable the mode.
You’ve successfully created a custom mode that disables notifications at the specified time on your phone. In the future, you can come back to the Modes screen to rename, edit, and even delete the mode.
Schedule Text Messages
Whether you want to wish someone a happy birthday or you want to remind someone to do something in the future, you can schedule text messages on your Android phone. This way, your phone sends your pre-composed message on the specified date and time.
To do that, launch the Google Messages app on your phone. In the app’s bottom-right corner, tap “Start Chat” to compose a new message. Select the contact who you want to send the message from the list. Type the message you want to send. Tap and hold on the “Send” button until you get the Schedule Send prompt. Here, select the date and time when you want your phone to send the message.
Your phone will save your typed message and send it to the chosen recipient at the specified date and time.

Related
10 Google Messages Features You Should Be Using
The Messages app has more features than meet the eye.
Silence Phone During Bedtime
You can use your phone’s Bedtime feature to silence all the notifications and other sounds when it’s your bedtime. This lets you sleep peacefully without any interruptions.
To set it up, open Settings on your phone and select “Modes.” Choose “Bedtime” from the mode list and select “Bedtime Routine.” On the Set Up a Bedtime Mode screen, choose from what time to what time you sleep. Make sure to select the “Use a Schedule” option. Then, in the bottom-right corner, tap “Done.”
Back on the Bedtime screen, tap “Alarms & Other Interruptions,” and choose what you want to disable or keep enabled.
Automatically Fill in Details With Google
If you often have to fill in the same details about yourself on various sites, you can fetch those details from your Google account and have your phone fill those details for you. To do that, launch Settings, scroll down, and select “Security & Privacy.” At the bottom of the screen, tap “More Security & Privacy.”
On the following page, choose “Autofill Service From Google.” Turn on the “Use Autofill With Google” toggle.
From now on, when you tap a field whose detail is saved in your Google account, your phone will prompt you to populate that field from the saved details.
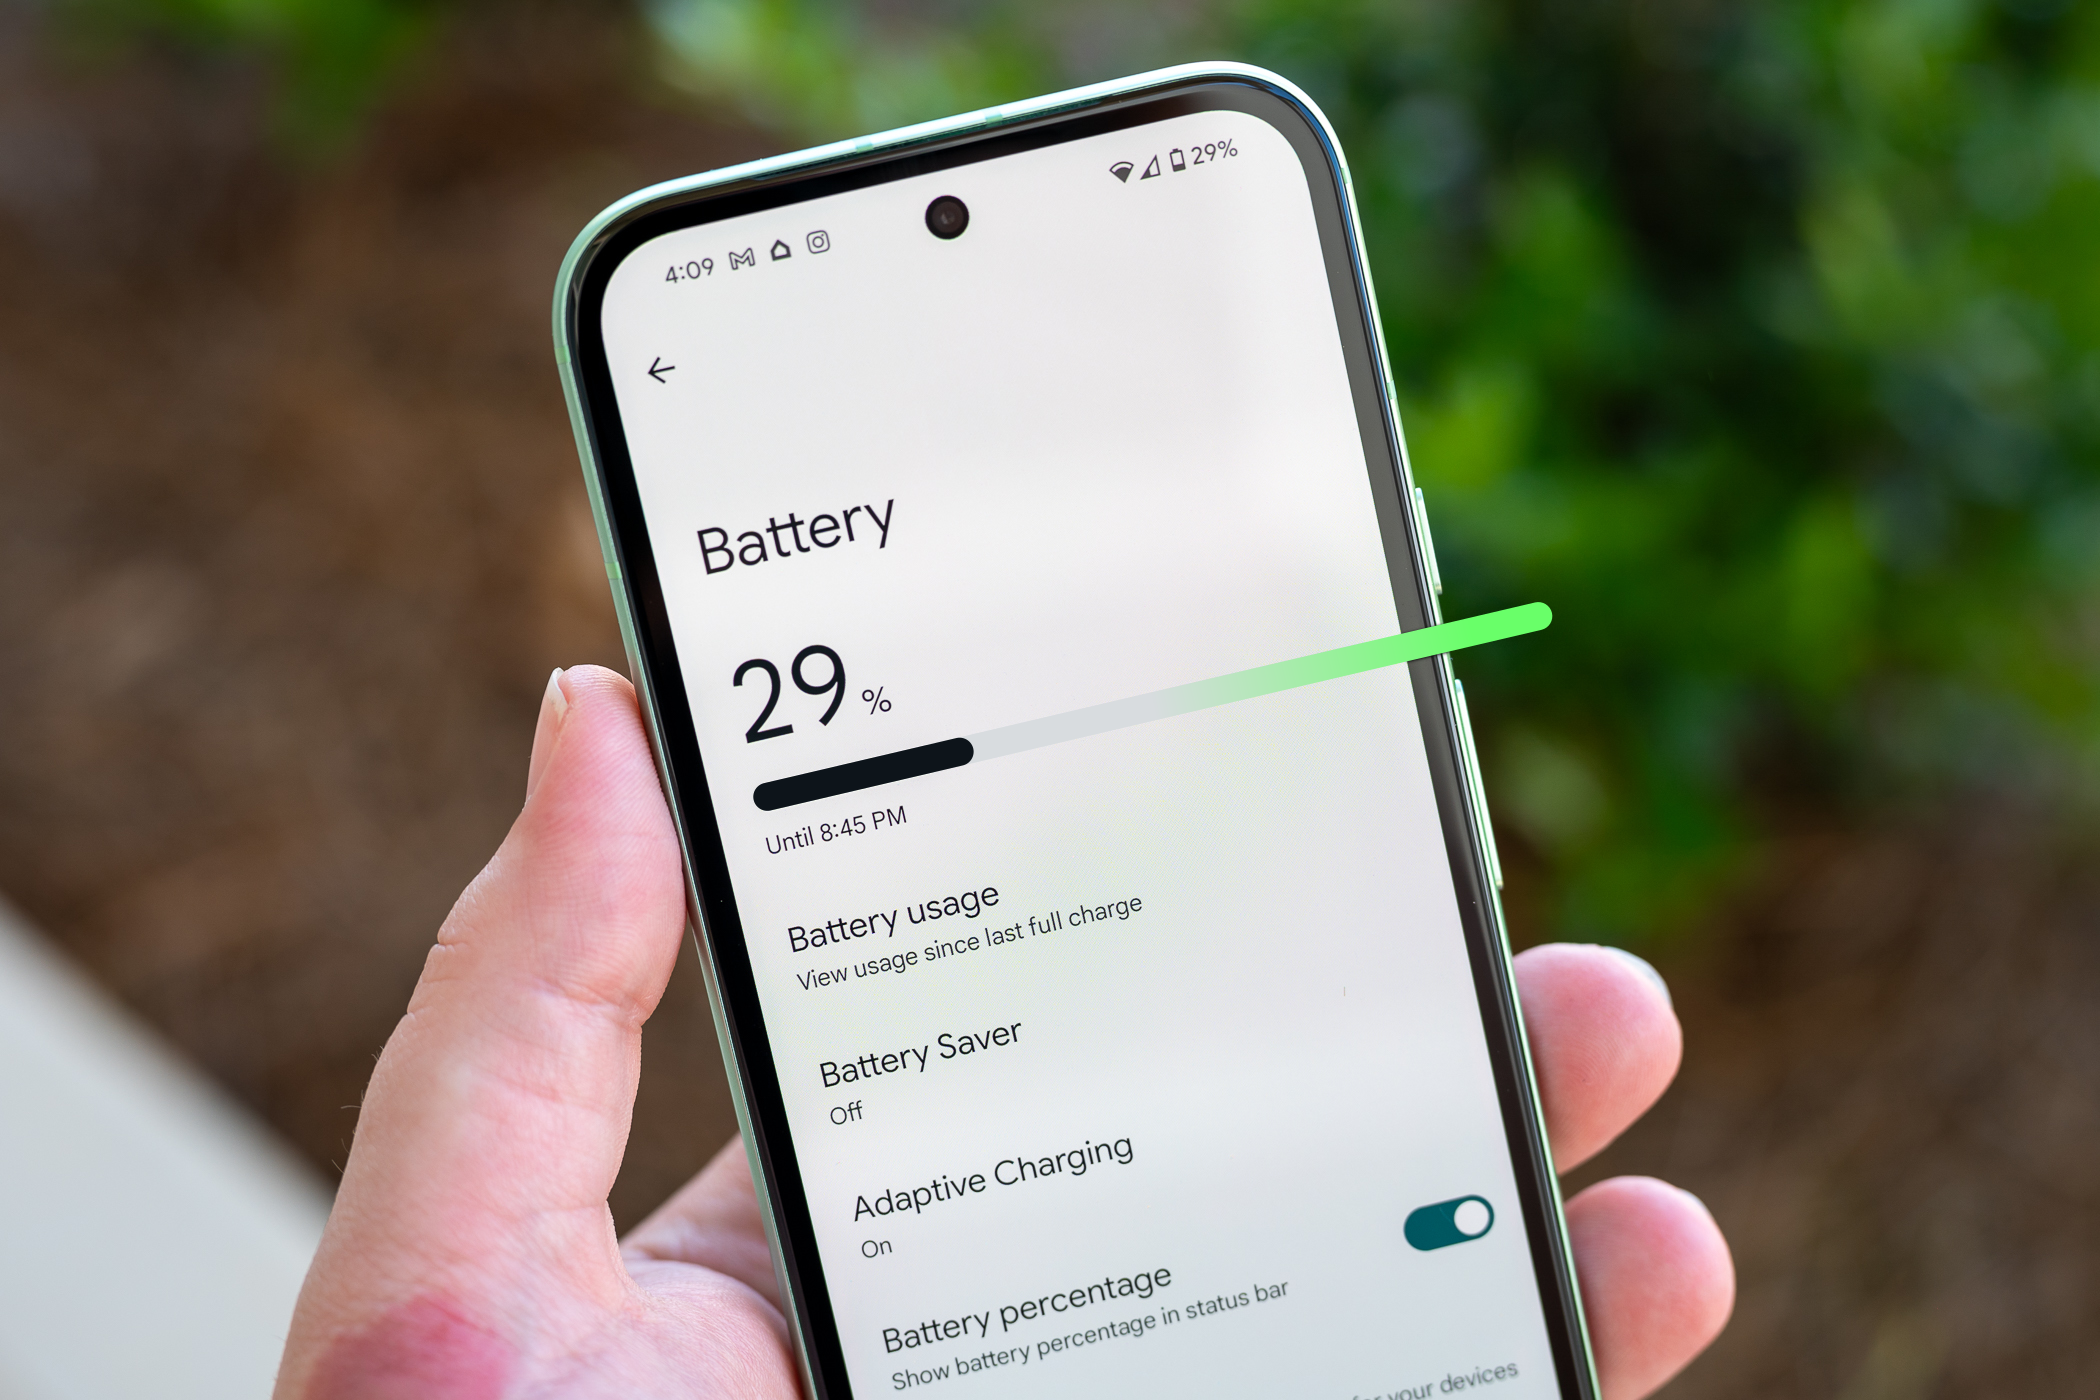
Toggle Battery Saver On and Off
Android’s battery-saver mode helps you conserve battery juice when you’re running low on it. Luckily, you don’t have to manually find and enable this option when your phone’s battery is low, as your phone can automatically turn this feature on (and off) for you.
To set that up, open Settings and choose “Battery.” Select “Battery Saver” to configure the feature. Depending on your phone’s model, you might also see an Extreme Battery Saver mode.
Select “Schedule and Reminders.” On the following page, activate “Turn On Based on Battery Level.” Use the slider to select when to enable the battery-saver mode.
To make sure your phone turns off the mode when your phone is charged 90%, enable the “Turn Off at 90%” toggle.
Block Distracting Apps
Android offers a mode called Focus that lets you block distracting apps. When you enable this mode, your phone blocks all the apps that you’ve marked as distracting. This lets you focus on the task that you’re working on.
To configure that mode, head into Settings > Digital Wellbeing & Parental Controls > Focus on your phone. From the app list, choose the apps that you find distracting. Your phone will block these apps when you enable Focus mode.
Then, at the top, select “Set a Schedule” so your phone automatically enables and disables this feature. On the Set a Schedule screen, choose when you want to activate and deactivate the feature. Then, tap “Set.”
Your phone will now enable Focus at the specified time. This blocks the apps you’ve chosen. Then, when the mode is deactivated, you’ll be able to access your apps again.
Automatically Enable and Disable Dark Mode
If you manually switch between dark and light modes, you can now get your phone to automatically switch between them using your chosen schedule. To do that, open Settings and select Display & Touch > Dark Theme. Do not enable the Dark Theme option yet.
On the following screen, tap “Schedule” and choose “Turns On at Custom Time.” Select “Start Time” and choose when dark mode should turn on. Select “End Time” and choose when the phone should switch to light mode.
Your phone will now automatically switch between those two modes.
Turn On Wi-Fi Automatically
To save battery and mobile data, you can use a Wi-Fi preference option that automatically turns on Wi-Fi when you’re near a high-quality saved network. Examples include your home and office Wi-Fi networks.
To enable that feature, on your phone, head into Settings > Network & Internet > Internet and tap “Network Preferences” at the bottom. On the following screen, activate the “Turn On Wi-Fi Automatically” toggle.
Automatically Back Up New Photos and Videos
You can get the Google Photos app on your phone to automatically back up any new photos and videos you take. This frees you from the worry that you’ll lose your media if you lose your phone. Setting this up is easy and quick.
Launch the Google Photos app on your device. In the top-right corner, tap your Google profile icon. In the open menu, choose “Photos Settings.” On the following screen, select “Backup” to view the available backup options.
Turn on the option that says “Backup,” and the app will start backing up your media content.
If you ever fill up your entire account storage, you can upgrade your plan with Google to get more storage space for your items.
And that’s how you can take some stress out of your life by automating tasks on your Android phone. There’s also a third-party app called IFTTT that helps with advanced automation on your phone.

