You don’t need expensive gear to capture high-quality audio. With the right approach, you can achieve professional-grade recordings using just your phone. Here are some practical tips to help you produce clear, crisp, and distraction-free recordings, omitting the need for a high-end external microphone.
1 Finding a Quiet Environment
Minimizing background noise is the first step to capturing clear audio. I always try to record audio in a quiet location—like a basement room or a secluded area away from traffic, voices, and other distractions. This minimizes unwanted noise, allowing me to capture higher-quality recordings without background disturbances.
If a quiet setting isn’t available, you can still reduce noise by closing windows, switching off fans, and unplugging loud devices. For outdoor recordings, choose a spot sheltered from the wind and away from busy streets. In short, a quiet environment ensures distortion-free recordings and minimizes the need for post-editing.
2 Position Your Phone Properly
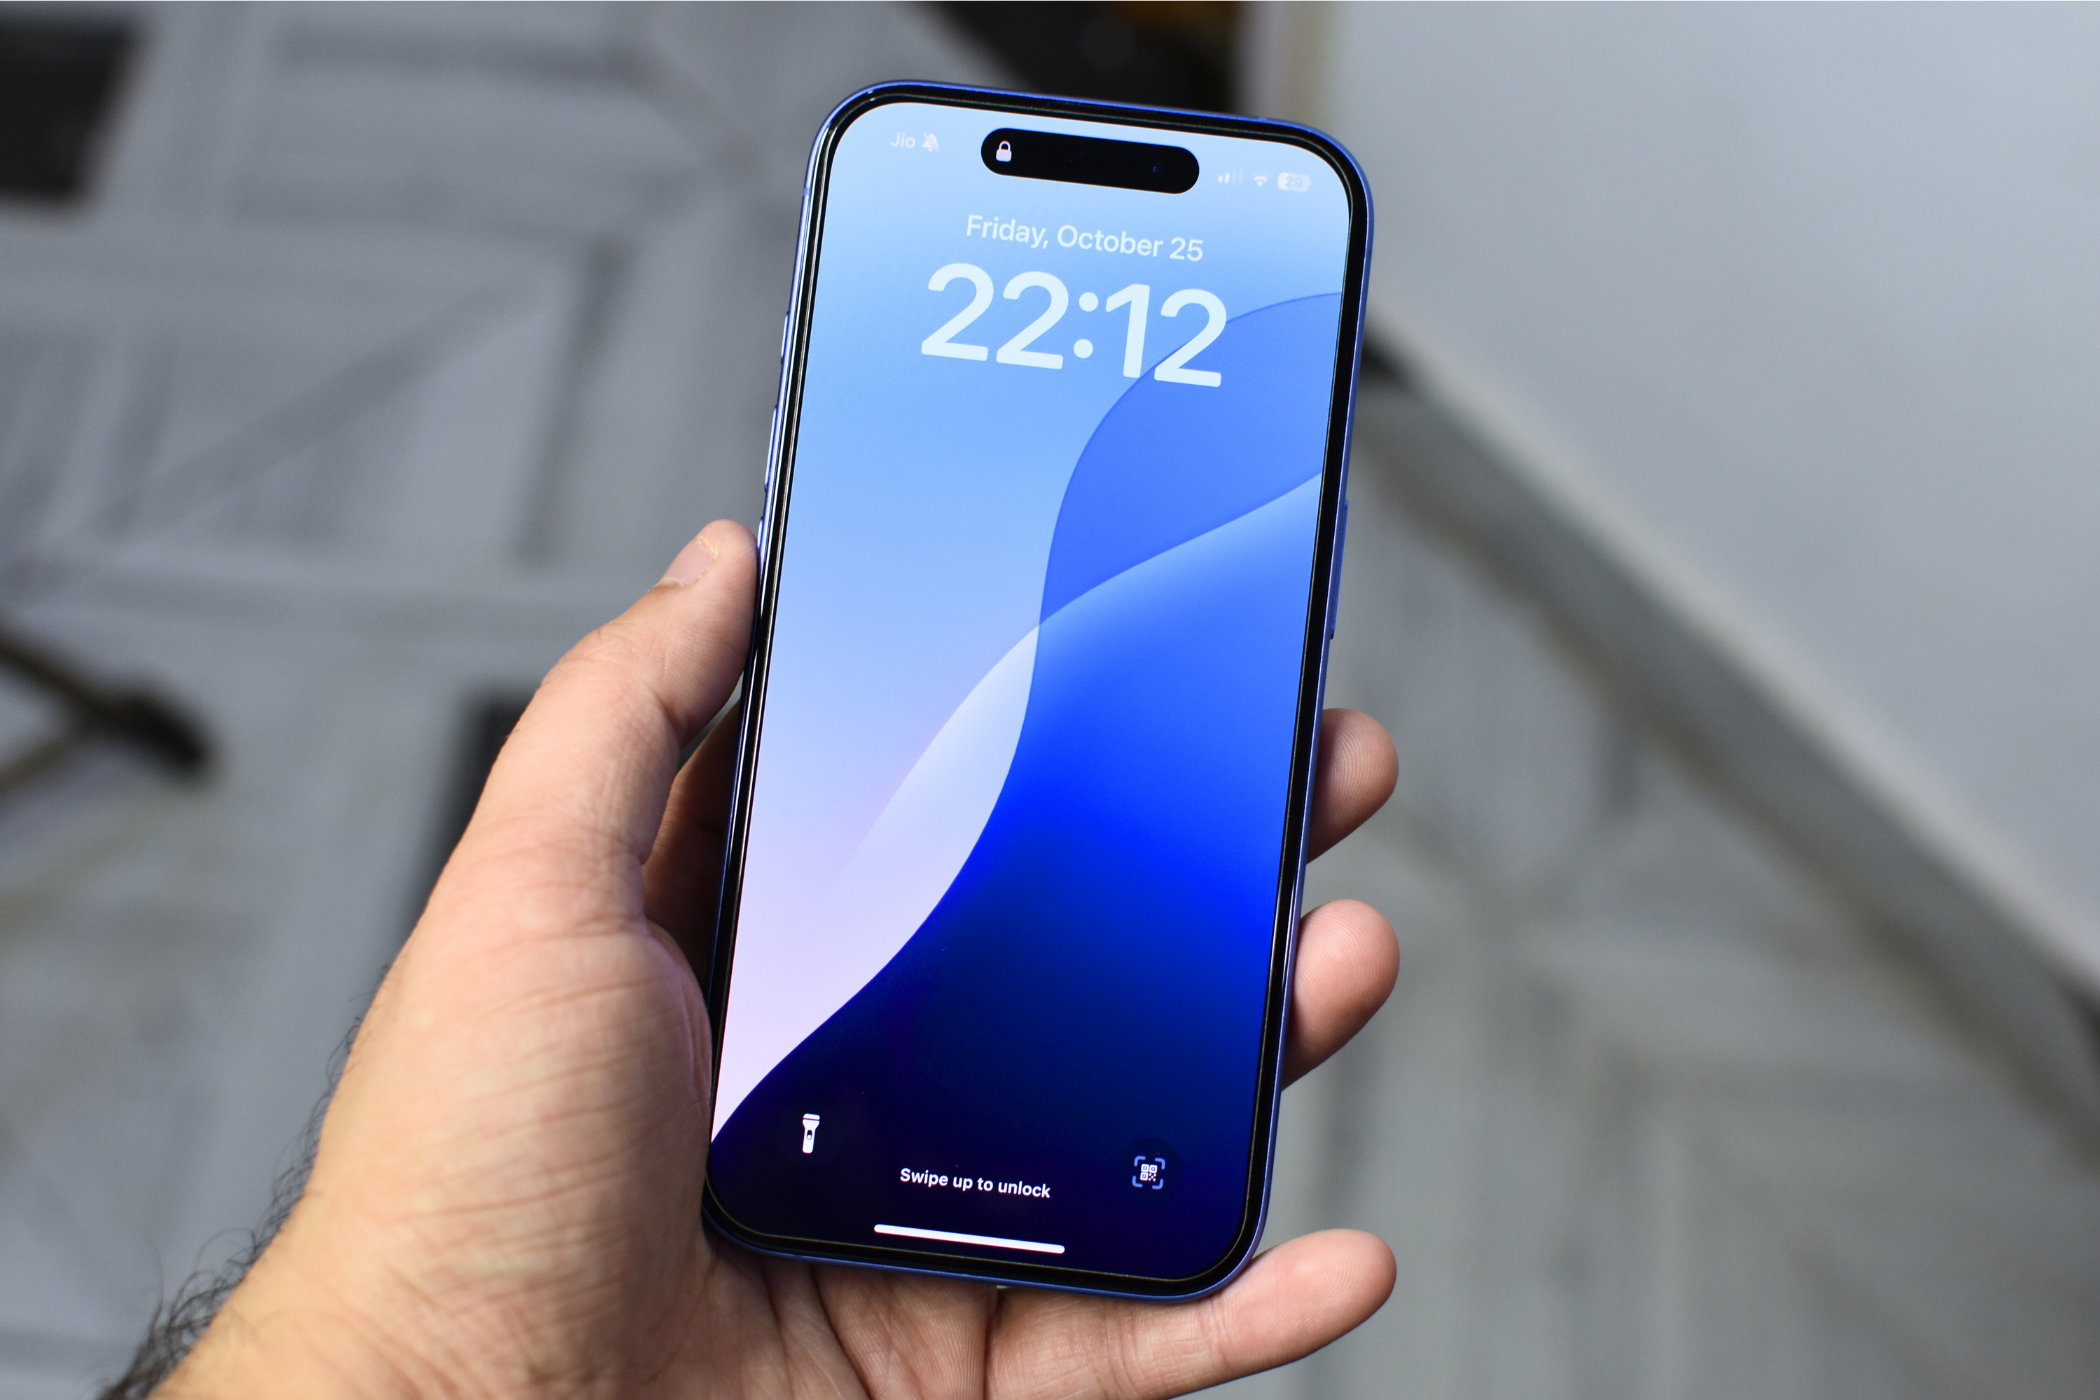
Correct smartphone positioning is key to high audio quality. I always try to place it on a stable surface to prevent any movement-related disturbances. When holding it in my hands or tripod, I try to maintain a consistent distance from my mouth—usually around 8 inches away for clear, undistorted sound.
Even slight movements can cause inconsistencies, so I hold the phone with both hands, keeping my elbows close to my body to minimize shaking. Additionally, I angle the microphone toward the sound source (my mouth) and ensure nothing, like my hand, fingers, or a phone case, is blocking it.
3 Record Close to a Soft Surface
I prefer to record audio near soft surfaces like curtains, carpets, or cushions to reduce echo and reverberation, which is the lingering sound that remains after we stop speaking. Hard surfaces create a hollow effect as sound waves reflect off them, while soft materials absorb these reflections. This helps me get more transparent audio.
If you’re using your phone to record videos, try setting up near a thick rug and hanging a blanket nearby for better sound isolation.
4 Turn On the Airplane and Silent Mode
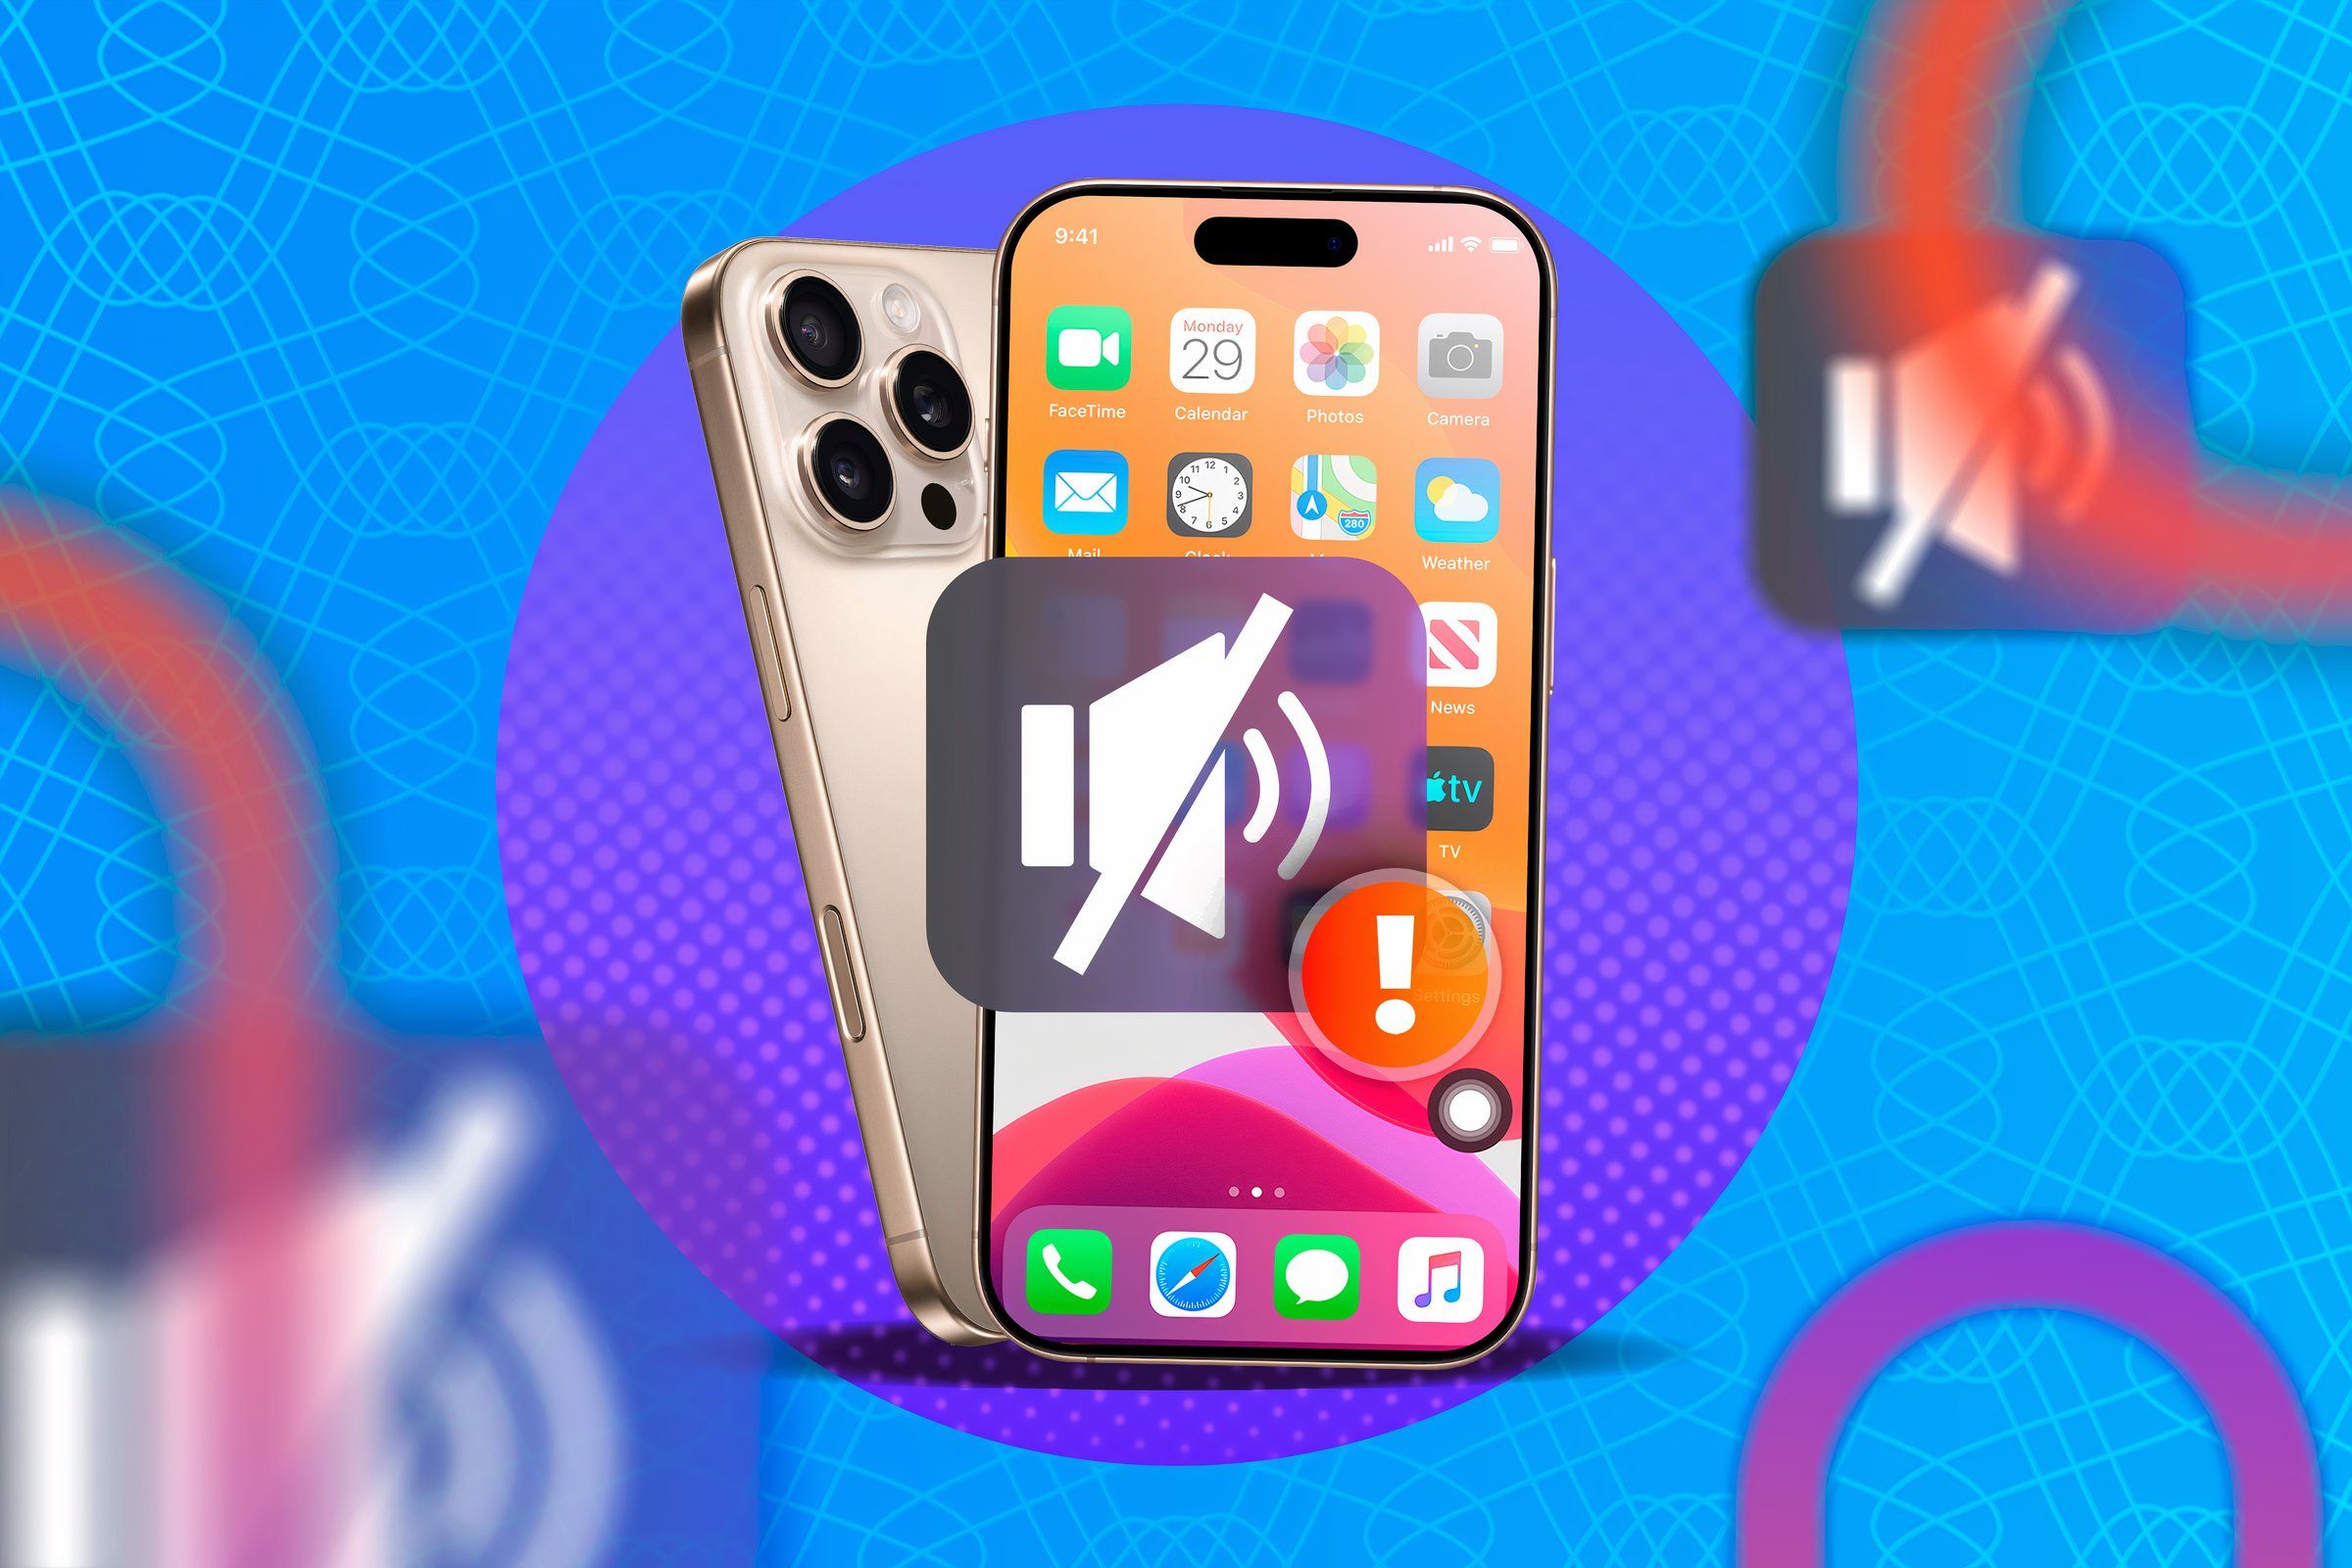
Before starting an audio recording, I always switch my phone to Airplane Mode and turn on Silent Mode. Airplane mode turns off cellular and Wi-Fi signals, preventing interruptions from calls or messages. At the same time, Silent Mode mutes system sounds like notification alerts that the microphone can accidentally pick up.
I also activate both of these modes on my computer, other phones, or any nearby device, so there are no interruptions from calls, notifications, or app alerts. These background noises can be tough to remove in post-editing, so I always enable these settings for a smooth, disturbance-free recording and save myself the hassle later.
5 Record at the Highest Possible Quality
I always record audio at the highest possible quality on my phone. Many smartphones offer advanced audio recording features, such as high-quality or lossless audio, but these are often turned off by default. Check your phone’s default voice recorder app to see if these options are available, and enable them if they are off.
I prefer using higher-quality audio formats like WAV or FLAC to preserve more detail in the recordings, and I avoid using MP3 whenever possible.
6 Keep the Phone’s Microphone Clean
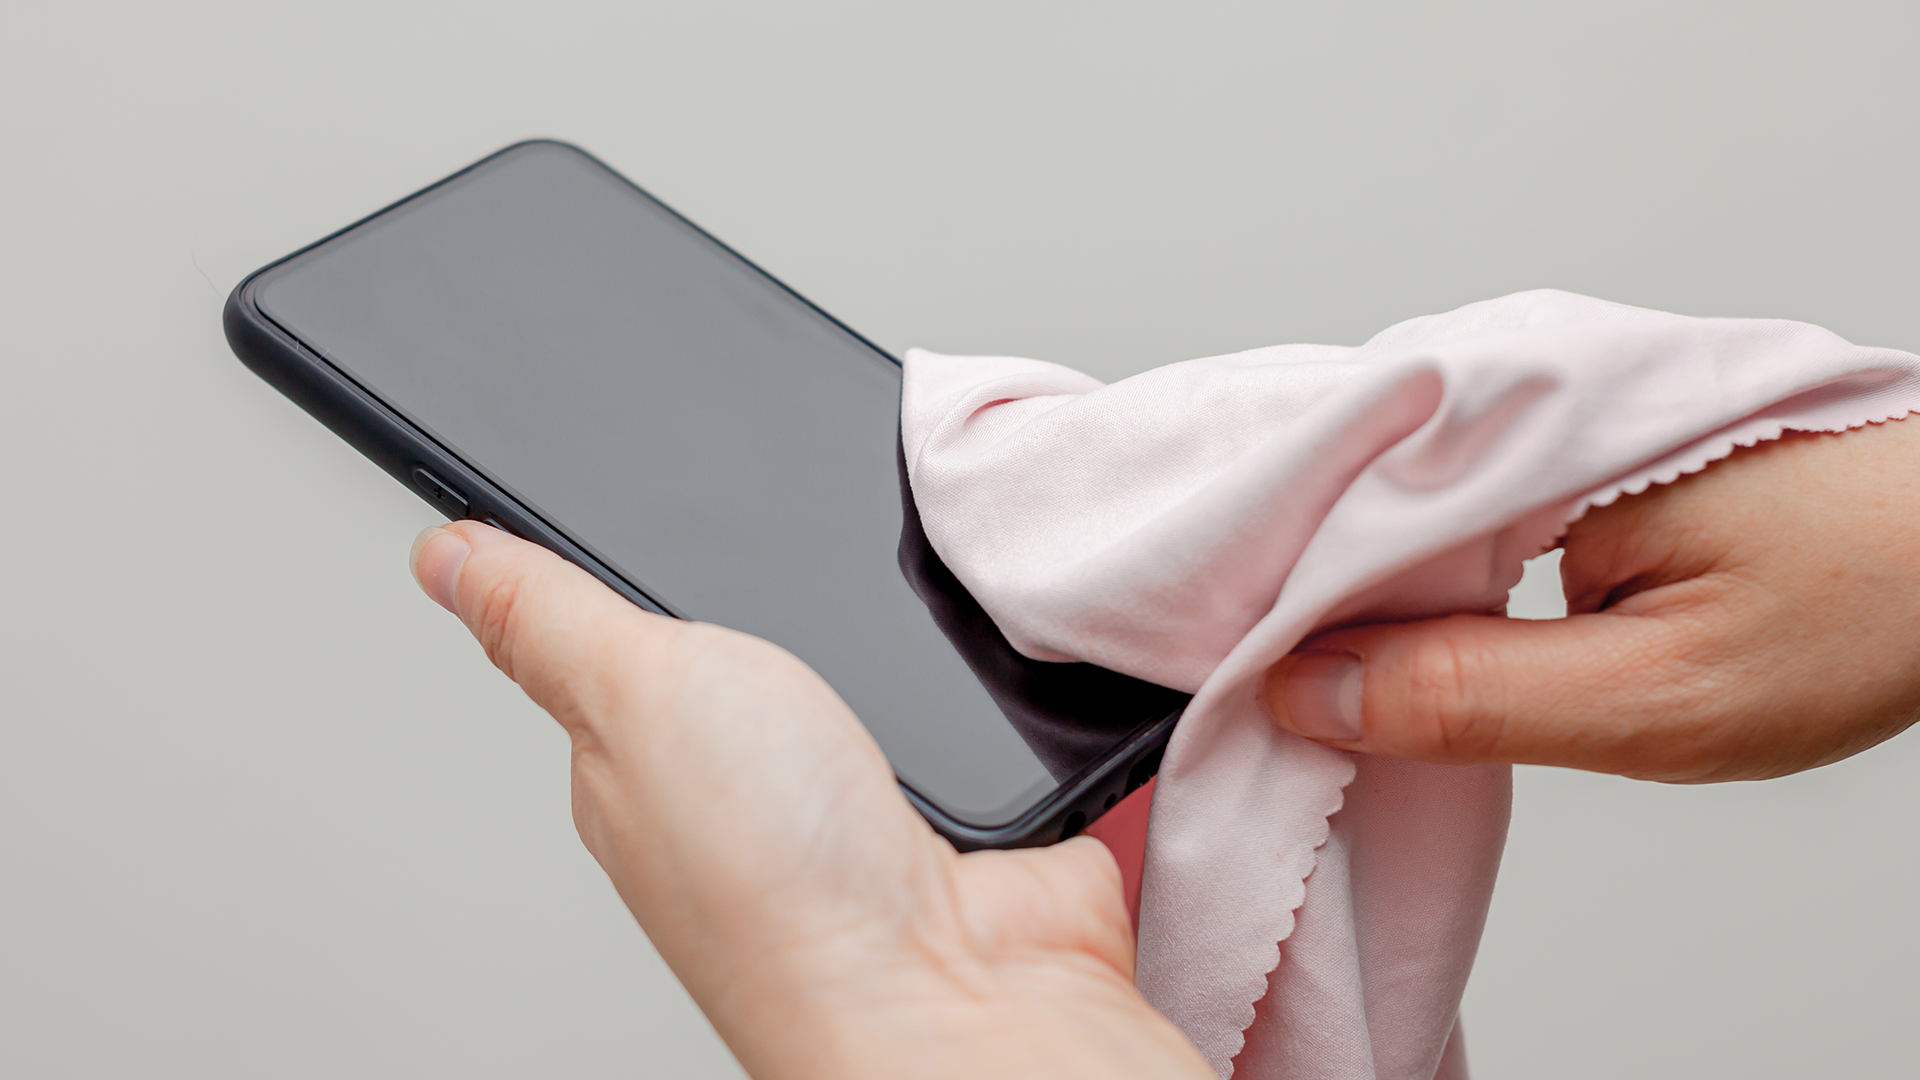
Cleaning the microphone is an essential yet often overlooked step to recording audio at a better quality. Over time, dust, dirt, or lint can accumulate, which muffles the sound and lowers recording quality. To capture clear audio, you must make it a habit to check and clean the microphone area regularly.
I use a soft-bristled brush to remove dust particles gently. You can also use compressed air, but hold it at a slight angle to avoid pushing dirt further in. I avoid using sharp objects, as they can damage the microphone. Lastly, you must keep your phone away from moisture to ensure the microphone stays in top condition.
7 Edit the Audio After Recording
The audio may not always sound perfect, no matter how carefully you record. That’s why I always edit my audio files before sharing or incorporating them into videos. I remove unnecessary pauses to make the audio flow more smoothly and cut out any background noise, mistakes, or other disruptions.
I use the noise reduction features in apps like Audacity or GarageBand to eliminate unwanted hums, static, or other persistent sounds. If some parts of the recording are too quiet or too loud, I use the gain control to even out the volume. I also adjust the tone, bass, and other audio elements to ensure the final result is polished and clear.
8 Use a High-Quality Recording App
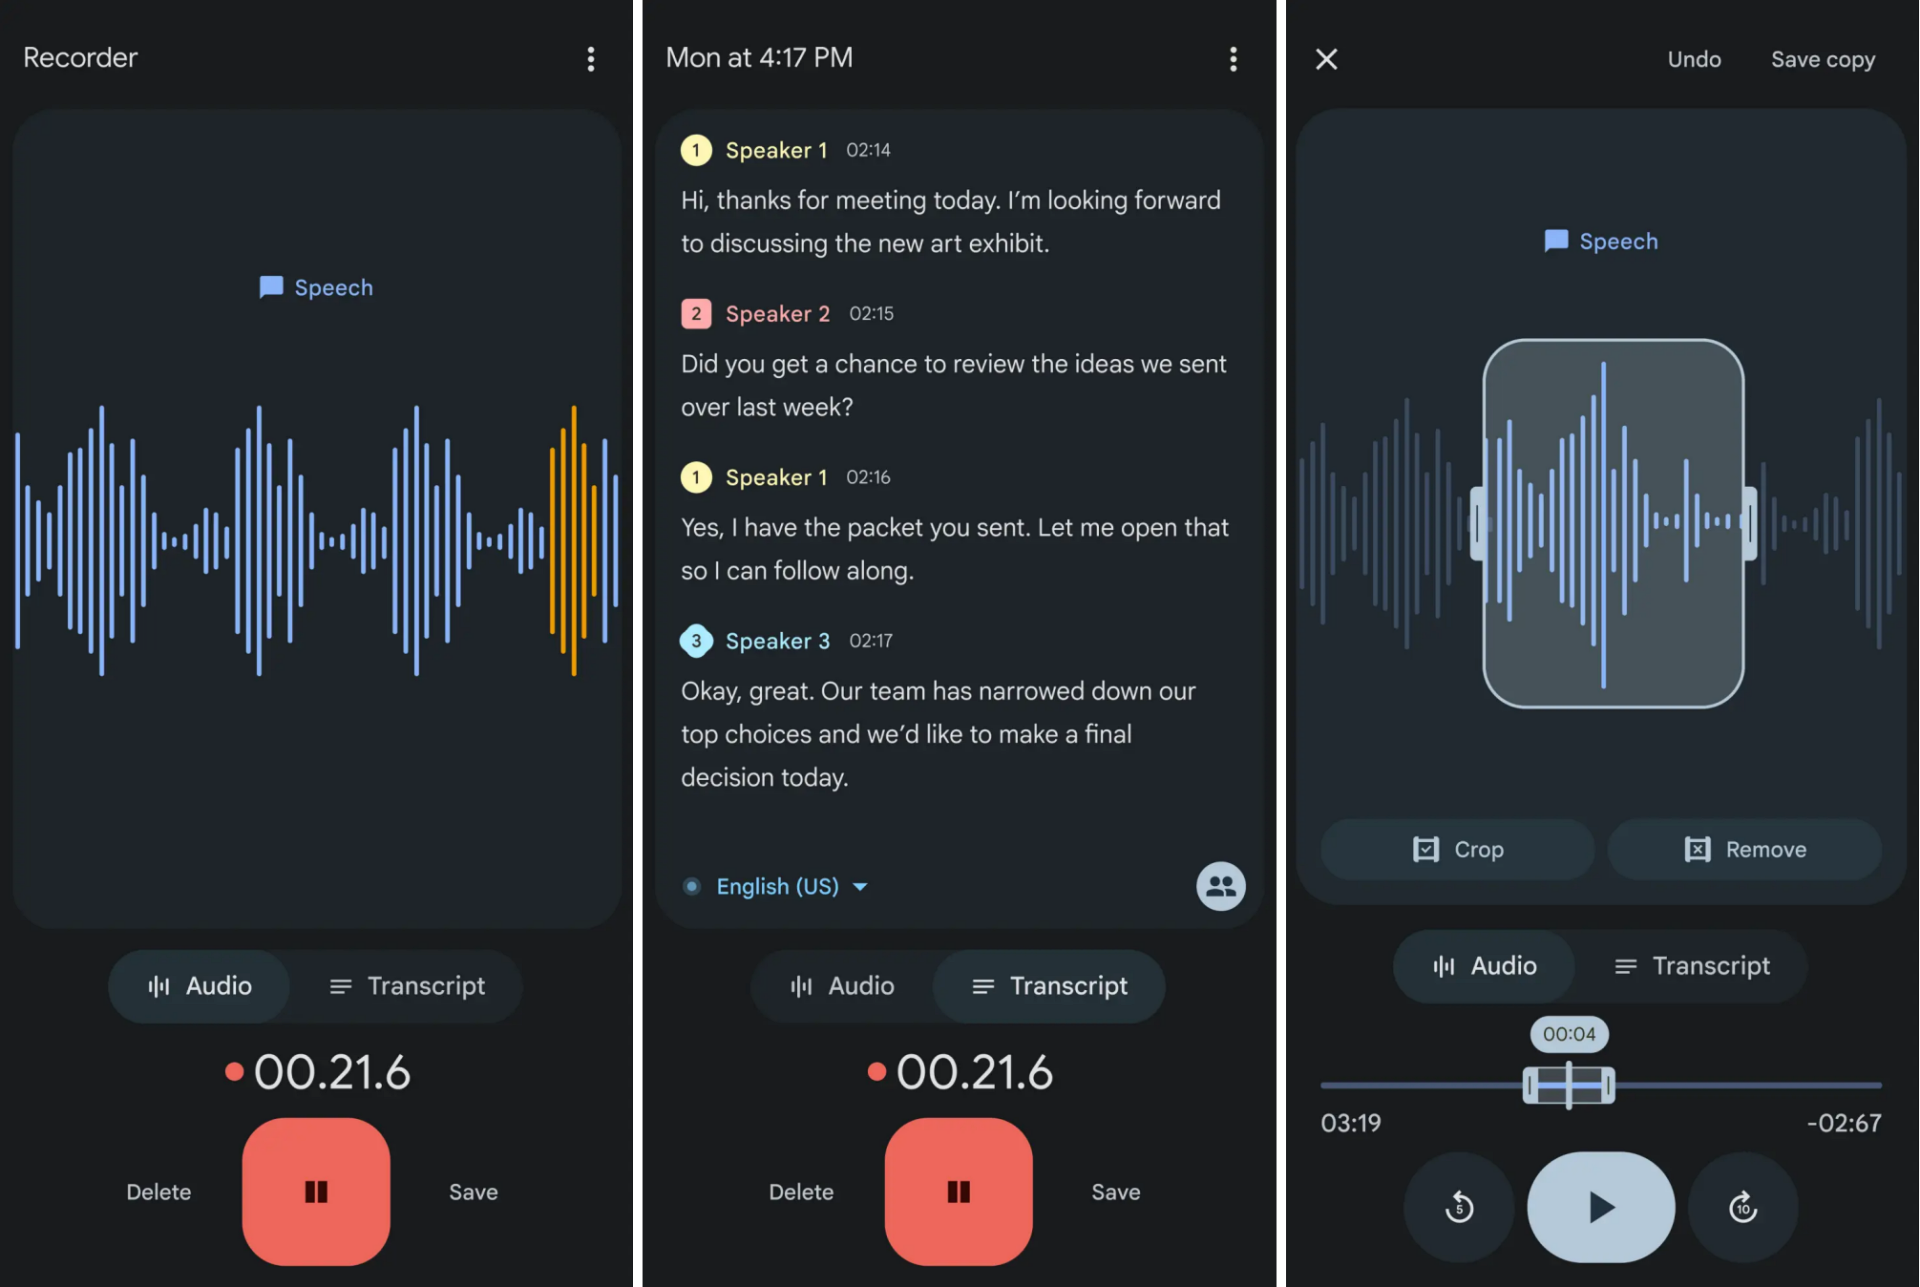
While the built-in recording app does the job in most cases, a dedicated third-party voice recording app can offer advanced features like noise reduction, gain control, equalization, and live monitoring, which are often unavailable in the default app. These features can help you achieve professional-quality recordings using just your phone.
These voice recording apps allow you to reduce background noise, improve clarity, and adjust audio levels. Features like live monitoring enable you to listen to the recording as it happens, allowing you to spot any issues in real-time. These apps also let you choose your preferred audio format and customize settings for different types of recordings.
Apps like Dolby On, Easy Voice Recorder, and Voice Record Pro are great options. Install any of these apps and experiment with the settings to find the best configuration for your needs.
9 Always Test Before You Record
Finally, to avoid surprises like poor sound quality or technical glitches during your recording, I highly recommend a test run beforehand to ensure everything is properly set up. This will help you confirm that your voice is being recorded at the desired quality, saving you time by preventing the need to redo the recording.
During the test, check that the microphone is capturing sound at the correct levels—neither too soft nor too loud—ensure there’s no unwanted background noise or echo, verify that the app is set to the right quality and file format, confirm the phone is positioned correctly, and make sure the mic isn’t muted.
These steps will allow you to identify and address potential issues early, ensuring a smooth recording session.
You can record high-quality sound using your smartphone by following the tips above. However, the quality may still not match that of a professional-grade microphone. If you want to improve your recordings, invest in a high-quality external microphone. Check out the best premium desk-mounted boom mics available to improve your audio experience.


