I was tired of paying for online storage to keep my Windows PC backed up, so I decided to figure out how to back it up to my NAS. Syncthing made that backup process easy, simple, and automatic.
There’s a Lot of Backup Software Out There
When it comes to backing up your computer, there are lots of options out there. Of course, there’s Google Drive, Dropbox, OneDrive, and other cloud storage providers that come to mind. Backblaze is another option that many leverage.
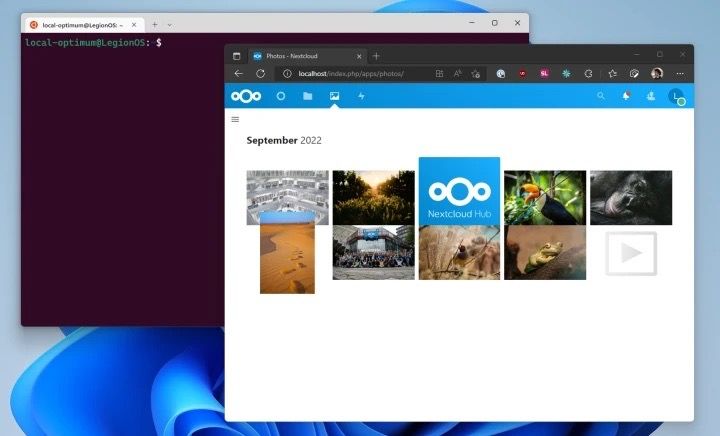
There are services like Nextcloud that can be self-hosted, Duplicati, Syncthing, and more. However, Syncthing or Duplicati can’t compare to Google Drive, Dropbox, or OneDrive. Nextcloud isn’t like Syncthing.
How do you choose the right backup software, then? It all comes down to what task you need accomplished. If you want files stored in the cloud, then Google Drive, Dropbox, OneDrive, or Backblaze are the best and easiest options for that. Do you need a cloud-like service, but hosted at home? Nextcloud is perfect for that.
What about backing up a server to a remote destination, like Backblaze B2, IDrive, or AWS? Duplicati has your back. Oh, don’t forget rclone which can handle similar tasks too.
Related
The Best Online Backup Services of 2025
Online backups will keep your important file safe and secure.
Syncthing, on the other hand, is a bit different.
Syncthing Checks All My Boxes for Free
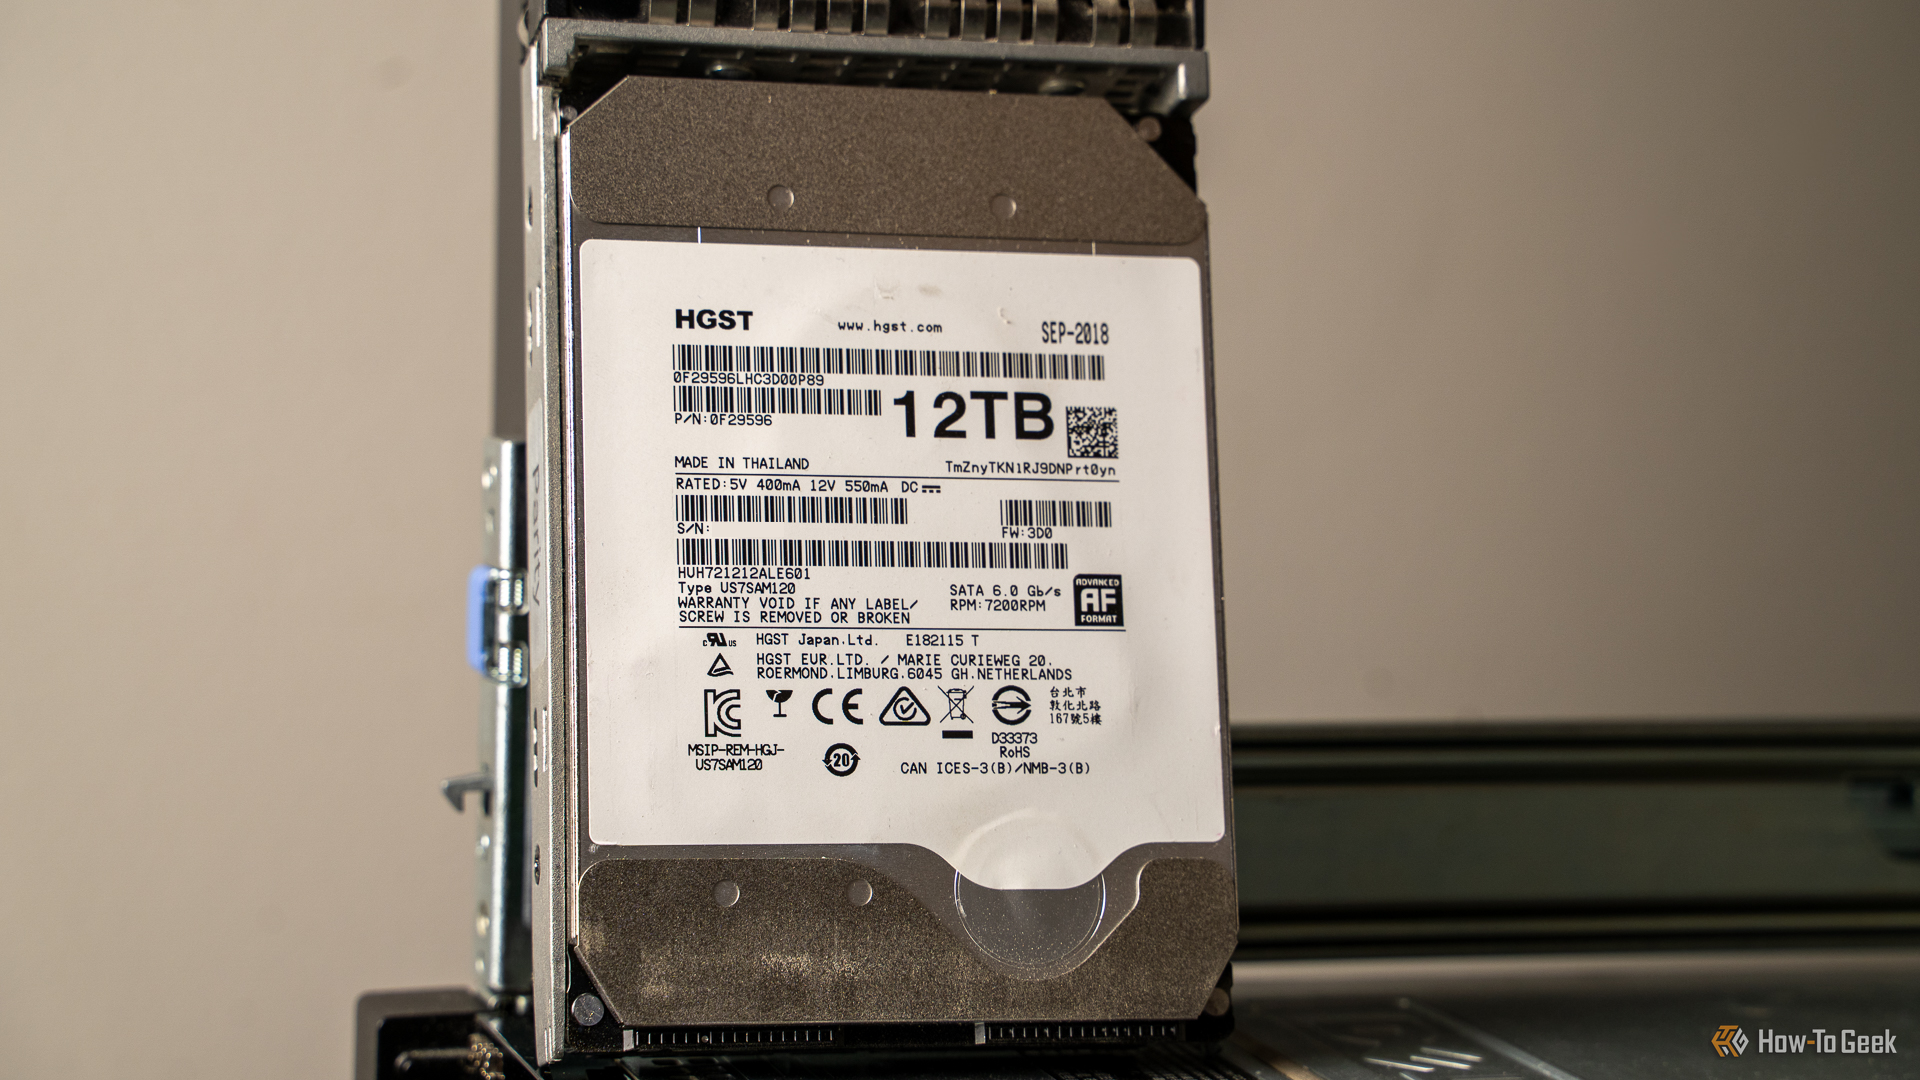
As I’ve written about before, I have a lot of storage at home. I run two NAS servers, one with 27TB of storage and one with just shy of 70TB of storage. (Sadly, one of my 4TB drives failed recently, so it shrank).
For the past several years, I’ve stored my RAW photos in Google Drive and kept them marked for offline use on my desktop. This kept the latest working folder stored locally, and previous years stored remotely. It worked fine, but at nearly 1TB of photos and growing, it was getting expensive to store it online. I set out to move things local to both save money and also enjoy a bit more privacy.
My goal was to back up my Windows desktop to the 27TB Unraid server. I’m an amateur photographer, and do my editing in Lightroom. When I first set up the new Unraid server, I moved all of my RAW photos to the server, mounted it to my Windows desktop, and edited the photos remotely in Lightroom over my 2.5Gb connection.
That worked fine, but it felt like the experience in Lightroom could have been smoother as I was accessing files off the spinning disks in Unraid, and not an SSD, so the read and write speeds were slower. Because of this, I wanted to move my current working folder for 2025 over to my desktop to be on an NVMe drive, but also back it up to the server.
I tried various software to do this. I started with Veeam, which came highly recommended. It worked to back up my desktop to the server, but when I went to restore things, it didn’t work as I was hoping. My Lightroom library was completely ruined somehow. I could have spent time figuring out what happened and how to fix it, but I decided to just try other software instead.
I then tried UrBackup, which seemed like it could work well. It somewhat worked, but not in the way I wanted it to. UrBackup doesn’t just copy the files from one computer to another. It’s still making backup files and doing weird things for the incremental backups.
That’s when I came across Syncthing. Syncthing works different from other software that I’ve seen, in that it keeps computers up to date with each other by copying files over the network. It can be set up to send only, receive only, or send and receive, which I really like about it.
With Syncthing, I’m able to keep my RAW photos on my desktop, and have the software automatically copy them over with proper folder structure to my server, which is exactly what I was looking for.
The best part of Syncthing is its price: absolutely free.
I Run Syncthing on Both My Unraid Server and Windows Desktop
I installed Syncthing on my Windows desktop, as well as my Unraid server. At first, I thought they were separate programs, one for the source and one for the destination computer. They’re actually the same, and it’s how you configure each share that determines how the program functions.
I used the Docker installer for Unraid, and the Windows installer for my desktop. Both worked flawlessly and had me up and running in minutes.
Configuration was similarly quick. Right now, I just have Syncthing set up to back up the 2025 photos folder from my desktop to the server in a one-way configuration. I could, also, set my MacBook up in a bidirectional configuration so that way it would pull the 2025 photos down and then send any new photos to the server at the same time.
Related
Docker for Beginners: Everything You Need to Know
Learn to use this incredibly popular development tool.
Because of how Syncthing works, it can be installed on any number of computers and configured in any number of ways on a per-device setup. It’s extremely powerful, and I absolutely love that I’ve found software that does exactly what I want: back my Windows desktop up to my server without obfuscating any of the files, and all for free.
Here’s How I Have My Syncthing Configured
Setting up Syncthing was pretty simple, but to get it working exactly how I wanted took a little bit of trial and error.
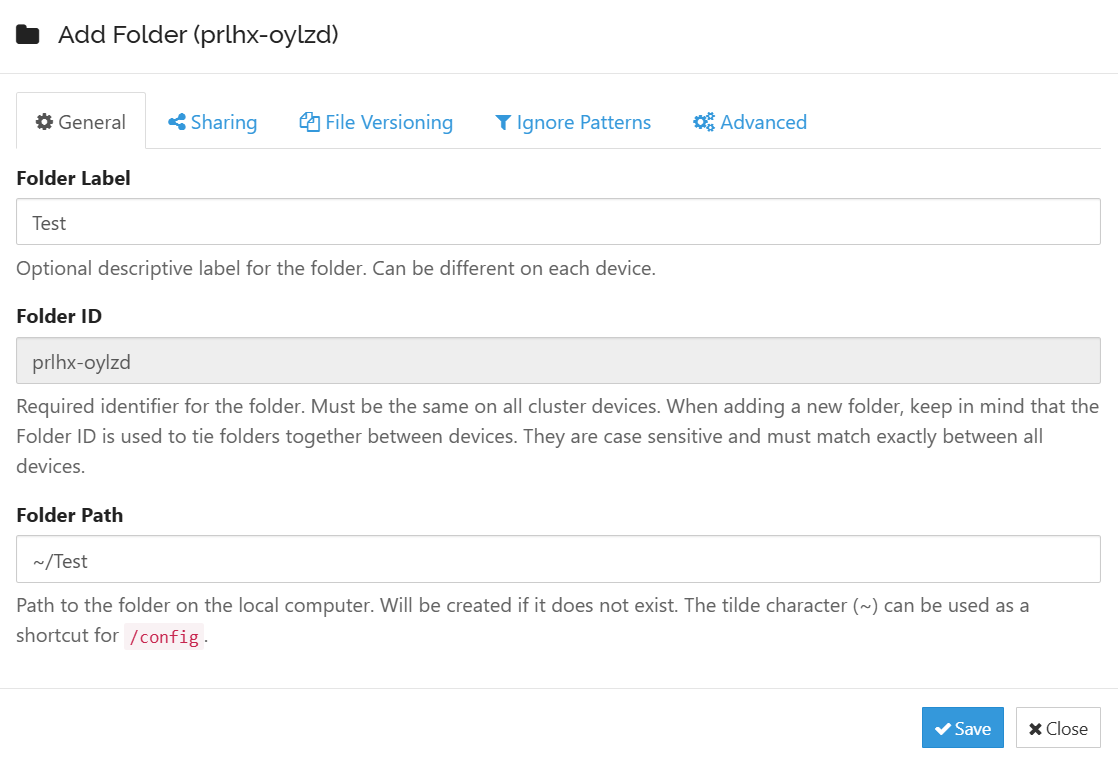
Let’s start with my Windows-side configuration. I started off by adding the remote server to my Windows install. This was as simple as copying the remote ID, clicking “Add Remote Device,” and inputting the information there.
From there, I clicked on “Add Folder” and input a name for the backup, keeping it simple and just calling it “2025 photos.” I then put the absolute path of the folder at the bottom of the first screen.
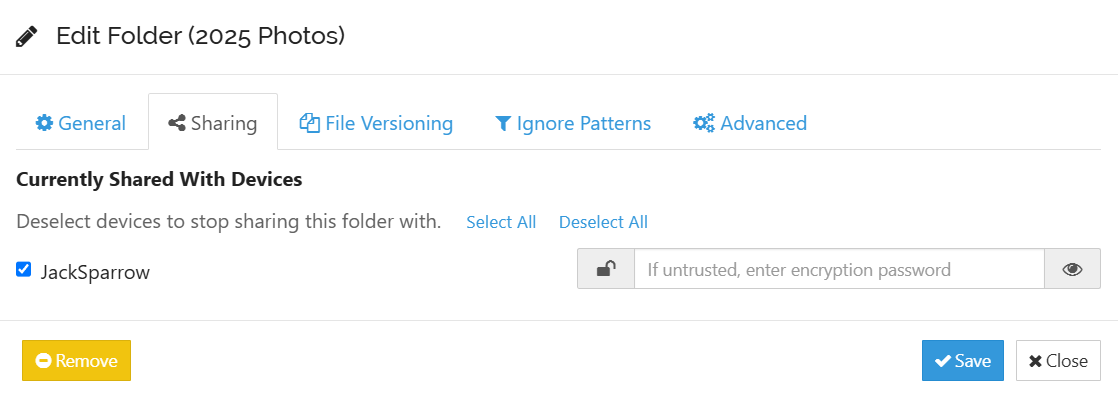
Under the sharing tab, I checked the box for the destination server that I set up in the first step to set up the folder share between the two computers. I don’t have any file versioning set up, nor do I have anything in the ignored patterns.
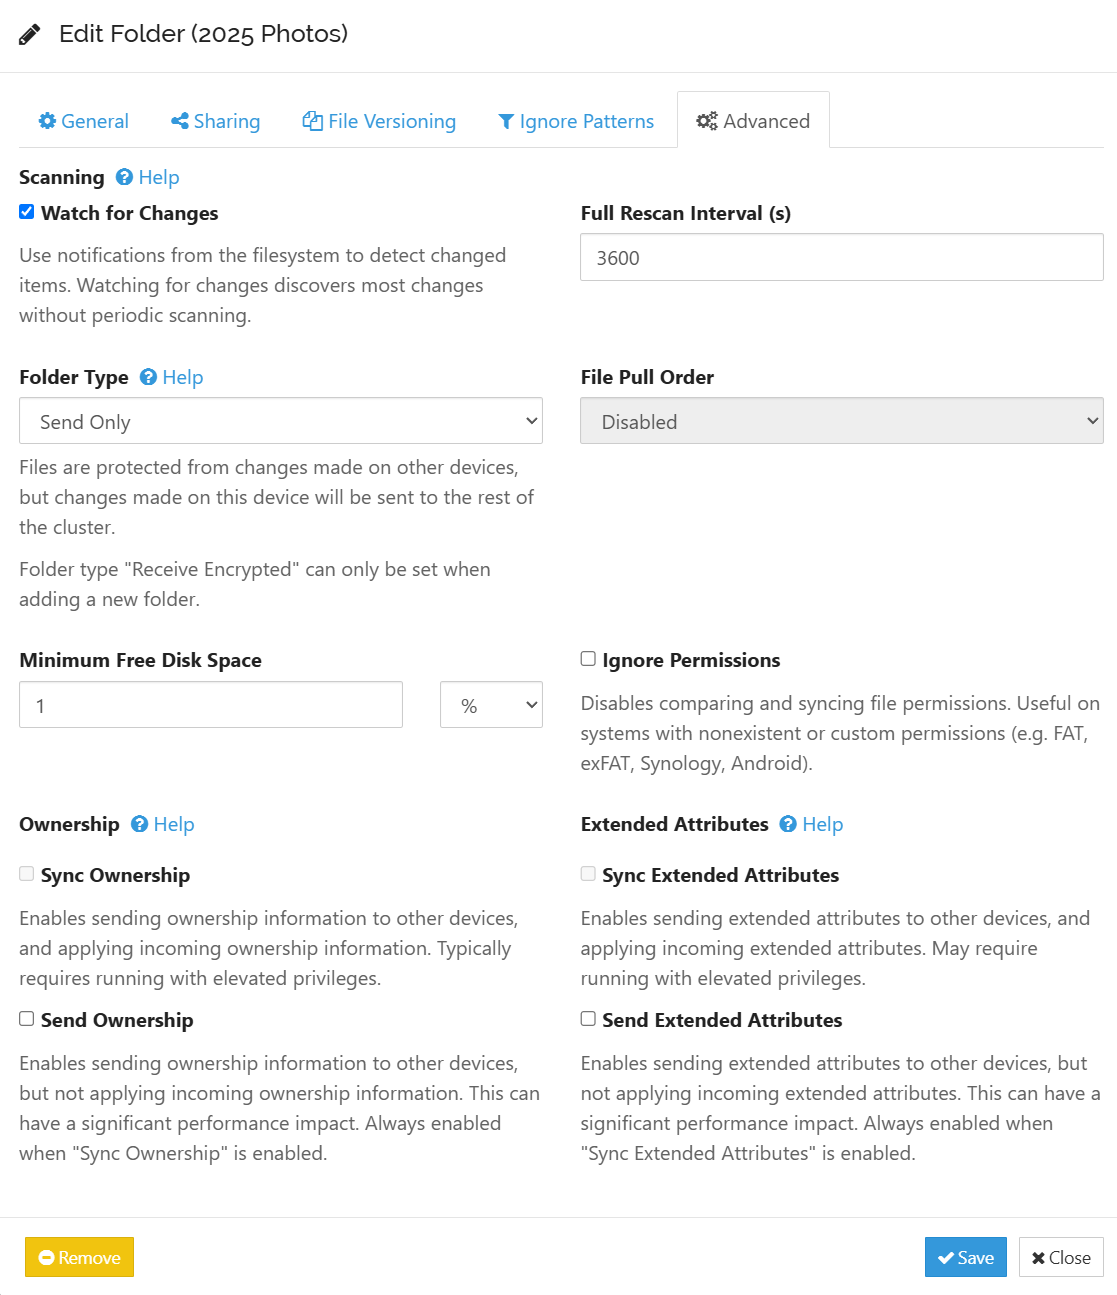
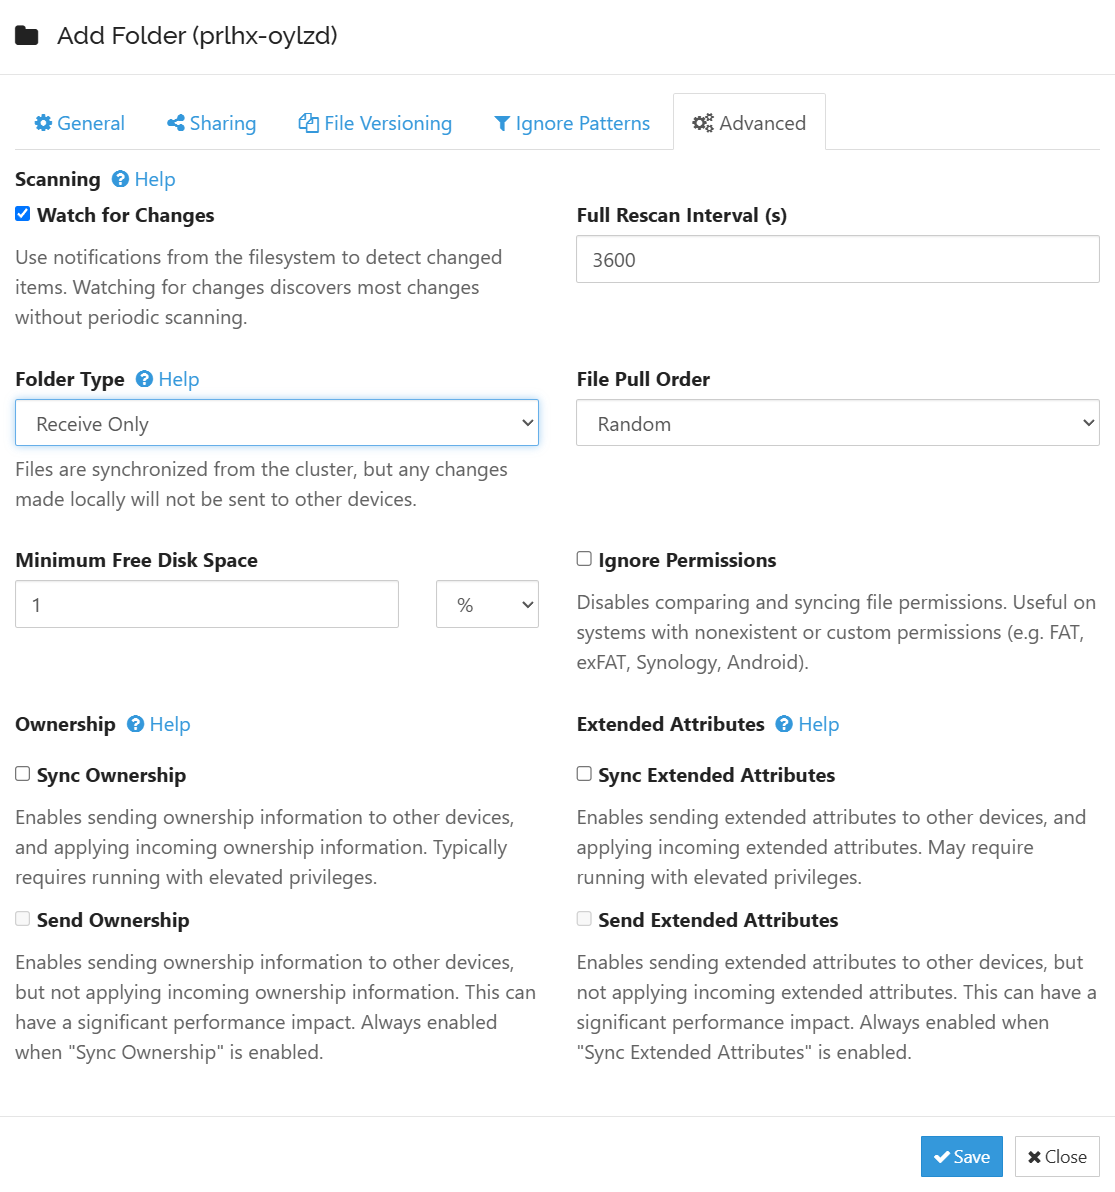
The last tab, called Advanced, is where I set my Windows machine up to send only. This means if files are updated on the server, they won’t be pulled down to my Windows desktop. However, if files are updated on the Windows desktop, they’ll push to the server.
Now, on the Unraid server, I open up the Syncthing interface and there’s a popup that shows there’s a new share from my desktop. Simply click add, and a window will come up.
In this window, you’ll set up a few settings, just like on the Windows side. Primarily, the name of the share (which should be populated) and the folder path.
The folder path is what tripped me up initially. On my Windows machine, the path is F:\Lightroom\2025. On the Unraid server, however, I had to do a little finagling with mounting.
For the Docker container, I mounted the 2025 folder on the server to /data1/2025. Then, in Syncthing, I have it set up to put the files from my desktop to /data1/2025.
Essentially, this takes all the files from inside F:\Lightroom\2025 and puts them in /data1/2025, which has an absolute path on the Unraid server itself of /mnt/user/Photos/RAW\ Photos/2025. I tried doing it higher up in the folder tree than that, but it didn’t work how I wanted. This setup works perfectly, however.
Lastly, on the server’s install of Syncthing, I set it to receive only. Setting the desktop to send only and server to receive only isn’t necessary, but I just want to keep the two completely separate and only doing what they need to.
Related
The 5 Best Ways to Back Up Your Files
From simple to low-level, here’s your go-to list of backup methods.
Now, whenever I import new photos and folders to my desktop, they get copied over to the server pretty quickly. As a third level of backup, I’ll soon be setting up that server to back up to an off-site location in case something happens locally, thus giving me a 3-2-1 backup solution. All with free software.


