If you’re looking for an operating system to replace Raspberry Pi OS on your Raspberry Pi or other SBC, an option worth your time is DietPi. Here are just a few of the reasons why.
In case you haven’t heard of it, DietPi is a free and open source operating system based on Debian Linux. It’s designed to be run on SBCs (Single-Board Computers) like the Raspberry Pi where resources are usually limited and useage is specialized. The conventional choice is Raspberry Pi OS (formerly known as Raspian), but DietPi is an alternative with several tweaks and custom tools.
5
DietPi Is Lighter Weight
While Raspberry Pi OS is far from being a heavyweight Linux distribution, it is one that’s been packed with features and libraries to make it easily apply to anyone’s use-case. Because Raspberry Pi wants to appeal to anyone and everyone who has any kind of use for a small computer, they include a wide variety of packages in the base image, for everything from learning to code to gaming.
If instead all you care about is a lean operating system to host a server on, DietPi is your better option. It comes with fewer packages preinstalled and operates with “minimal RAM and CPU usage,” meaning your Raspberry Pi will theoretically about as efficiently as possible.
Related
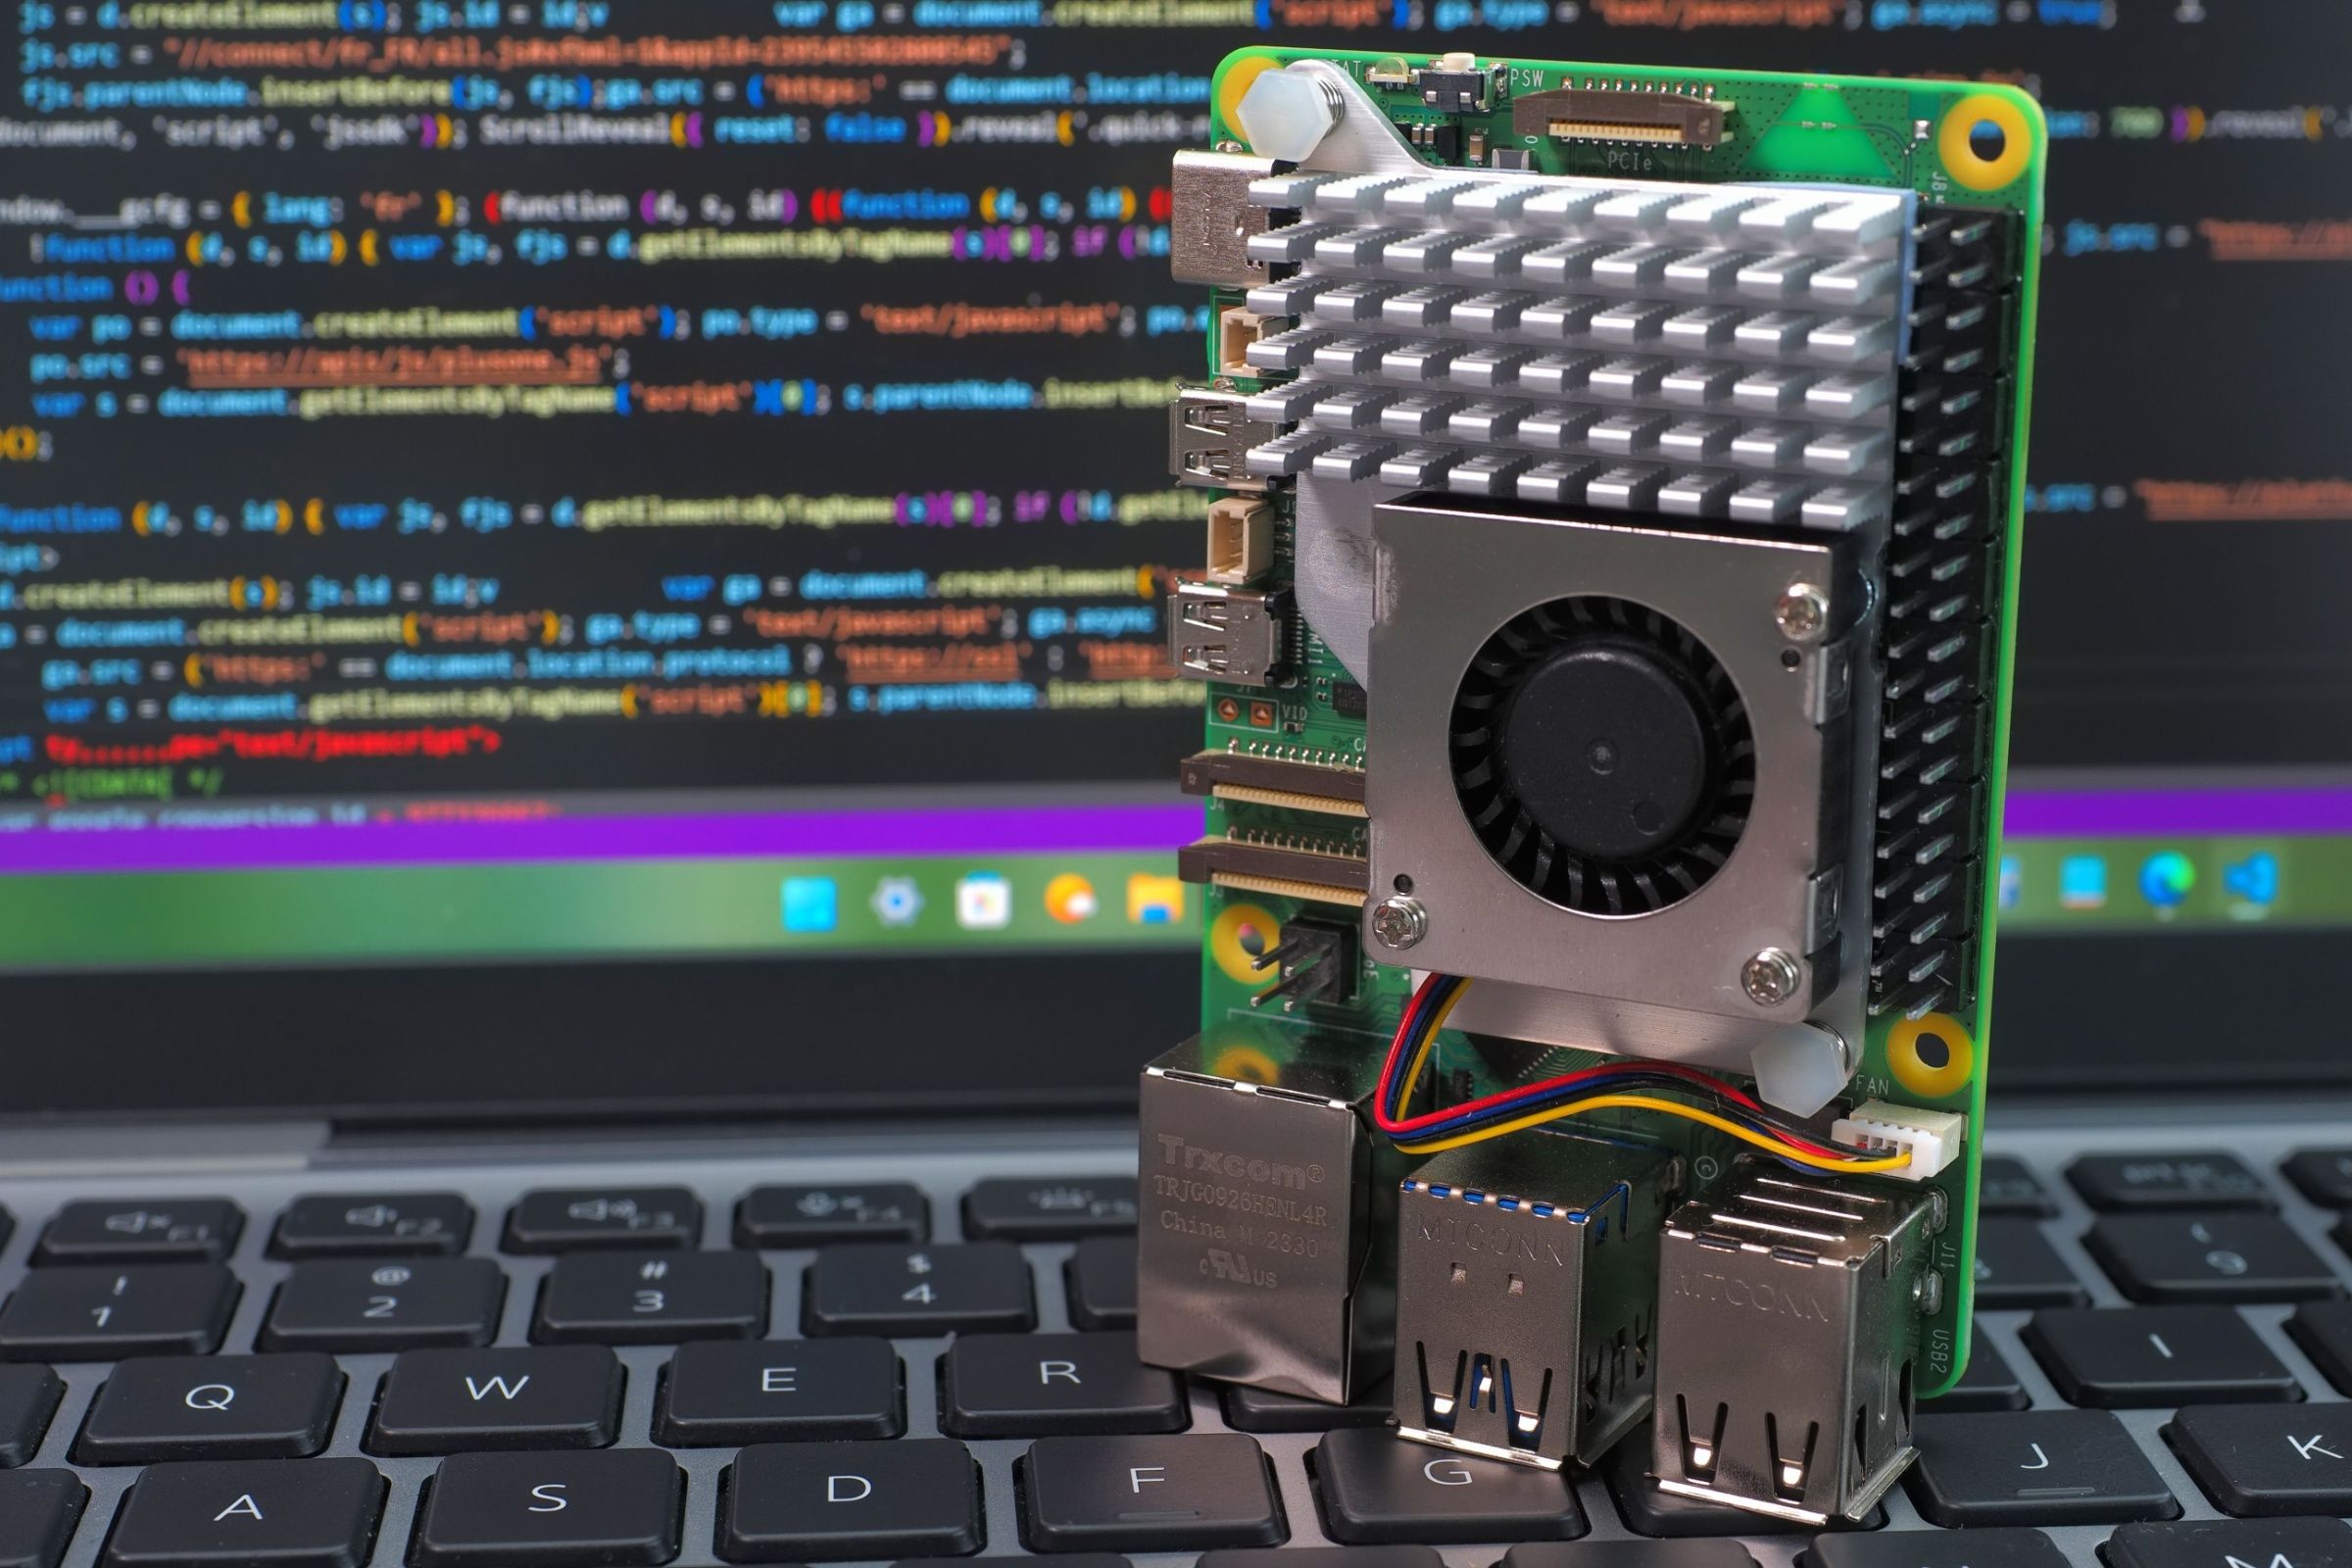
Does Your Raspberry Pi Need an Active Cooler? How to Know It’s Too Hot
Is your Pi in need of an active cooler?
Of course, you can still get a desktop environment and do things like learn to code and game with DietPi if that’s what you want. That software just isn’t there until you ask DietPi to install it. Until then, when you run updates, you’re only updating packages you need. When you back up your system, you’re only ever backing up critical packages.
4
Starting a Server Is Dead Simple
If you want to test out a server, from Minecraft to Nextcloud to whatever you can spin up in Docker, DietPi is a great place to start. The alternative OS comes with scripts that automatically install and configure several popular homelab-type and web hosting services. They’re also, according to DietPi, optimized for your specific Raspberry Pi.
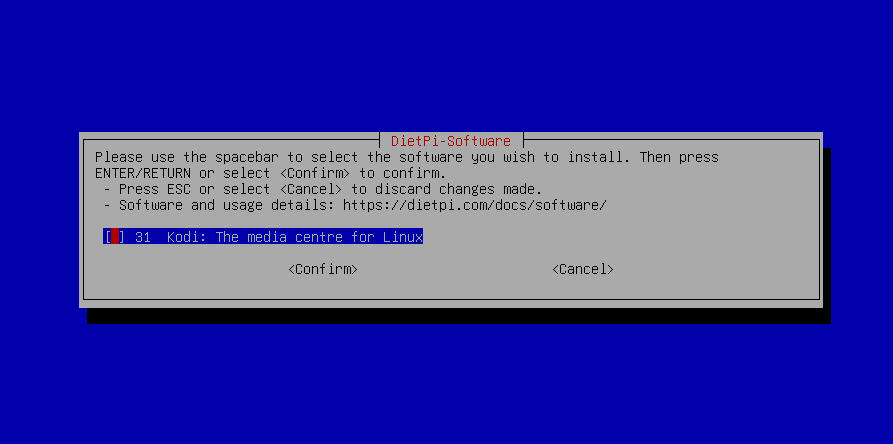
For example, if you want to get Kodi up and running in DietPi, you can simply run dietpi-software and find Kodi in the list of available software. Run the installation, and DietPi will update repositories, install all the dependencies, and configure Kodi with a basic login and password.
It’ll let you set Kodi to run at startup, or, if not, you can simply type kodi in the console whenever you want to use it. Using Kodi on DietPi is as easy as that.
3
SSH Is Configured for You
Unless you have your Raspberry Pi at your desk, you know how frustrating it can be to set up a monitor, keyboard, and maybe mouse at your Pi. I personally struggle with this because I keep my Pi connected via Ethernet to the router, which is in the living room instead of my office. It’s far easier to manage my Pi by simply SSHing in, and DietPi configures SSH for you at startup. The default SSH server is Dropbear, but you can also switch to OpenSSH if that’s what you prefer.
Admittedly, Raspberry Pi OS in recent years has made SSH easier, like adding a desktop toggle for remote connections. Where DietPi stands apart though is in the fact you can automate the first boot. This means you can skip connecting a monitor and keyboard entirely and simply SSH in to do your work. Follow DietPi’s guide to automatic installations if that sounds appealing to you.

Related
How to Connect to an SSH Server from Windows, macOS, or Linux
SSH is available on every popular operating system.
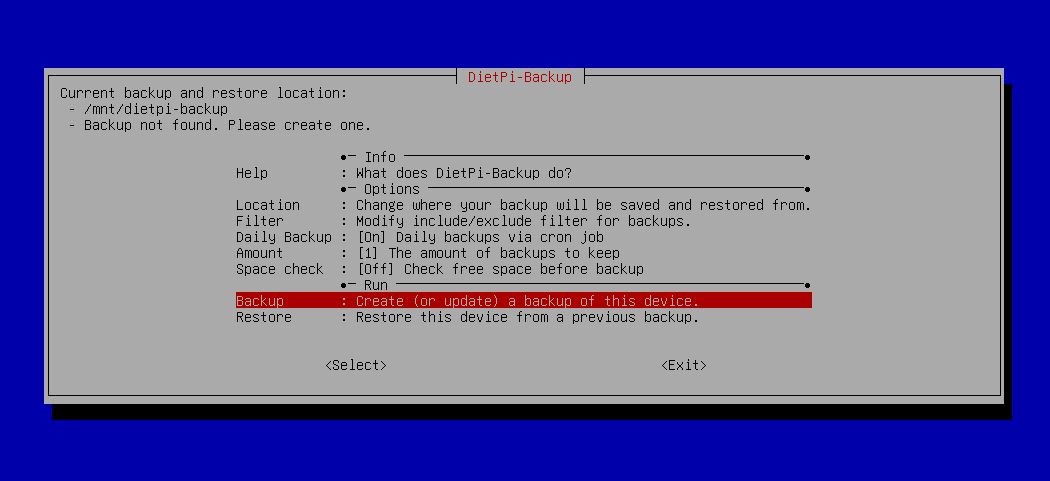
The last thing you want when you’re handling data with your Raspberry Pi is to lose it completely. To avoid that issue, backups are critical, and DietPi doesn’t leave you to figure this out on your own.
To back up your data, you can use the dietpi-backup command. It’ll bring up a TUI where you can create a backup, set up automatic backups, and manage things like which files to back up and where backups should go. Connect an external hard drive and you’ll be protecting your data in no time.
In case you’re curious, it uses rsync to perform these backups, and cron to schedule automated ones.
1
There’s a Ton of Dedicated Documentation
No matter what your plan is for your Raspberry Pi, you’re likely to hit a wall if there isn’t good documentation. Fortunately, the DietPi documentation hub has a dedicated page with simple instructions for all of its preconfigured and optimized software.
I recommend taking advantage of this based on my own experience. I got confused and stumbled a little when setting up my DietPi instance for a FreshRSS service, and I could have saved time by just reviewing the documentation for it first.
How to Install DietPi
If you’re convinced, you can get DietPi by visiting the DietPi download page and identifying your SBC in the list of devices. By clicking it you’ll get a link to the image optimized for your device. The image will be compressed, so you’ll need to use a decompression tool to open it, and you’ll also need Balena Etcher to write DietPi to a microSD card.
Related
5 Raspberry Pi Projects I’d Totally Do If I Had the Time
Just give me a spare 300 hours and a soldering iron.


