

While most modern laptops come with a sufficient amount of RAM, even the best Windows laptops will benefit from additional memory. Having more RAM means that your device will be able to handle multiple tasks at once much smoother, which will in turn boost the efficiency of your workflow. Alternatively, you may also want to swap your laptop’s default RAM for faster memory so that you’re getting better performance out of your RAM.
Despite how beneficial replacing default RAM can be, though, many laptop owners choose not to do it out of fear that they’ll damage their device and void their warranty. While it’s true that you could do this if you’re careless and aren’t patient, installing RAM is actually a much simpler and safer process than most people think (you can always back up your PC if you want to keep your data safe).
In this guide, we’ll show you how you can safely replace and install new RAM sticks in your laptop (note that laptops with soldered RAM can’t have their memory replaced).
How to upgrade RAM in your laptop
While the process of replacing the RAM in your laptop sounds scary, it’s actually a very safe and simple process as long as you’re careful. Here’s how to upgrade the RAM in your laptop:
- Using a screwdriver, remove the screws holding the backplate of your laptop in place.
- If your laptop has screws being covered by rubber feet, carefully peel the feet off to access and remove the screws.
-
Using a small tool, pry up the laptop’s backplate to access the inside of the device. Start at a loose point and work your way around the backplate.
- If the laptop’s RAM is being protected by a metal plate, unscrew it or gently pull some of its tape away so that you can access the device’s memory.
- On the sides of the RAM, look for clamps or metallic arms that are keeping it in place. Gently push these away or unfasten them to free the RAM. In some cases, the RAM will partially pop out when you do this.
-
Gently pull the RAM out of the slot. Pulling straight up can damage the RAM or the laptop, so pull at an angle instead.
- Gently push the new RAM into the slot. Push until you hear an audible click that indicates the RAM is installed. Repeat steps 4-7 if you want to replace the other RAM module in your laptop.
- If your laptop features one, screw or tape the RAM shield back into place.
-
Place the laptop’s backplate back on and apply pressure. Like with the RAM itself, you should listen for an audible click that indicates the backplate is properly attached.
- Using a screwdriver, screw all of the backplate screws back in.
- If your laptop has rubber feet that you had to remove earlier to access the screws, push them back into place.
At this point, you should turn on your laptop and make sure that your system is recognizing the new memory you installed.
- Right-click the Start button.
-
Click System.

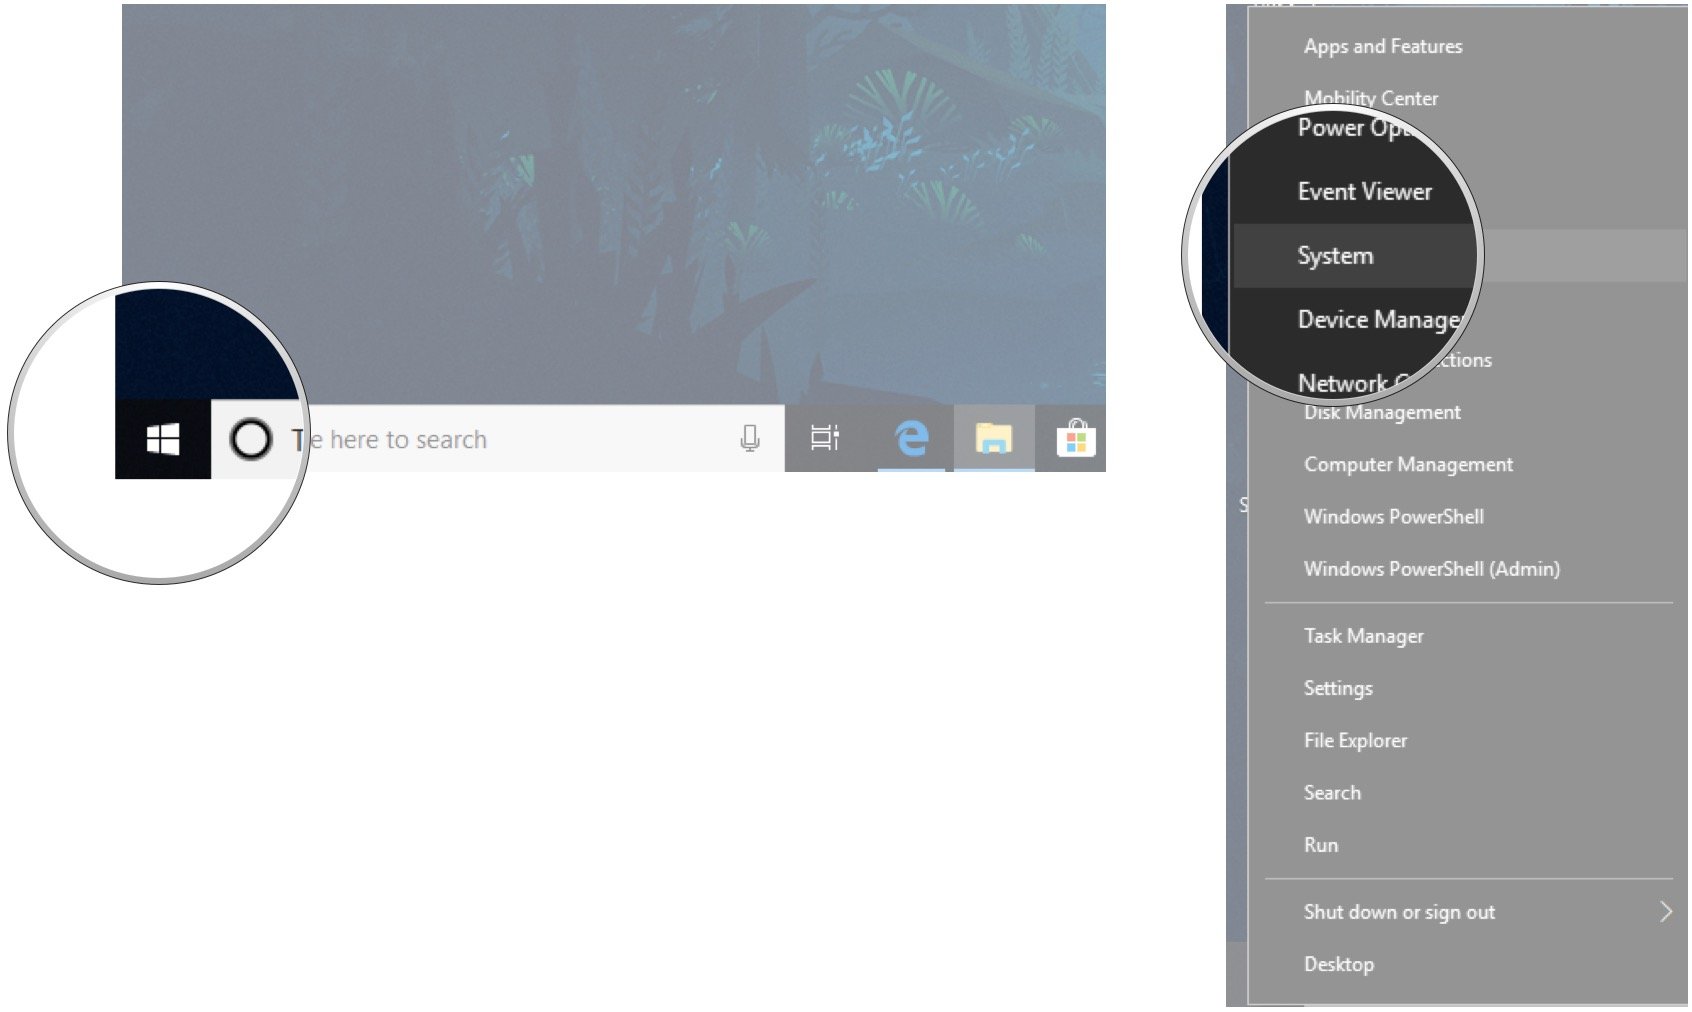

Here, you will be able to see the total amount of RAM that you have installed in your laptop. If the amount shown on screen matches the amount of RAM that you just installed, you’re good to go.
More Windows resources
If you’re also interested in installing an SSD in your laptop, check out our guide on how to upgrade your laptop’s hard drive to a solid-state drive. Also, for more helpful articles, coverage, and answers to common questions about Windows 10 and Windows 11, visit the following resources:

Here’s everything announced at Opening Night Live Gamescom 2021
Opening Night Live may officially kick off Gamescom 2021, but it’s also one of the biggest single shows of the entire event, and is filled with new announcements, reveals, and game updates. Here’s everything that was announced during Opening Night Live at Gamescom 2021.

Are you going to get Skyrim Anniversary Edition?
Bethesda recently announced Skyrim Anniversary Edition at QuakeCon, which is a new version of the beloved 2011 fantasy RPG that includes next-gen enhancements, Survival Mode, fishing, and over 500 pieces of Creation Club content created by Skyrim’s passionate community. Are you planning on getting Skyrim’s latest rerelease?

