Sometimes pictures are better than words, or at least good accompaniments. You might want to include a sketch, illustration, or another type of drawing in your Google Doc. Google provides a drawing tool that you can access right from Google Docs or separately to create and insert the sketch you need.
Depending on if you only want your drawing for your current document or for use outside of Docs, here’s how to draw on Google Docs in two different ways.
Use the Google Docs built-in drawing tool
If you plan to use the drawing only for the current Google Doc, you can create it right through the application. The sketch will not be saved to Google Drive for external use but will still be editable.
Step 1: Visit Google Docs, sign in with your Google account, and open your document or create a new one.
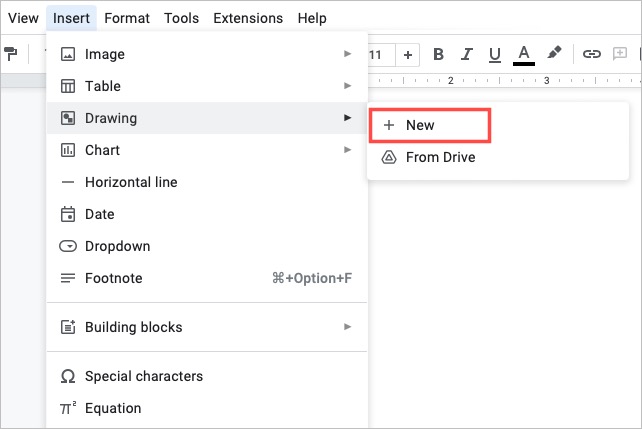
Step 2: Place your cursor in the document where you want the drawing. Navigate to Insert > Drawing in the menu and pick New.
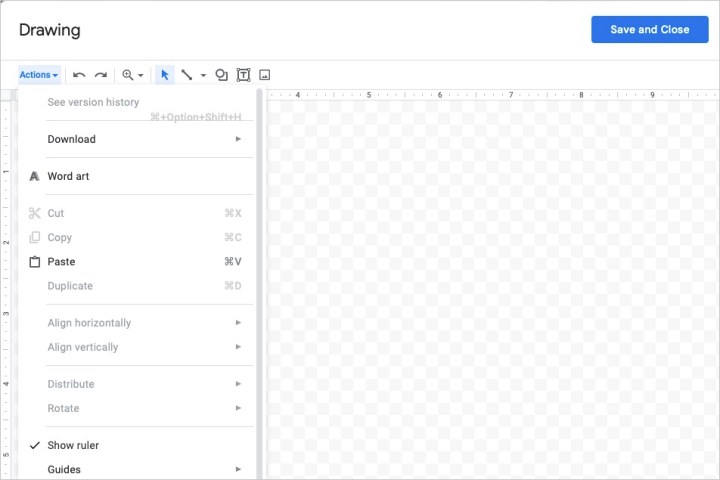
Step 3: When the drawing tool opens in the pop-up window, use the options in the toolbar to create your drawing.
With the Actions menu, you can use tools like word art for fancy text and guides for lining up items. With the toolbar, you can pick lines, shapes, text, and images.
To draw freehand, use the Line drop-down arrow in the toolbar to choose Scribble.
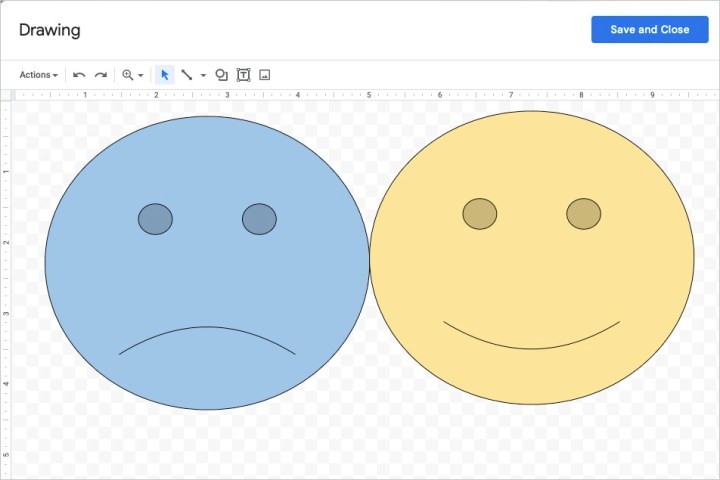
Step 4: When you finish, select Save and close.
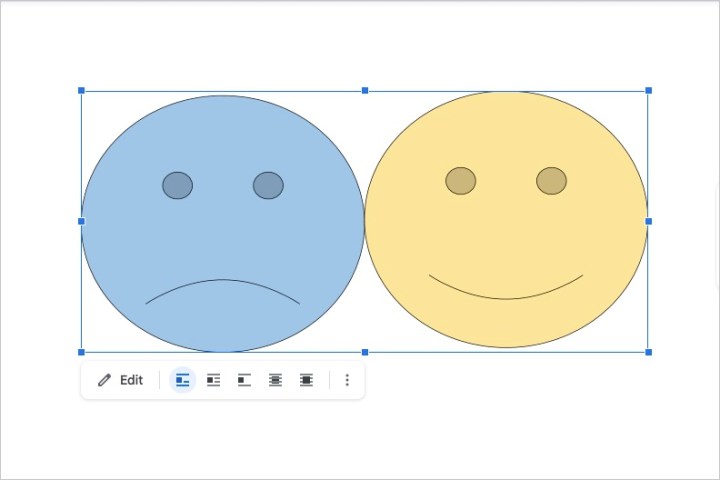
Step 5: You’ll see the drawing appear in your document.
If you want to make changes to it later, select the drawing and pick Edit in the floating toolbar beneath it or double-click to reopen the drawing window.
Use Google Drawings and insert your sketch
If you want to spend more time on the drawing or easily save it in Google Drive for use outside of your document, you can use Google Drawings. While it works similarly to Google’s drawing tool above, you can go to Google Drawings directly.
Step 1: Visit Google Drawings and log in with your Google account to begin drawing.
Step 2: Start by giving your drawing a title on the top left. By default, the name is “Untitled Drawing.”
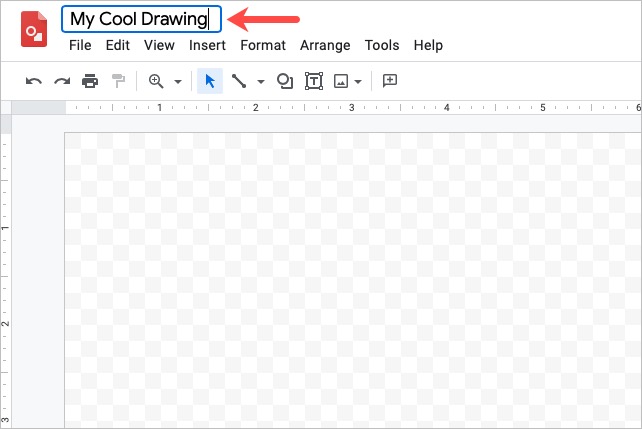
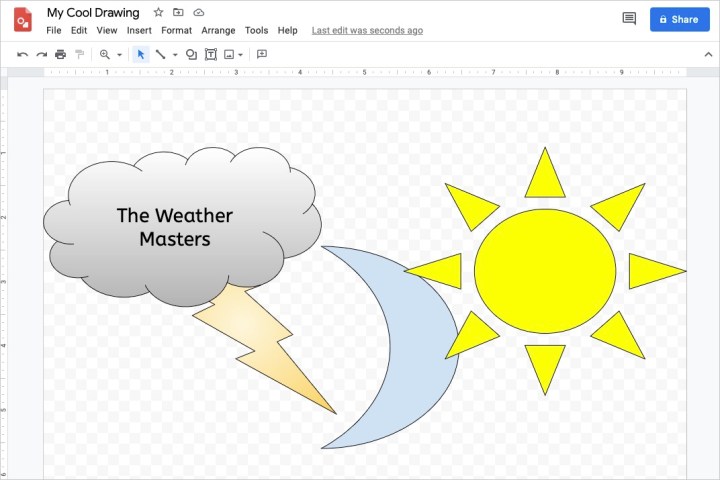
Step 3: Use the menu options and toolbar to create your sketch or illustration. You can include shapes, images, text, and lines like the tool above.
To draw freehand, select Insert > Line and choose Scribble or use the Line drop-down arrow in the toolbar to choose Scribble.
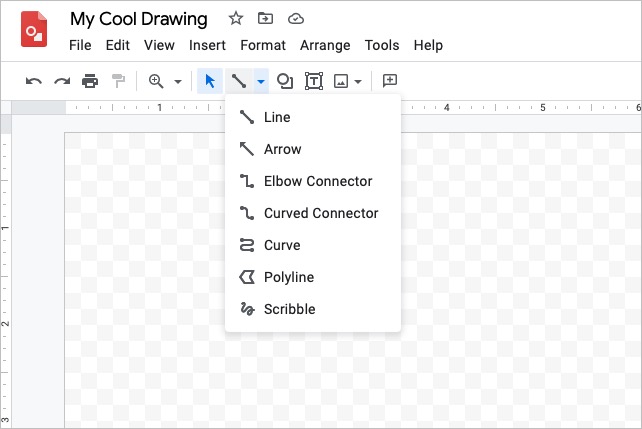
Step 4: As you work on your drawing, the file is saved automatically. It then appears in your Google Drive like Google Docs, Sheets, and Slides.
When you finish, return to Google Docs.
Step 5: Place your cursor in the document where you want the drawing. Select Insert > Drawing, and this time, pick From Drive.
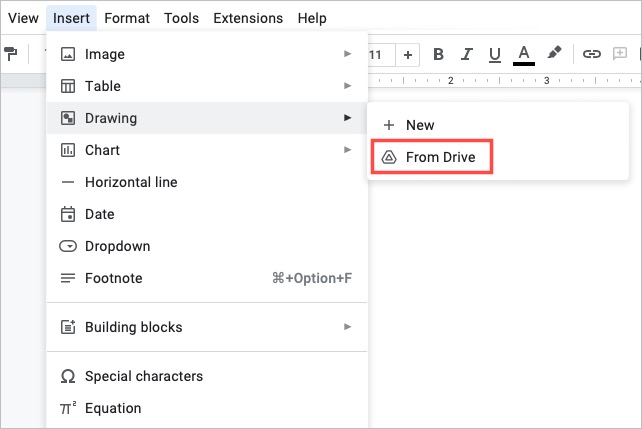
Step 6: Locate your drawing and choose Select.
Step 7: You’ll see a prompt to link to the source or insert the image unlinked.
- Link to source: If you want the ability to easily make edits to the drawing, pick this option. You can then select Open source on the top right of the image in Google Docs to make changes in Google Drawings anytime.
- Insert unlinked: If you don’t plan to make changes, you can pick this option. If you change your mind later, you can make edits in Google Drawings and then reinsert the updated image in Google Docs.
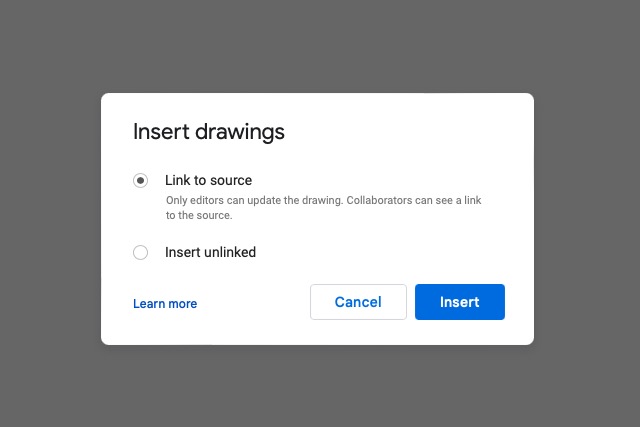
Step 8: After you pick a linking option, select Insert and your image will appear in Google Docs in the spot you picked.
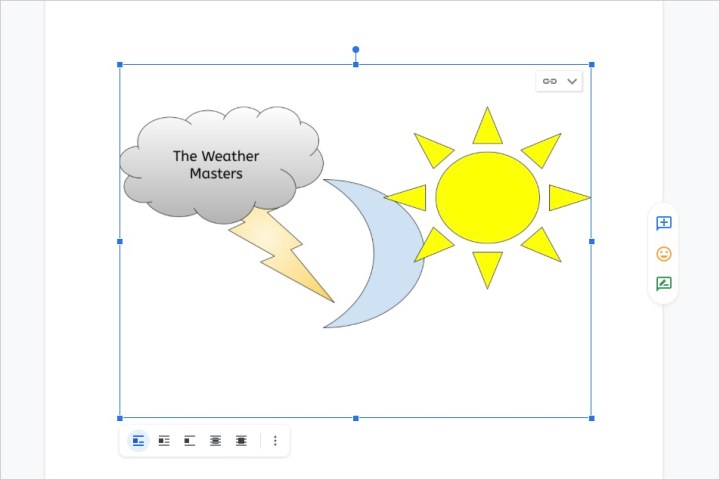
If you’ve been wondering how to draw on Google Docs, you now have two solid options for your sketch or drawing.
For more, take a look at how to e-sign a document or how similar applications like LibreOffice and OpenOffice work.
Editors’ Recommendations


