MacOS 10.14 Mojave, the version of the Mac operating system before macOS Catalina, is the last version that supports 32-bit software. With Catalina, only 64-bit software will be supported. (The current version of macOS is Monterey 12.x, with macOS Ventura 13 coming in the fall.)
If you’re using a Mac with Mojave and can upgrade it to a more recent OS, you need to do a bit more than usual to prepare your Mac. You need to make sure your apps are 64-bit versions. If your app is a 32-bit version, it will not work. Also, some older Macs will not run on more recent versions of macOS; for example, you may be able to upgrade from Mojave to Catalina, but you may not be able to upgrade beyond that.
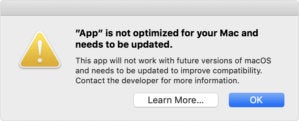
Apple actually started to warn people about the change with macOS 10.13 High Sierra. If you launch a 32-bit app in High Sierra, an alert pops up to tell you that your app needs to be updated. The alert appears only once in High Sierra, and in Mojave, it appears every 30 days.
If you can’t recall whether an app needs to be upgraded or not, there are a couple of ways to find out besides the launch alert. Here’s how.
Use Go64 to find 32-bit apps on your Mac
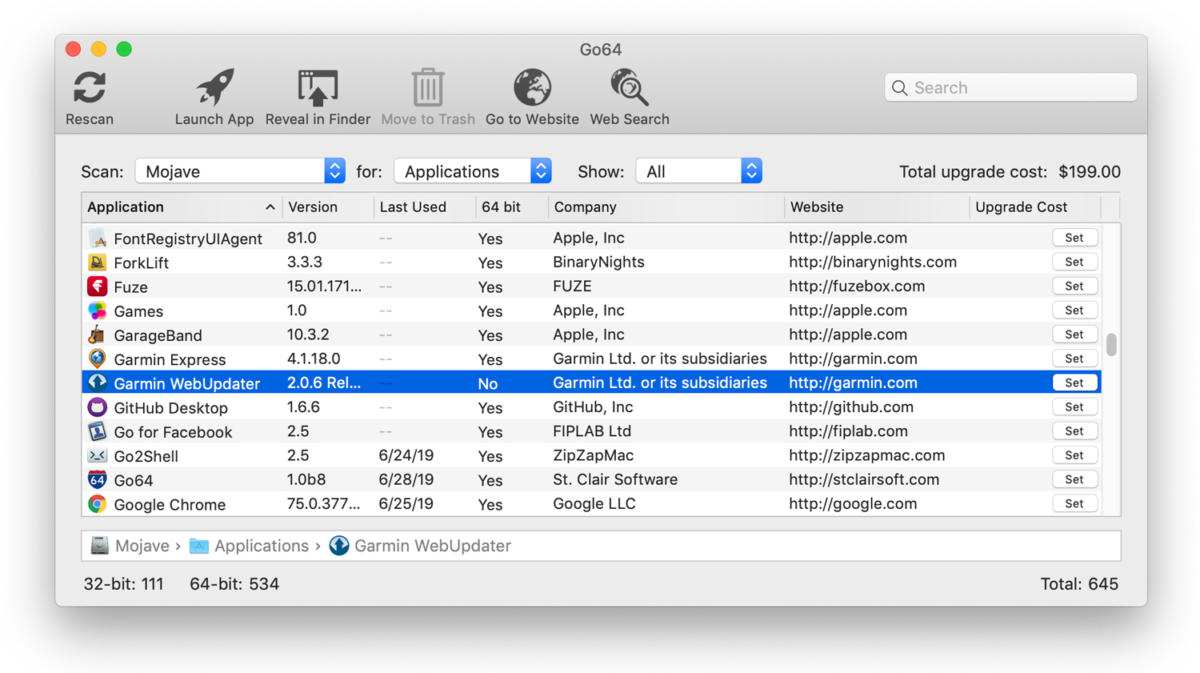
St. Claire Software has a teriffic app called Go64 (free, donations accepted) that scans the software on your Mac and tells you whether each app is 64-bit or not. Go64 is fast and it also provides web links to the app developer’s website, so you can go see if the developer has an update. Learn more about Go64.
Find 32-bit apps on your Mac through System Report
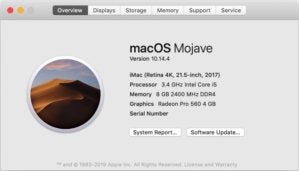
1. In the Finder, click on the Apple menu and select About This Mac.
2. In the Overview section, click on the System Report button.
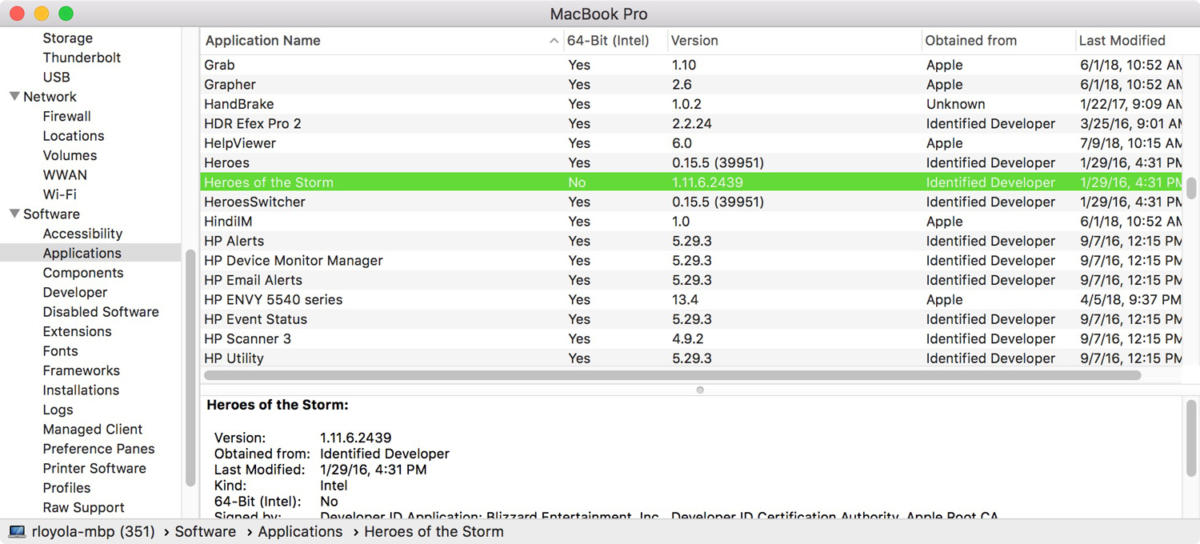
3. In the left column of the System Report, scroll down to the Software section. Then select Applications.
4. The section on the right may go blank for a moment. This is because your Mac is compiling a list of software on your Mac. When the window appears, it will have two sections. The top section is the list of software. The bottom section shows more details about an item if you click on it in the list.
If you click and hold the dot in the divider between the two sections, you can resize the window so you can see more of the list or more of the details.
5. In the list, there is a column called “64-Bit (Intel)” that is located to the far right of the top row. If you don’t see it, try expanding the window by clicking and dragging the right edge, or you can scroll the window to the right. Once you see the 64-bit (Intel) column, you can click, hold, and drag it to the left to reposition it closer to the app names.
6. Now you can see if a particular app on your Mac is 64-bit or not. If it’s listed as Yes, it’s 64-bit. If it’s No, it’s a 32-bit app, and you need to upgrade it before using macOS 10.15.
Find 32-bit apps on your Mac through Activity Monitor
There’s an app called Activity Monitor that you can use to identify if an app is 32-bit or 64-bit. But it only works when an app is launched and running.
1. Launch Activity Monitor, which is in Applications > Utilities.
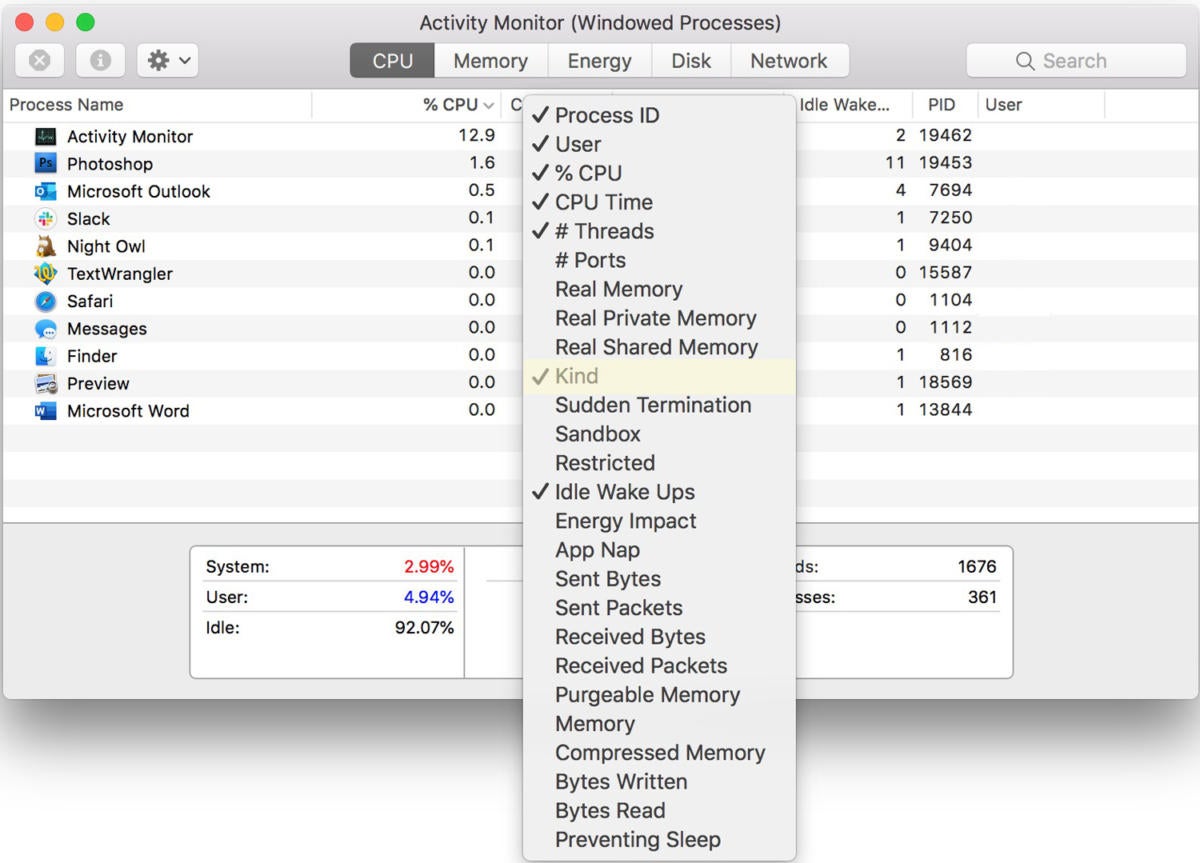
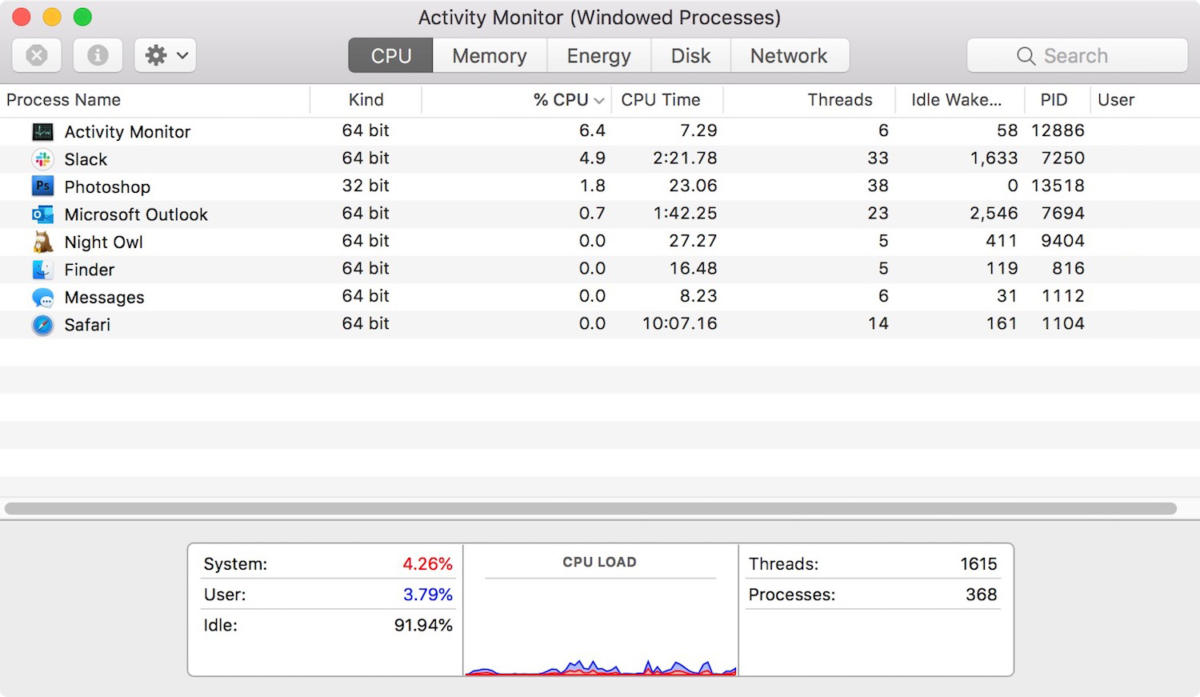
2. In the CPU section, you see a list of apps running on your Mac. Right-click the top row of categories. In the pop-up list that appears, select Kind.
3. At the right end of the top row, a new column called “Kind” should appear. You can click, hold and drag it to a new location if you wish. Like, say, next to the application names.
4. The Kind row will tell you if a running app is 32-bit or 64-bit.
How to upgrade 32-bit apps to 64-bit
Once you’ve identified a 32-bit app, you need to upgrade it, or it will not work in macOS 10.15. Upgrading it usually involves downloading an update created by the developer.
-
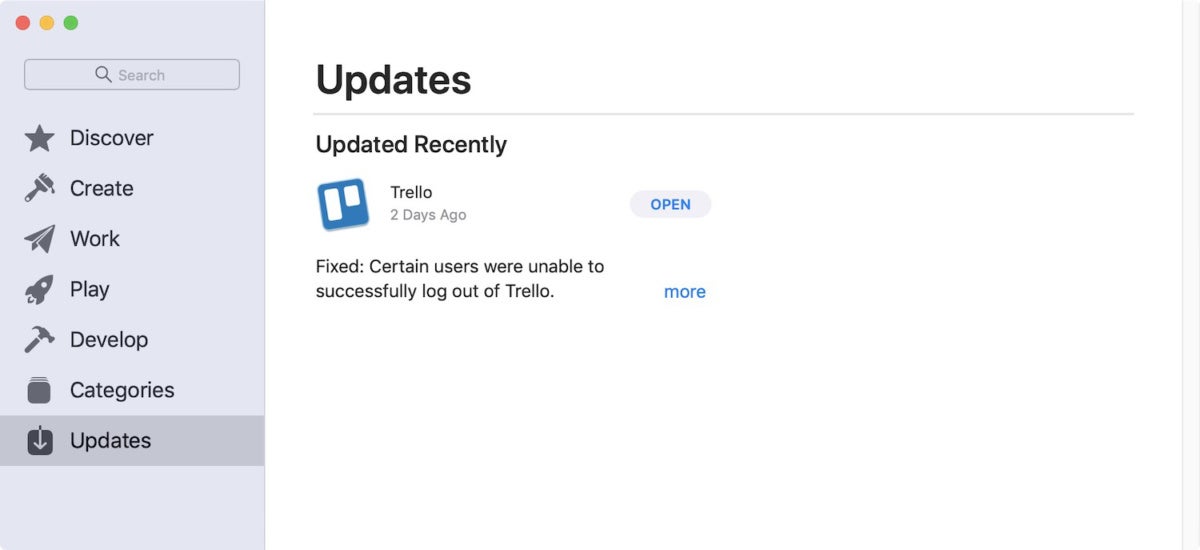
If you bought the app in Apple’s App Store, check it for any updates. Click Updates in the left column of the App Store app. Available updates appear in the larger window on the right.
IDG
-
Check the developer’s website for an update.
-
Some apps can look for updates within the app. Launch the app, and look for “Check for Updates” or something similar in the Help menu, or in the menu named after the app (for example, the Safari menu in Safari), or in the app’s preferences.


