It’s simple and valuable to record, track, and learn more about any symptoms you experience using the Apple Health app.
From creating health records and monitoring activity to learning about various health issues, Apple’s Health app is extremely versatile. One of its most useful features is the Symptoms section, which lets you record and monitor symptoms over time and provides a historical look at past symptoms. Find out more about what the Symptoms section offers, why it is beneficial, and how you can use it effectively.
What Is the Symptoms Section?
The Symptoms section in the Health app allows you to track symptoms for various complications and gives you information about the symptoms of particular illnesses.
Here’s how you can find the Symptoms section in the Health app:
- Open the Health app and tap Browse in the bottom corner.
- Scroll down and select Symptoms under Health Categories. You will see a list of common symptoms and diseases displayed.
The list currently offers symptoms for more than 40 adverse problems. It includes general problems like body and muscle aches, diarrhea, and headaches, along with more specific ones like acne, vaginal dryness, and pelvic pain.
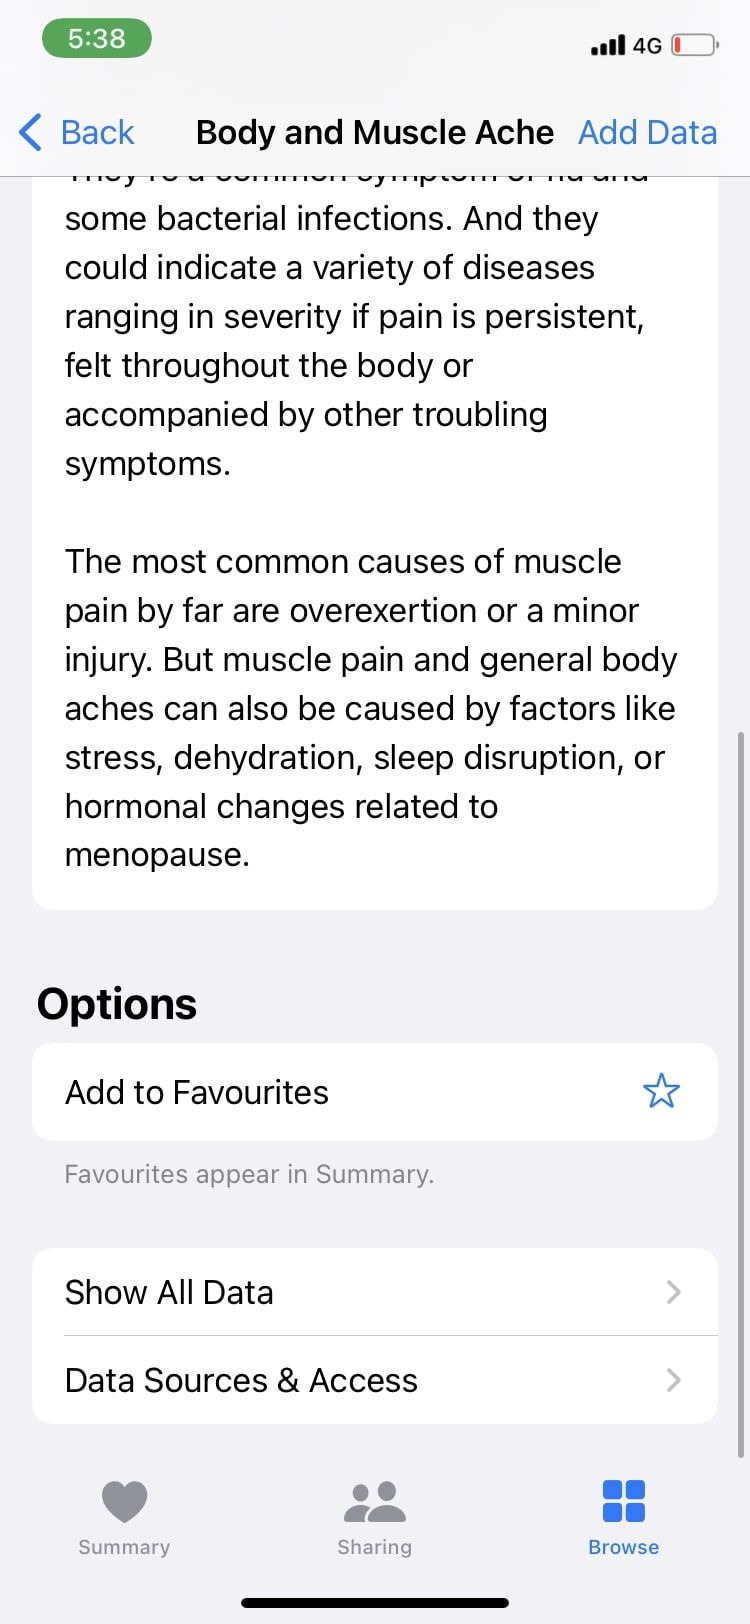
To use the symptom tracker, tap on any of the complications on the list. You will see a symptom tracker in graphical form, where your symptoms are recorded after each time you enter them. Beneath this, you will find short notes about the symptoms and related tips on what to look out for.
This is great for educational purposes, as you can also use this information to figure out what your symptoms may mean. However, wellness and health information is vast; if you’re always looking for more information, try out the Growth Bundle suite of health apps. Regardless, it’s important to schedule a doctor’s visit for medical information that’s specific to you. The information found in the Apple Health app’s Symptoms section is not sufficient for self-diagnosis, so make sure you’re not too reliant on it.
How to Track Symptoms in the Health App
Start off by manually adding symptoms to keep track. Here’s how to do so:
- After you choose an item from the Symptoms list, tap on Add Data.
- You can select the severity of your symptoms, ranging from Not Present to Severe, and customize the start date, end date, and time as needed.
- Then, tap Add. A plotting point will appear on your graph, and the chart will slowly formulate as you keep adding more data throughout.
Another way you can add symptoms is by linking a third-party app. There is an endless list of third-party apps out there that you can connect your Health app with. Can’t choose? Check out this list of the best iPhone apps to connect to Apple Health. This will allow the Health app to update your data automatically based on inputs from third-party apps, so you won’t manually have to add details to use the tracker.
How to View and Edit Your Symptoms
If you want to view your data and symptoms, there are several ways to do that. The symptom tracker graph at the top is your most obvious one.
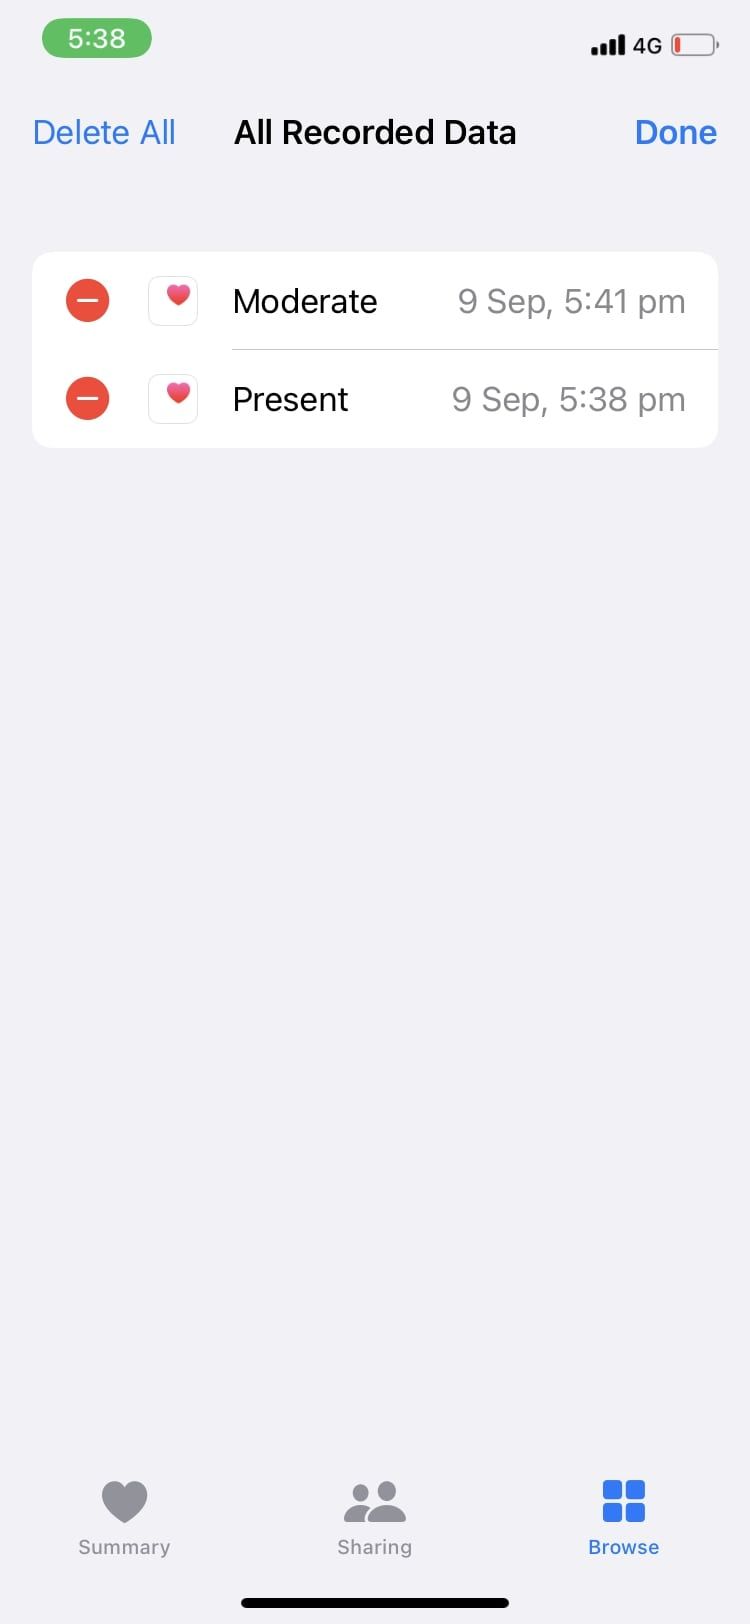
If you want a quick review of all the data that has been recorded, just tap on the symptom, scroll down, and select Show All Data. You will see all your recorded data present here. You can also edit the data by tapping Edit in the top right corner. However, editing is limited to removing sets of data, which may be necessary if you think some are inaccurate.


Another option you will find right beneath Show All Data is Data Sources and Access. As the name suggests, this is where you can check out who has access to read and update that piece of data in your Health app. All third party-apps allowed to read data will be listed under Apps Allowed To Read Data, while Data Sources will display every source allowed to update and add data. You can prioritize your primary data source for recording purposes.
Store the Symptom Information You Need in the Health App
The Symptoms section of Apple’s Health app can be a highly accurate source of information, as long as you reliably update it with the symptoms you experience. It provides an efficient platform to track personal data that works well with another fantastic health feature on iOS: the digital Medical ID for emergencies and treatment.


