On Windows 11, you can now use the Windows HDR Calibration tool to calibrate your displays for the best HDR picture quality.
The tool is very powerful and straightforward. It features three test patterns designed to calibrate an HDR-capable display’s darkness, brightness, and color saturation to improve accuracy and consistency.
You do not need additional calibration if you have a certified HDR display. However, you can always use the tool to tweak and improve the viewing experience.
The tool is available through the Microsoft Store for both versions, 22H2 and 21H2, but you can’t use it on Windows 10.
This guide will walk you through the steps to use the Windows HDR Calibration tool to calibrate your capable monitors on Windows 11.
How to calibrate HDR monitor on Windows 11
On Windows 11, to calibrate an HDR display, you will need to install the Microsoft calibration app, enable HDR on the monitor (if applicable) and through the settings app, and then use the app to calibrate the display.
Install HDR Calibration
To install the Windows HDR Calibration app on Windows 11, use these steps:
- Open Windows HDR Calibration store page (opens in new tab).
- Click the Get in Store app.
- Click the Install button.
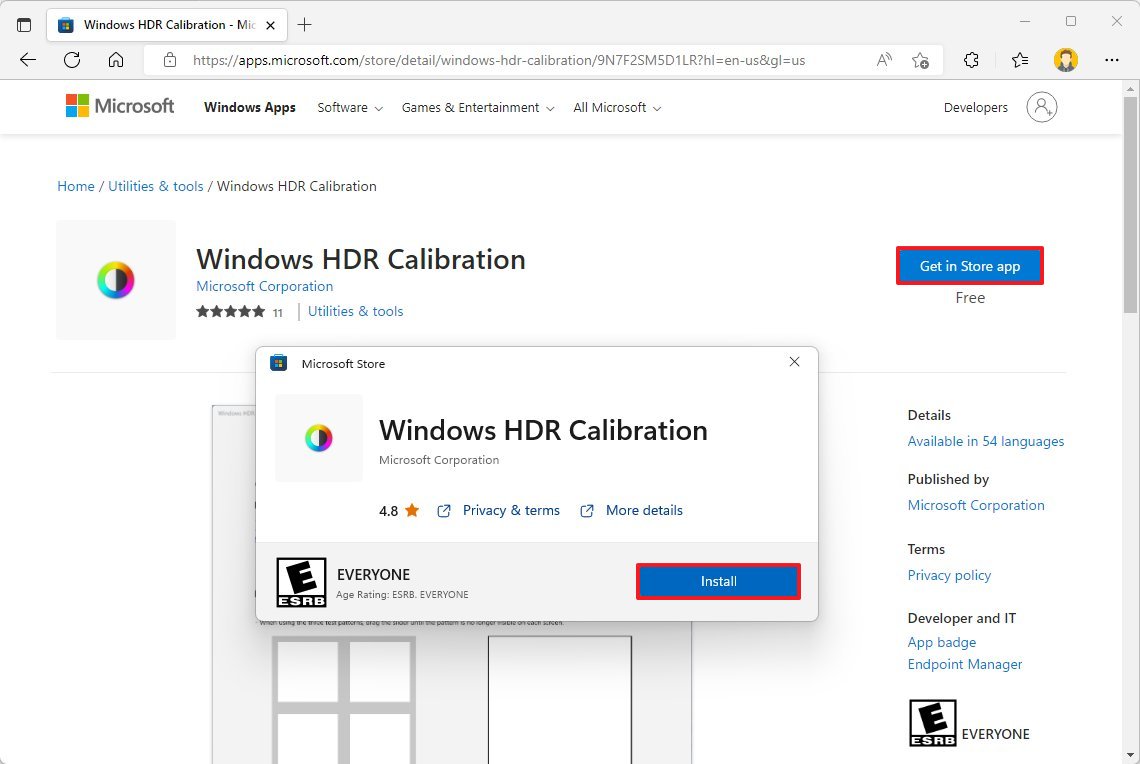
Once you complete the steps, the app will install on the computer, but you will still need to enable HDR on the display through the Settings app.
Enable HDR
To enable HDR on a capable display on Windows 11, use these steps:
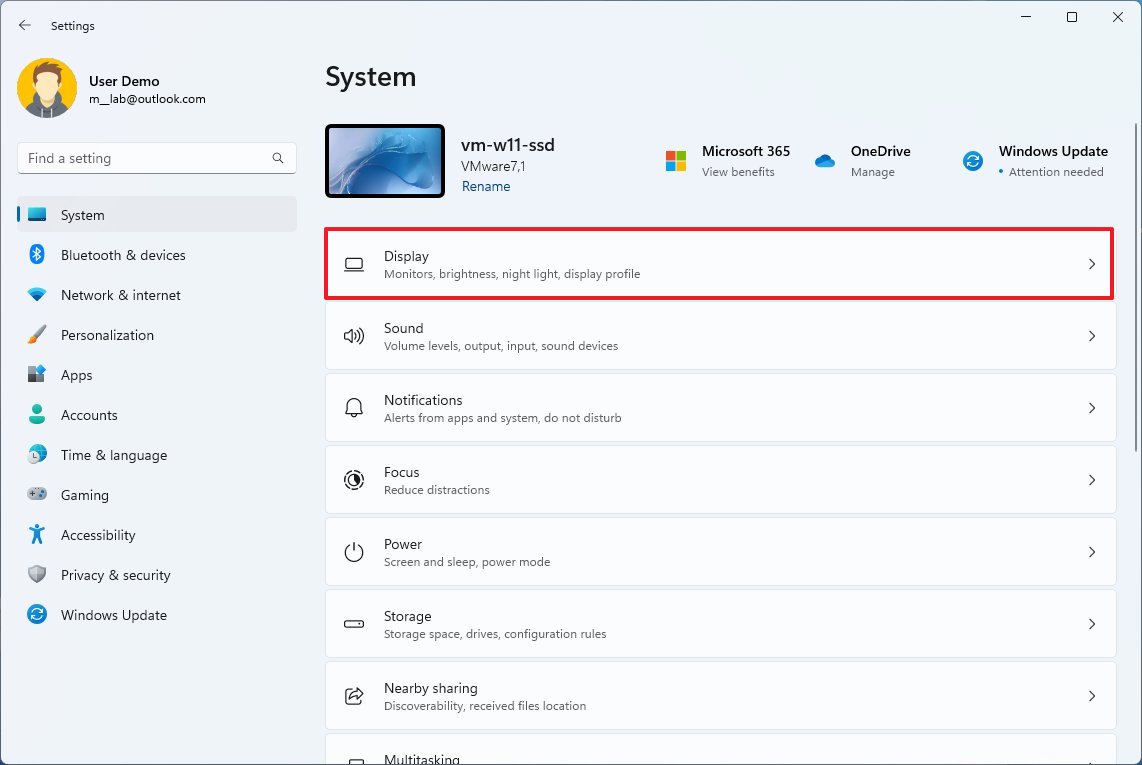
- Open Settings.
- Click on System.
- Click on Display.
- Under the “Brightness & color” section, click the HDR setting.
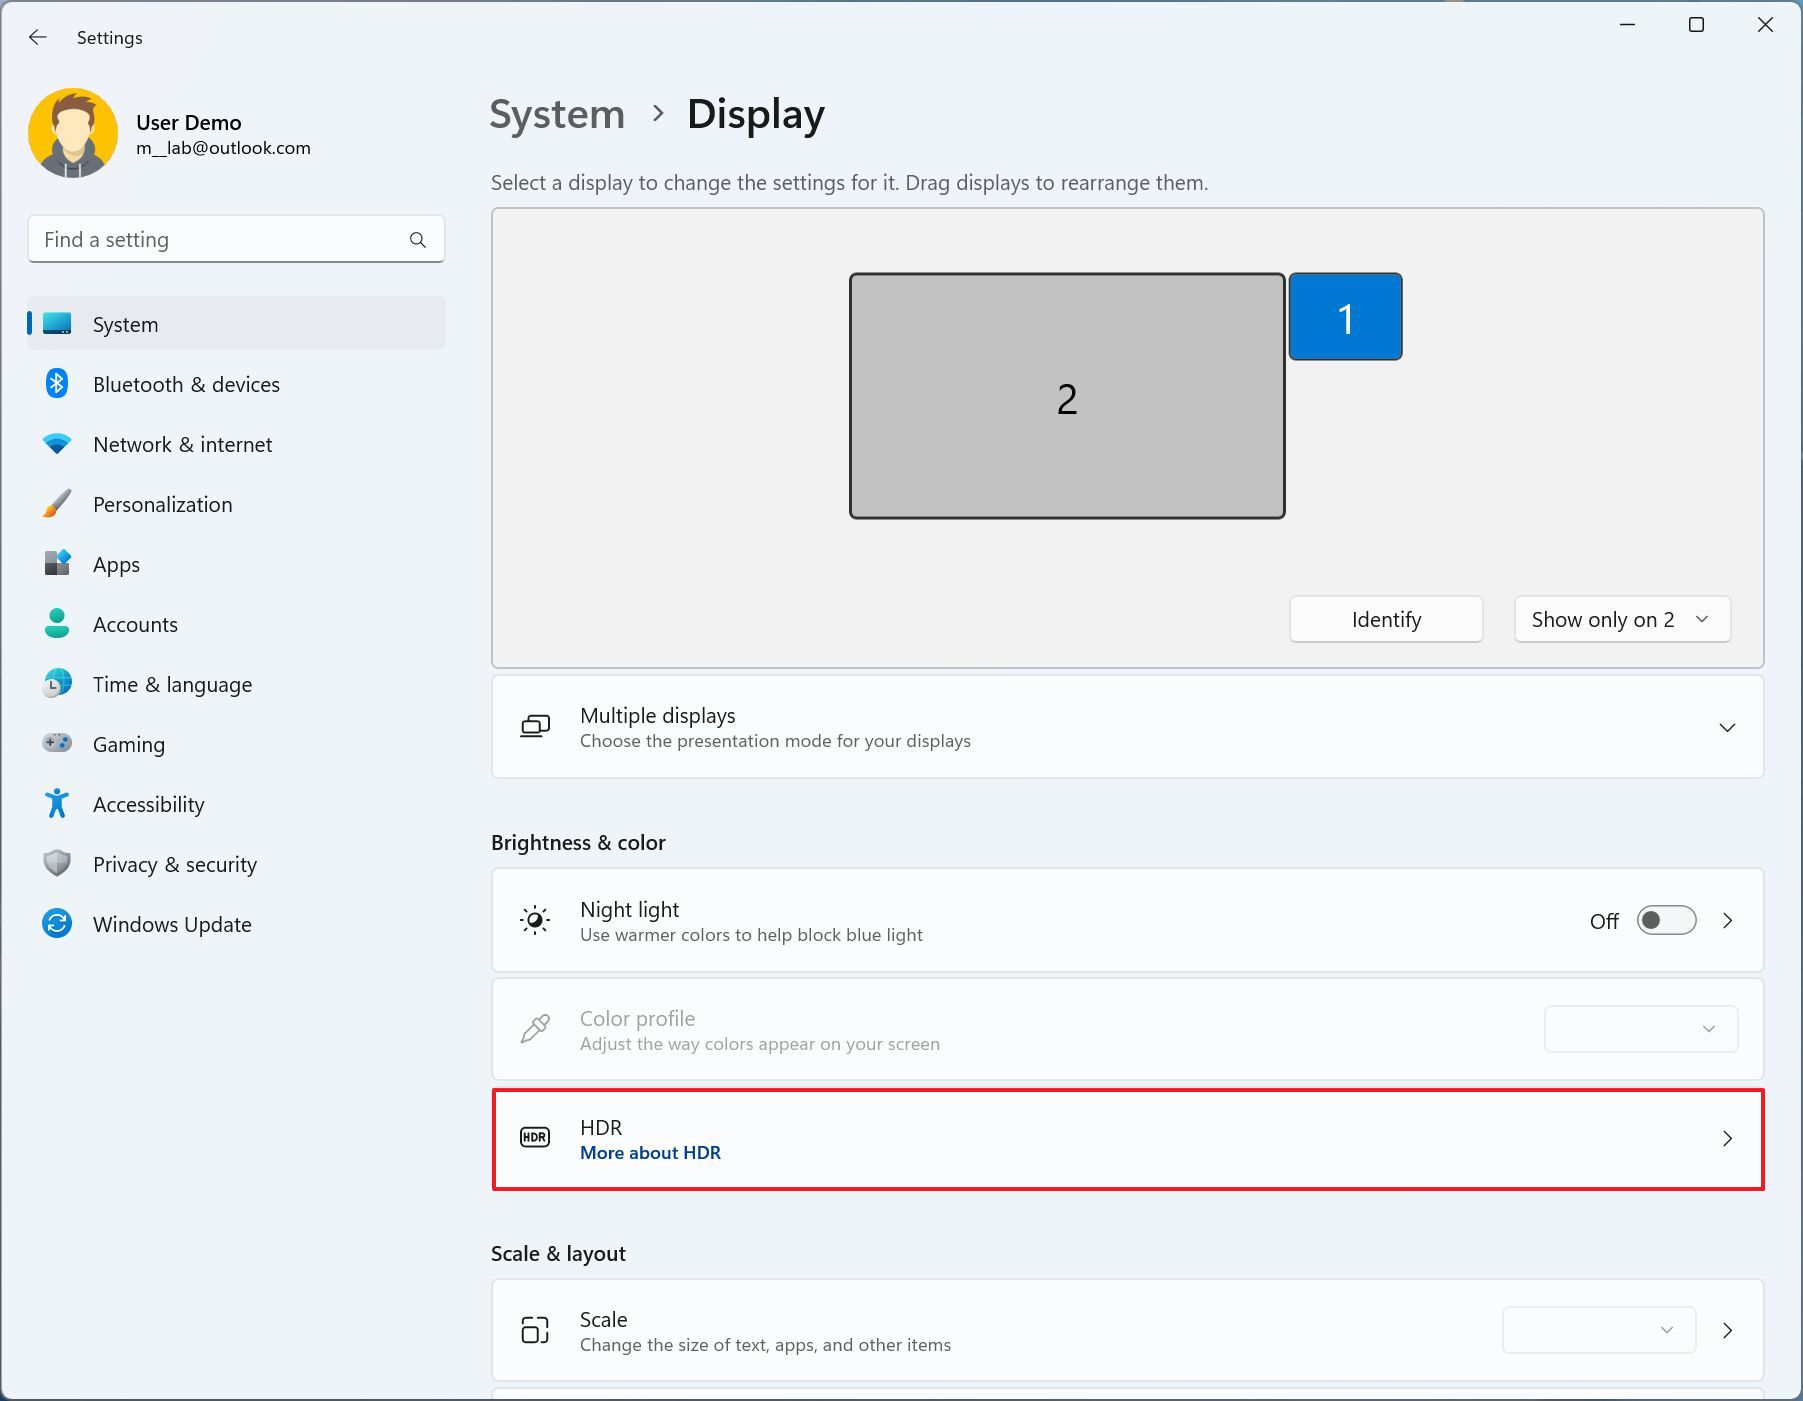
- Select the HDR monitor from the “Select a display to view or change its settings” option.
- Turn on the Use HDR toggle switch.
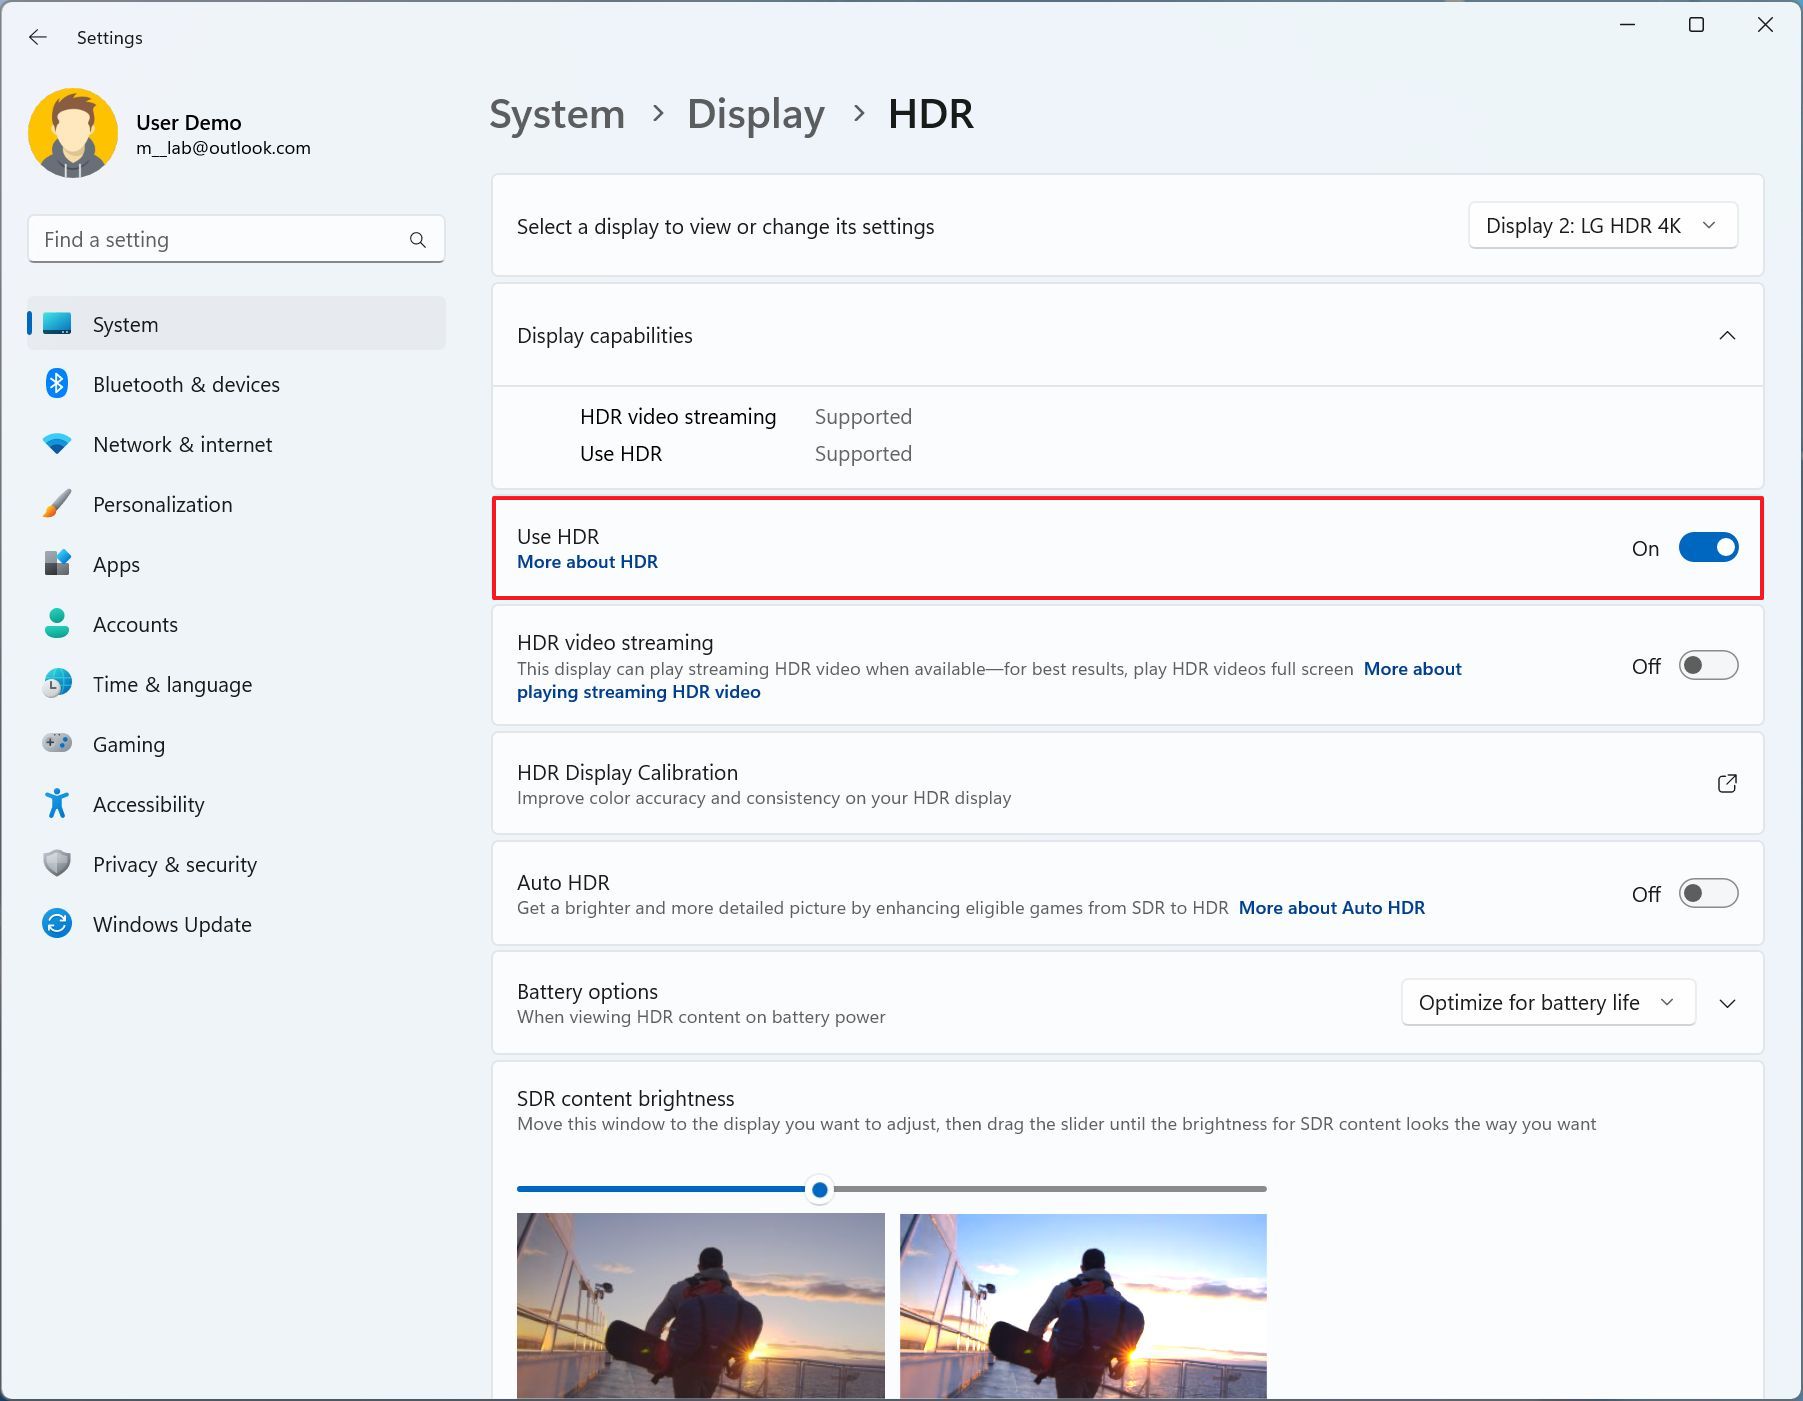
- Quick tip: If you have a laptop, make sure that the device is plugged into a power source. Otherwise, the HDR feature will be greyed out.
After you complete the steps, you can proceed to open the app and calibrate the display.
HDR Calibration
To calibrate your HDR display on Windows 11, use these steps:
- Open Windows HDR Calibration app.
- Click the Get started button.
- Quick note: Use the app in the lighting condition you will be consuming HDR content.
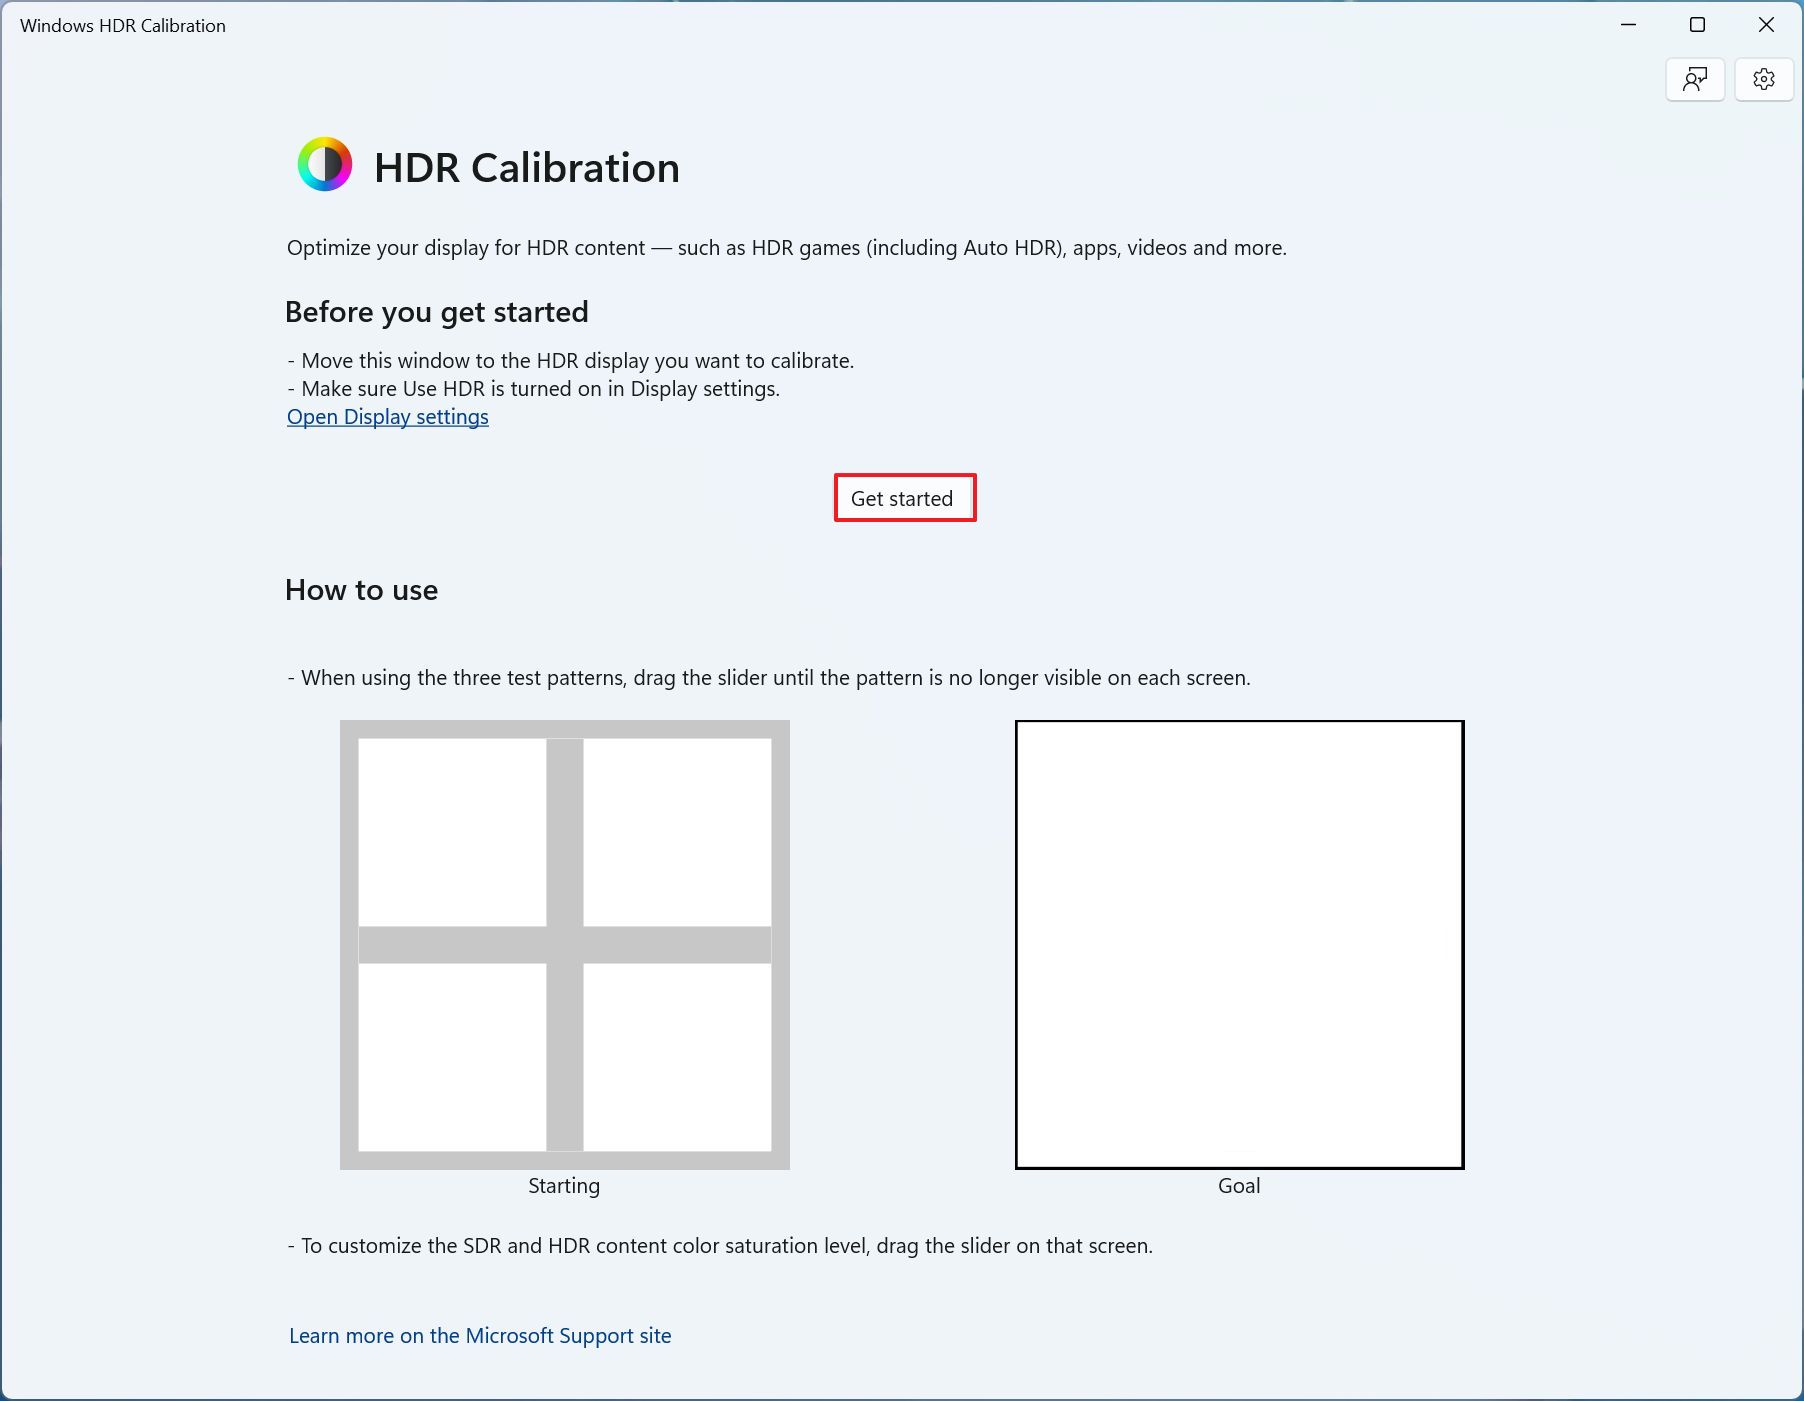
- Drag the slider left or right until the pattern is no longer visible to calibrate the darkness of the screen.
- Click the Next button.
- Drag the slider left or right until the pattern is no longer visible to calibrate the darkness of the screen.
- Click the Next button.
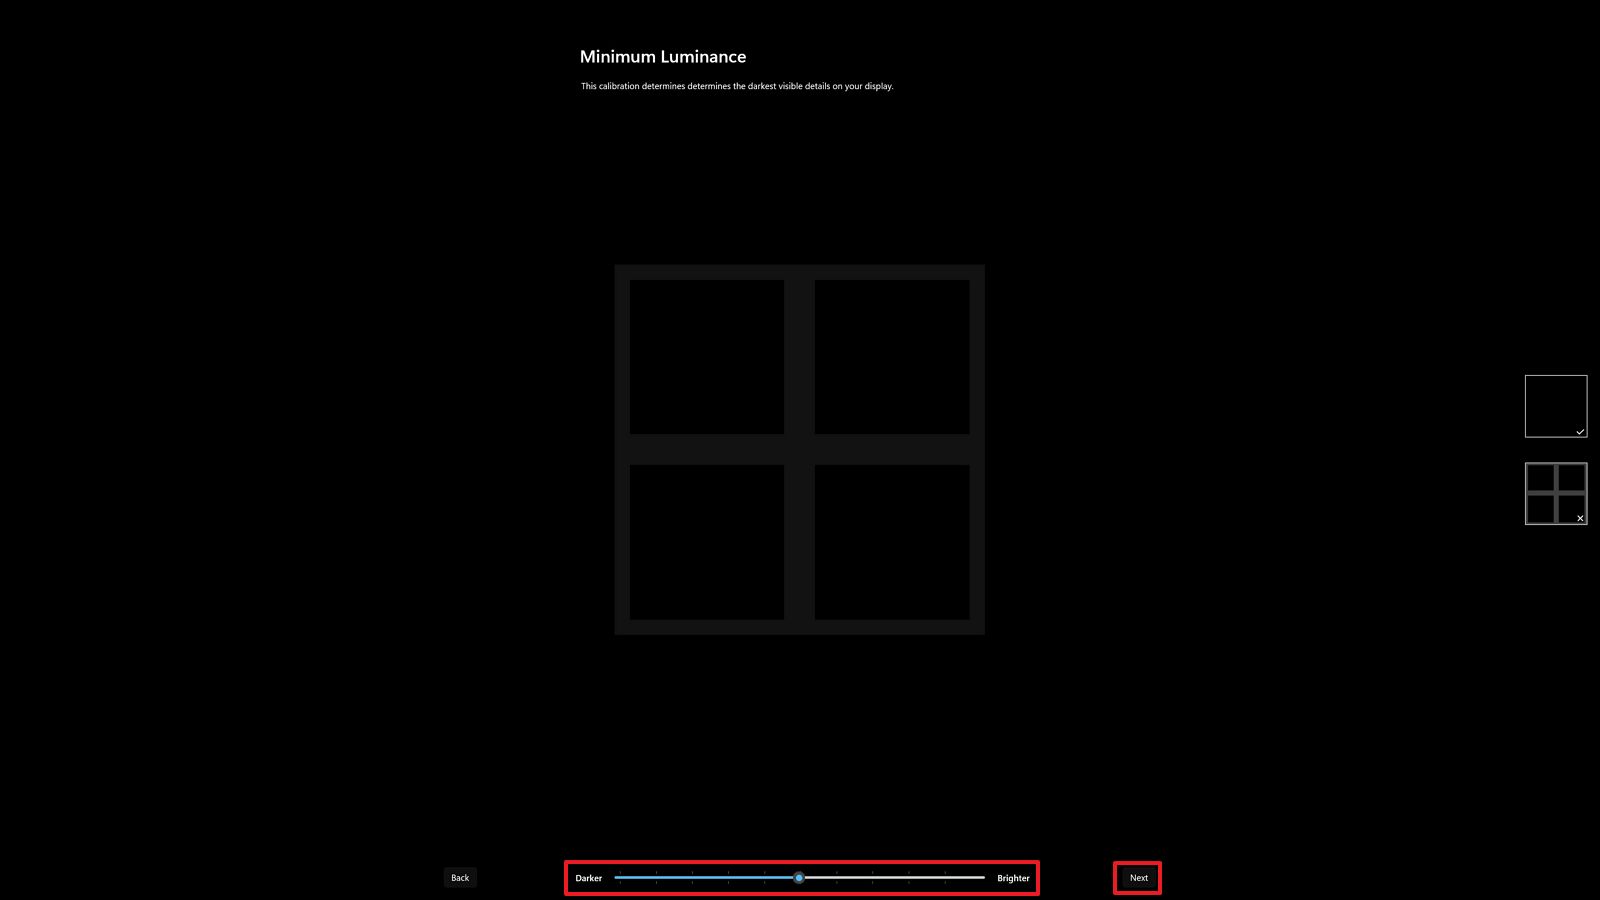
- Drag the slider left or right until the pattern is no longer visible to determine the brightness visibility.
- Click the Next button.
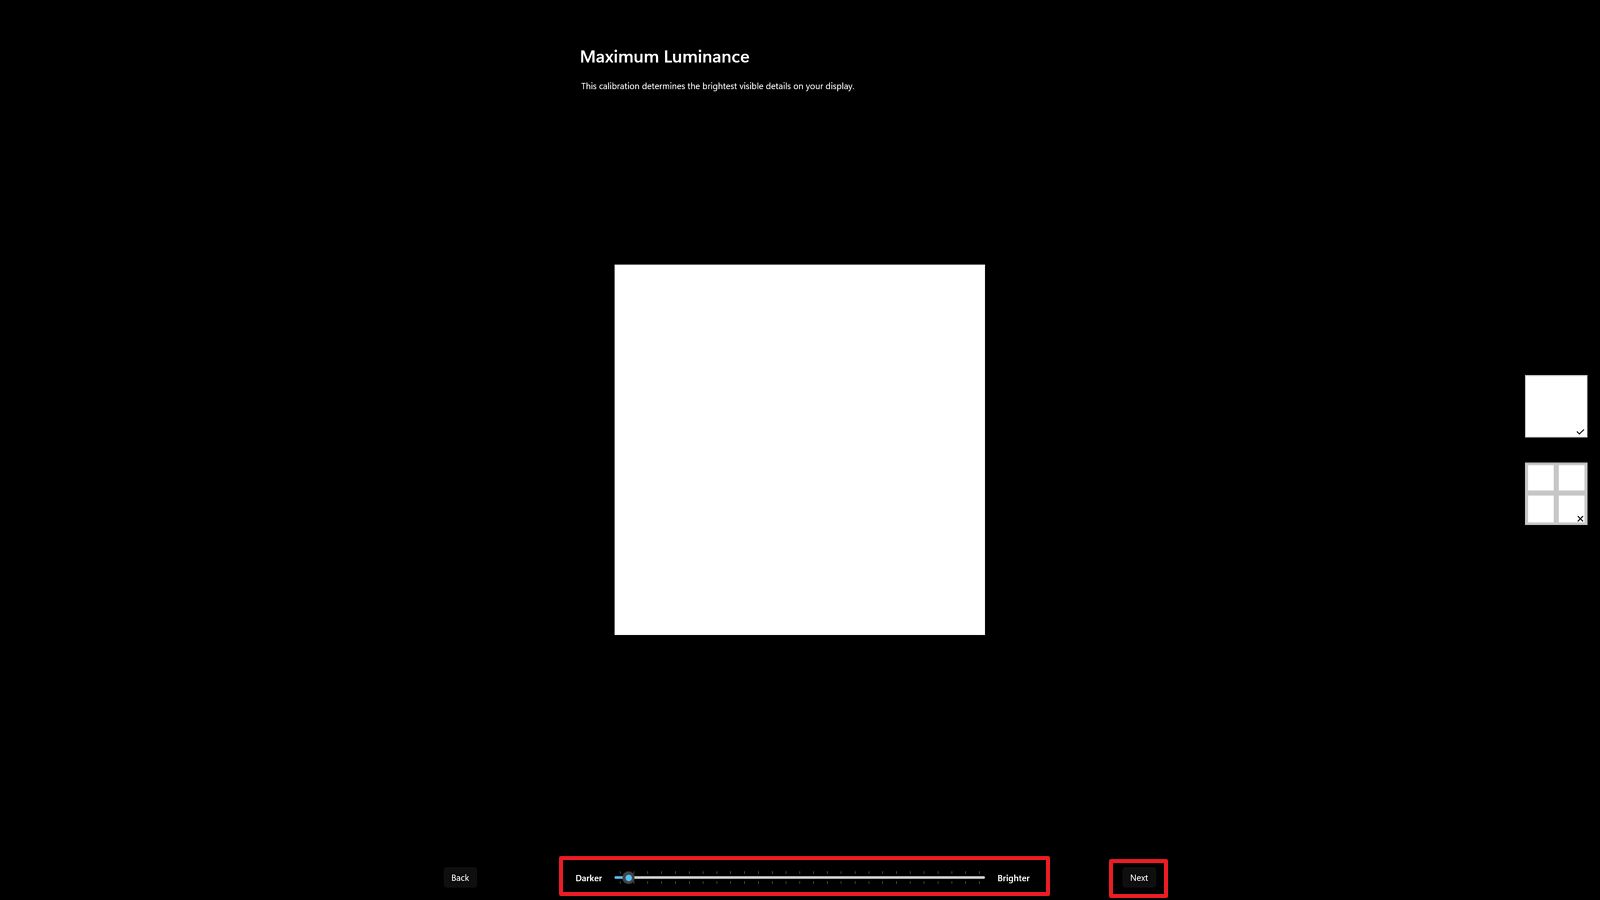
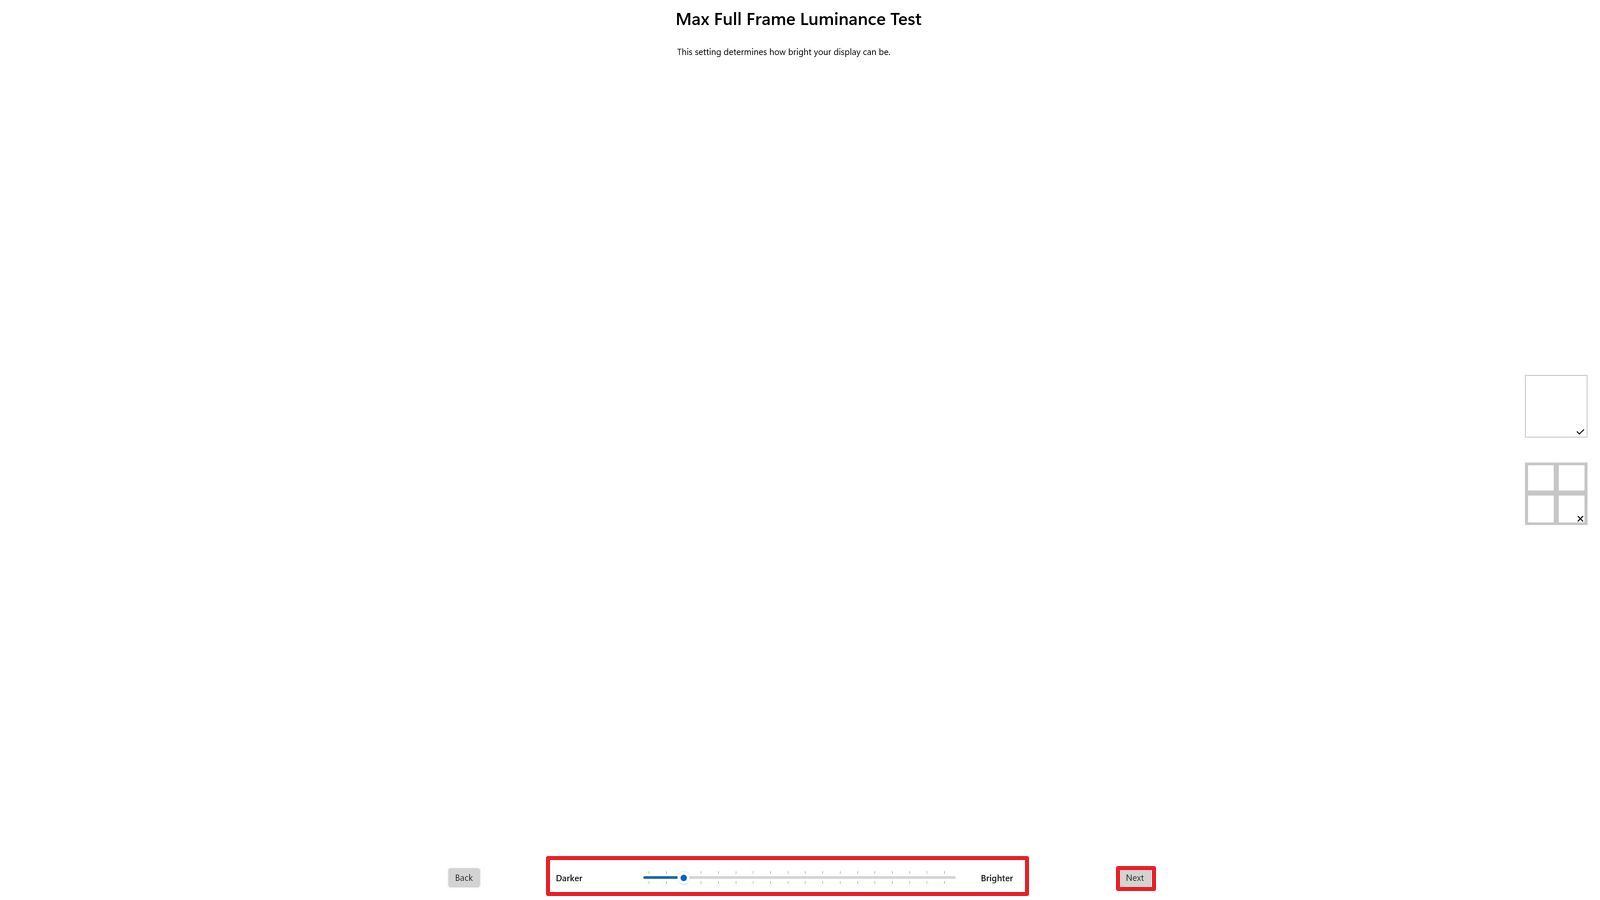
- Drag the slider left or right until the pattern is no longer visible to determine how bright the screen can be set.
- Click the Next button.
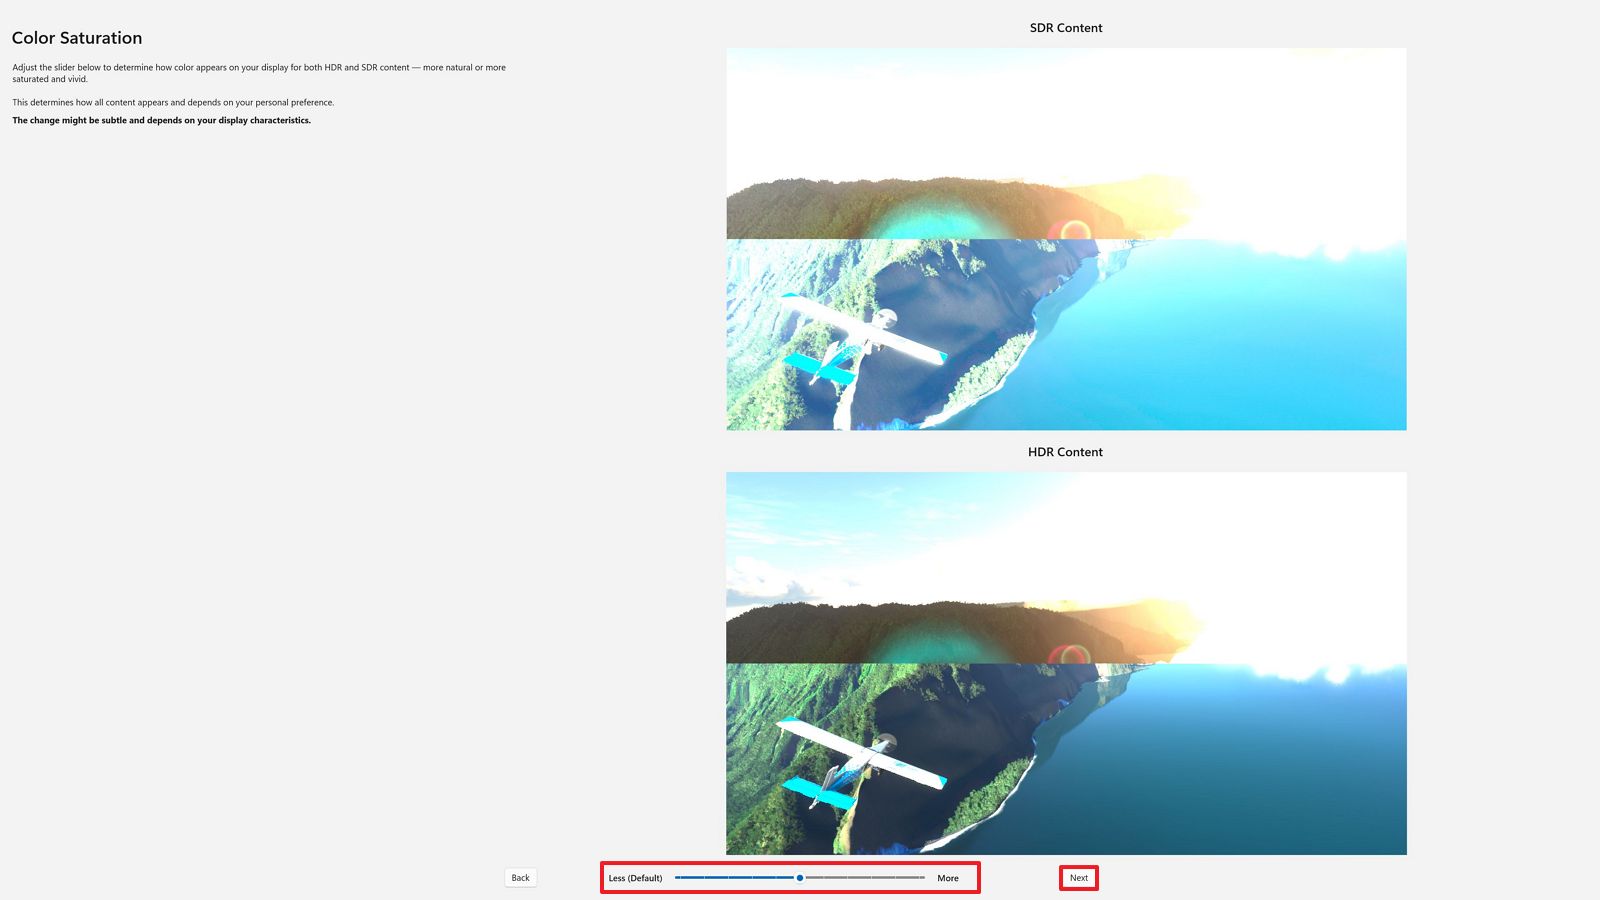
- Drag the slider left or right to determine how color saturation appear on the monitor.
- Quick note: If you don’t see any changes as you move the slider, it’s probably because the graphics card doesn’t support the feature. Also, the changes in the setting are very subtle.
- Click the Next button.
- Confirm a profile name.
- Click the Finish button.
- Click the OK button.
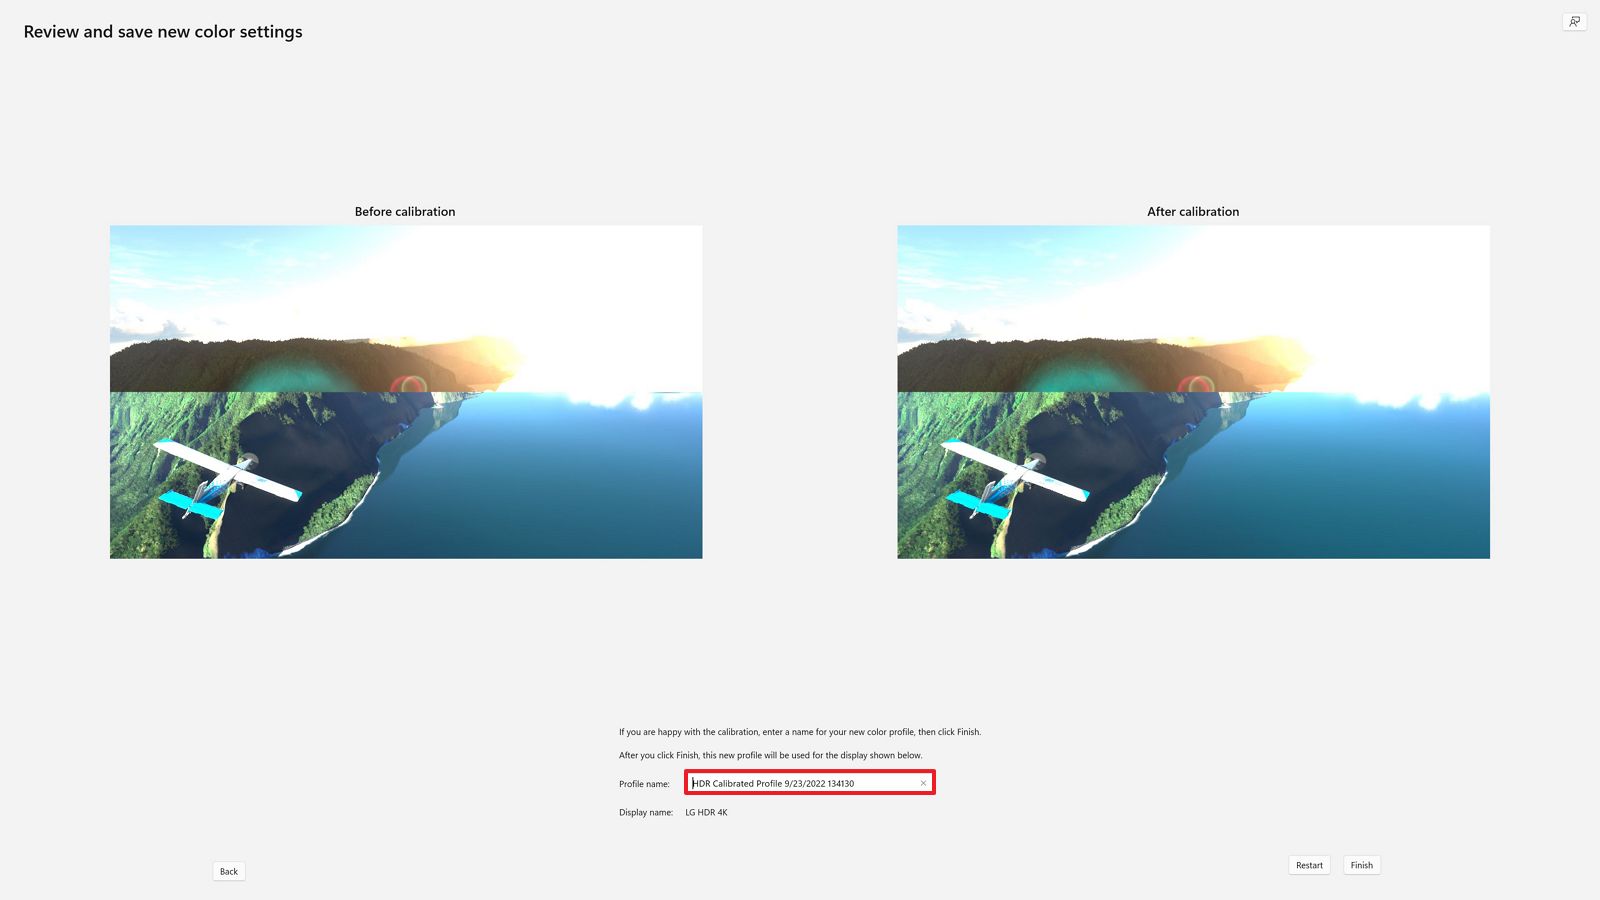
Once you complete the steps, the HDR content (games, videos, and apps) should look improved on Windows 11. If you have a multi-monitor setup, move the app to the next monitor, and repeat the calibration instructions.
More resources
For more helpful articles, coverage, and answers to common questions about Windows 10 and Windows 11, visit the following resources:


