One gripe you’ll hear about Pages, Apple’s otherwise excellent word processing and page layout application, is that it provides little in the way of support for printing labels. But, while it’s true that Pages doesn’t ship with any built-in label templates, it’s actually easy to create and use standard labels using Pages. Here’s how.
- Time to complete: 30 minutes
Tools required: Ruler Materials required: Apple Pages, document labels
Check for a pre-made template

Avery
You might already know that you can download tons of Microsoft Word templates for the most common labels directly from the company’s website. You can open a Word template in Pages, but you’ll often need to adjust the measurements slightly to make the templates work. (If you choose to go this route, skip to Step 6.)
The Avery Label website has a large selection of templates and many non-Avery labels work with Avery templates. Avery also has a limited selection of templates in a Pages format, too. But often you’ll find that there are no downloadable templates available for the label that you want to use. That’s when you need to create a label from scratch.
Get the measurements
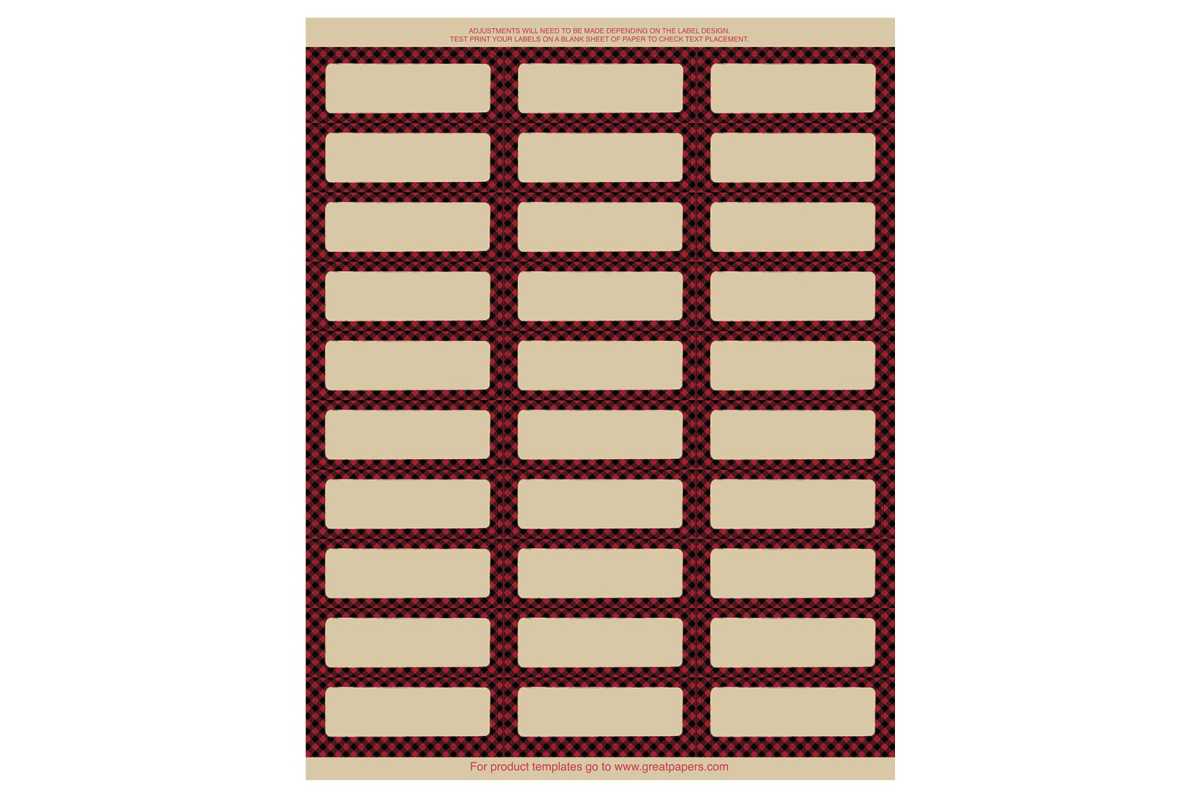
A Word template is available for this label set by Great Papers, but for the purposes of this tutorial, we’re going to manually create a template.
Labels with no templates typically have measurement information that you can use to create the template manually. For the purposes of this exercise, we’re going to use the information that ships with the Great Papers Buffalo Reindeer Plaid Address Labels, and you can substitute whatever numbers you need for the labels you want to use. Search the package for measurement information or use a ruler to take measurements of the label itself. You’ll use this information to create the template.
Create a new document in Pages
Foundry
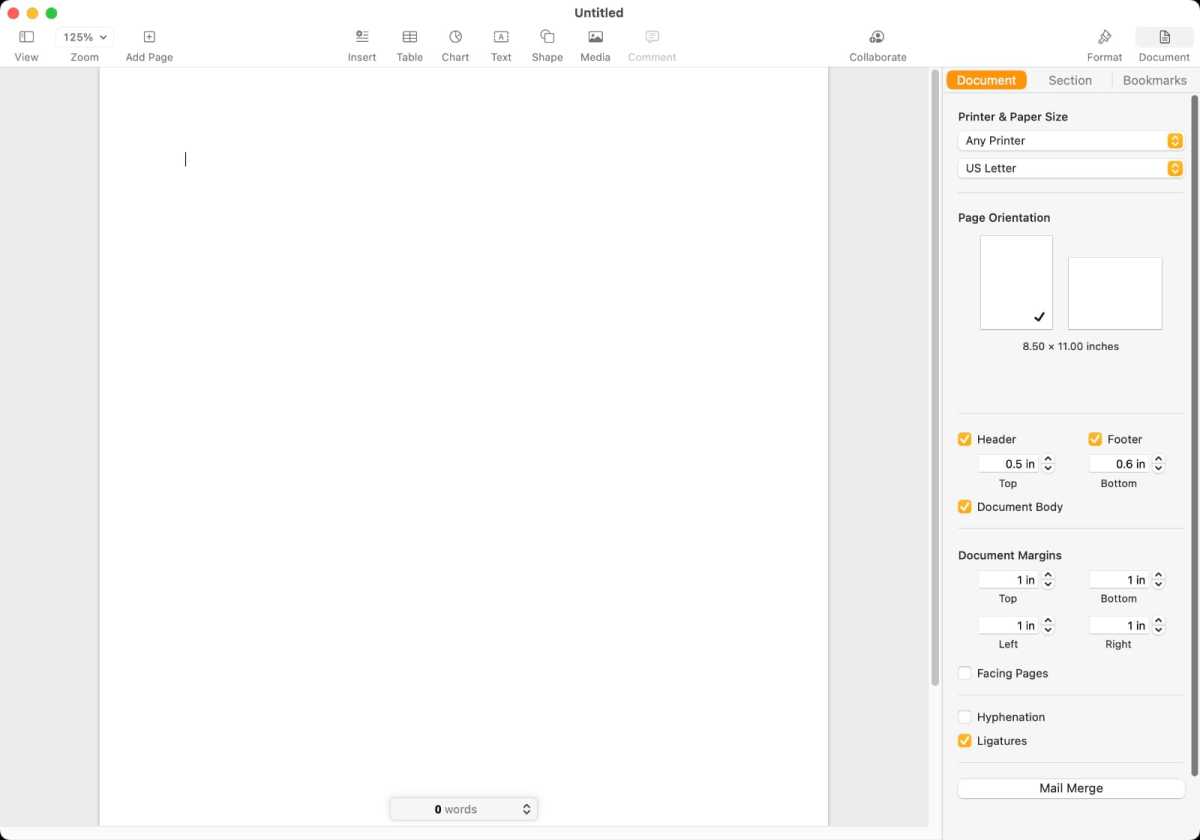
To create your own template, launch Pages (in /Applications) and create a new, blank word-processing document. After the blank document appears, open an Inspector by clicking on the Document icon in the upper right, or choose View > Inspector > Document Setup. When you’re done, your workspace should look like the image above.
Turn off Header and Footer
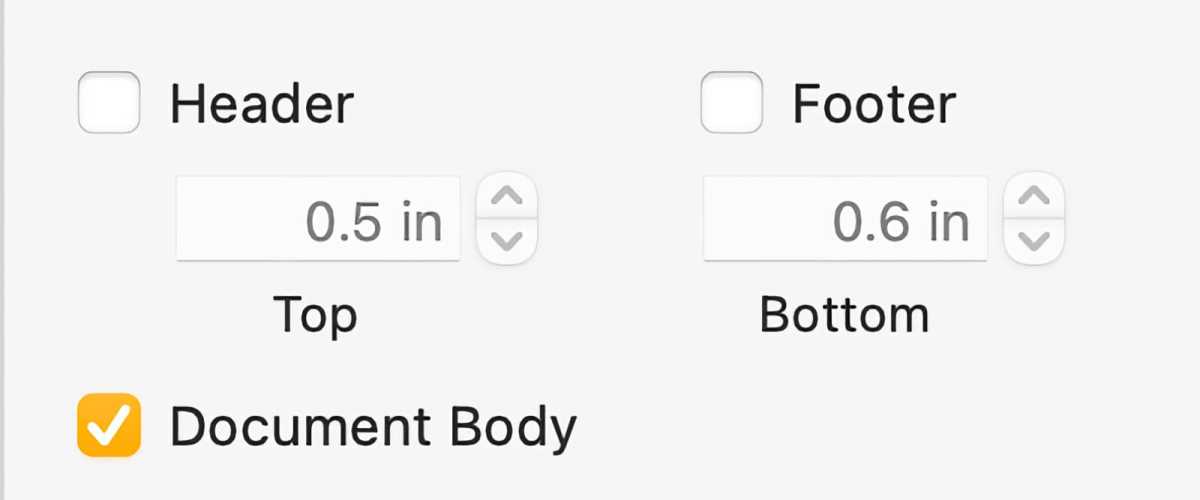
Turn off the Header and Footer.
Foundry
In the Document Inspector, make sure to remove the checks from the Header and Footer checkboxes as headers and footers limit the amount of printable space available to you on the page.
Create a table
Foundry
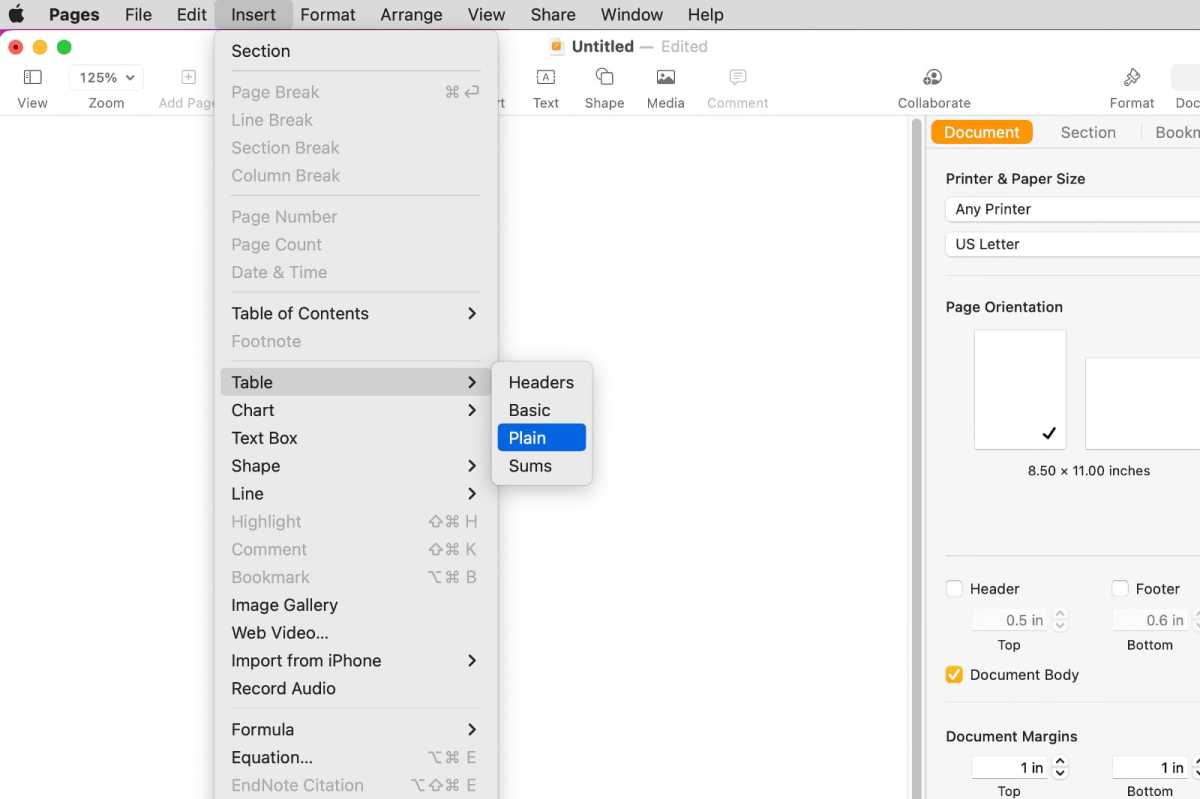
Add a new table to the document but don’t use the Table button on the Toolbar. Use the Insert -> Table > Plain menu. This way, you’ll create a table without a header or footer.
Click the table and switch the Inspector to Format (click the Format button at the upper right or go to View > Inspector > Format). In the Inspector, change the Rows and Columns to reflect the numbers on the label sheet. In our example, a sheet has 10 rows and 3 columns.
Now take your label sheet and measure the width and height of a label, or find the measurements on the packaging.
In Pages, go to the Row & Column Size section of the Inspector. Change the column width to the label width and the row height to the label height. In our example, the width is 2.63 inches and the height is 1 inch.
You don’t want each table to automatically resize if you add too much text, so uncheck the checkbox that says “Resize rows to fit cell content.” You’ll need to make a few more tweaks, which we’ll get to next.
Tweak the document’s margins and other settings
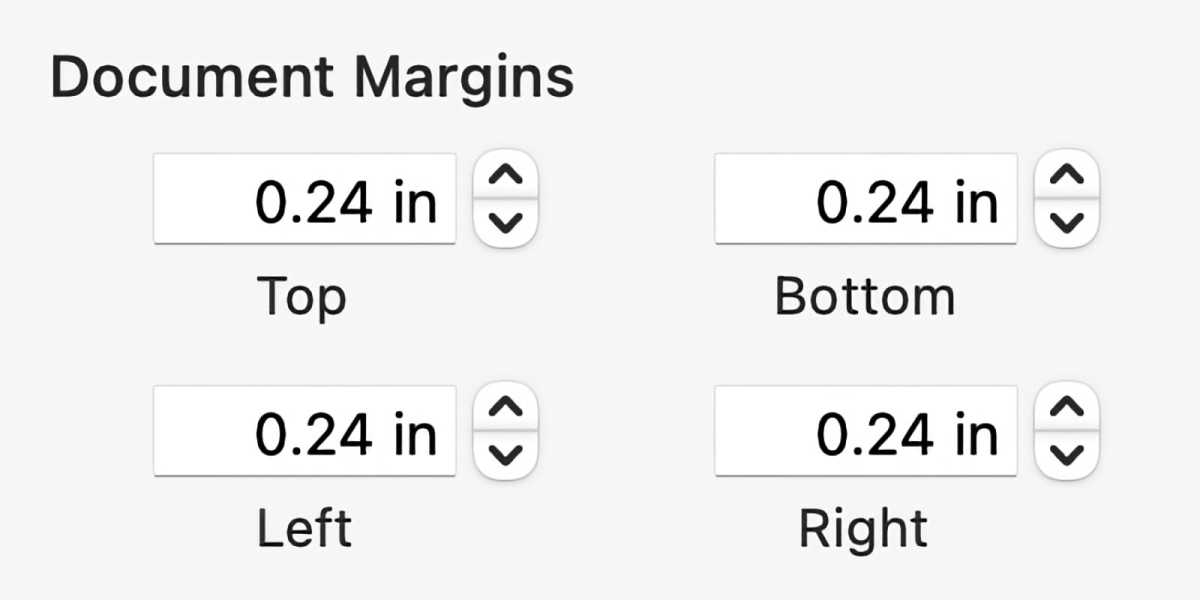
You’ll need to adjust the document margins.
Foundry
Right now, the labels in our template don’t all fit on a single page, even though we entered the information exactly as it appears in the measurements on the labels package. To fix this you’ll need to adjust the document margins based on the measurements of the label sheet you’ll need to take. So grab that label sheet again, and measure from the edge of the sheet to the edge of the label.
In Pages, go to the Document Inspector, and in the Document Margins section, enter the measurements.
Now print the template on a piece of paper with the table lines still visible, and hold it up to the light behind one of your labels so that you can compare the lines on your template to the actual lines on the label. Make any adjustments in Pages that you see fit. Adjustments are less a matter of science than it a matter of judgment. Make smaller changes, .1 inch here .05 inch there, and remember that the Edit > Undo menu is your friend.
Remove cell borders and then print
Foundry
Once you’re satisfied with the fit of your template, it’s time to remove the table gridlines. You can remove them now or you can remove them after you’ve filled the table with all the addresses you want labels for.
In Pages, click on the table, but make sure that you don’t have a single cell selected–if a single cell becomes outlined when you click on the table, then you’ve selected the cell. To make sure you have the table selected, click anywhere else on the document outside of the table; the rows and columns labels should disappear. Then click the table; the rows and columns labels should appear and a cell should not be outlined.
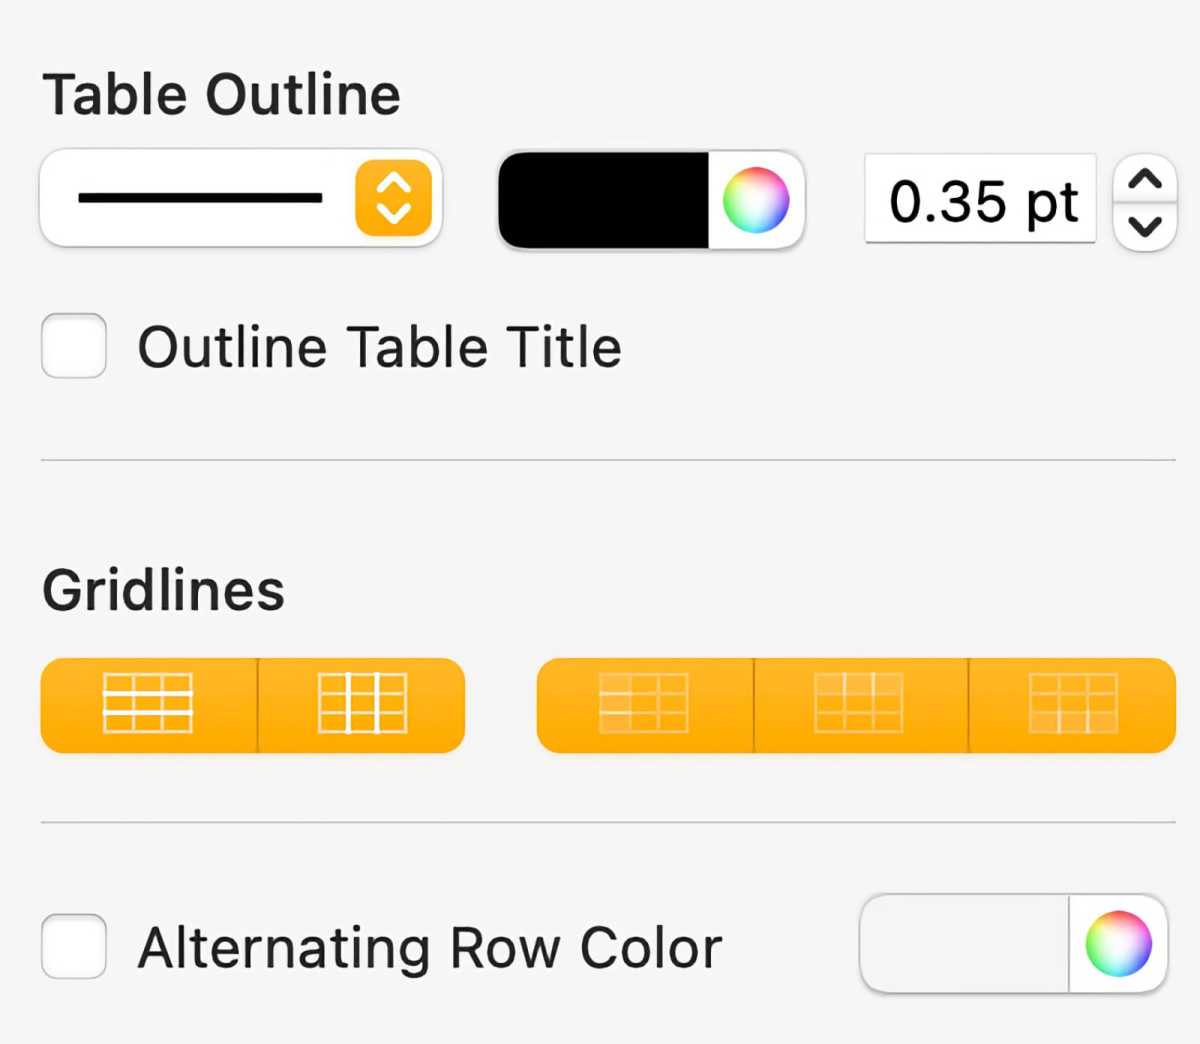
Click on Format to open the Format Inspector. Adjust the following settings:
- Table Outline: Select None from the pop-up menu.
- Gridlines: Click the boxes to deactivate them (they turn white). You may not need to click all of the boxes.
- Alternative Row Color: Uncheck this box.
When you’re satisfied with your work, save your new label as a Pages template so you can use it again in the future (File > Save as Template). Now you’re ready to print out your labels.
Editor’s note: This article was originally written by Jeffery Battersby. It has been updated by the Macworld Staff to reflect the current version of Pages.


