Organizing songs into playlists is a great way to sort and listen to your music. Apple Music has a good set of tools to create and sort playlists. Further, you can even share your playlists with friends. Wondering how? In this article, we’ll show you how to share a playlist on Apple Music.

It’s pretty simple to share the link to your playlist with your friends or even on social media. While Apple Music still lacks the playlist collaborate feature, you have the option to display your library and listening activity by creating and sharing your Apple Music profile. And we’ll show you how to do that too. So, let’s get started.
How to Share an Apple Music Playlist
Here’s how you can share all of your playlists on Apple Music. We’ve outlined steps for the Apple Music mobile app, but the actions you need to take, and the button you need to tap are quite similar on Mac and the Web Version of Apple Music too.
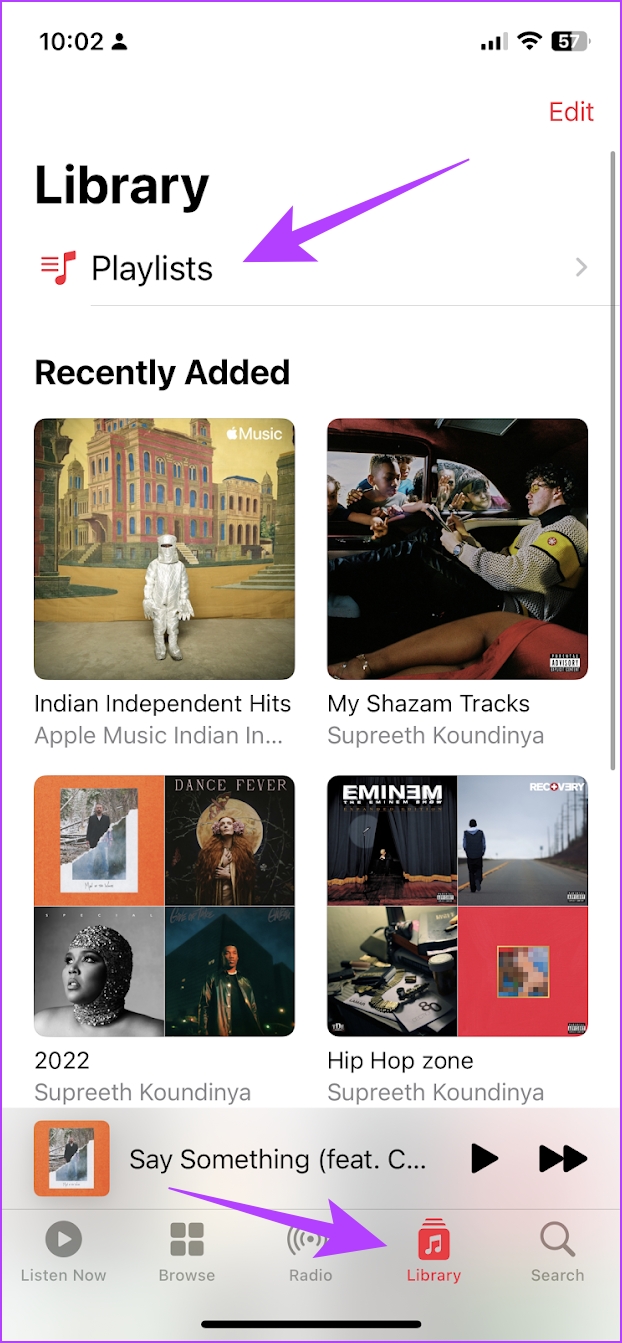
Step 1: On the Home Screen of Apple Music, tap on the Library section and select Playlists.
Step 2: Now, select the Playlist that you want to share.

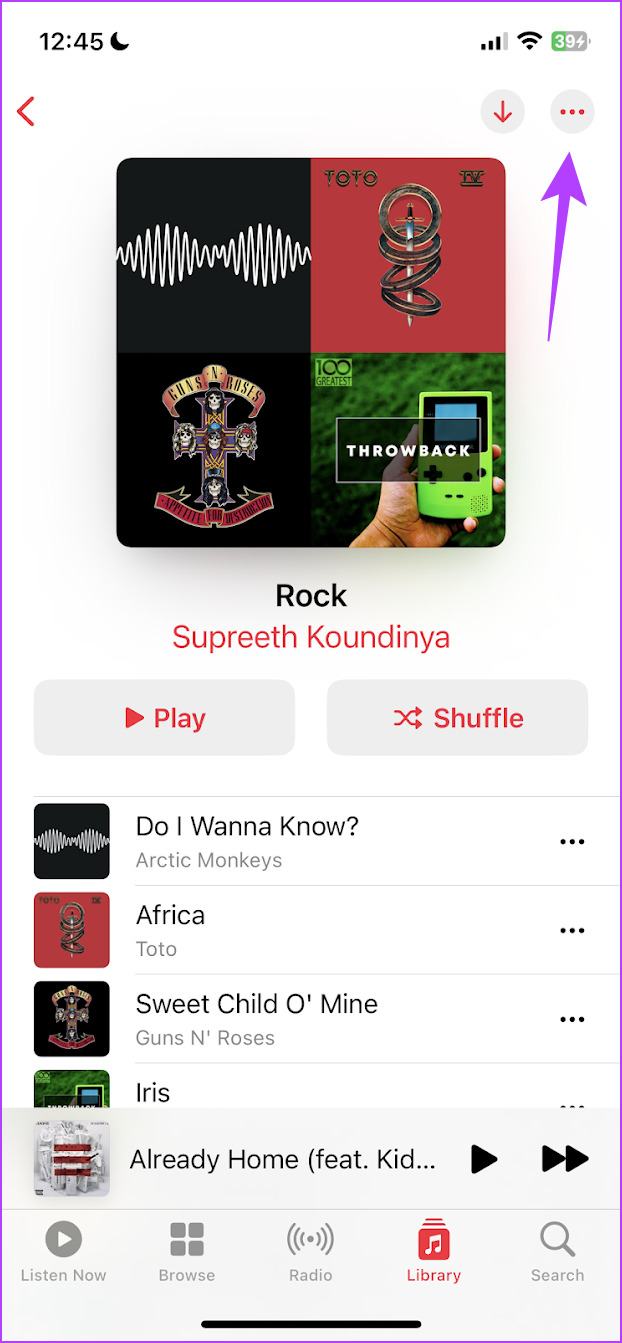
Step 3: After opening the playlist, tap on the three dots icon at the top right.
Step 4: You will find a list of actions. In that, tap on Share Playlist.

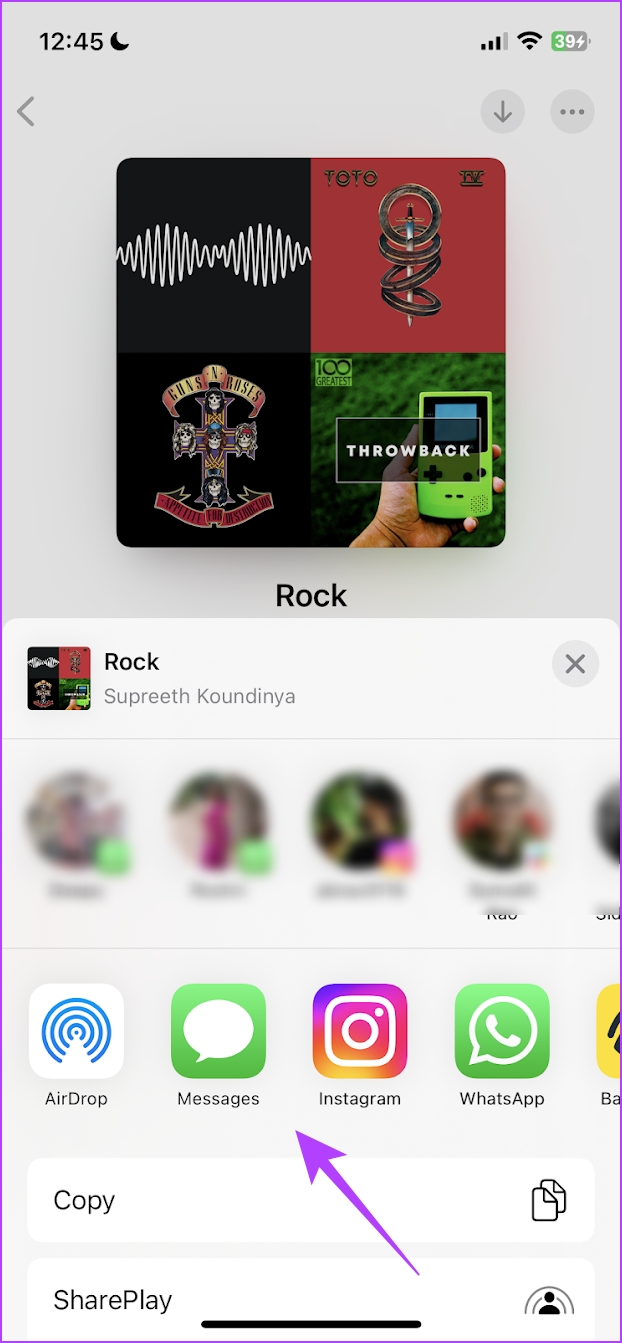
Step 5: You can now share your playlist across all your social media apps in different forms, or can just share the URL of the playlist via a text message.
Once your friend receives the link, they will be able to view the playlist in Apple Music.
That’s how you share a playlist on Apple Music. When we did a comparison between Spotify and Apple Music, one feature that made Spotify stand out was the ability to collaborate on a playlist. However, Apple Music misses out on that, but there’s still a way in which you can connect with your friends and see what they listen to – by sharing your Profile.
How to Create and Share Your Profile on Apple Music
We all have that one friend with impeccable musical taste. And every time they play their playlists out loud, it’s just one good song after another. If you are that friend and everyone is behind you for your playlists, here’s how you can create a profile in Apple Music and share your library.
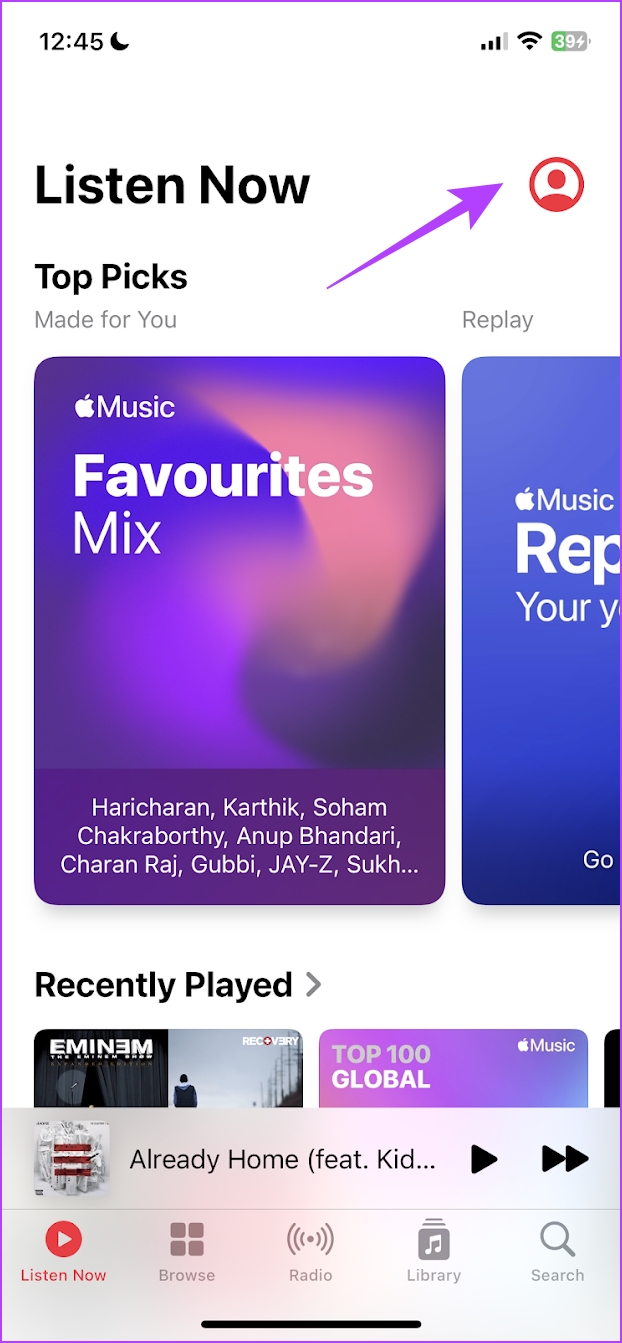
Step 1: Open Apple Music and in the Listen Now tab, tap on the profile picture icon.
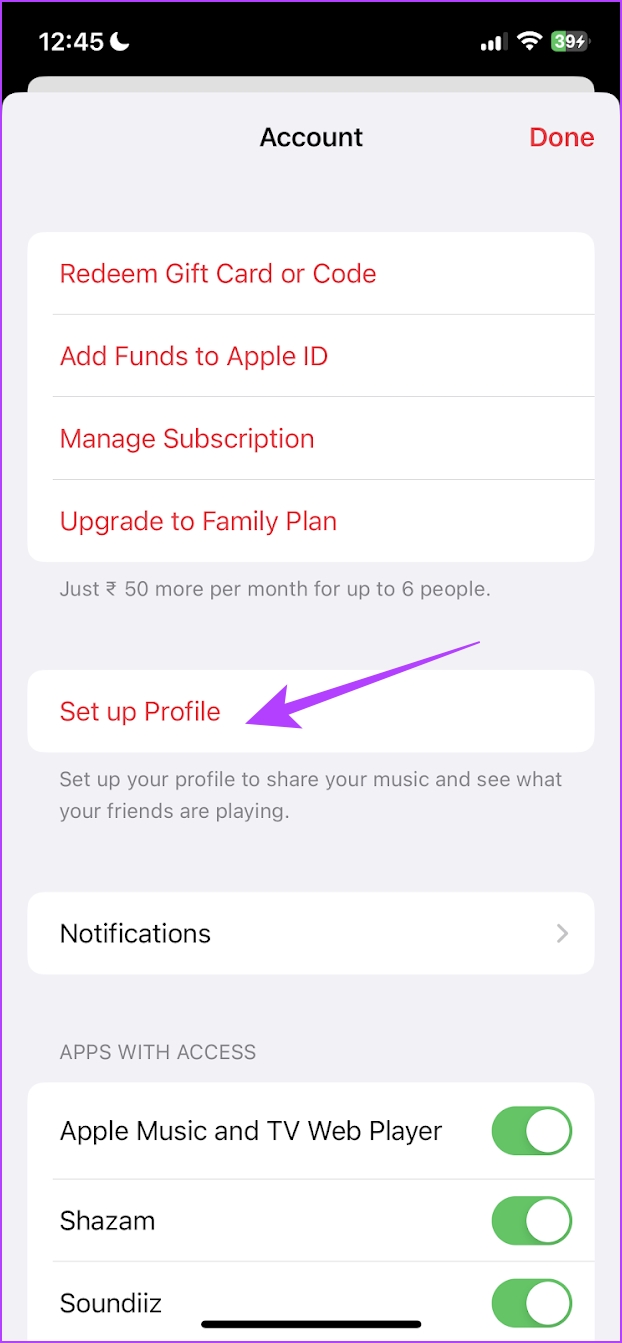
Step 2: Tap on the ‘Set up Profile’ option.
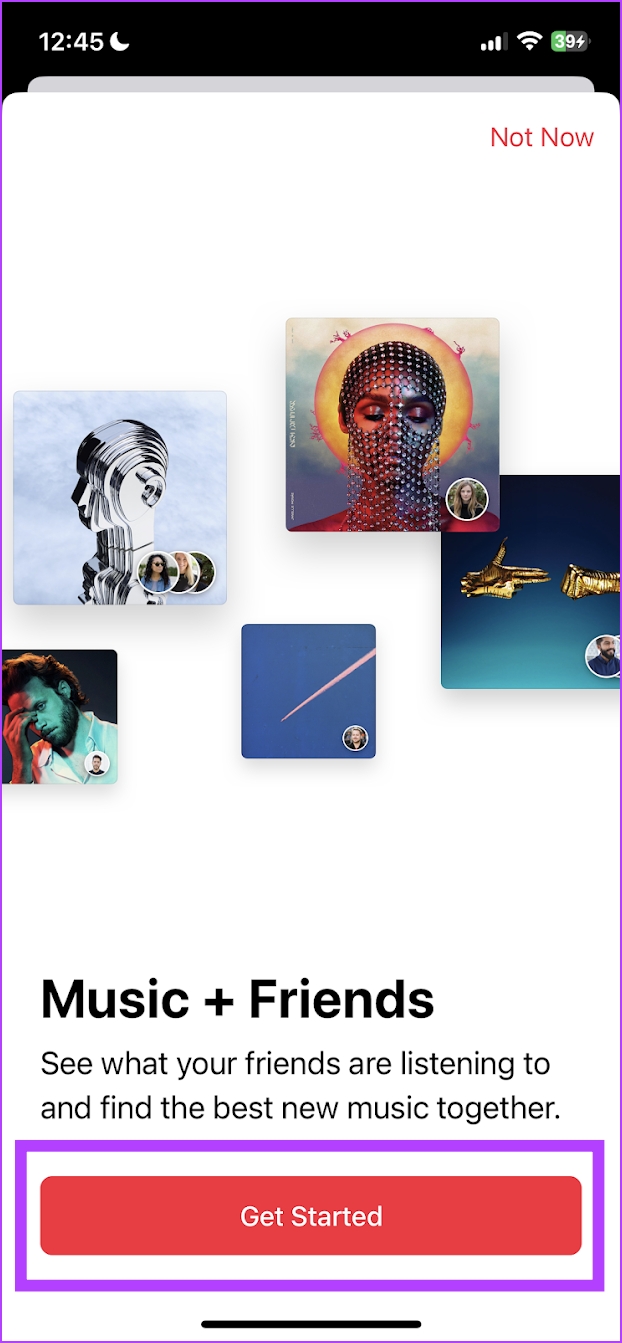
Step 3: Now, tap on Get Started.
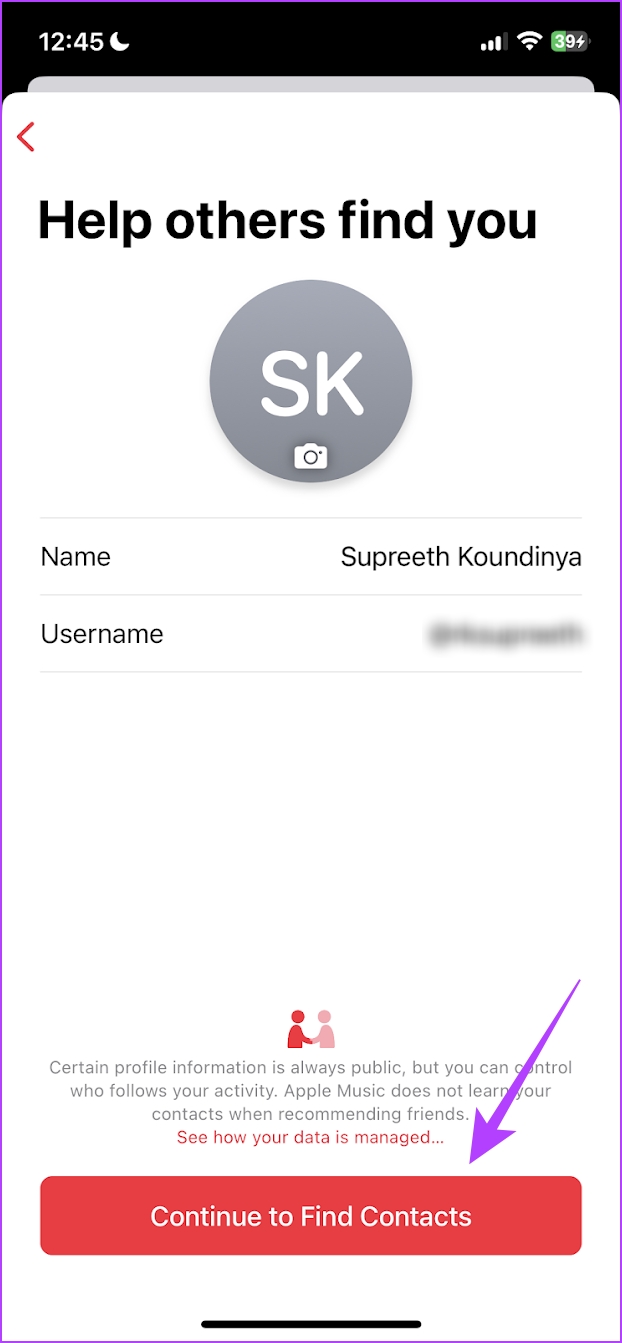
Step 4: You now need to add details to your profile. Edit your Name, Username and also add a picture if you’d like.
Step 5: After adding the details, tap on ‘Continue to Find Contacts’.
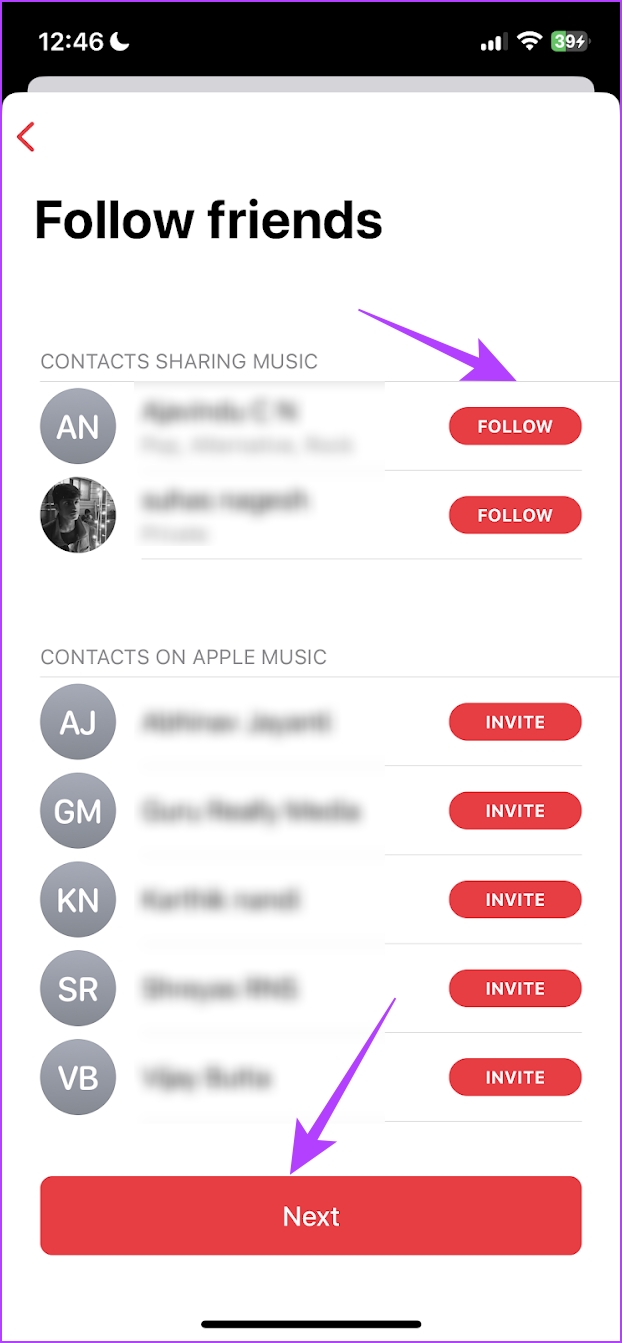
Step 6: You will now see the list of your friends who have created a profile on Apple Music. You can follow them.
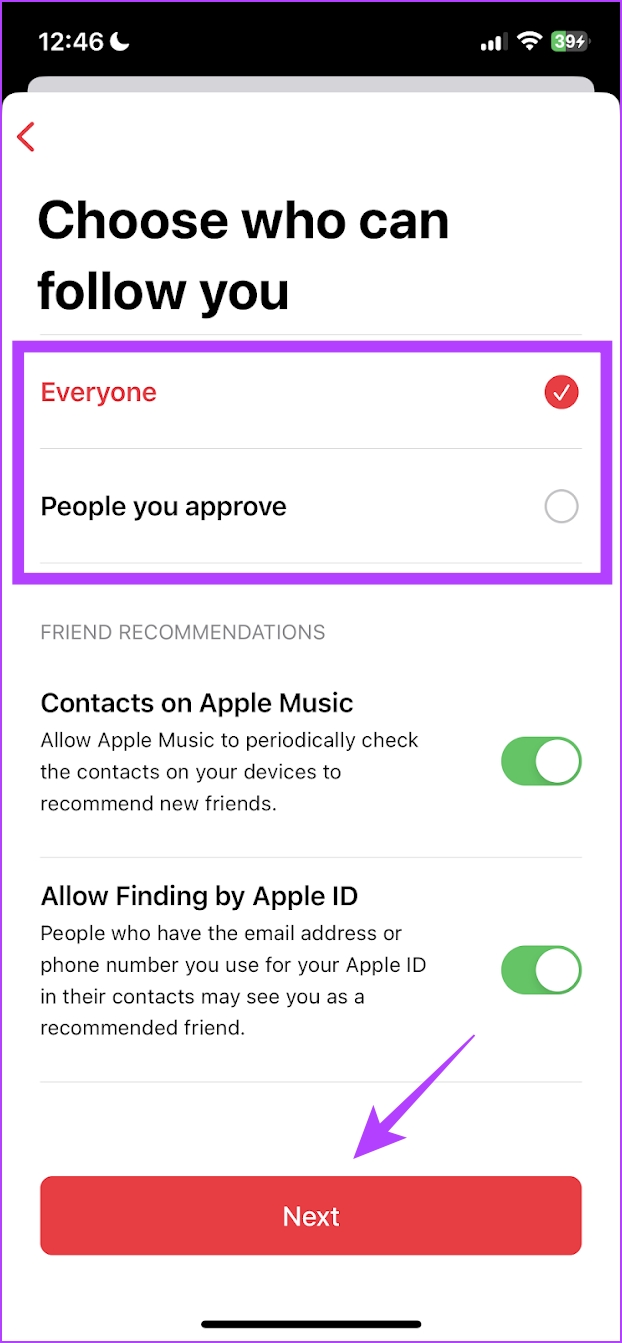
Step 7: Optional: Change who sees your Apple Music Profile. Once done, hit Next.
If you choose Everyone, anyone can follow you. However, if you select the ‘People you approve’ option, only people who you approve can follow you.
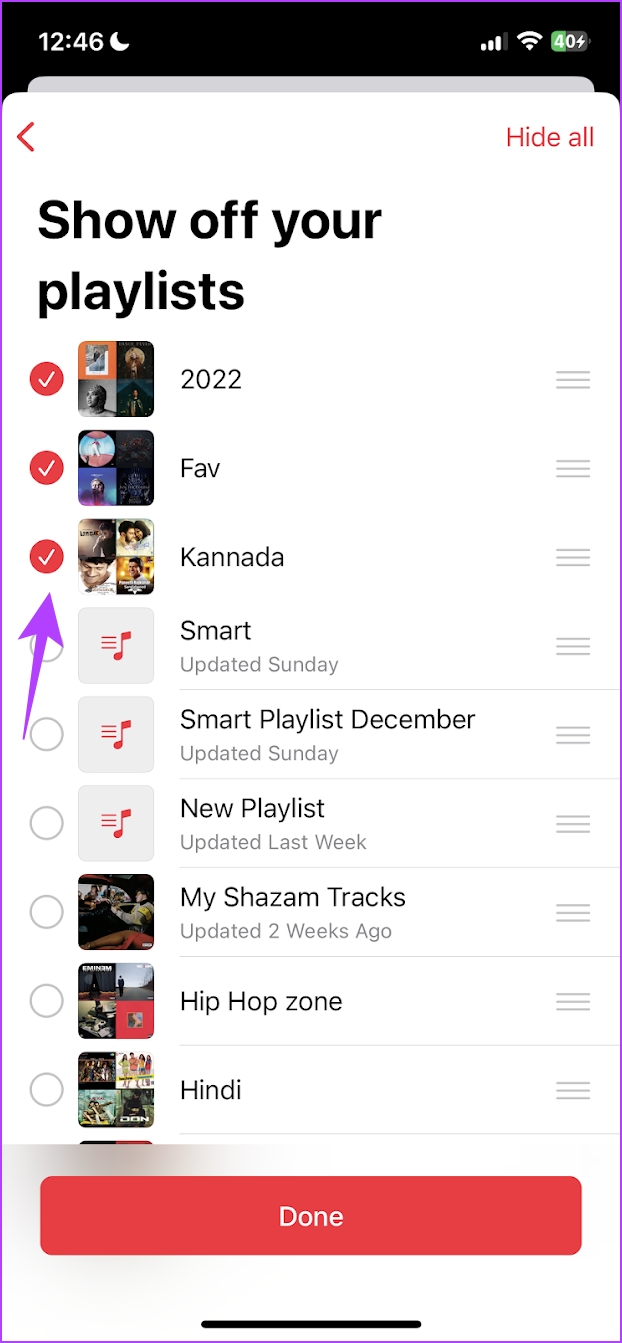
Step 8: Now, select all the playlists that you want to share along with your Apple Music Profile.
Step 9: If you want to access your profile and see your followers and following, tap on your profile icon in the Listen Now tab.
Step 10: Now, tap on your profile name.


Step 11: Tap on your friend’s profile to see what they are listening to and all of their visible playlists.

And that is how to share a playlist on Apple Music with your friends. However, if you still have more questions, take a look at our FAQ section below.
FAQs on How to Share a Playlist on Apple Music
If your playlist has local songs, then you won’t be able to share it until you sync it with the Apple Cloud Music Library.
There has been no official word from Apple regarding this, so we can only wait for the feature.
You can tap on the profile icon in the listen now tab, and you will find the option to remove your profile.
Make a Playlist on Apple Music and Share It With Your Friends
We hope this helped you share your playlists on Apple Music with your friends. Playlists are a great way to organize music, and with the last few updates, Apple seems to have done a good job of adding missing features. This includes sorting playlists and even Apple Music Sing, the Karaoke feature. We can only look forward to what’s next.


