While steadily increasing your build’s main combat stats is the primary way you’ll be upgrading your damage in Lords of the Fallen, it’s also important to keep your favorite weapons upgraded by visiting a blacksmith. However, unlike most Soulslike games that give you access to a smith from the get-go, you’re going to need to find and assist this NPC in the game’s world before you can take advantage of their services.
Fortunately, the blacksmith can be found quite early on, and isn’t terribly difficult to help, either. In this quick guide, we’ll go over the location of Lords of the Fallen’s blacksmith, how to rescue them, and where you can visit them after you do.
Where to find the blacksmith in Lords of the Fallen

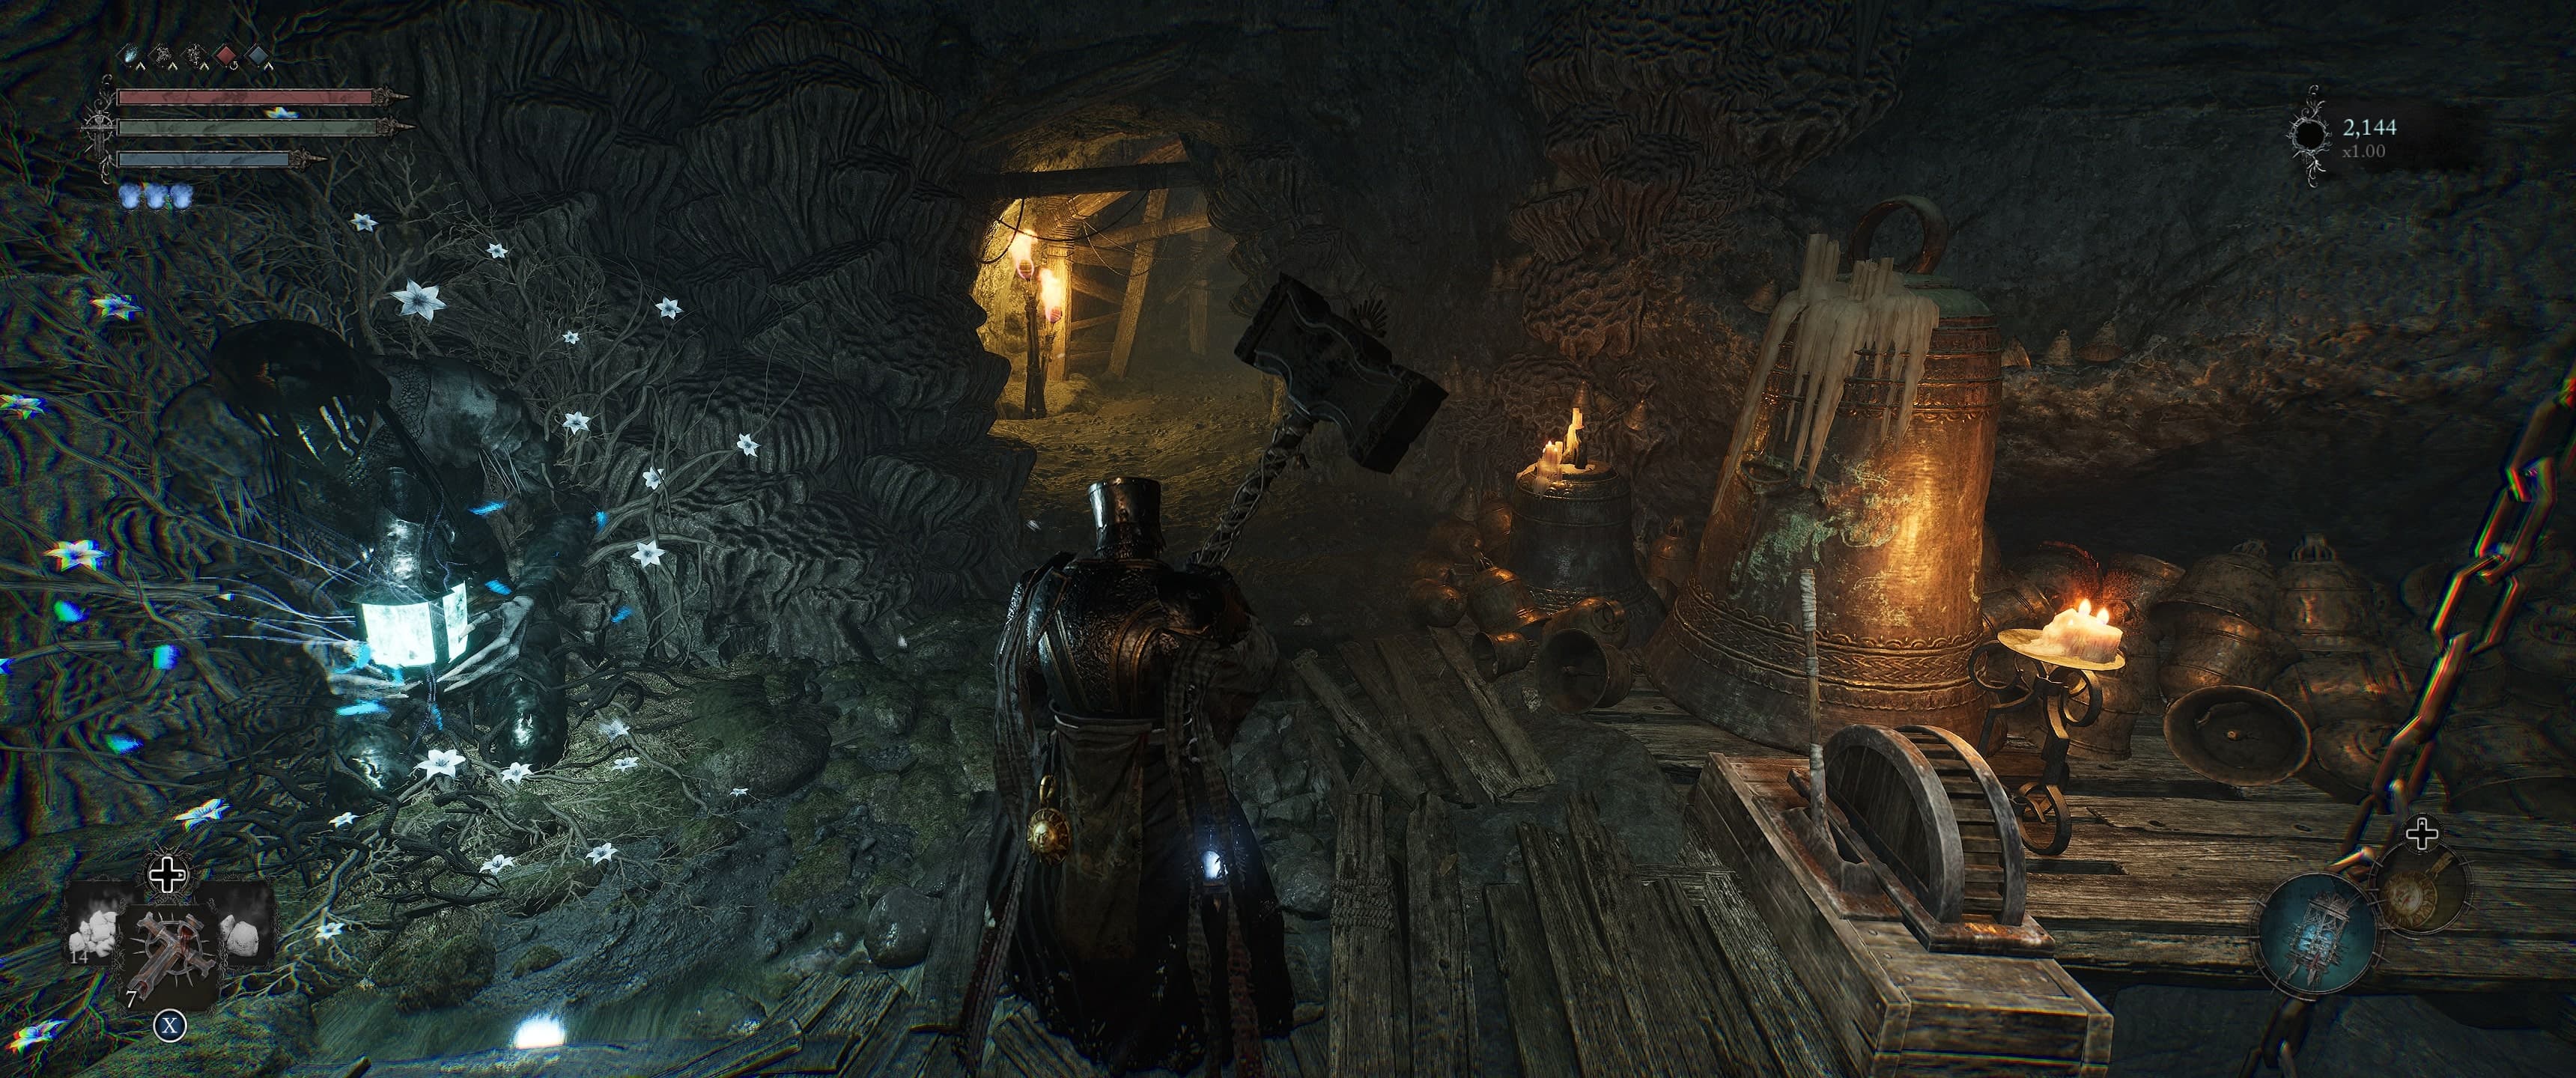
To find the blacksmith in Lords of the Fallen, you’ll first need to progress through the Pilgrim’s Perch area until you reach the Vestige of Blind Agatha checkpoint — also known as the Bellroom, when warping to it (you’ll know it’s the right place when you meet an NPC named Byron). From here, head down the tunnel to the right of the Vestige and continue progressing. Though this route will take you back outside, it eventually loops back into the caverns and leads to a ladder that brings you to a catwalk.
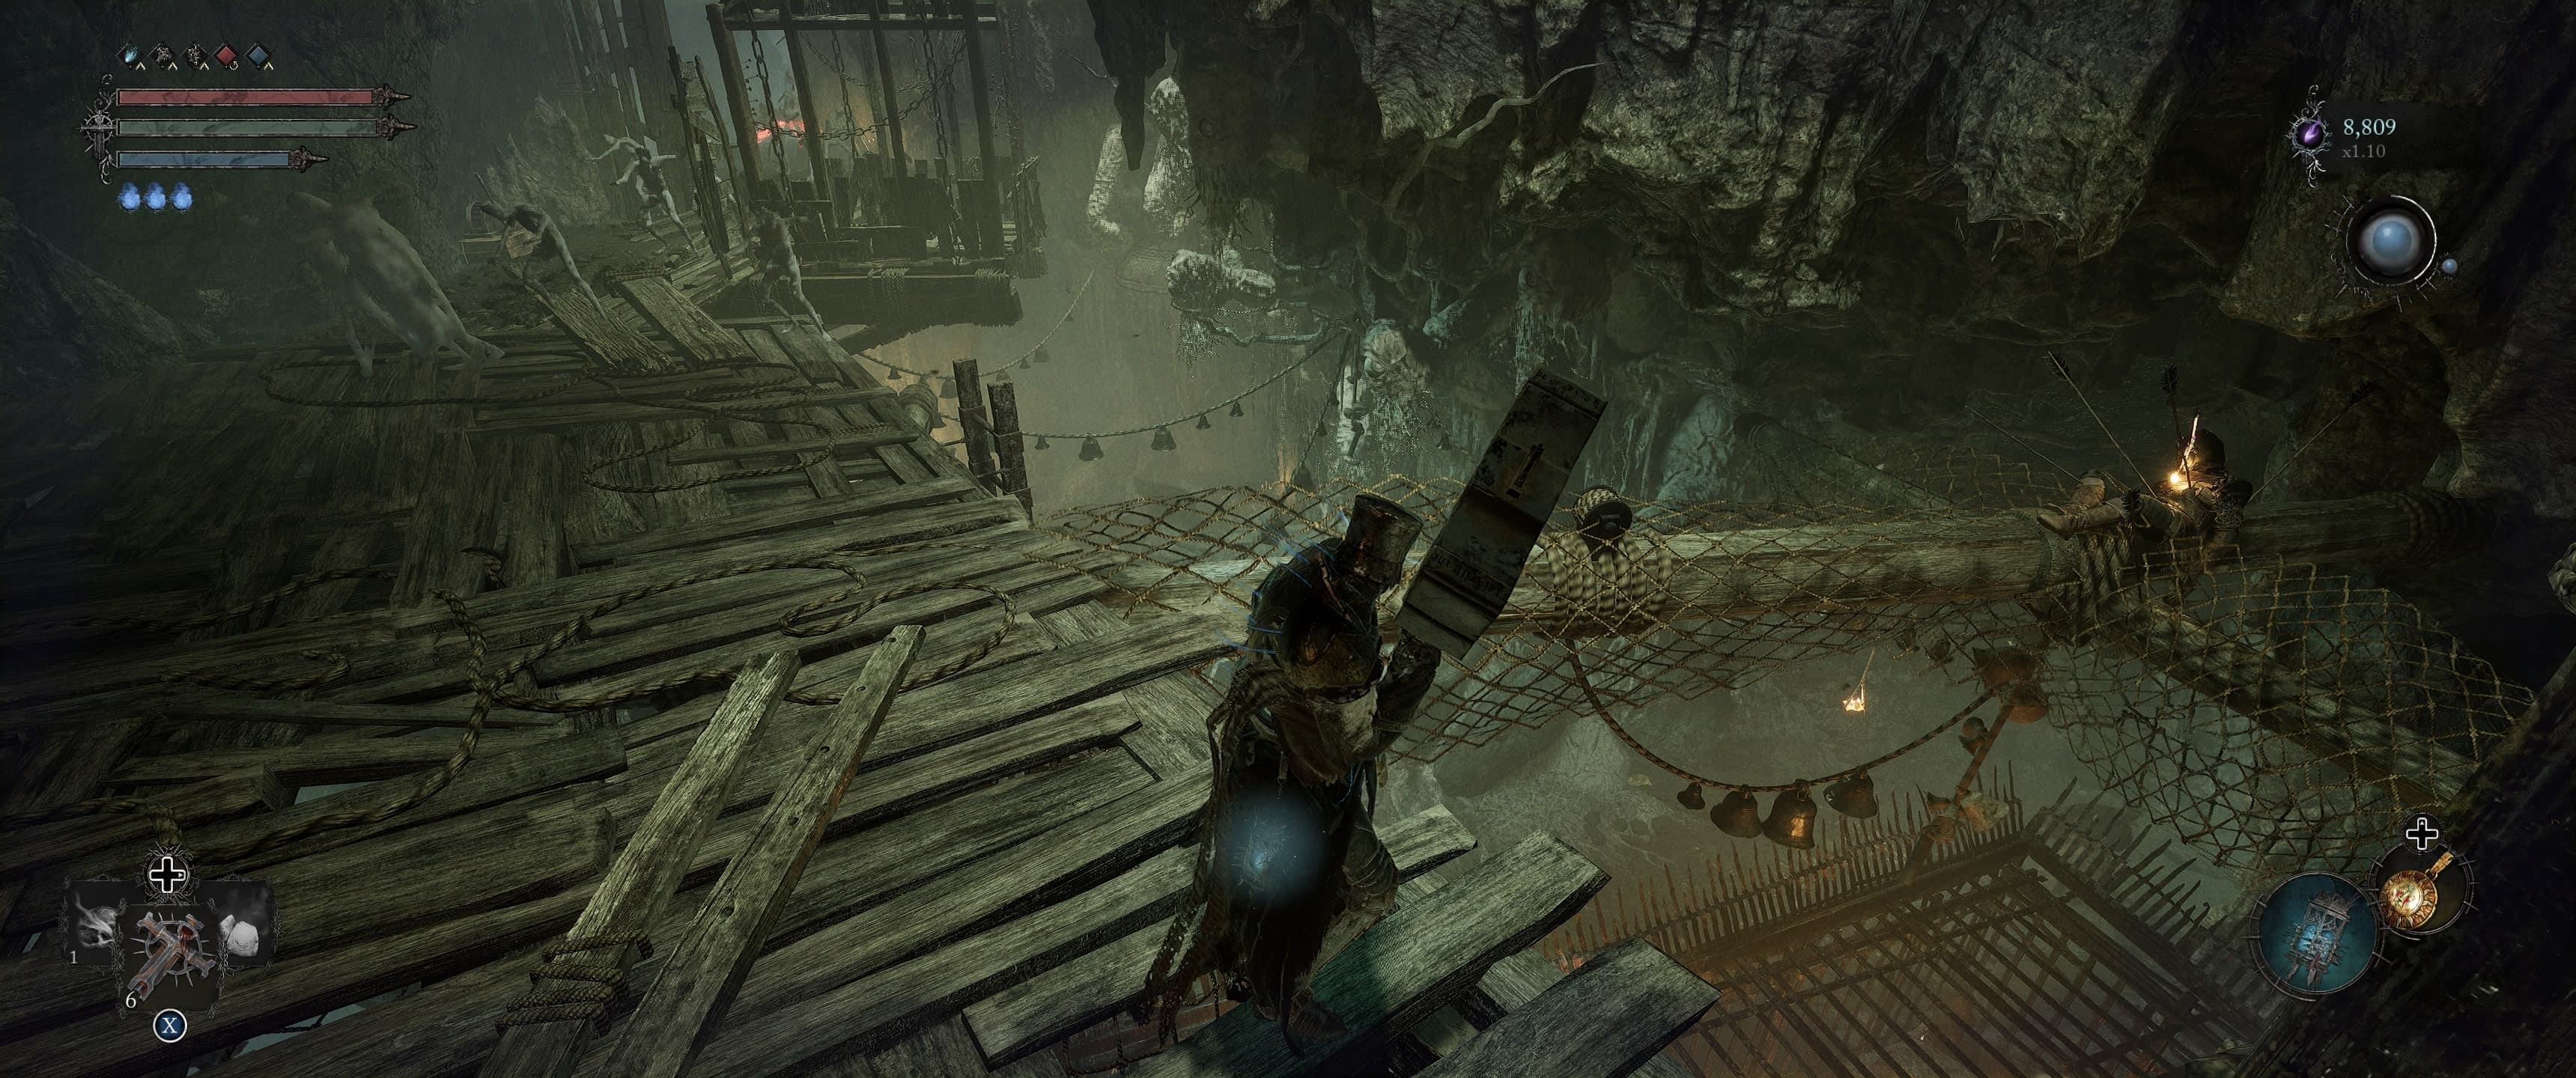
Next to this catwalk you’ll find a lift; use this to unlock a shortcut back to the Vestige, then head back down and look over the edge to the area below. You’ll see a large metal cage with a forge and an NPC smithing inside of it; this is Gerlinde, the blacksmith you need to rescue. Nearby are two Hallowed Sentinel hounds and a mace-wielding knight.

Either climb down the nearby ladder or roll onto the top of her cage to safely get down there, then take all of the enemies in the room down. Once you do, you’ll automatically get a Prison Cell Key, which you can then take and give to Gerlinde. She’ll thank you for the help, indicating that you’ve done what you needed to do to free her from enslavement.
While you’re here, it’s worth noting that there’s a nearby door in Umbral you can open with a Soul Flay, revealing a chest. There’s also a locked door that’s opened with the Pilgrim’s Perch key that Captain Stomund in Skyrest sells for 9,500 Vigor; through it are several enemies — including a Crimson Rector — guarding the powerful Warrior’s Claw pendant. When worn, this item raises your physical damage and reduces physical damage taken, making it a stellar piece of gear for melee builds.
Now that you’ve saved her, Gerlinde can be found in the back-right of your home base in Skyrest, directly across from where Captain Stomund is usually standing (listen for the sounds of smithing if you’re having trouble finding her). By speaking with her, you can upgrade your weapons and catalysts with Deralium Stones you’ve found during your playthrough. Later on, you’ll also unlock the ability to have her slot runes into your weapons that tweak their scaling or give them small bonuses.
Lords of the Fallen is available to play now on Xbox Series X|S and PS5 for $69.99, as well as on Windows PC (Steam and Epic Games) for $59.99. It’s quickly become one of my favorite Soulslikes ever, and is undoubtedly one of 2023’s best Xbox games and best PC games.


