Microsoft Loop is a collaboration and productivity online tool that combines workspaces, pages, and components to help people manage projects and work together more effectively, similar to Notion and Google Workspaces.
The Loop tool is an excellent solution for task lists, meeting notes, brainstorming ideas, creating documentation, tracking issues, and more, whether you use it on Windows 11, 10, or another platform.
The strength of the tool is that it’s straightforward. It doesn’t require a significant learning curve, as the interface is simple and intuitive, making creating spaces, pages, and components easier. Also, you can share and collaborate with other people.
This how-to guide will walk you through the steps to get started with the Microsoft Loop on Windows 11, but since it’s an online tool, you can refer to these instructions from any platform.
Get started with Microsoft Loop
The process of getting started with Loop begins with accessing the tool, creating your first workspace and page, and creating a component you can then share with other people.
Access Loop with a Microsoft account
It’s important to understand that Microsoft Loop doesn’t have an application for Windows 11. Instead, you must access the service online using your Microsoft account.
You can access the service at no cost during the preview period. However, at this time, it’s unclear if it’ll be part of the Microsoft 365 subscription offering or free to everyone with limited functionalities without a subscription.
To sign up and access Microsoft Loop, you can use this link.
Navigate the interface
After signing in with your Microsoft account credentials, you will land on the dashboard with different views for your workspaces, recent components and pages, and ideas, allowing you to create new pages and components.
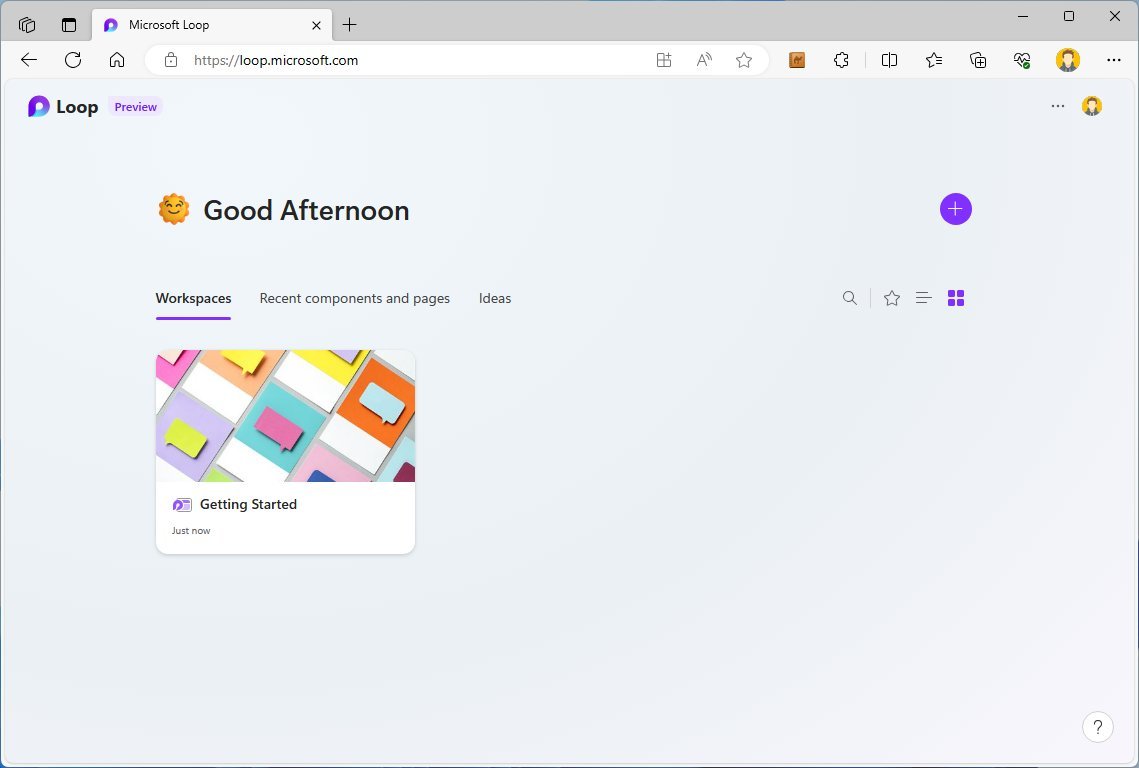
You can access other tools on the right side, including search, favorites, and two options to change the experience views.
Inside a workspace, the interface offers a left navigation pane with different options to access your recent pages, ideas, notifications, and more.
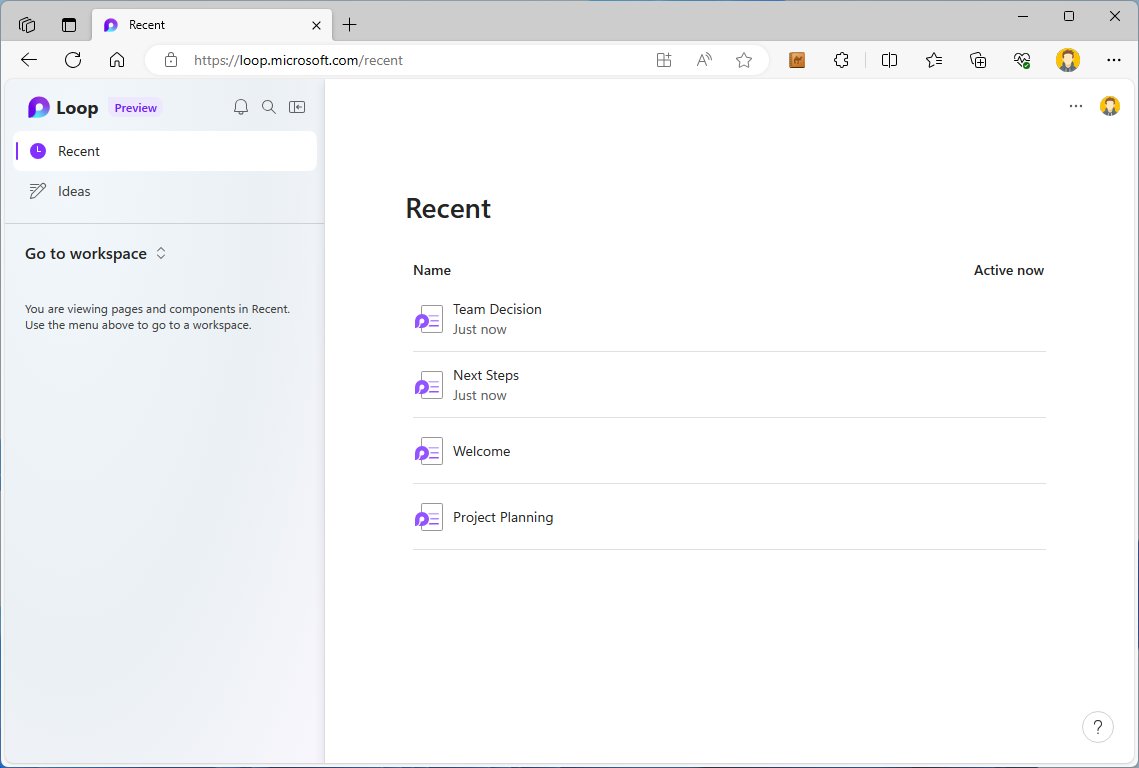
The “Recent” section allows you to browse pages and components like a file manager application, and you can view who is currently accessing the items, when it was opened, and workspace location.
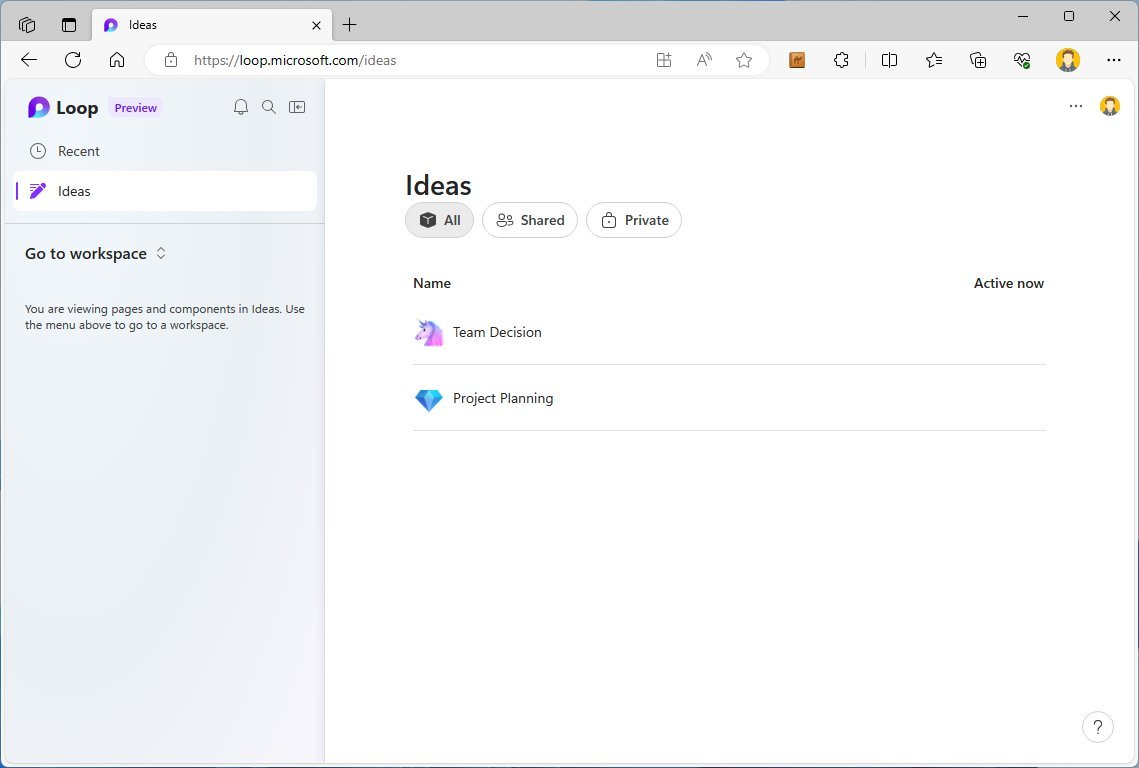
The “Ideas” section is a place to create pages and quickly dump your thoughts. Then, you can add these pages to the different workspaces.
You can navigate your pages and components and have the option to change the view of the pane using a tree or activity view.
Create a workspace
On Microsoft Loop, you can think of a “Workspace” as a folder containing different items, such as pages and loop components.
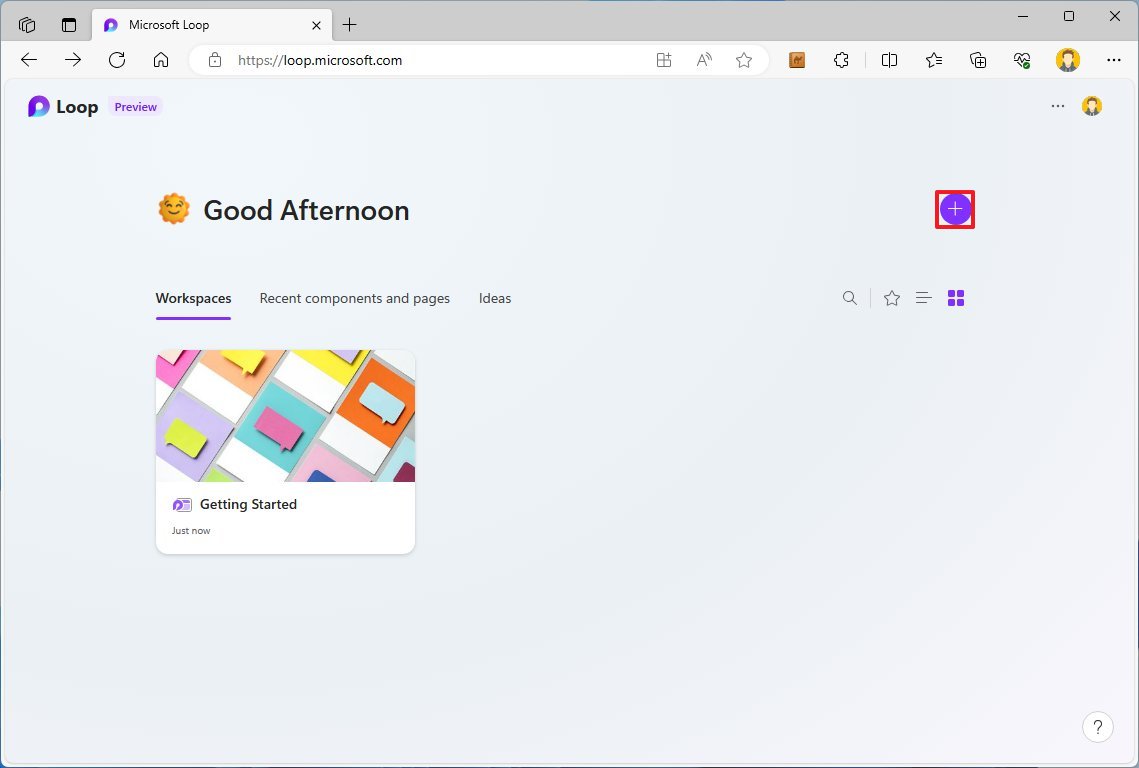
To create a workspace from the main page, click the “Add new workspace” (+) button from the top-right corner. Confirm a name for the workspace and an icon, and click the “Create” button.
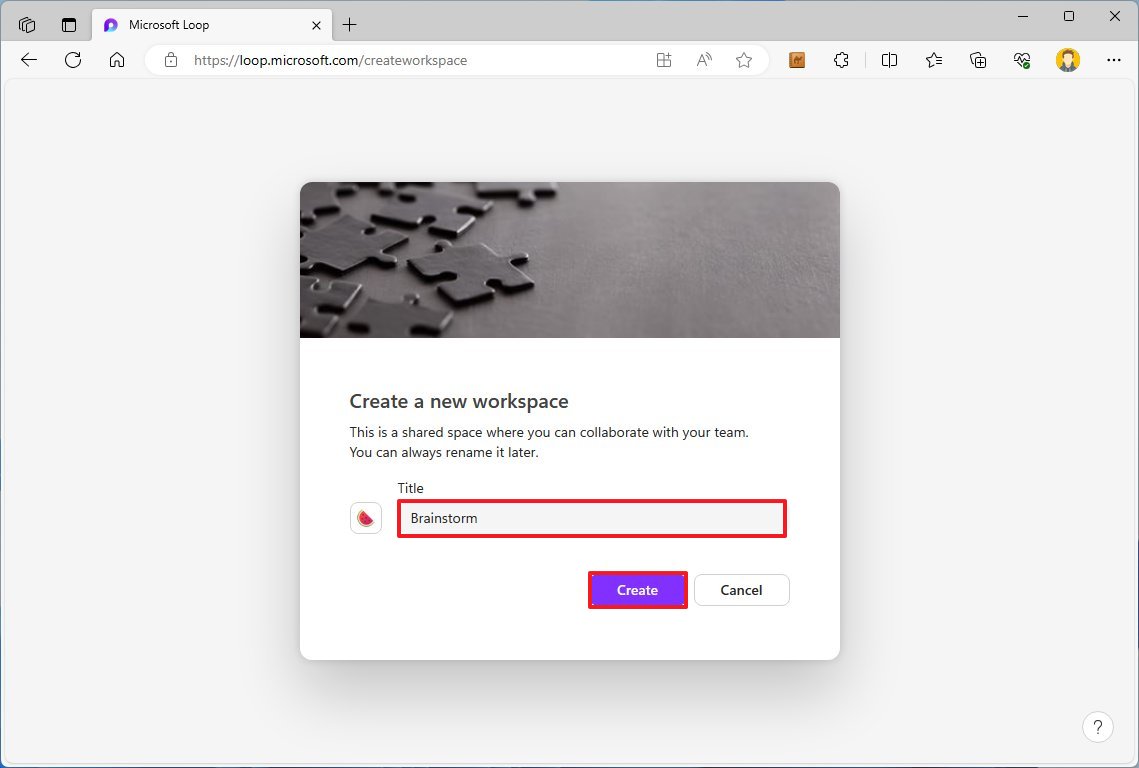
The next step is to create one or more pages.
Create a page
Pages are the elements that contain the actual data. The first page will be created automatically when creating a new workspace, but you must configure it with a title and other components, such as a hero image.
If you want to create a new page inside a workspace, click the “Add a new page or link” (+) button from the left navigation pane on the right side and choose the “New page” option.
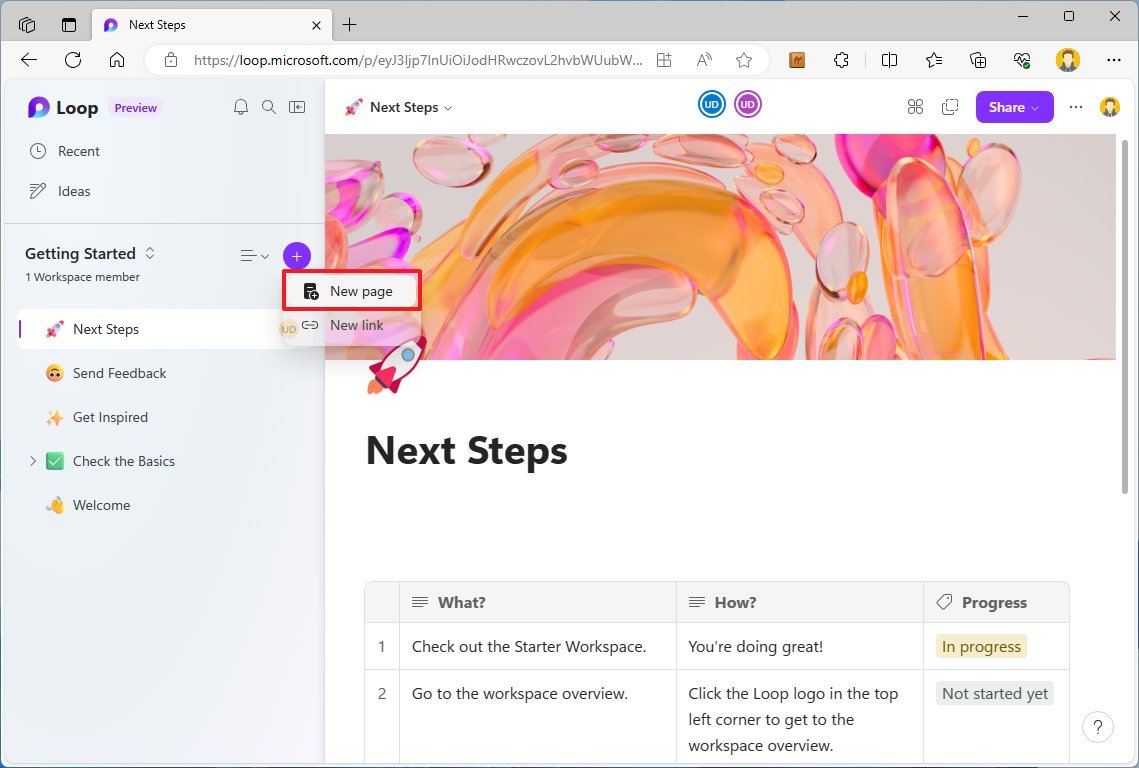
The “New link” option isn’t meant to add web links. Instead, it lets you bring pages or files you may have stored in the cloud.
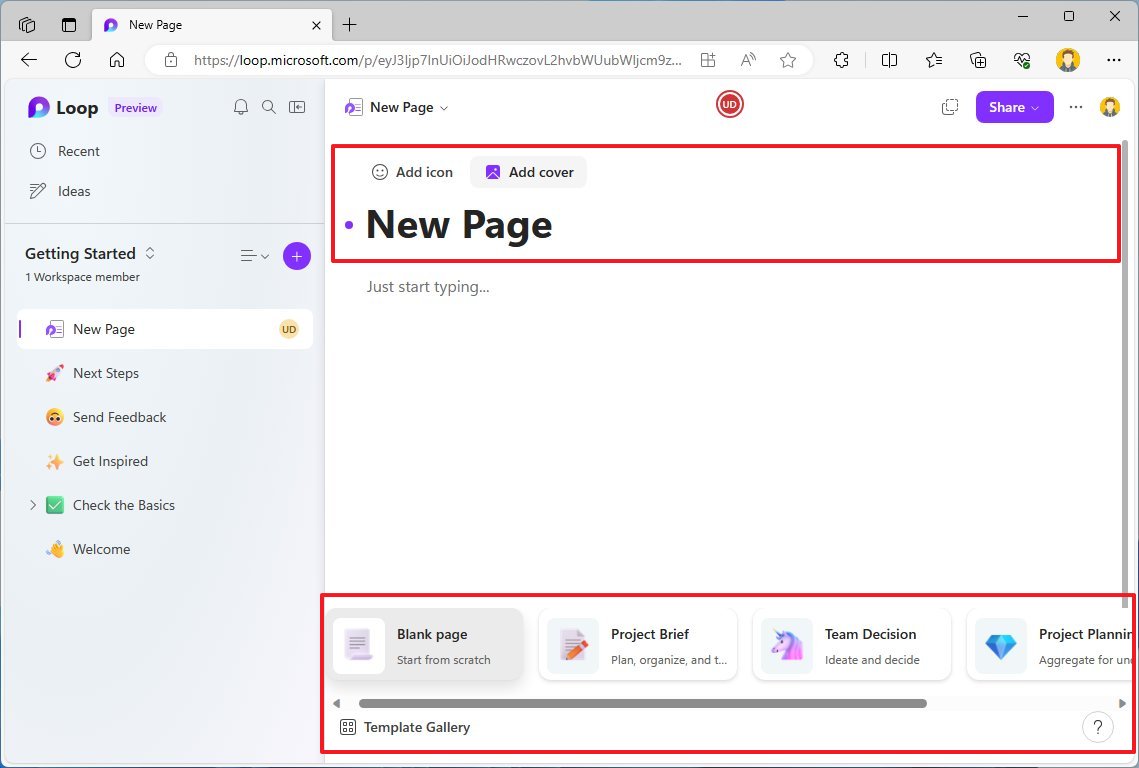
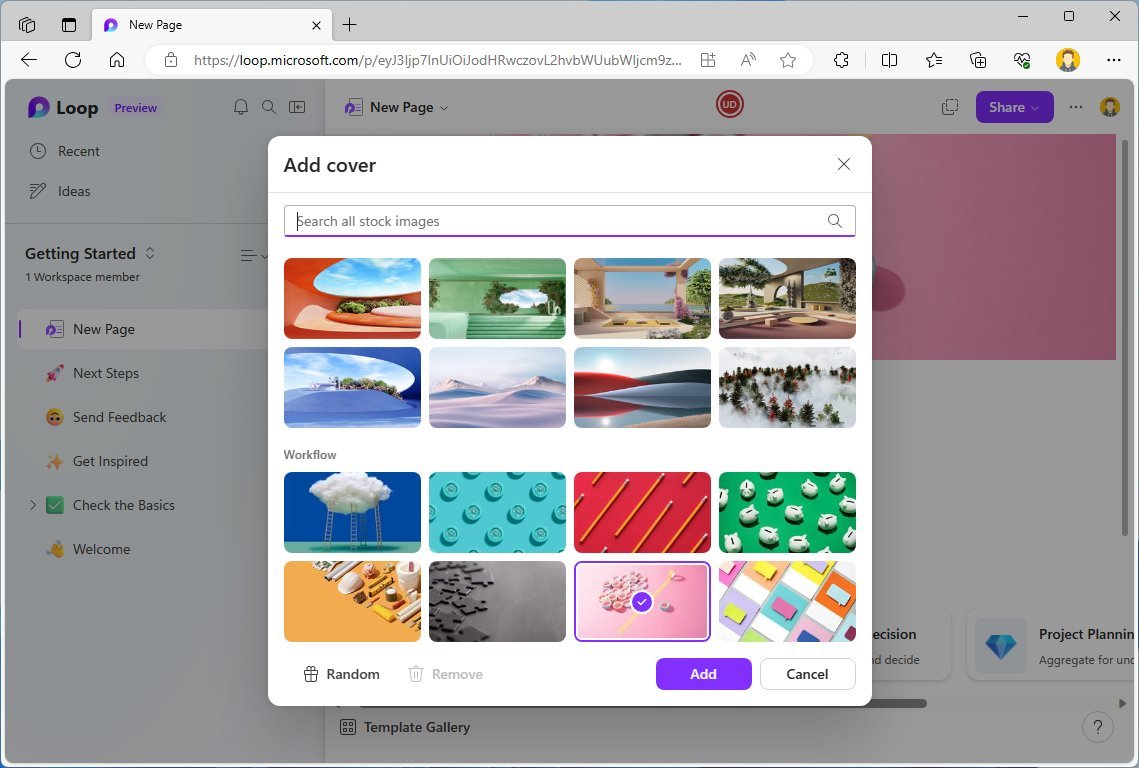
On the new page, confirm the title, and you will notice the option to add an icon (in the form of an emoji) and add a cover. These last two elements are unnecessary, but they will enhance the page experience, giving them more personality.
If you add a cover, Microsoft Loop offers abstract and landscape images and gradients.
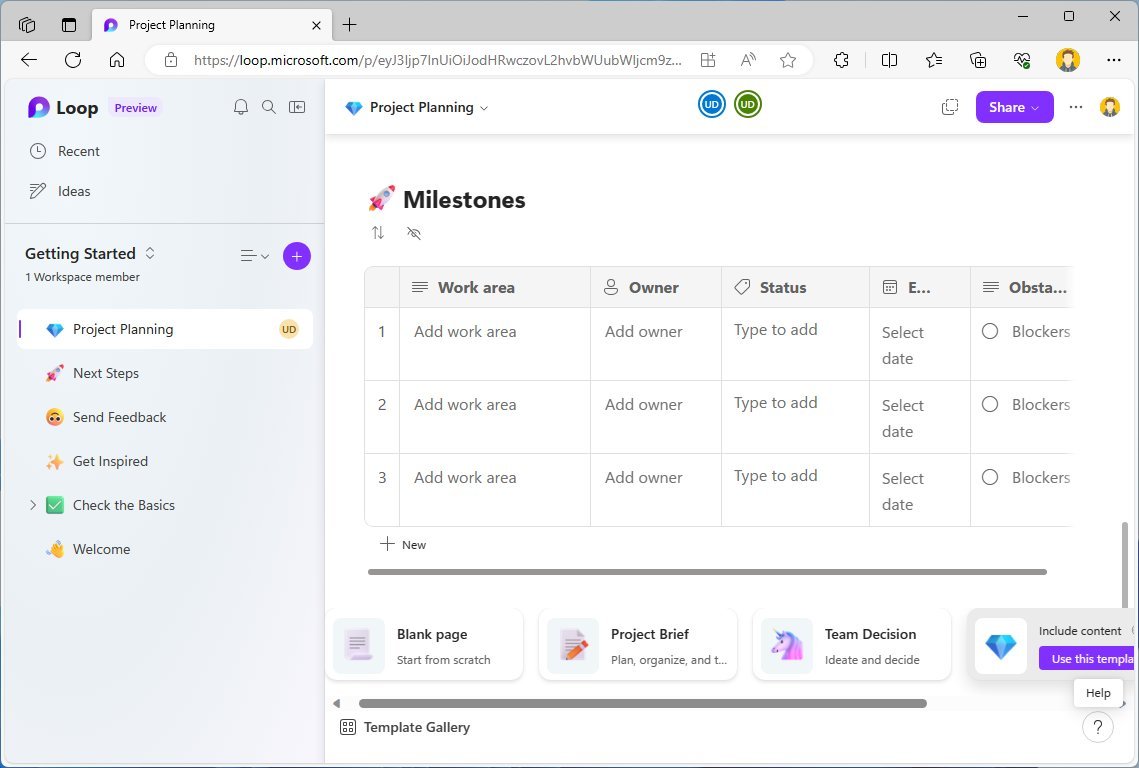
You can confirm a title for the page and be done creating a page. However, at the bottom of the page, you will notice that you can choose from different templates to create different types of pages.
The experience offers options to create a blank page, project brief, project planning, and meeting notes, and you can access the “Template Gallery” to choose from many other templates.
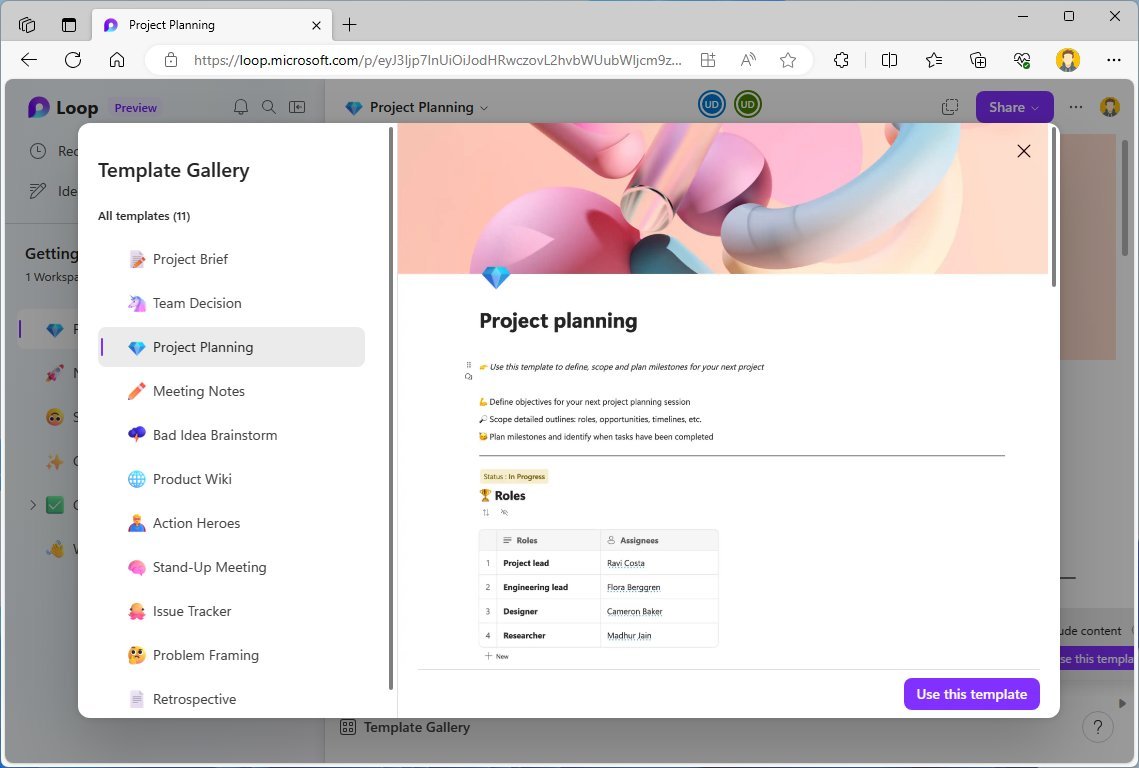
Whatever option you choose, the template will include structure, explanation, and examples that make it simple to create your page.
Working with pages
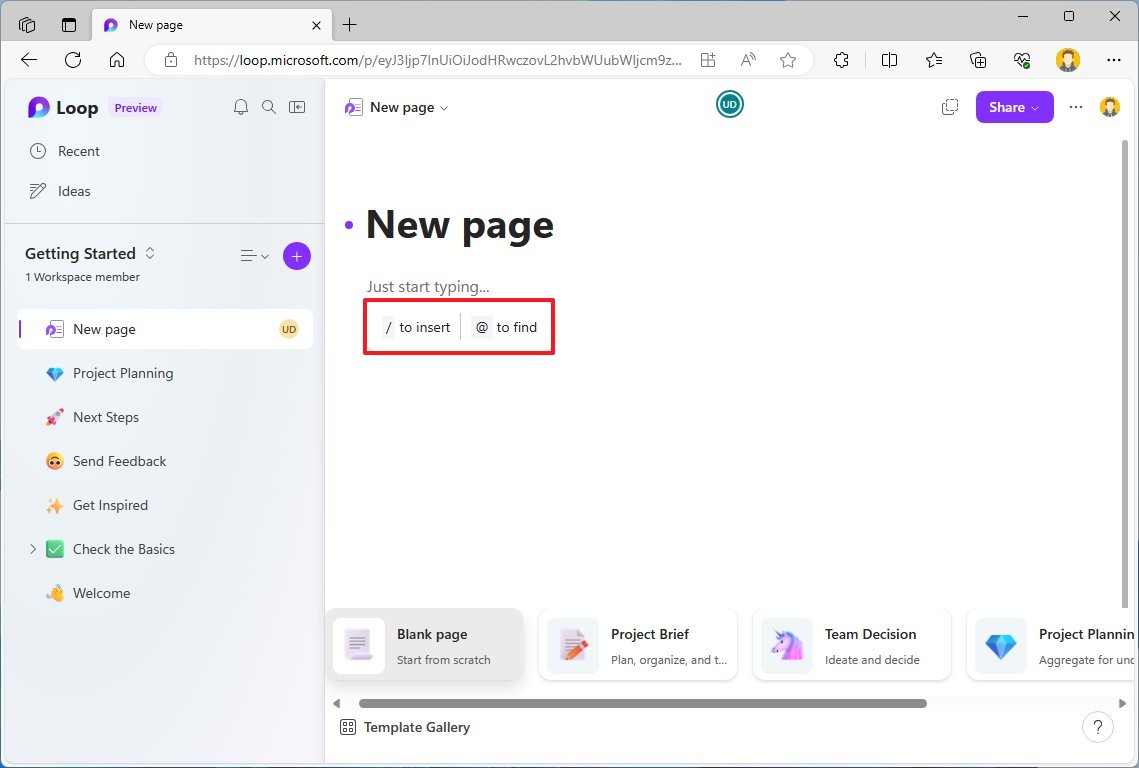
On the page, as you click on “Just start typing,” you will notice a flyout with two hints, including the use of “/” to insert and “@” to mention.
The option you’re likely to use the most is the forward slash. When you press the “/” key, the Loop context menu will appear with the elements you can insert on the page, including table, checklist, bulleted and numbered lists, divider, heading styles, and code.
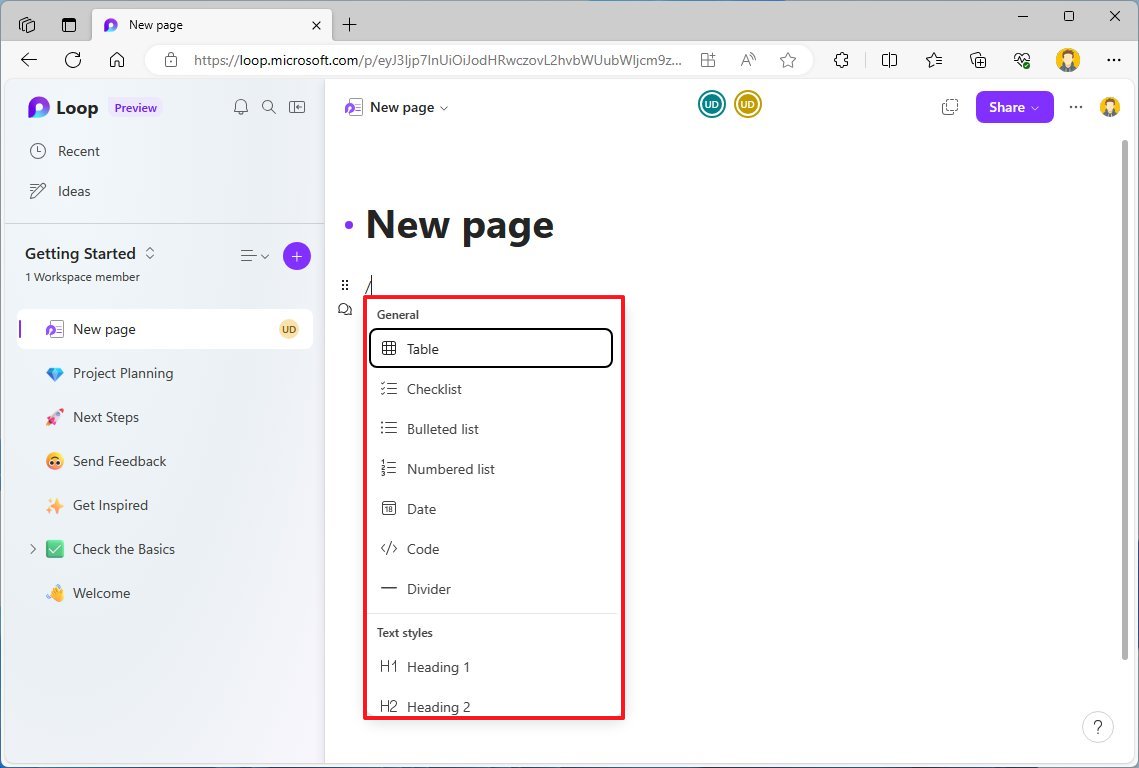
If you scroll down, you will find templates for task lists, voting tables, progress trackers, Q&A sessions, and communication options. Further down the list, the menu includes options to upload images and connect with other apps, such as Jira and Trello.
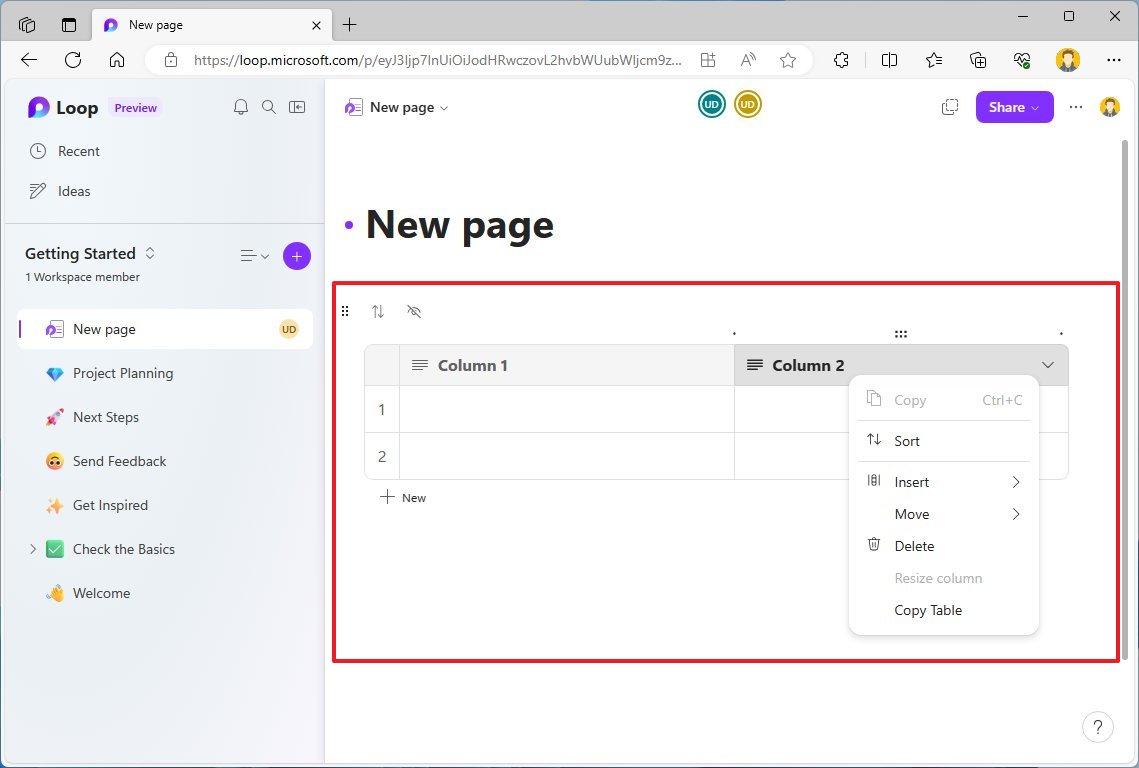
For example, unlike Excel, the table option allows you to create different information tables. Although Microsoft Loop doesn’t offer a toolbar with different tools on a page, you can hover over an element to discover the available options.
If you want to upload an image, press the “/” key, scroll down under the “Media” options, click on “Image,” and choose the image from your computer.
As you hover over any part of the page, you will notice two icons, including the comment option that brings the tools to add comments to that specific block of content and react with emojis, and the “Boost picker” lets you add animated emojis.
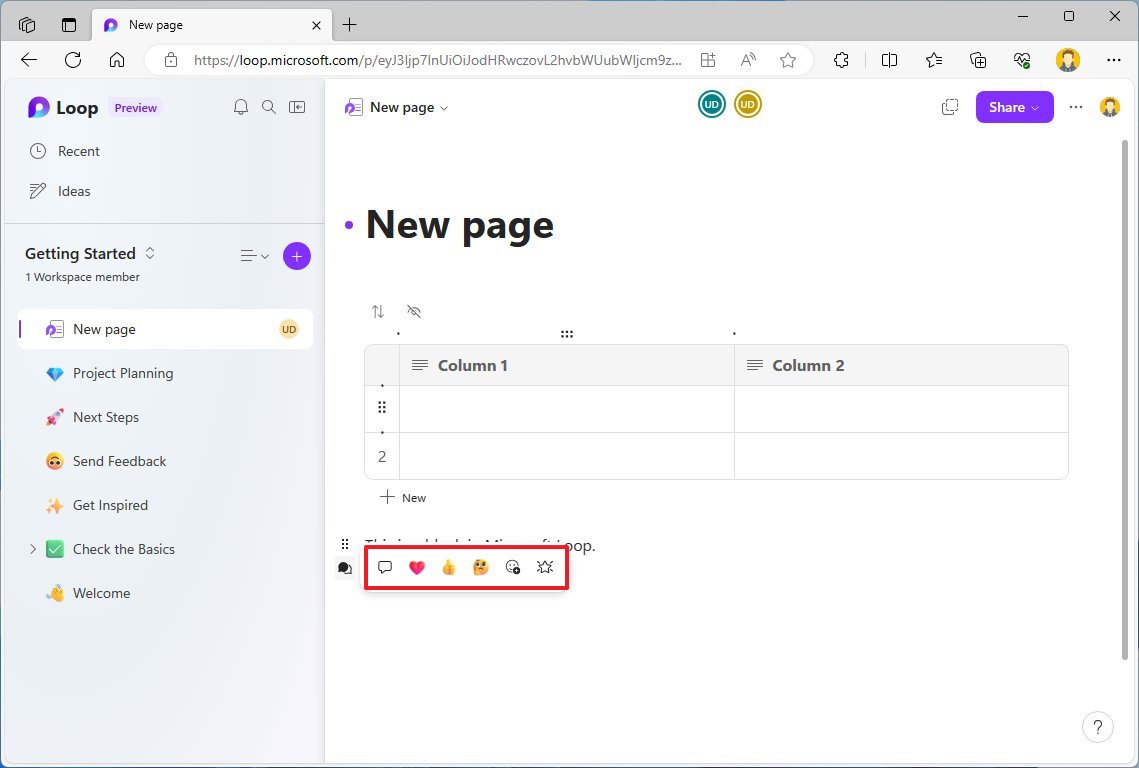
The six-dot icon allows you to grab the block to re-arrange on the page, and if you click the icon, it’ll give you the option to create a component or delete the block.
If you are using Microsoft Loop to collaborate with other people, from the “/” context menu or using the “@” option, you can mention people and invite them to the workspace.
Share a page or workspace
You can also share workspaces with other people. You can do this by clicking the “Share” button at the top of the page, selecting the “Workspace” option, confirming the person’s name or email, and clicking the “Invite” button.
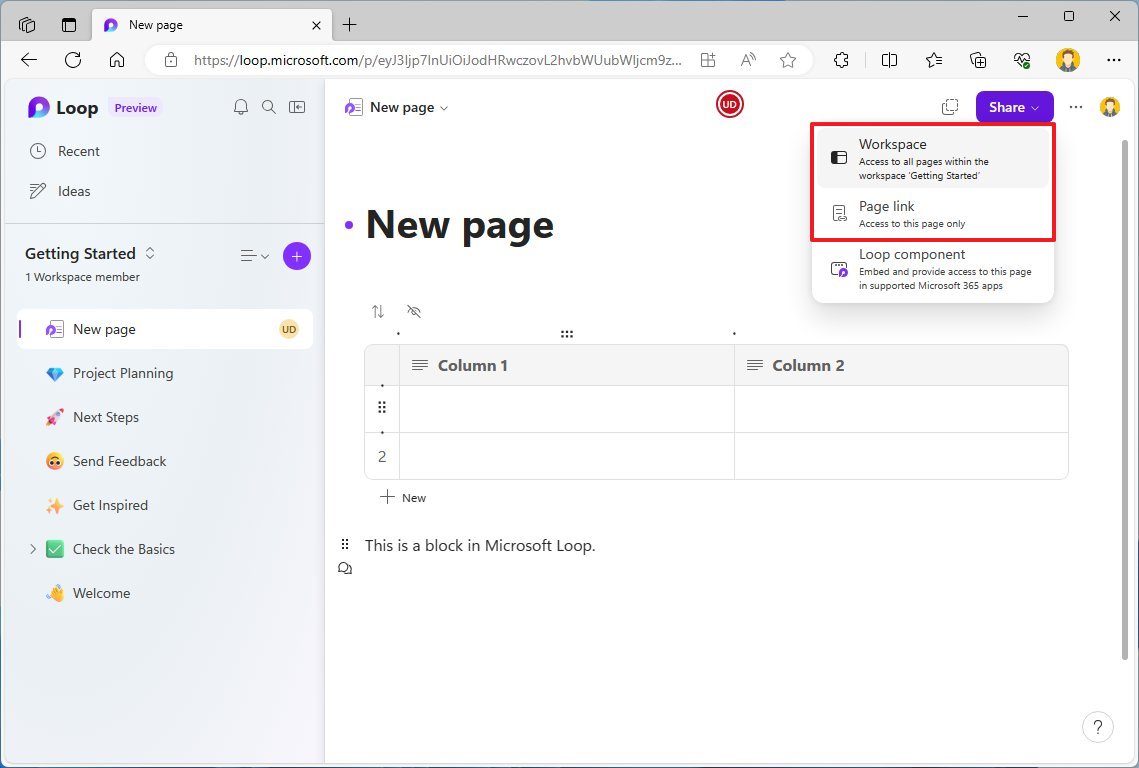
You can share pages individually if you don’t want to share the entire workspace. You can do this by clicking the “Share” button at the top of the page, selecting the “Page link” option, and sharing the available link with the people you want to have access to the contents of the page.
Create a component
Microsoft Loop also introducess the concept of components, which allows you to share data with people outside the workspace. A component is a smaller piece of information always synced across locations.
While in the Loop platform, you can create a component from a page or block inside the page.
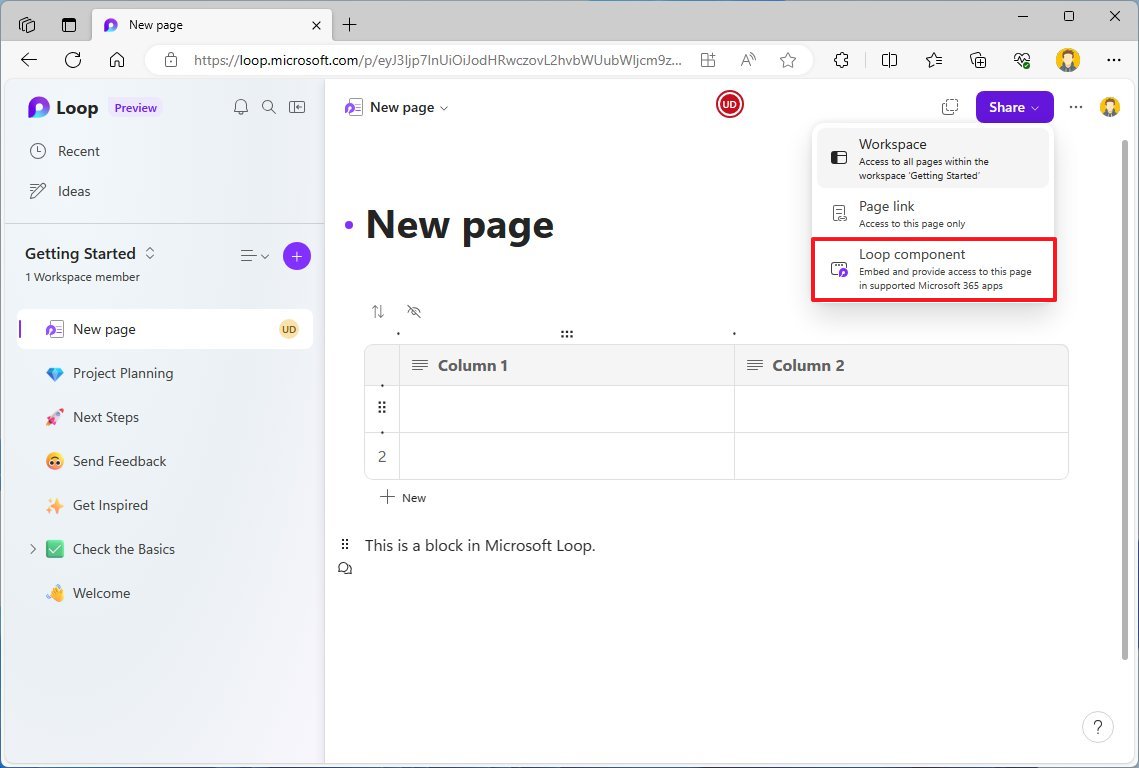
To make a page a Loop component, from the page, click the “Share” button, choose the “Loop component” option, copy the link, and you can insert it on another page inside or outside the workspace.
Or you can paste it as an embedded element on an email (or anywhere else like Microsoft Teams or Word on the web). Suppose you use this option in the body of the email, for example. In that case, you’re not only going to see the contents of the component as if you were inside of Microsoft Loop, but it will also update in real-time if another person is making changes.
At least, that’s what was supposed to happen since, at the time, I was trying to embed a component in the body of an Outlook email. I was only able to paste the link.
Also, from the embedded component, you can view who has access, and you will find the options to copy and share components and see the shared locations.
Check version history
Microsoft Loop also keeps track of all the changes happening on the workspaces and pages, allowing you to roll back changes that can come in handy when you have other people adding and removing content or you want back a previous idea or piece of information.
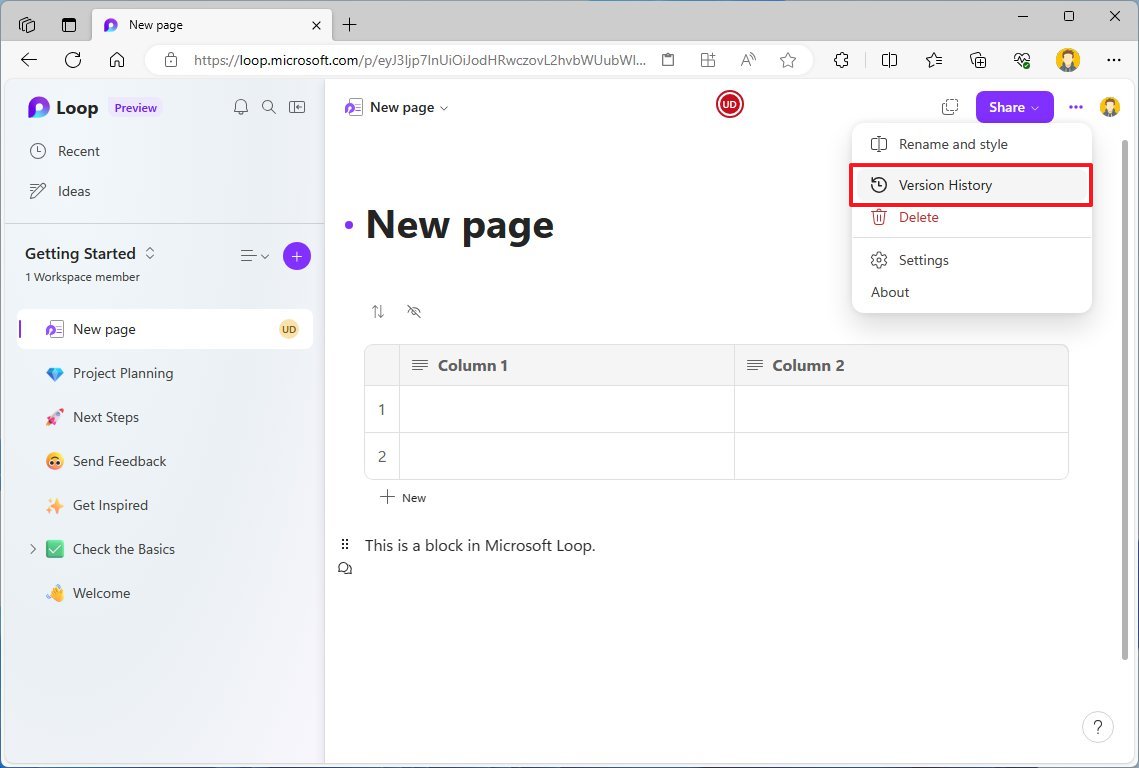
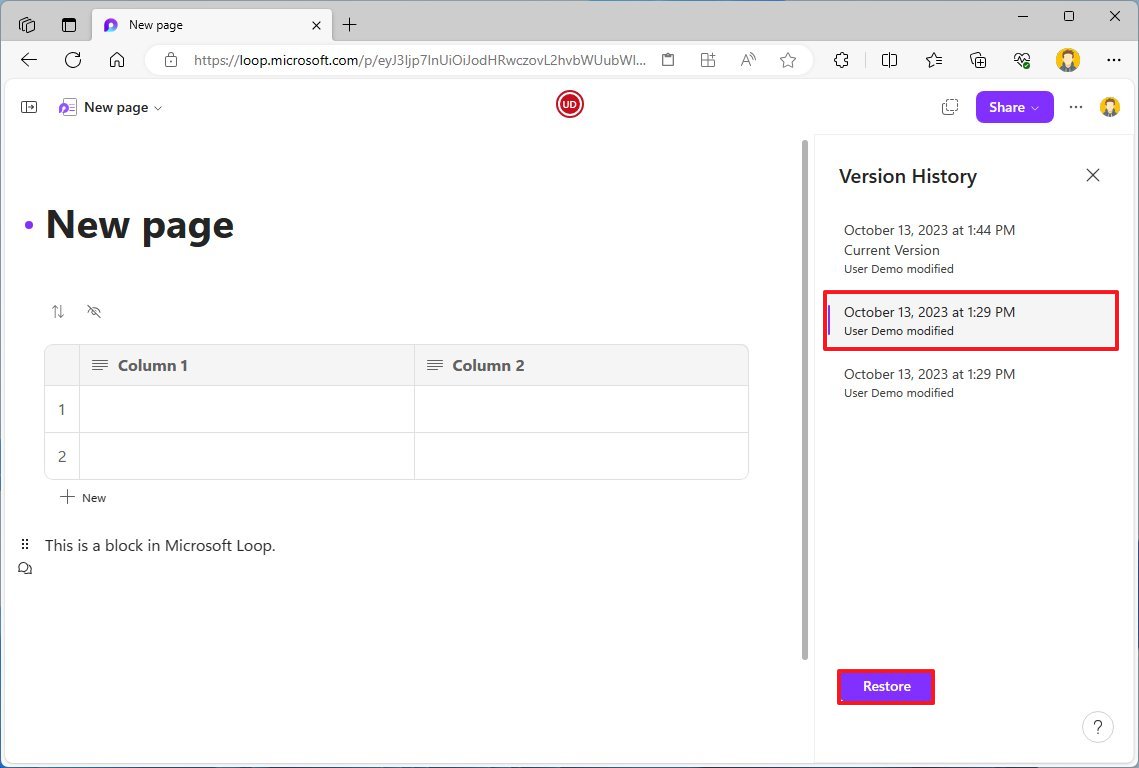
To check the version history on Microsoft Loop, while inside a page, click the “Settings and more” (three dots) button from the top-right and choose the “Version History” option. Select the revision, and click the “Restore” and “Confirm” buttons.
Check notifications
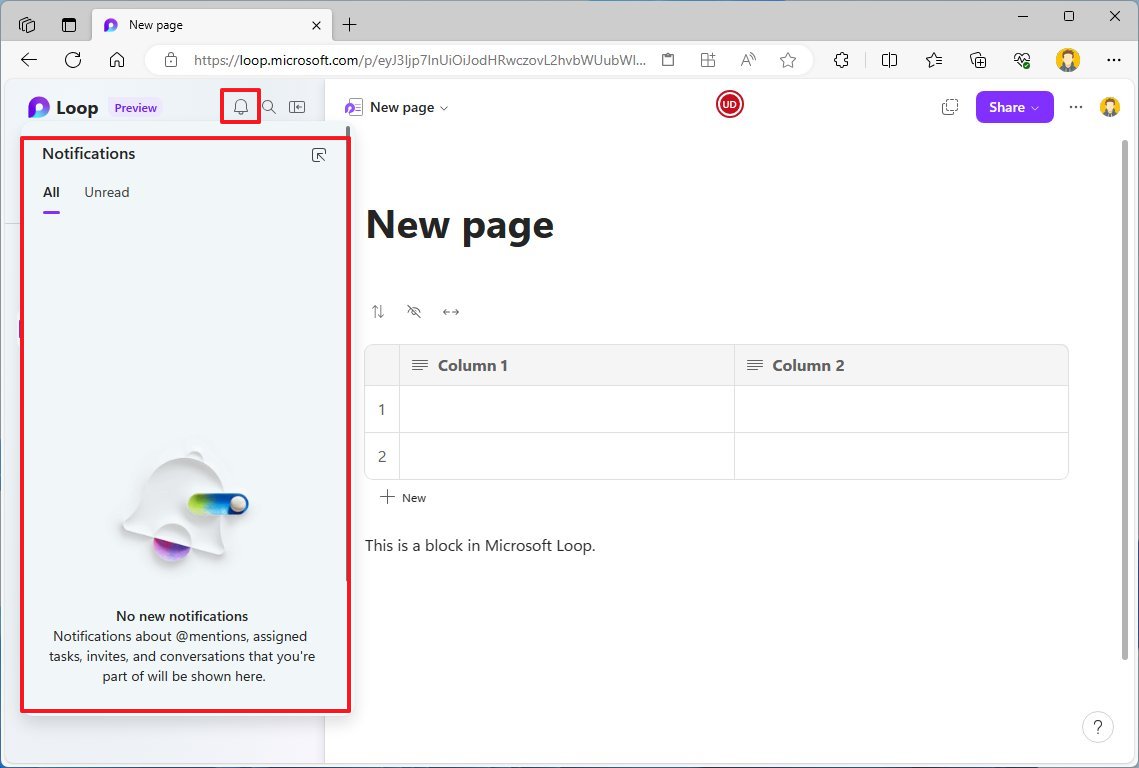
When someone mentions you anywhere on the platform, you can see the notification from the inbox bell from the left navigation pane.
More resources
For more helpful articles, coverage, and answers to common questions about Windows 10 and Windows 11, visit the following resources:


