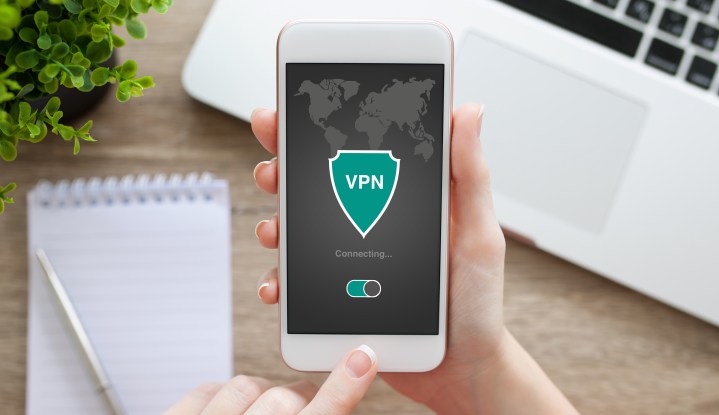
Introducing a virtual private network (VPN) to your everyday web browsing is a smart move for a few reasons. For starters, it’s a great way to safeguard your user data when you’re surfing the internet. Because VPNs switch you to a different network and IP address, they’re terrific for accessing region-specific content. Have you been wanting to watch a series or two that’s only available for streaming in certain countries? A VPN will let you watch these movies and shows! And one of the best parts of the VPN experience is it’s not just limited to your PC.
In fact, you’ll even be able to use one on your iPhone. Back when iOS 15 rolled out, Apple also introduced a feature called Private Relay, which can be used alongside a VPN for an even bigger boost in web security.
If you’d like to learn more about how to get a VPN installed and running on your iPhone, we’ve put together this guide to teach you everything you need to know.

Digital Trends
How to set up VPN on an iPhone: Third-party apps
The easiest way to set up a VPN on an iPhone is to download a reliable VPN app from the App Store. As our article on the best VPNs for iPhone explains, some of the most well-known iPhone VPNs include CyberGhost, ExpressVPN, NordVPN, IPVanish VPN, and VPN by Private Internet Access, among many others.
Step 1: To download one of these, simply open App Store, tap Search (at the bottom of the screen), and then type the name of the app into the search bar. Select the app once it appears, and then tap Get.
Step 2: After it has downloaded, launch the app and tap Allow when you’re prompted to grant permission for it to add a VPN configuration to your iPhone.
Step 3: Set up the app as instructed by the on-screen prompts. In many cases, you can simply tap the Connect button (or something similar) and connect to a VPN almost instantly. You should also see a tab somewhere on the app’s screen that lets you change the location of the VPN connection, although in many other cases, you may have to subscribe to the premium version of the app to access all services the app offers.

Nomad
How to configure a workplace or private VPN
If the VPN you’d like to connect to doesn’t have its own app (i.e., if it’s a workplace VPN), you can still set it up and connect to it on your iPhone. To do this, you need to go to Settings > General > VPN > Add VPN Configuration.
Once you’re on the Add Configuration screen, you will need to enter various pieces of information in order to connect to the VPN. This includes selecting the type of VPN you’re using (e.g. IKEv2, IPsec, or L2TP), as well as entering the description, server, and remote ID info. Assuming that you’re connecting to a workplace VPN, you should ask for this info from the person in the IT department responsible for the VPN.
They should also provide you with a username and password — or send you a certificate — in order to log in. Once you’ve entered all of this information, tap Done, and then tap the Status slider to connect to the VPN. As before, you should tap this slider again to disconnect.
Should you get a VPN for your iPhone?
Yes, you should get a VPN for your iPhone. A VPN shields your online data and identity against hackers, snoops, and thieves by encrypting your data, hiding your iPhone’s IP address, and anonymizing your browsing history by re-routing traffic through the VPN’s servers. With a VPN enabled, you use public Wi-Fi hot spots safely or browse via Wi-Fi at home without worrying about data leaks.
Does the iPhone have a built-in VPN?
No, but it does have a feature called Private Relay that carries out a number of VPN functions.
Private Relay shields users while web browsing and adds protection to app-generated traffic to ensure you’re not leaking information or exposing your traffic to security risks. This feature encrypts user browsing on Safari by routing internet traffic through two separate relays to conceal your identity. One relay gives you an anonymous IP address; the other is used for browsing and queries.
This differs from traditional VPN operations because it sends user data through two channels, which Apple says offers better protection. With Private Relay, no one — not even Apple — can see both your IP address and your queries or interactions.
Why should you get a VPN for iPhone?
The benefits of an iPhone VPN are many, and the downsides are few, especially if you are a road warrior or often use public Wi-Fi. VPNs not only protect you from cybercriminals, but they also prevent your own carrier from monetizing your data and invading your privacy. Other advantages include bypassing workplace or campus firewalls, geographical restrictions, and censorship. And it facilitates remotely connecting to your workplace or home network. It can even boost your gameplay experience by preventing your ISP from throttling your connection or cutting bandwidth.
Are VPNs free to use?
There are many VPN platforms that won’t cost you a penny, and these a handful of mobile-optimized services, too. That being said, whatever VPN you’ve chosen to use, we guarantee there’s a paid version of that service that gives you several additional features you won’t have access to with a free version of the software. And oftentimes, it doesn’t cost very much to tear down these paywalls.
Some of these extra benefits may include things like advanced region selection options, coverage for more than one device, and priority customer service.
Are VPNs legal to use?
When you take into consideration the many things you can do with a VPN installed on your iPhone, you may be wondering if it’s even legal to use this software. The answer is yes, friends. Using a VPN in the U.S. is totally cool with Johnny Law, but this may not be the case for other countries.
For example, it’s super-illegal to use a VPN in parts of the world like Iran, Russia, and Turkey. So if you’re outside the U.S., and want to download one, double and triple-check that you can!
Editors’ Recommendations


