We once had to shed our phone number when we changed wireless providers or moved–sometimes even moving from one part of a town to another. One of the great changes in mobile phones since their introduction decades ago was the introduction about 20 years ago of number portability.
However, portability and the ease of signing up for a new mobile contract can lead you to have phone numbers that linger on after you’re no longer using them. If you’ve associated a phone number with your Apple ID and no longer have access to receive calls or texts at the number, you might feel stymied. However, while it was once hard to sever the link, that’s no longer the case.
Apple uses phone numbers in several ways for your Apple ID and for iCloud services, and you can remove them similarly in various places corresponding to those uses.
Warning: Before doing any of the following, check if the iPhone the phone number was associated still appears in the list of hardware connected to your Apple ID account. If it is, remove it from your account. You can find instructions at “How to remove an Apple device from your iCloud account without the device.”
Remove number available for Apple ID sign-ins
Apple made a change in the last year that lets you use any email address or phone number associated with an Apple ID as the login identity. To remove an associated phone number available for this, follow these steps:
- Go to appleid.apple.com and log in.
- In Sign-In and Security, click Email and Phone Numbers.
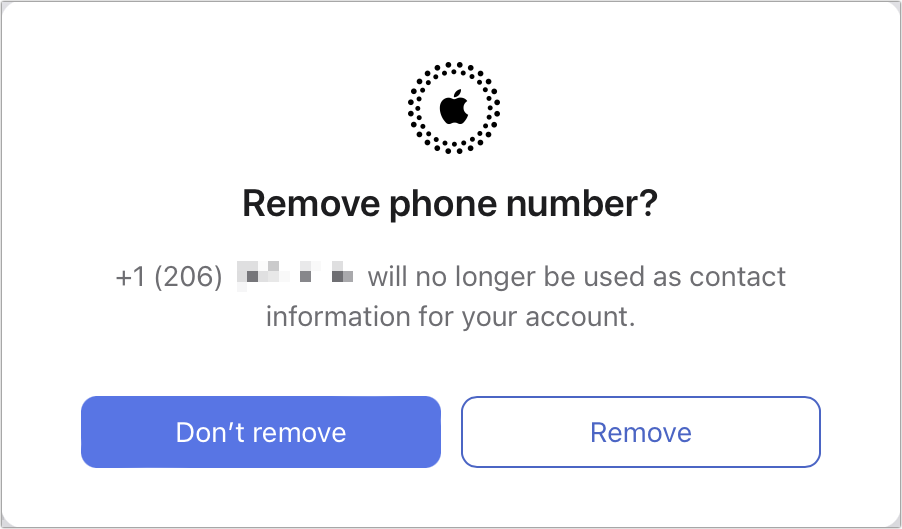
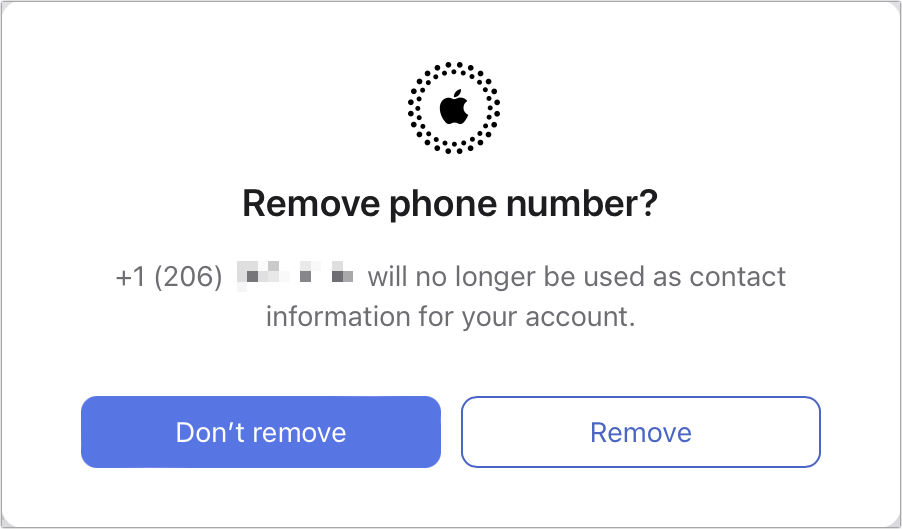
- With at least two numbers in place (if not, see below) click the – (minus) icon and click Remove to confirm.

You can remove phone numbers associated with your Apple ID account via the Apple ID website, among other places.
Foundry
If you don’t have a second number shown here, you can click the + (plus) icon next to “1 phone number” and follow the steps to add one via a text message or automated voice call. After confirming at least one additional number, you can delete the number you wanted to remove.
Remove from calls, Messages, and FaceTime
You can remove a phone number from use with incoming voice phone calls, Messages, and FaceTime on an iPad, iPod touch, or Mac. Just change the Apple ID password using Apple’s instructions. This makes all phone numbers inaccessible from all those devices; you’ll have to add back any number you want to provide access to for calls or texts.
You can’t remove the number from voice calls, Messages, and FaceTime from an iPhone, as the iPhone with that number is something you don’t possess. However, if the number is still available from another iPhone you’re using, make sure to remove the number as one trusted by your account.
Remove as a trusted phone number (Stolen Device Protection off)
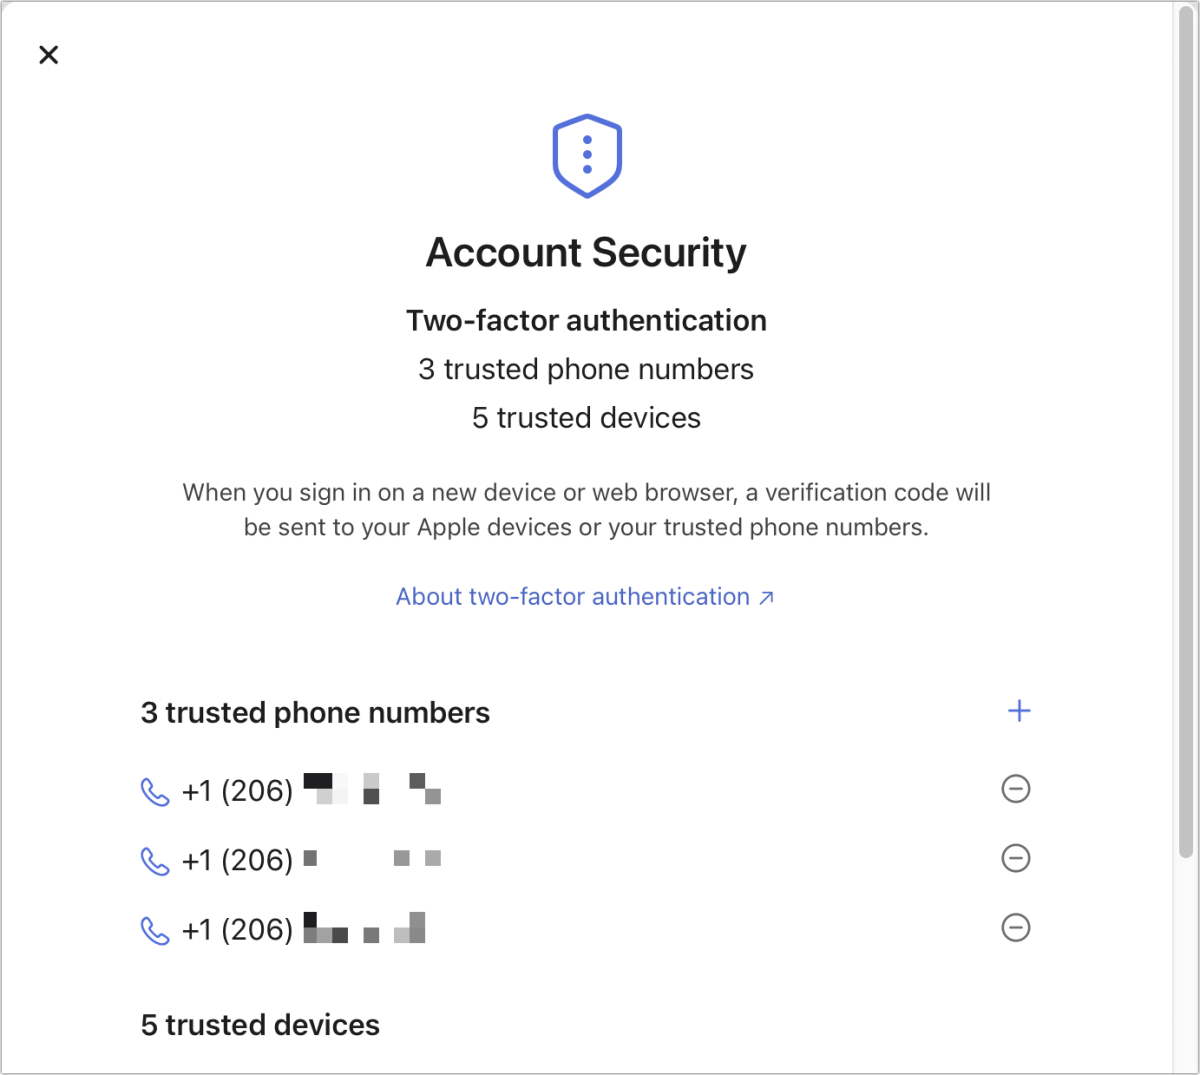
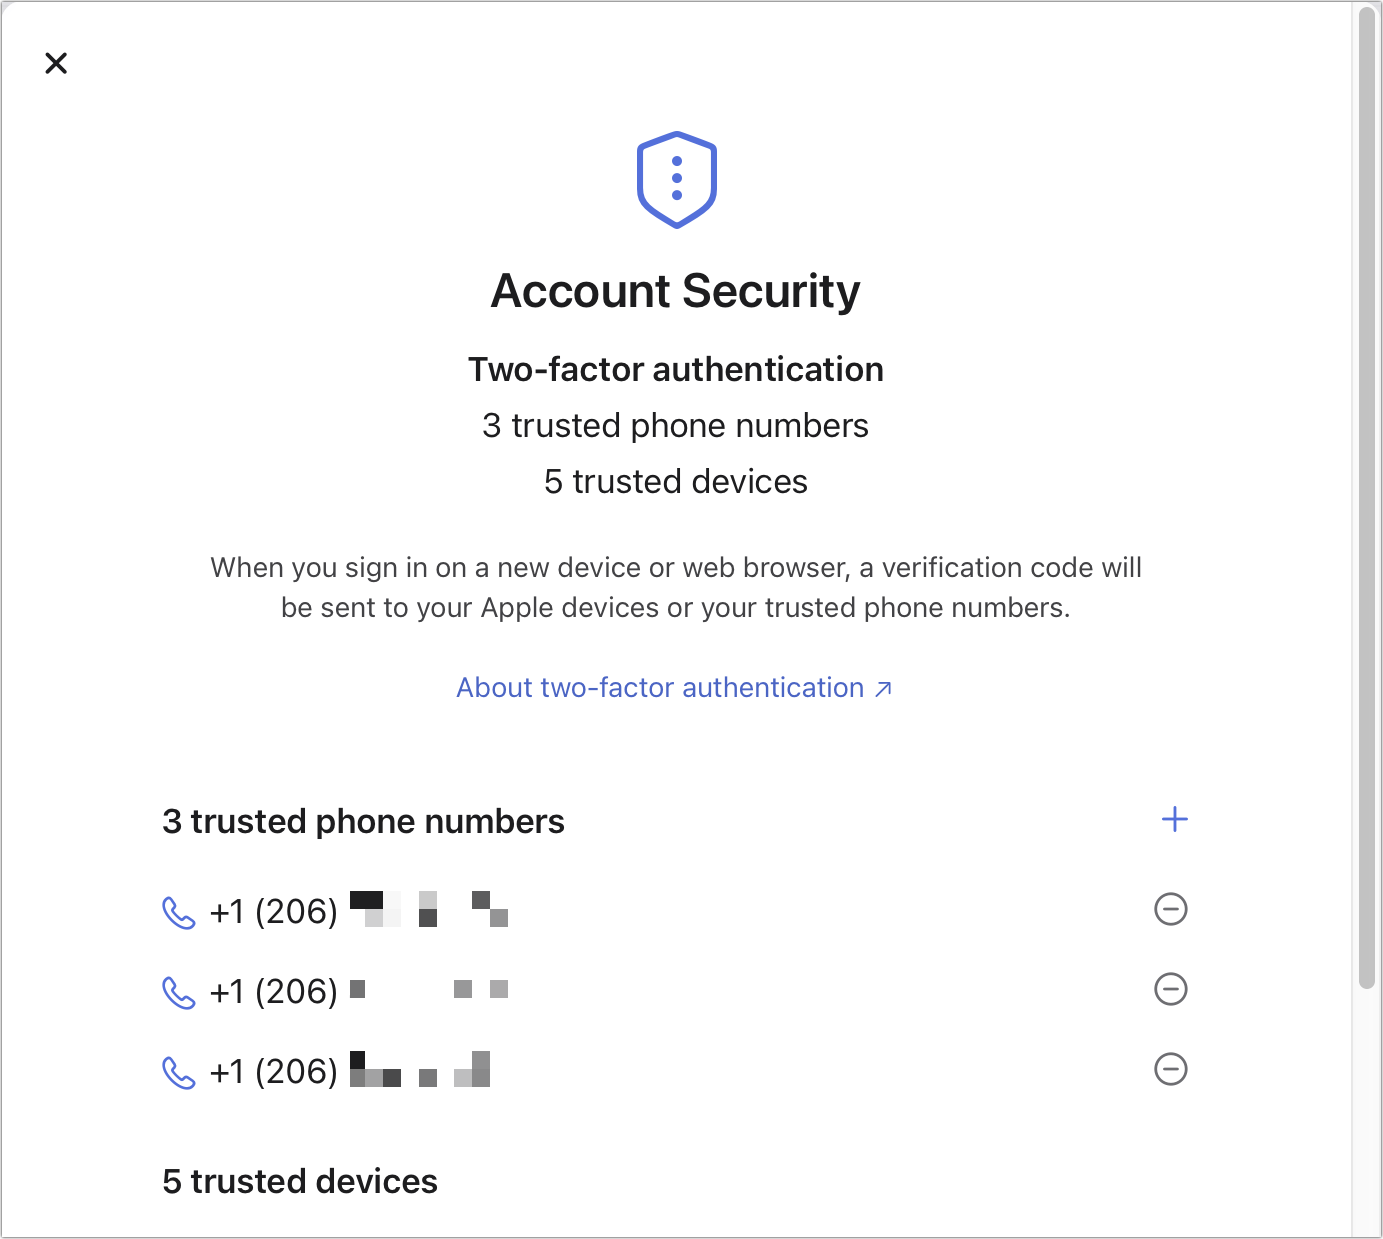
With two-factor authentication (2FA) enabled for an Apple ID, Apple treats every logged-in iPhone, iPad, or Mac as a trusted device. It also requires at least one trusted phone number. If your former number appears in the list of trusted numbers, follow these instructions to remove that number: see “How to remove or change the phone number linked to your Apple ID.”

The Apple ID site lets you remove associated trusted numbers, too, unless you have Stolen Device Protection Turned on.
Foundry
You may have to follow a different process with Stolen Device Protection enabled.
Remove as a trusted phone number (Stolen Device Protection on)
Apple added Stolen Device Protection in iOS 17.3 to help remove a way that a criminal could observe your iPhone passcode or coerce it out of you, then use it to reset your Apple ID account. If you have enabled that feature from your current iPhone, you won’t be able to remove a trusted phone number via the Apple ID site or other devices and you may face an intentional delay in completing the removal.
Instead, you have to start with your iPhone:
- Go to Settings > Account Name > Sign-In & Security > Two-Factor Authentication.
- Tap the Edit button next to Trusted Phone Numbers.
- Tap the – (minus) icon next to the number to remove.
- Tap Delete to confirm.
Stolen Device Protection kicks at steps 3 and 4 if you’re not at what your phone has decided is a “familiar location,” typically your home or place of work. If that’s the case you’ll be prompted for Face ID or Touch ID when you attempt to remove the number. After providing your fingerprint or showing your face, a one-hour timer starts. After that time elapses, you can authenticate again via Face ID or Touch, and then complete the steps to remove the unwanted number.
This Mac 911 article is in response to a question submitted by Macworld reader Robert.
Ask Mac 911
We’ve compiled a list of the questions we get asked most frequently, along with answers and links to columns: read our super FAQ to see if your question is covered. If not, we’re always looking for new problems to solve! Email yours to mac911@macworld.com, including screen captures as appropriate and whether you want your full name used. Not every question will be answered, we don’t reply to email, and we cannot provide direct troubleshooting advice.


