New to Home Assistant? Discover the power of automation with these practical and useful examples to enhance your smart home experience.
Before We Begin
Please note that the devices referenced in these automations are examples. You will need to modify the automation in the Home Assistant UI to match your specific device needs. To set up these automations in your Home Assistant, follow these steps:
- Set up a motion sensor in the room you want to automate.
- Navigate to Settings > Automations & Scenes > Create Automation and select “Create New Automation.”
- Click the three-dot menu in the upper-right corner and select “Edit” in YAML.
- Paste the automation code into the editor and save it.
After importing automations into Home Assistant, review and edit it in the visual UI editor to ensure that all triggers and devices match your specific needs.
Still not set up Home Assistant? Learn more about this open-source smart home platform and how you can run it using a single board computer like a Raspberry Pi.
1 Automated Lighting
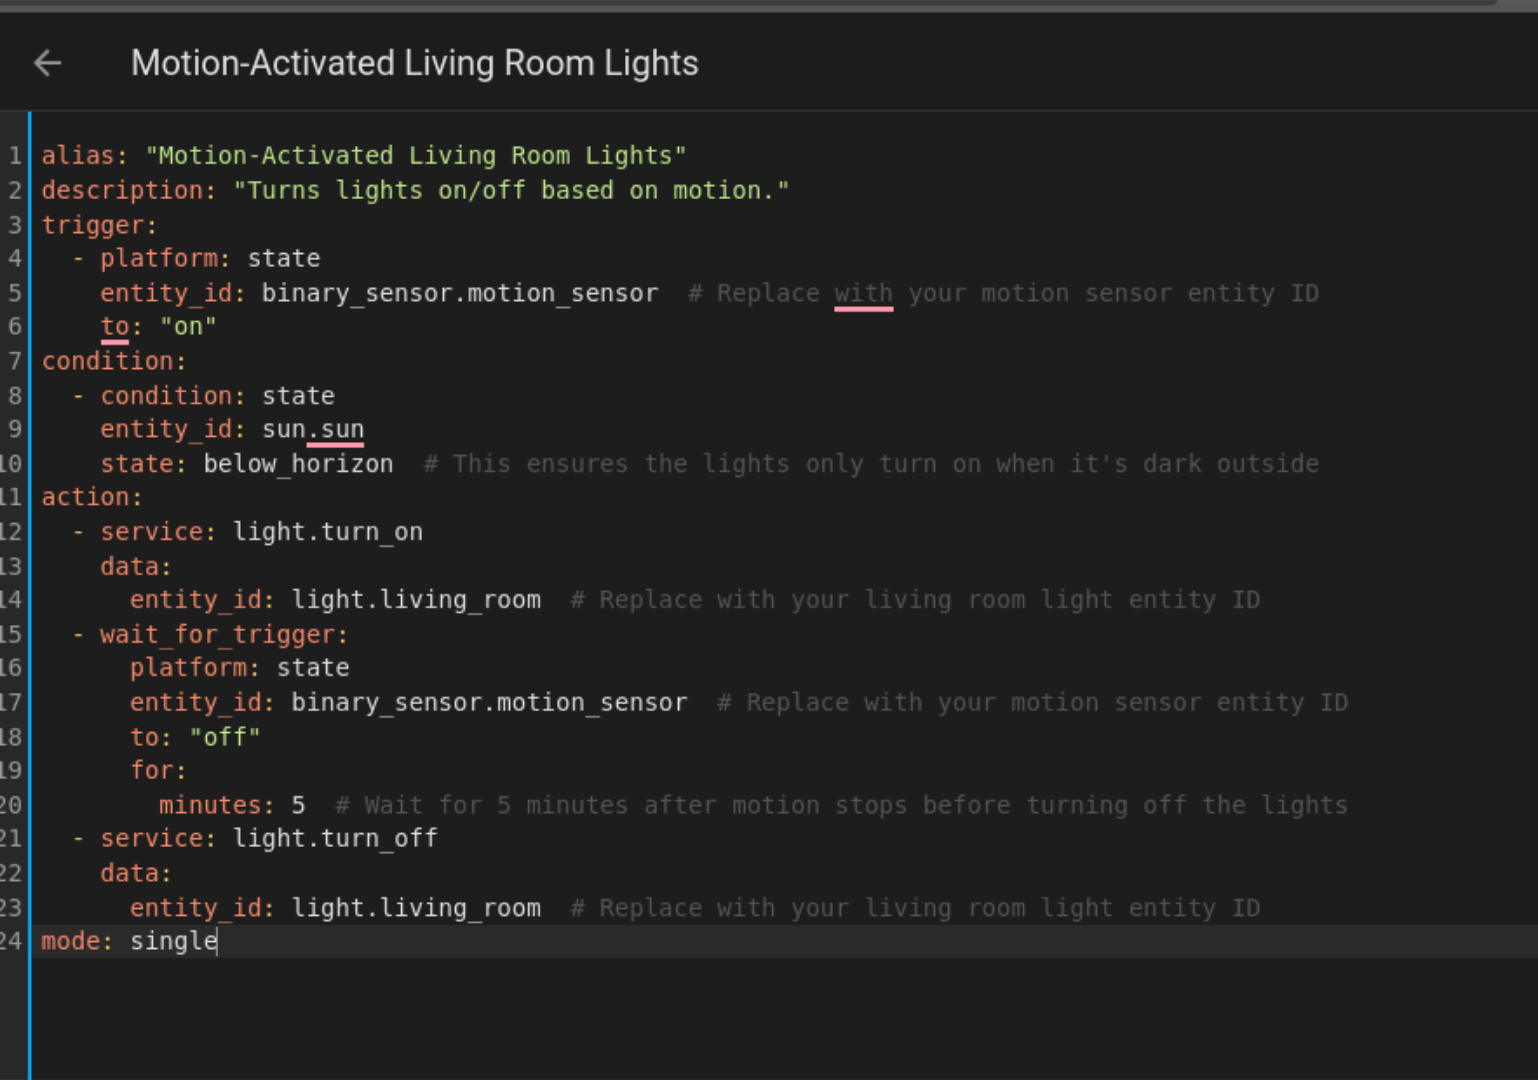
This automation turns lights on when you enter a room and off when you leave, optimizing your smart home’s energy efficiency by ensuring lights are only on when needed.
It works by using a motion sensor to detect room entry and exit, triggering the “light.turn_on” or “light.turn_off” action based on sensor detection. To customize, simply replace the “entity_id” values with your device IDs (e.g. “binary_sensor.your_motion_sensor” and “light.your_living_room”), and adjust the timing to suit your needs (e.g. change the “5” minutes to “2” or “10” minutes).
You can also modify the conditions to trigger the automation only during specific times of the day or when the sun is below the horizon, like in this example, by adjusting the condition section.
alias: "Motion-Activated Living Room Lights"description: "Turns lights on/off based on motion."
trigger:
- platform: state
entity_id: binary_sensor.motion_sensor # Replace with your motion sensor entity ID
to: "on"
condition:
- condition: state
entity_id: sun.sun
state: below_horizon # This ensures the lights only turn on when it's dark outside
action:
- service: light.turn_on
data:
entity_id: light.living_room # Replace with your living room light entity ID
- wait_for_trigger:
platform: state
entity_id: binary_sensor.motion_sensor # Replace with your motion sensor entity ID
to: "off"
for:
minutes: 5 # Wait for 5 minutes after motion stops before turning off the lights
- service: light.turn_off
data:
entity_id: light.living_room # Replace with your living room light entity ID
mode: single
2 Smart Thermostat Control
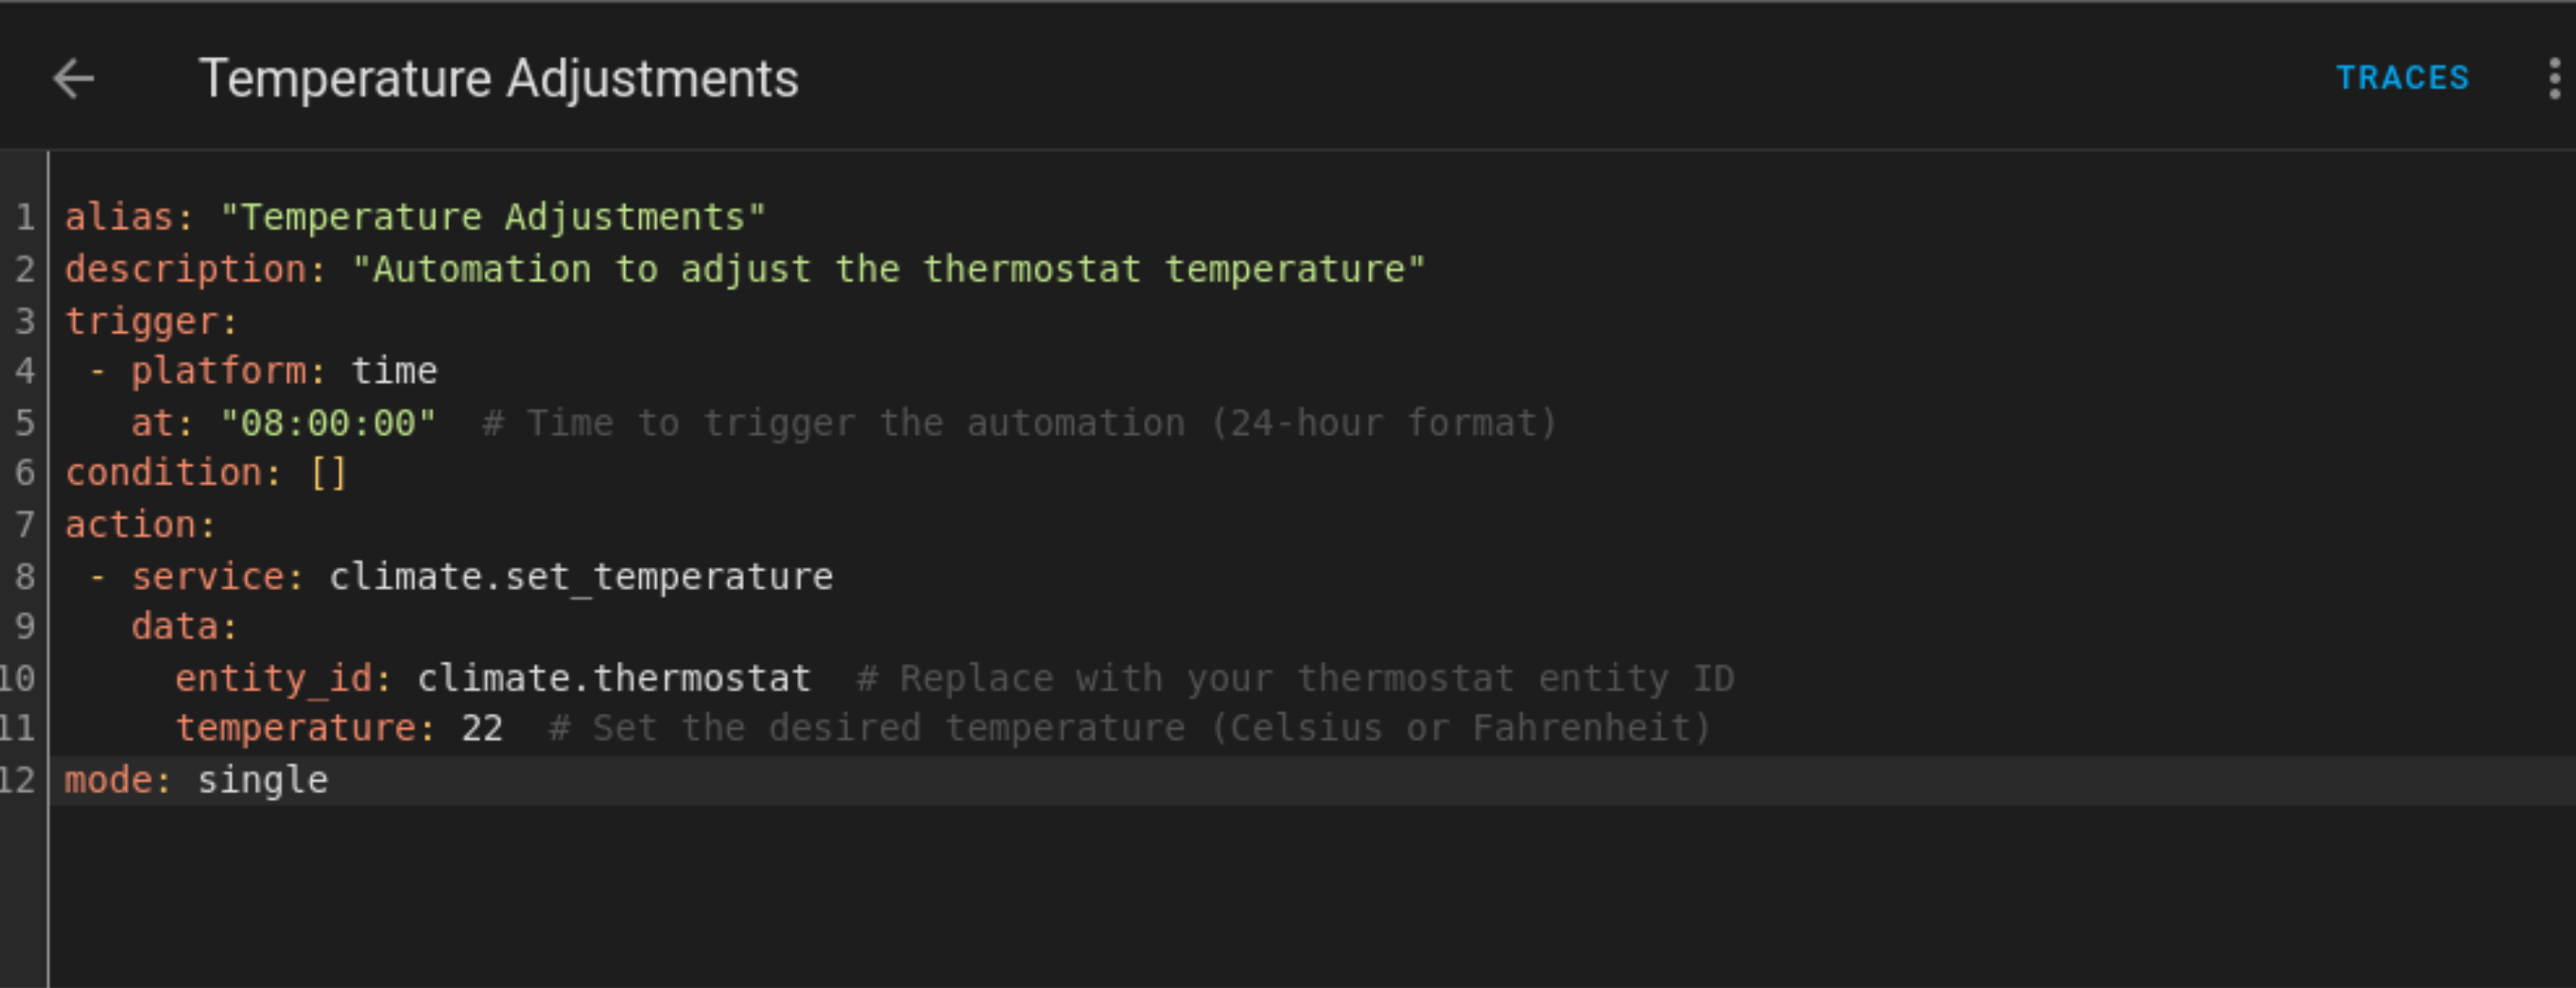
This automation adjusts the temperature based on your daily routine to make sure that you’re comfortable when you’re at home and saving on energy costs when you’re not. By leveraging a schedule, you can tap into your smart thermostat’s energy-saving features.
It works by using a schedule to trigger temperature changes at specific times of the day, setting the temperature to a predefined value. To customize, simply adjust the trigger time to suit your schedule (e.g. change “08:00:00” to “07:00:00” or “09:00:00”), replace the “entity_id” value with your thermostat ID (e.g. climate.your_thermostat), and set the desired temperature by adjusting the temperature field (e.g. change “22” to “20” or “24”).
alias: "Temperature Adjustments"description: "Automation to adjust the thermostat temperature"
trigger:
- platform: time
at: "08:00:00" # Time to trigger the automation (24-hour format)
condition: []
action:
- service: climate.set_temperature
data:
entity_id: climate.thermostat # Replace with your thermostat entity ID
temperature: 22 # Set the desired temperature (Celsius or Fahrenheit)
mode: single
3 Morning Routine
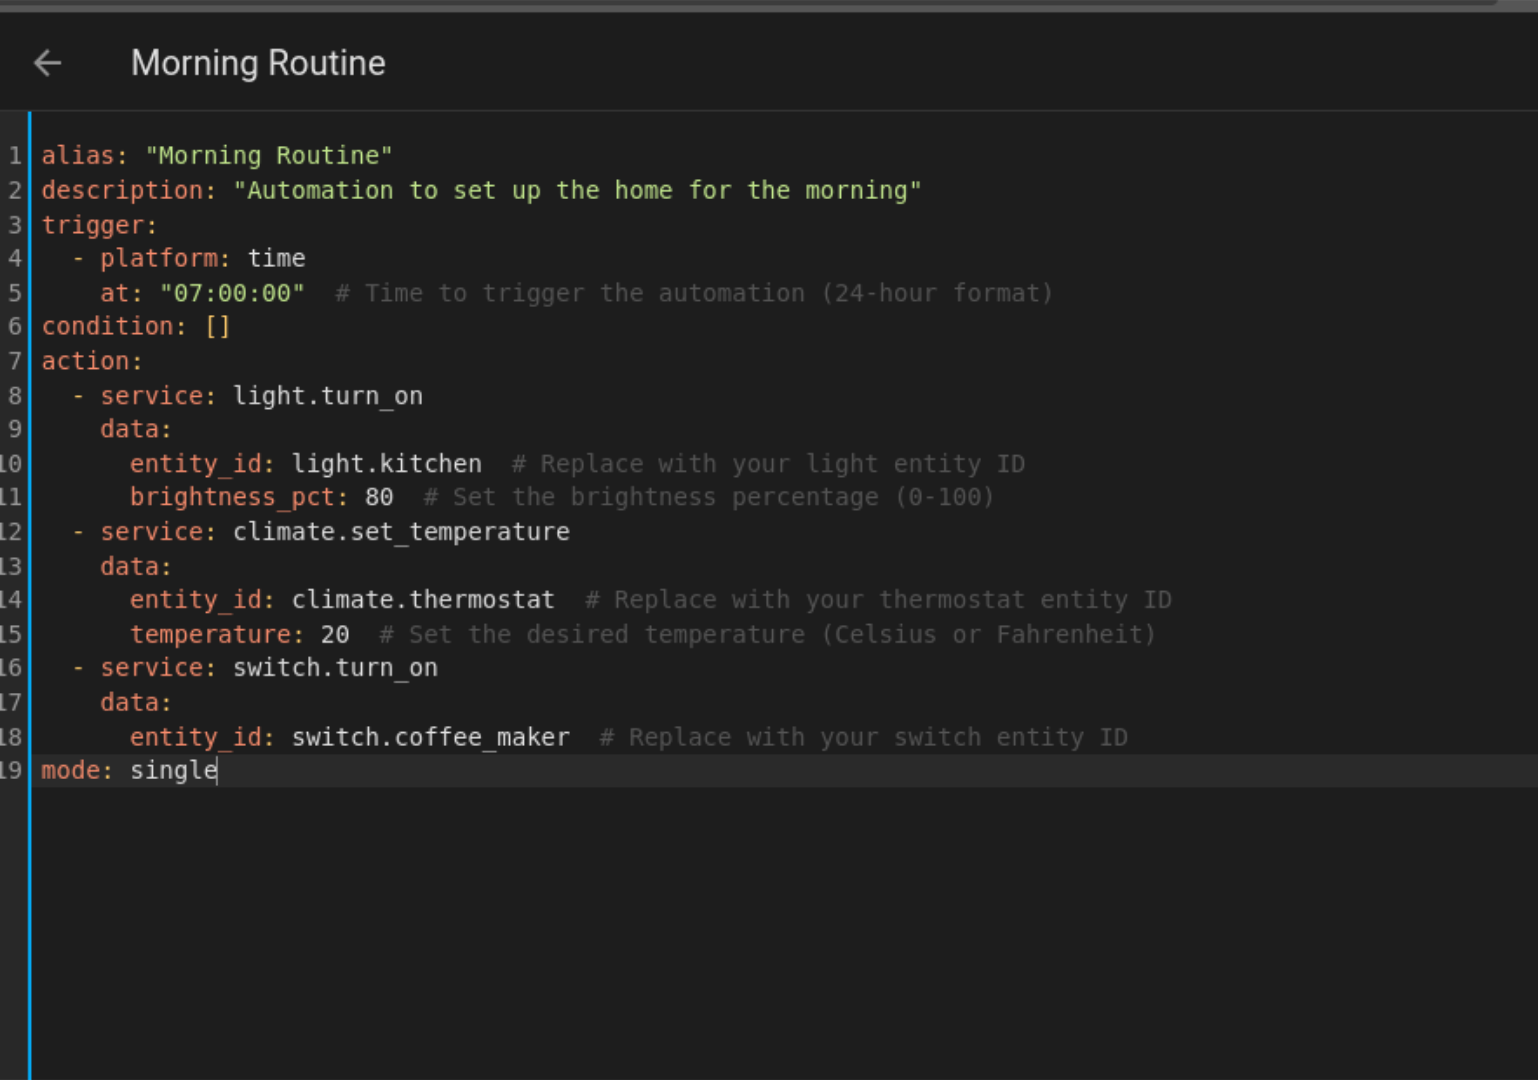
This automation helps you start your day off right by turning on lights, adjusting the thermostat, and starting your coffee maker with little effort. By leveraging a schedule, you can ensure your home is comfortable and that you’re ready for the day ahead.
It works by triggering these actions at a specific time of day, using a schedule to control multiple devices to create a morning routine. To customize, simply adjust the trigger time to suit your wake-up schedule (e.g. change “07:00:00” to “06:30:00” or “08:00:00”), and replace the “entity_id” values with your device IDs (e.g. light.your_living_room, climate.your_thermostat, or switch.your_coffee_maker). You can also tweak the light brightness and thermostat temperature by adjusting the “brightness_pct” and “temperature” fields.
alias: "Morning Routine"description: "Automation to set up the home for the morning"
trigger:
- platform: time
at: "07:00:00" # Time to trigger the automation (24-hour format)
condition: []
action:
- service: light.turn_on
data:
entity_id: light.kitchen # Replace with your light entity ID
brightness_pct: 80 # Set the brightness percentage (0-100)
- service: climate.set_temperature
data:
entity_id: climate.thermostat # Replace with your thermostat entity ID
temperature: 20 # Set the desired temperature (Celsius or Fahrenheit)
- service: switch.turn_on
data:
entity_id: switch.coffee_maker # Replace with your switch entity ID
mode: single
4 Security Alerts
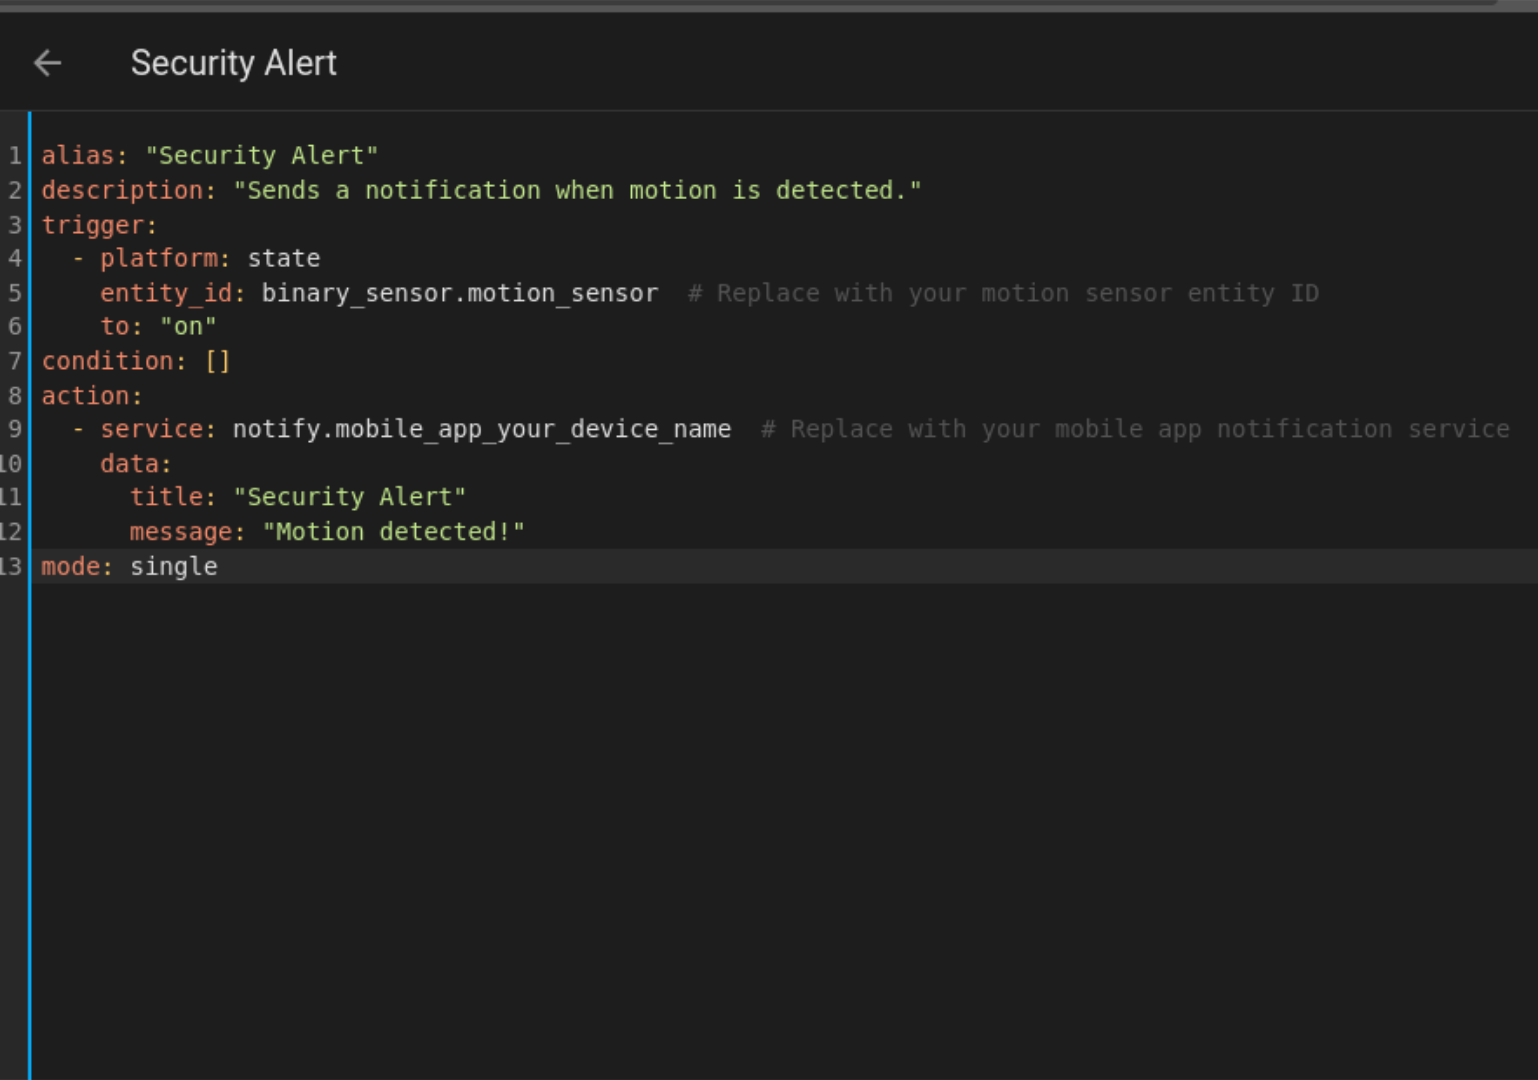
Stay informed and safe with custom security alerts that notify you when motion is detected or a door is opened. This automation keeps you aware of what’s happening at home, providing peace of mind wherever you are.
It works by using a motion sensor or door sensor to detect activity, triggering a notification to be sent to your phone or tablet via the “notify.mobile_app_your_device_name” action. To customize, simply replace “your_device_name” with the actual name of your device, as it appears in your Home Assistant configuration.
alias: "Security Alert"description: "Sends a notification when motion is detected."
trigger:
- platform: state
entity_id: binary_sensor.motion_sensor # Replace with your motion sensor entity ID
to: "on"
condition: []
action:
- service: notify.mobile_app_your_device_name # Replace with your mobile app notification service
data:
title: "Security Alert"
message: "Motion detected!"
mode: single
5 5. Energy Savings
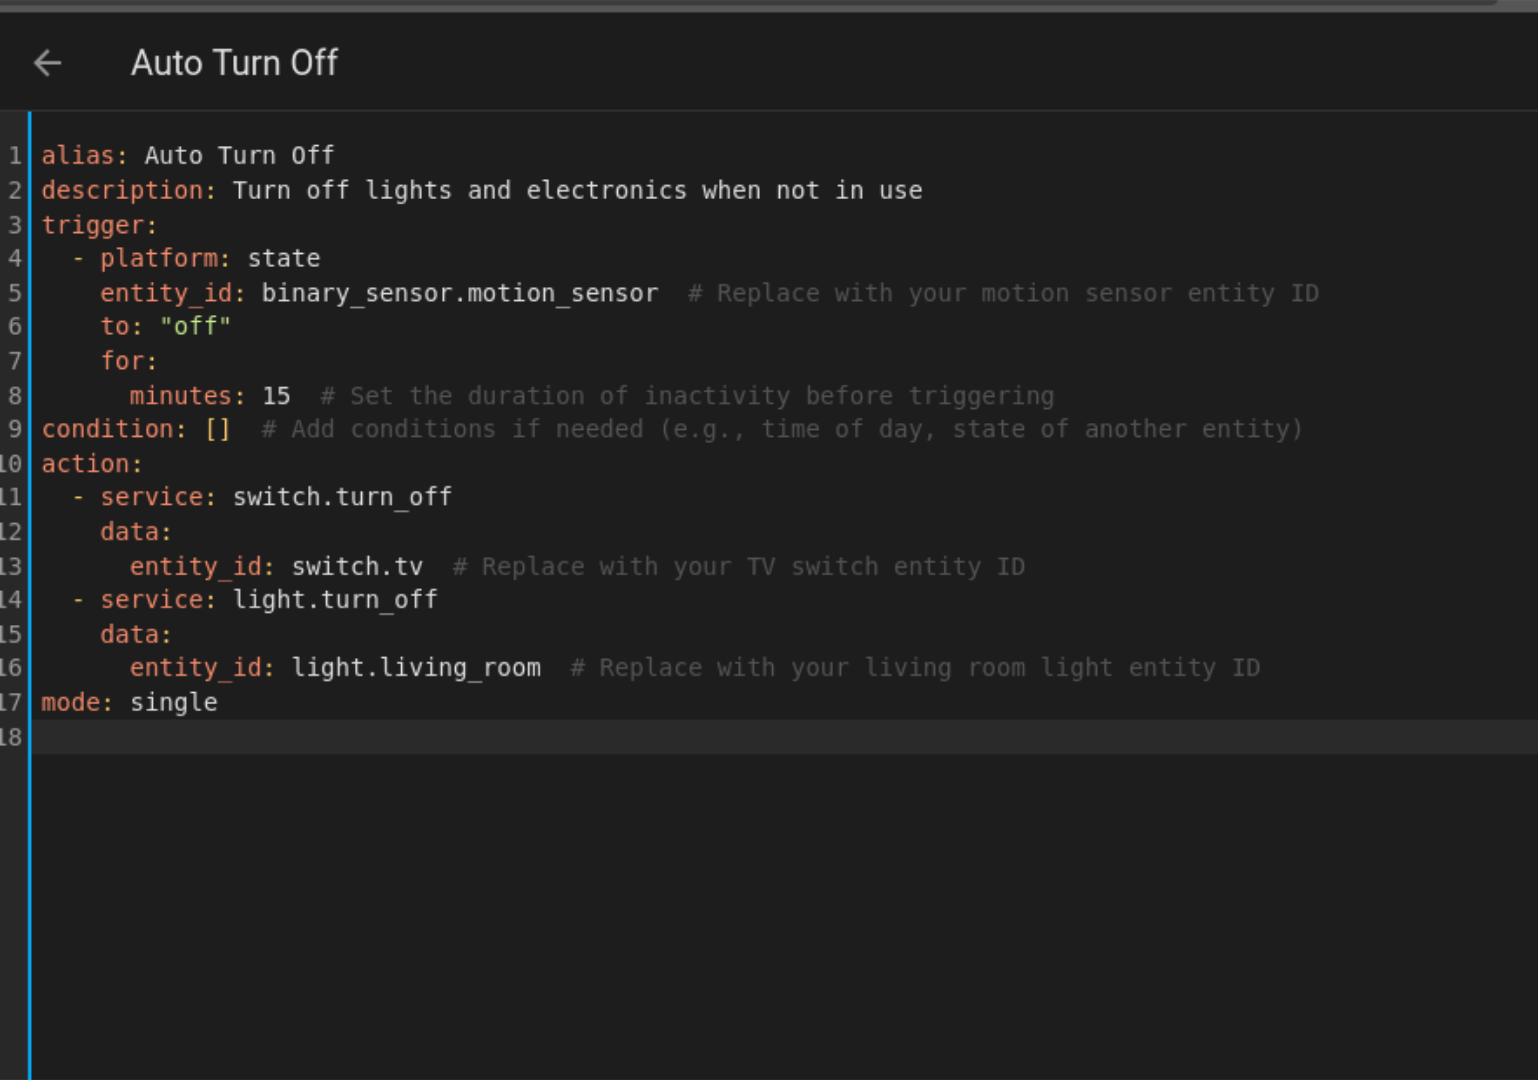
Automatically turn off lights, electronics, and appliances when they’re not in use, saving energy and reducing your bills. This automation helps you optimize your home’s energy efficiency, effortlessly powering down devices when they’re idle.
It works by using a sensor, such as a motion sensor, to detect inactivity, triggering an action to power down your devices when they’re no longer needed. For example, you can set it to turn off your TV and living room lights 15 minutes after motion is no longer detected. To customize this automation, replace the “entity_id” values with your device IDs (e.g. “switch.your_tv” or “light.your_kitchen”) and adjust the timing to suit your needs.
alias: Auto Turn Offdescription: Turn off lights and electronics when not in use
trigger:
- platform: state
entity_id: binary_sensor.motion_sensor # Replace with your motion sensor entity ID
to: "off"
for:
minutes: 15 # Set the duration of inactivity before triggering
condition: [] # Add conditions if needed (e.g., time of day, state of another entity)
action:
- service: switch.turn_off
data:
entity_id: switch.tv # Replace with your TV switch entity ID
- service: light.turn_off
data:
entity_id: light.living_room # Replace with your living room light entity ID
mode: single
6 Weather-Based Actions
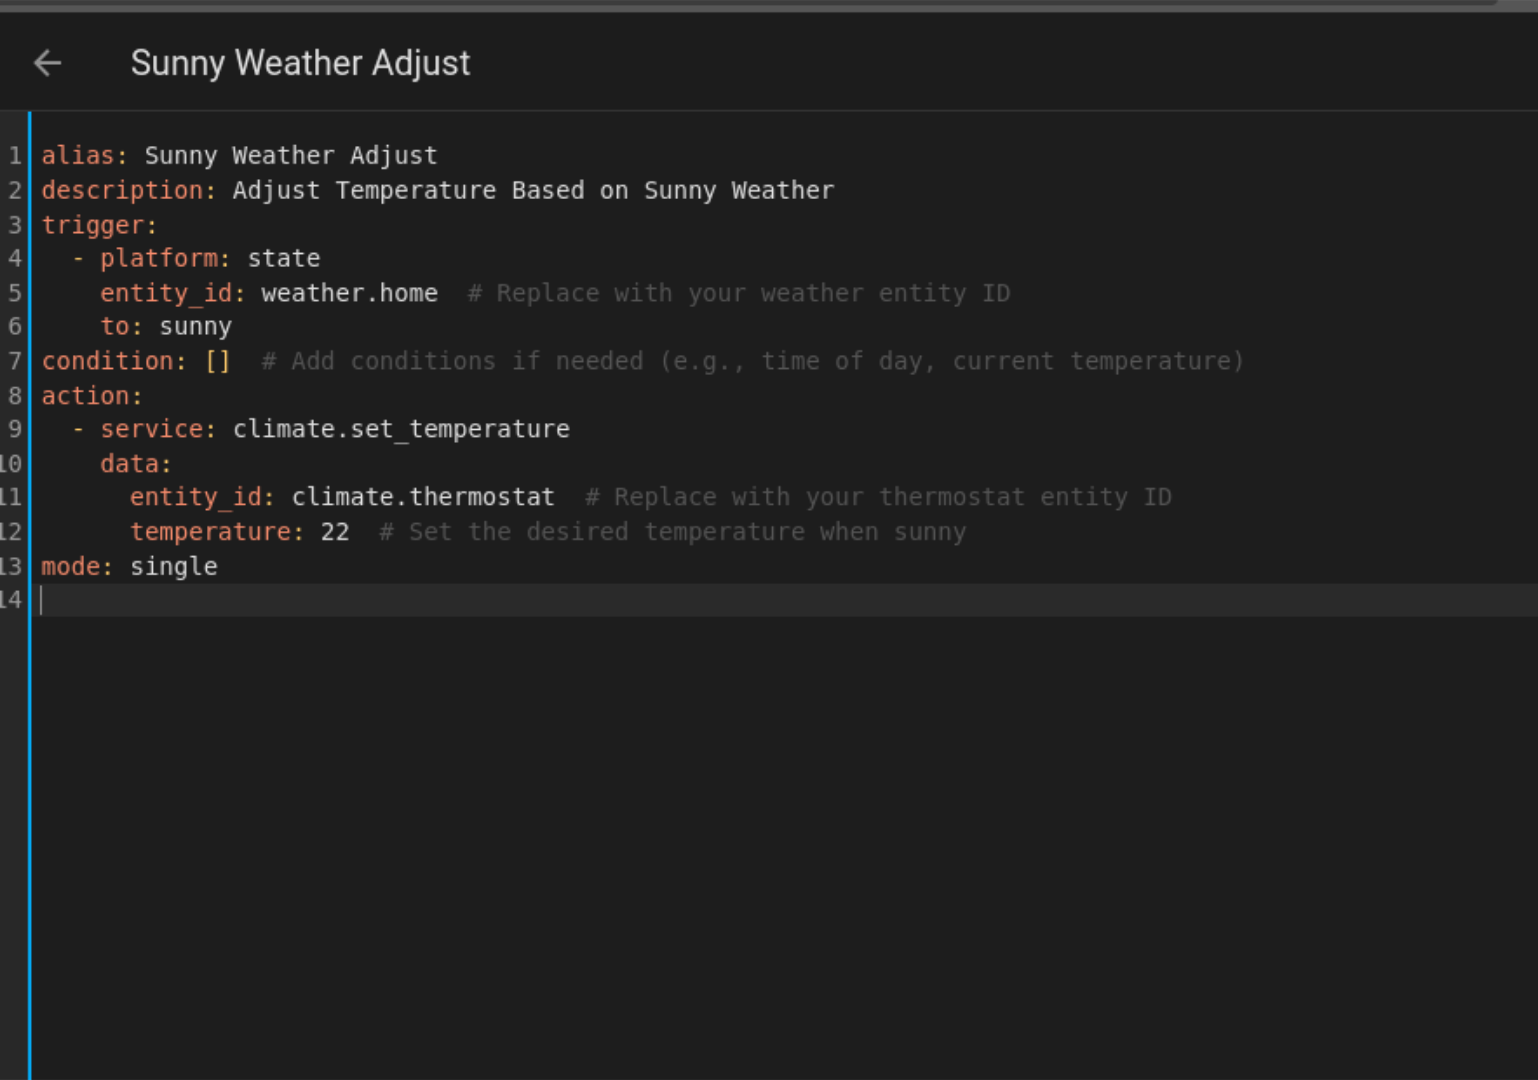
This automation adjusts your smart home’s lighting, temperature, and other settings based on the current weather conditions, ensuring a comfortable and optimized living space. By leveraging a weather sensor, you can synchronize your home’s settings with the outside weather.
It works by using a weather sensor to detect the current weather conditions, triggering an action to adjust settings when the weather changes. For example, on sunny days, it can set the temperature to a comfortable level. To customize, simply replace the “entity_id” values with your device IDs (e.g. “weather.your_location” and “climate.your_thermostat”), and adjust the desired temperature by changing the temperature field (e.g. from “22” to “20” or “24”). You can also modify the trigger to respond to different weather conditions, such as “cloudy” or “rainy”, by changing them in the trigger section.
alias: Sunny Weather Adjustdescription: Adjust Temperature Based on Sunny Weather
trigger:
- platform: state
entity_id: weather.home # Replace with your weather entity ID
to: sunny
condition: [] # Add conditions if needed (e.g., time of day, current temperature)
action:
- service: climate.set_temperature
data:
entity_id: climate.thermostat # Replace with your thermostat entity ID
temperature: 22 # Set the desired temperature when sunny
mode: single
7 Smart Home Theater
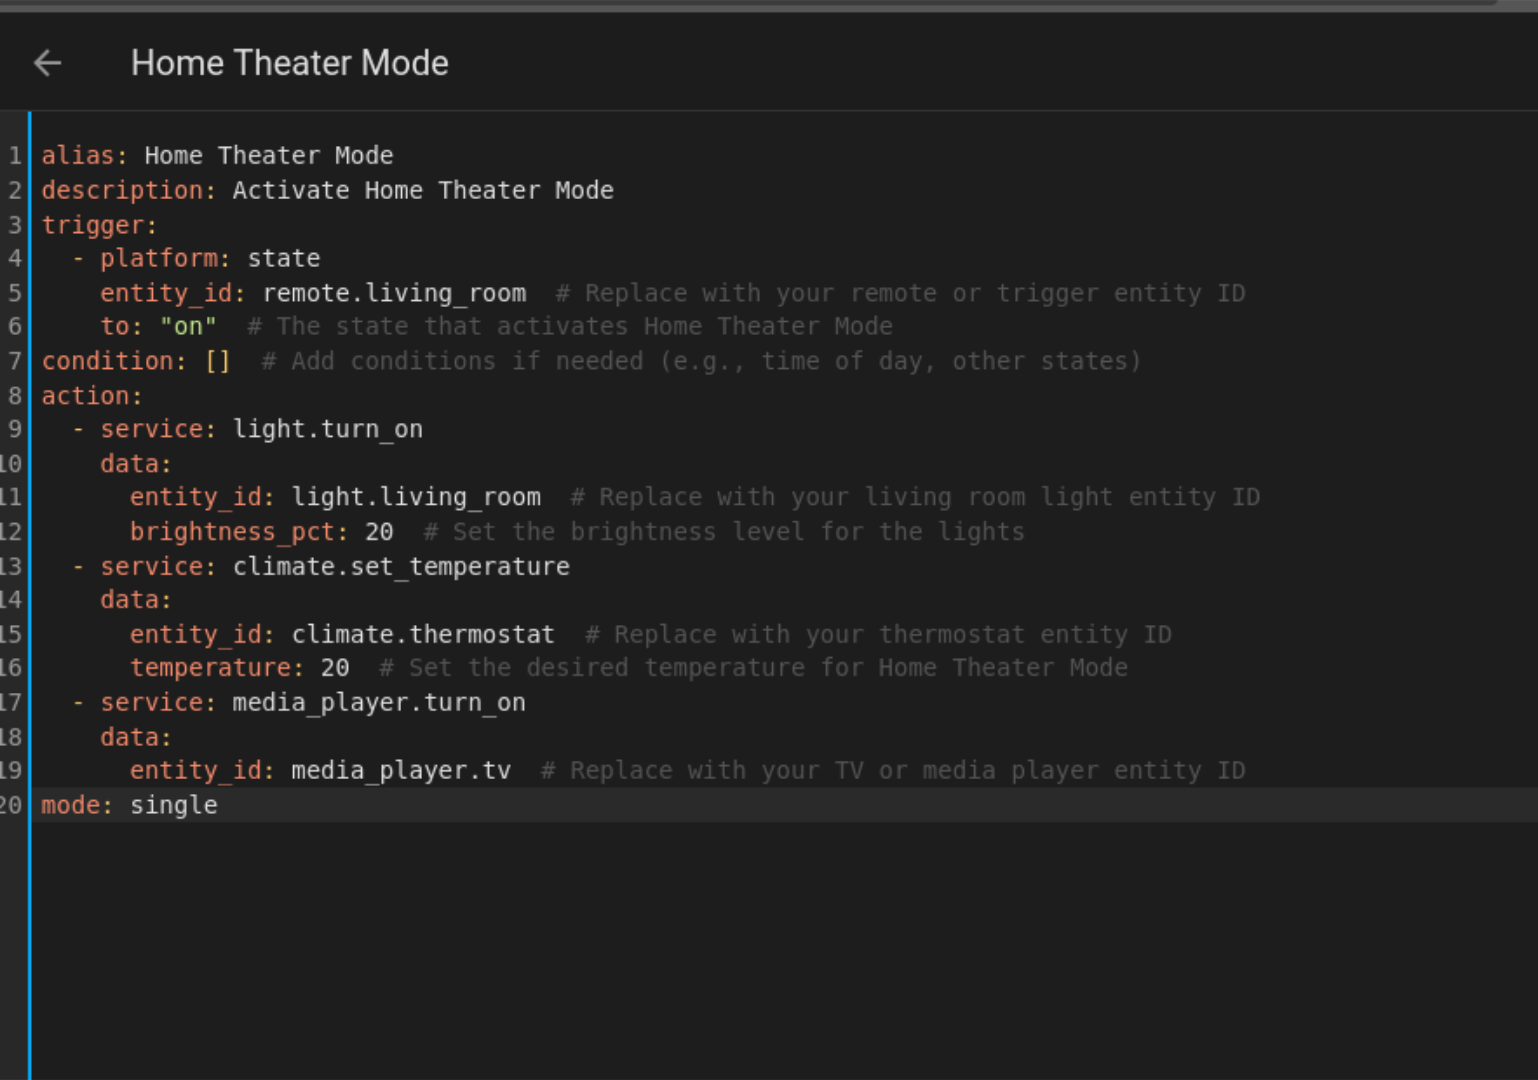
Create an immersive home theater experience with just a single button press. This automation adjusts lighting, temperature, and audio settings to transport you to the movies. By leveraging a single command, you can effortlessly transform your living room into a cozy home theater.
It works by using a remote control or button to trigger multiple actions, setting the mood for a cinematic experience. The lights dim to 20% brightness, the temperature cools to 20°C, and the TV turns on, all with a single press. To customize, simply replace the “entity_id” values with your device IDs (e.g. “light.your_living_room”, “climate.your_thermostat”, and “media_player.your_tv”), and adjust the lighting brightness, temperature, and audio settings to your liking by modifying the “brightness_pct”, “temperature”, and other fields in the action section. You can also change the trigger to respond to a different remote control or button by modifying the “entity_id” and to fields in the trigger section.
alias: Home Theater Modedescription: Activate Home Theater Mode
trigger:
- platform: state
entity_id: remote.living_room # Replace with your remote or trigger entity ID
to: "on" # The state that activates Home Theater Mode
condition: [] # Add conditions if needed (e.g., time of day, other states)
action:
- service: light.turn_on
data:
entity_id: light.living_room # Replace with your living room light entity ID
brightness_pct: 20 # Set the brightness level for the lights
- service: climate.set_temperature
data:
entity_id: climate.thermostat # Replace with your thermostat entity ID
temperature: 20 # Set the desired temperature for Home Theater Mode
- service: media_player.turn_on
data:
entity_id: media_player.tv # Replace with your TV or media player entity ID
mode: single
8 Vacation Mode
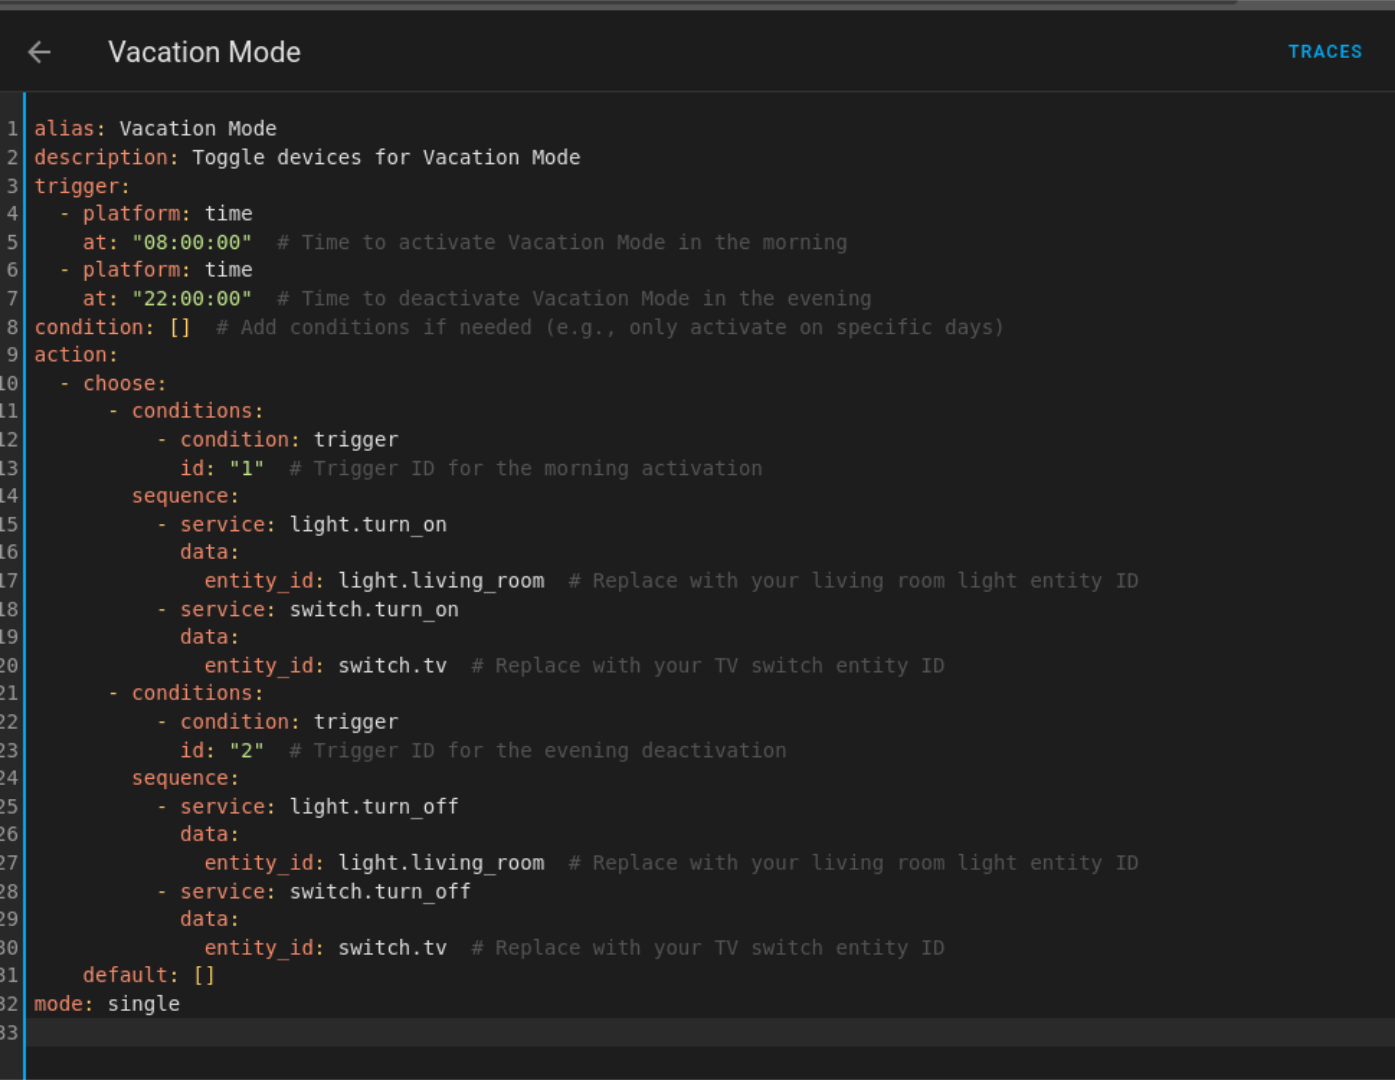
Simulate someone being at home while you’re away on vacation by automatically turning lights and electronics on and off on a schedule. This automation creates a convincing illusion of occupancy, giving you peace of mind while you’re away.
It works by using a schedule to trigger the automation at specific times of the day, such as 8am and 10pm. At these times, it turns lights and electronic on or off to mimic the activity of someone being at home. To customize, simply adjust the trigger times to suit your needs (e.g. change “08:00:00” to “07:00:00” or “09:00:00”), and replace the “entity_id” values with your device IDs (e.g. “light.your_living_room” and “switch.your_tv”). You can also add or remove devices from the automation, or modify the sequence of actions to create a more realistic vacation mode.
alias: Vacation Modedescription: Toggle devices for Vacation Mode
trigger:
- platform: time
at: "08:00:00" # Time to activate Vacation Mode in the morning
- platform: time
at: "22:00:00" # Time to deactivate Vacation Mode in the evening
condition: [] # Add conditions if needed (e.g., only activate on specific days)
action:
- choose:
- conditions:
- condition: trigger
id: "1" # Trigger ID for the morning activation
sequence:
- service: light.turn_on
data:
entity_id: light.living_room # Replace with your living room light entity ID
- service: switch.turn_on
data:
entity_id: switch.tv # Replace with your TV switch entity ID
- conditions:
- condition: trigger
id: "2" # Trigger ID for the evening deactivation
sequence:
- service: light.turn_off
data:
entity_id: light.living_room # Replace with your living room light entity ID
- service: switch.turn_off
data:
entity_id: switch.tv # Replace with your TV switch entity ID
default: []
mode: single
With these scripts you should be able to add advanced automations to Home Assistant simply by changing a few values. You may also be able to piece together how they work, and build your own, simply by combing through them. Find out what else Home Assistant can do.


