Apple Reminders is a powerful to-do list manager that gives premium apps a run for their money. It’s packed with standout features that are normally reserved for premium offerings.
1 Due Dates and Times
You can use Apple Reminders like a digital pen and paper to make organized lists of things you want to remember. But the app becomes far more useful when you start assigning due dates and times to items. This way you’ll get notifications whenever an item is due, and you’ll be able to use the “Today” list to triage your tasks.
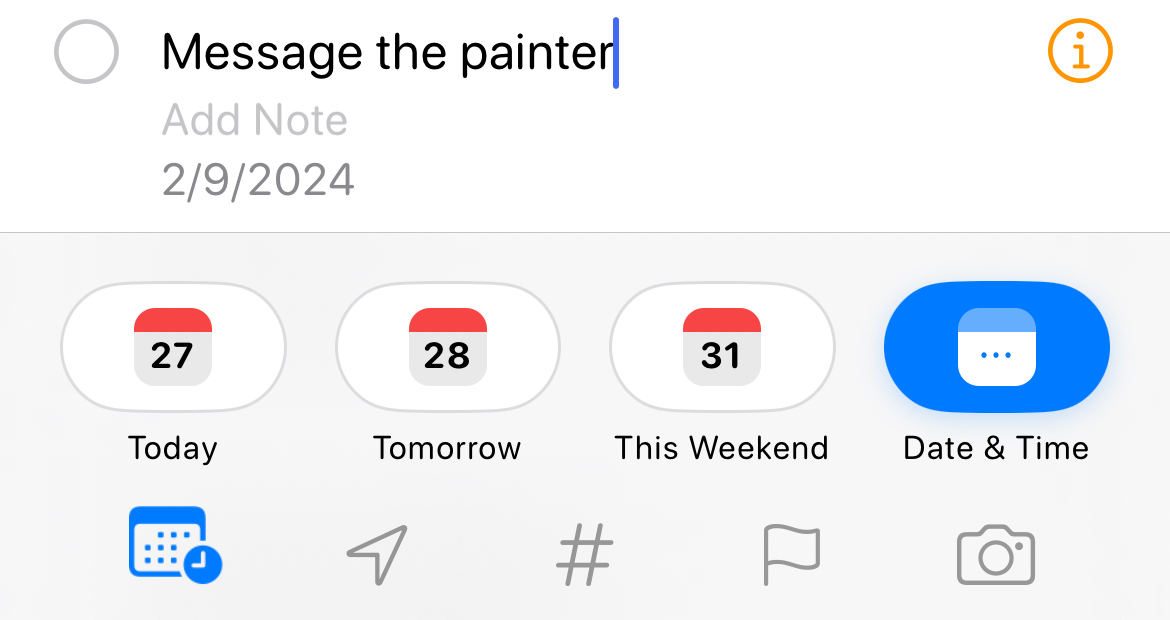
Add a date and a time using the “i” button that appears alongside an individual item. On an iPhone, you can tap the “Calendar” item above the keyboard while you’re creating a new task to quickly assign a date.
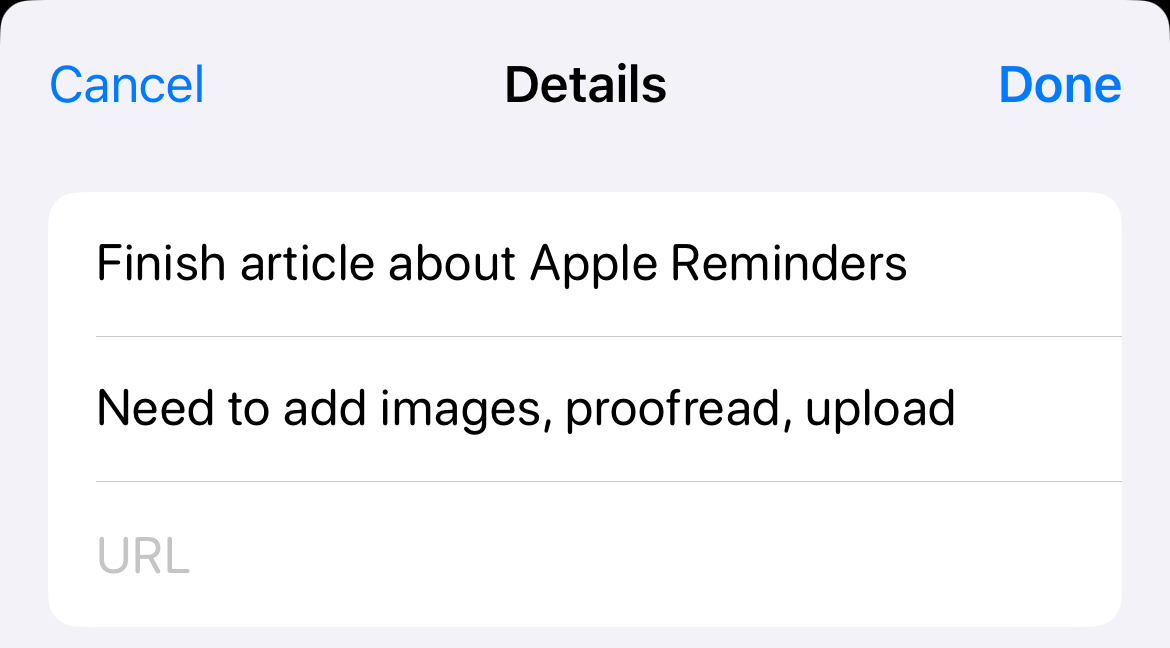
Make your reminders even more useful by adding extra information to them in the form of notes, URLs, and images. Do this using the “i” button that appears alongside your task on iPhone or Mac.
Notes can be a maximum of 4,000 characters in length. URLs will appear as tappable (or clickable) links beneath the task heading. Images will also appear alongside the task and can be added from your Photo Library or you can use an iPhone to scan a document or shoot a new photo.
3 Organize Your Lists Automatically
You can drag items around your lists to put them wherever you like, but this isn’t always the best plan. For example, I prefer to organize my shopping list with the most recently added items at the top. This way the hard-to-get items that I have to buy from specialist stores sink to the bottom, while frequently-used items like milk appear front-and-center when I open the app.
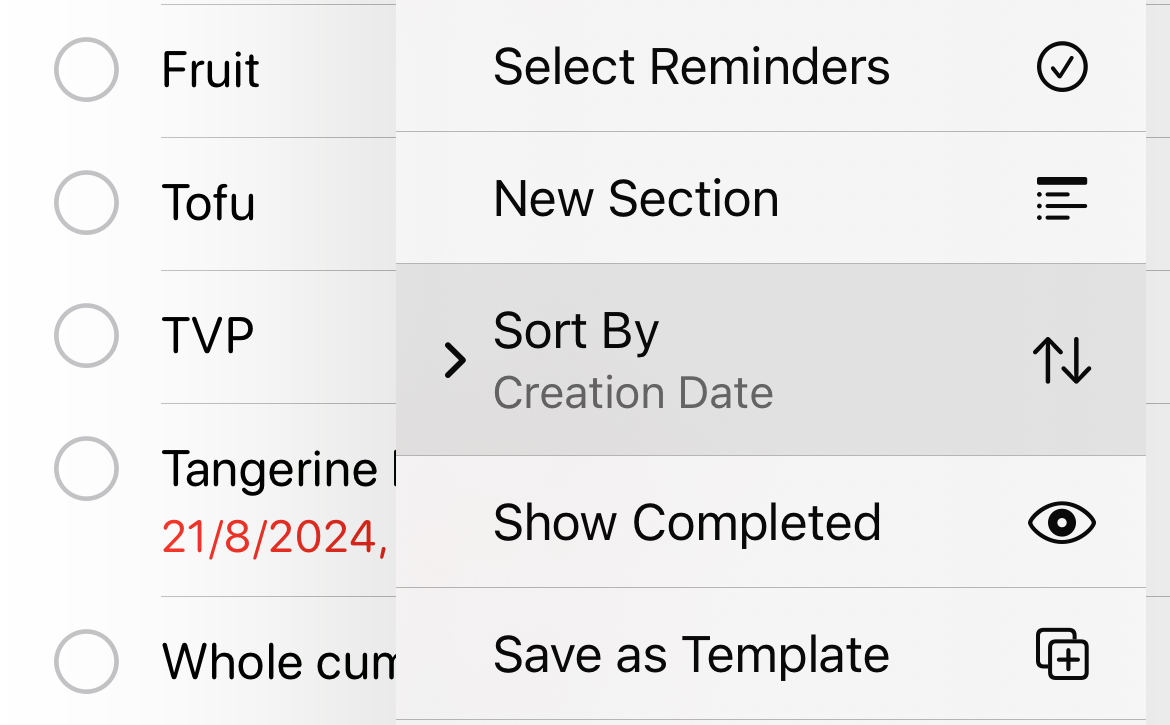
You can organize your lists by first accessing the list you want to sort and then tapping the “…” ellipsis button on an iPhone or right-clicking a list on a Mac. Use the “Sort By” menu to choose your criteria. You can then choose to further refine the order, for example choosing “Newest First” when sorting by “Creation Date.”
If you drag an item after setting an order, your note will default back to “Manual” and you’ll need to set it up again. It’s worth letting any members of shared lists know since if they move items around the sorting will be broken again.
4 Collaborative Lists
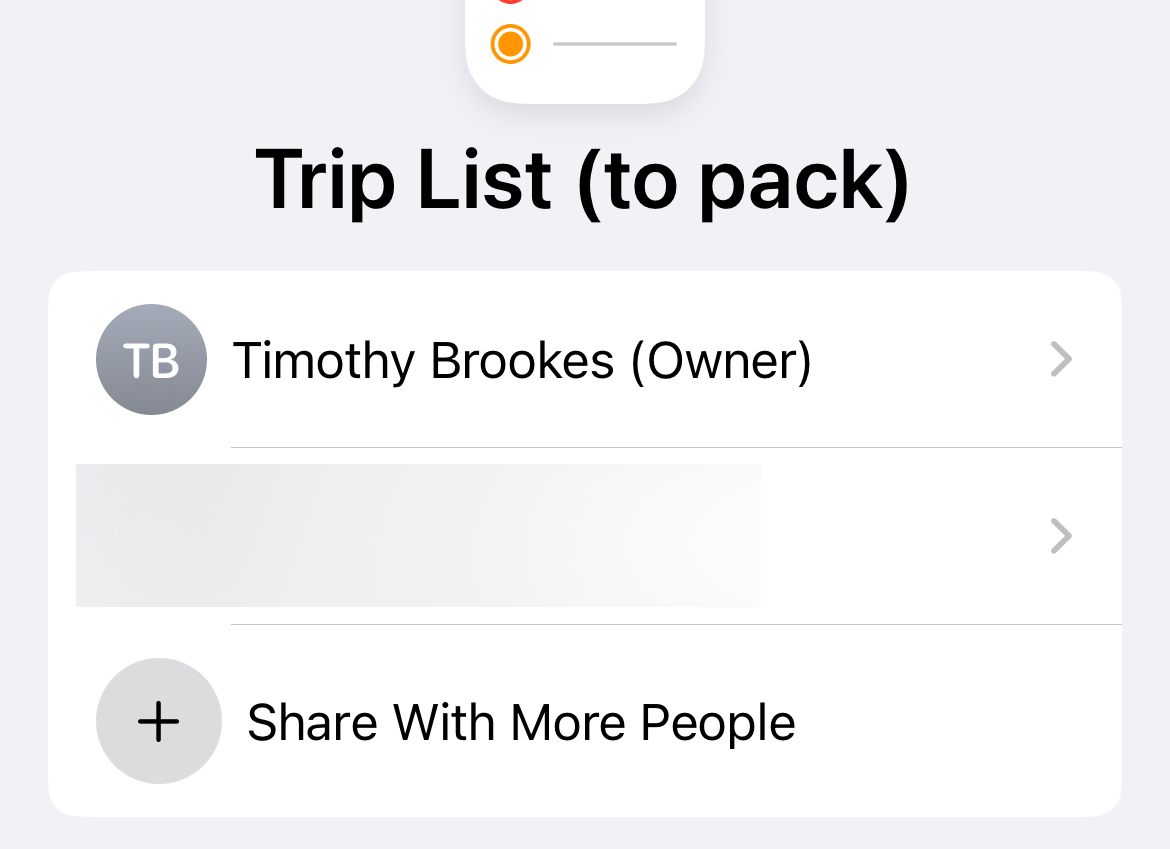
You can collaborate on lists as long as the other party has an Apple device like an iPhone or Mac. To do this, access a note and use the “Share” item at the top of the screen. Send your list to team members, friends, and family and they will be able to add items to the list.
You can even use the “i” button on an individual task to assign reminders to anyone the list is shared with.
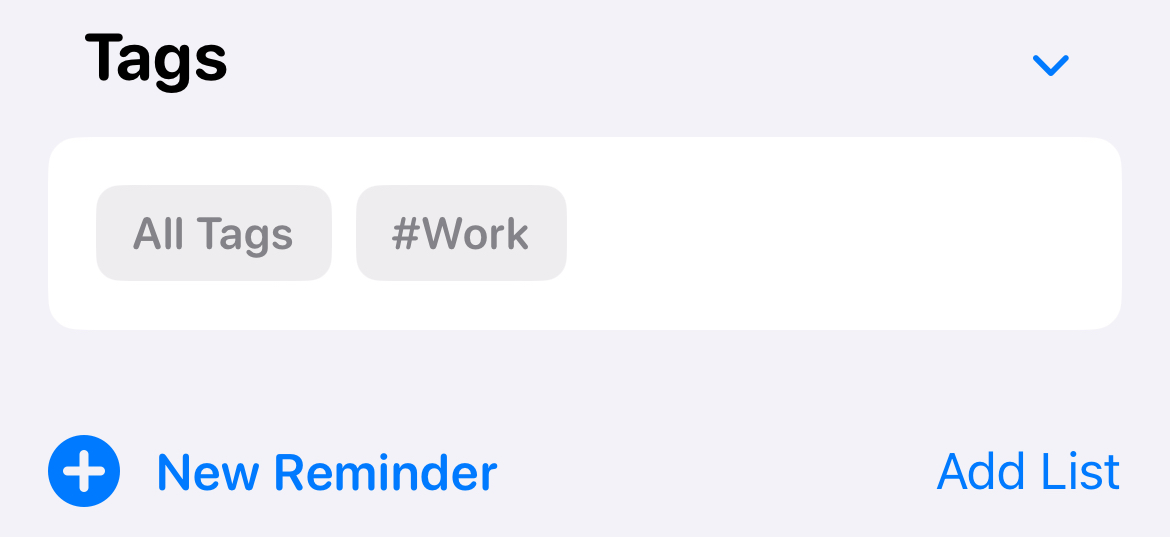
Use tags to better organize your notes, which is especially useful for displaying a list of reminders regardless of which list they are assigned to. Let’s say you’re a graphic designer using Reminders to track jobs for different clients. Create separate lists for your different clients, but tag them all as #work.
You can find the #work tag at the bottom of the screen on an iPhone or in the sidebar on a Mac. Use it to get a good idea of your outstanding work tasks from all clients.
6 Smart Lists
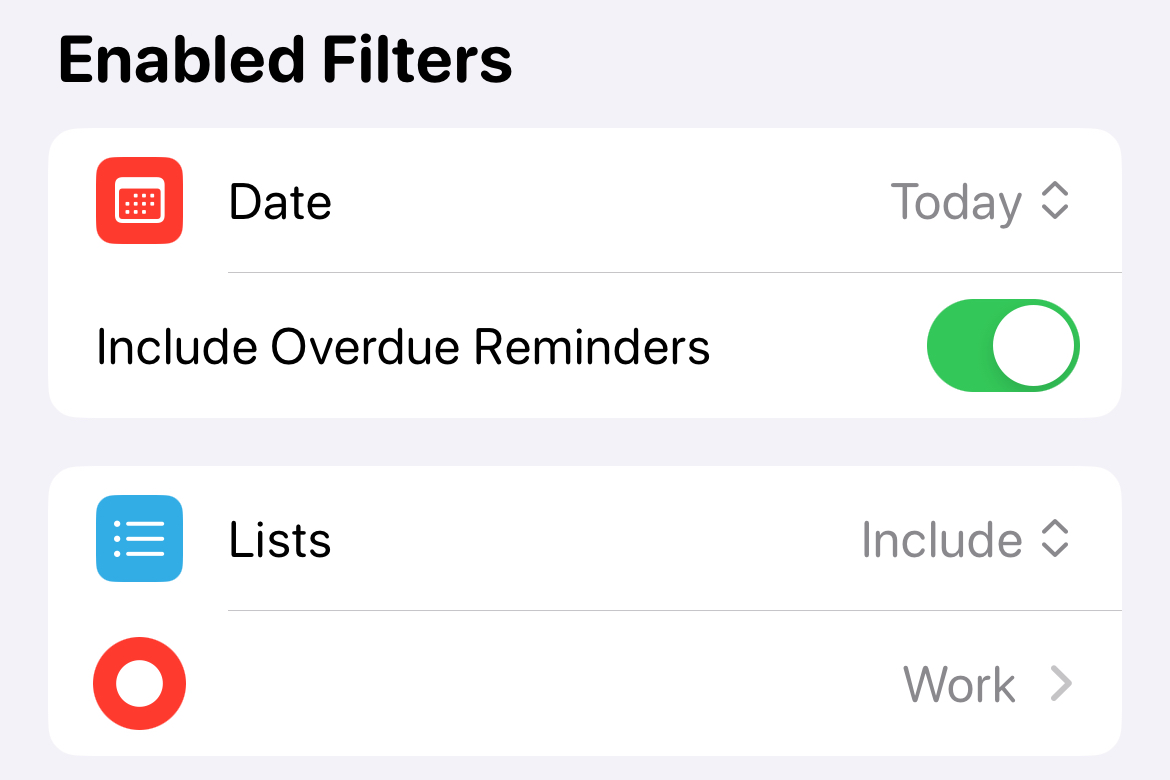
Create a new List and then choose “Smart List” under “List Type” to create a new list for displaying items based on set criteria. You can get really creative here and filter by tags, date, time, priority, flagged, location, and which lists your tasks are on.
You can use “all” filters together, or create broader smart lists that filter by “any” of your selected criteria. This feature is ideal if you’re a heavy Reminders user who loves keeping things organized. There’s no better way to cut through hundreds of tasks!
7 Sections Within Lists
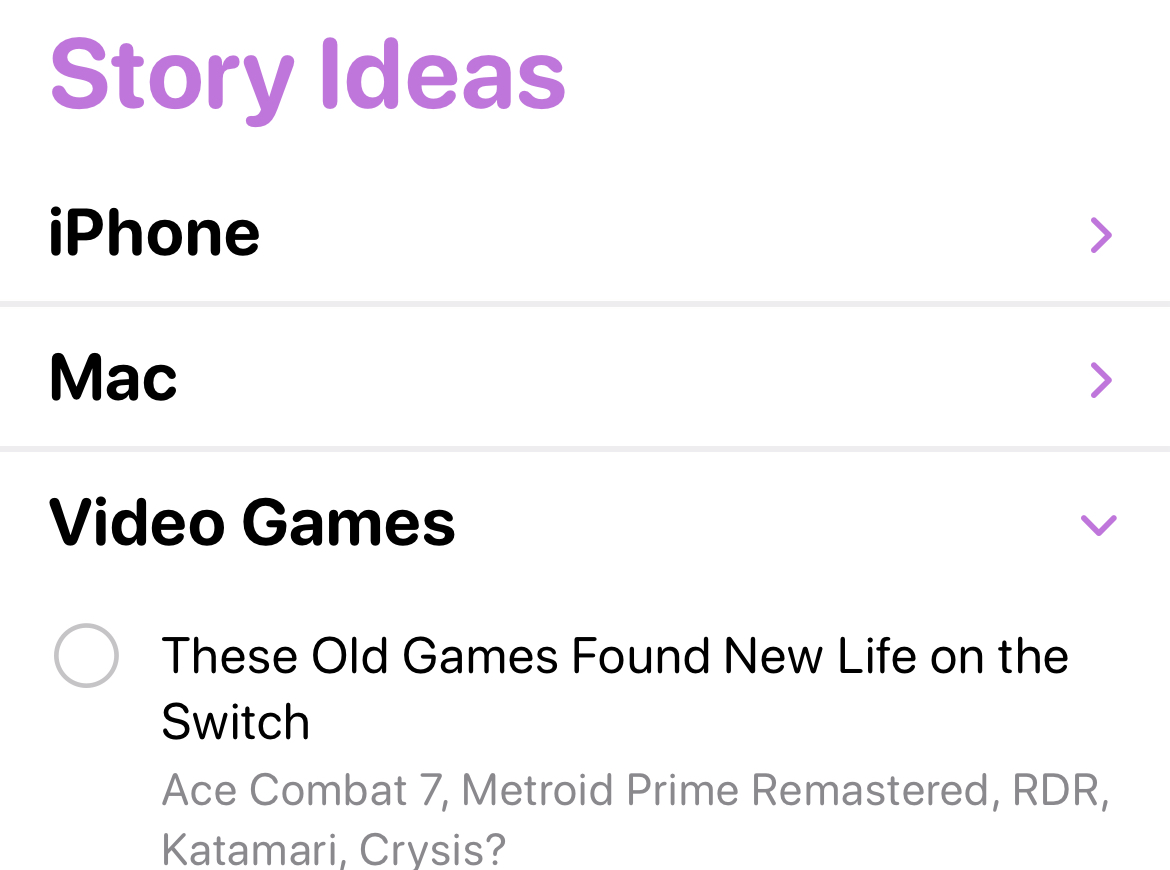
Another surprisingly advanced feature that is a mainstay of premium reminder apps, sections allow you to divide lists into logical chunks. Create sections on iPhone under the “…” ellipsis menu, or using File > New Section on a Mac.
This can help you cut down on the number of lists you have simply by organizing items into sections. So you can do things like track video games or streaming series that you want to watch on a single list, by separating them by platform (like Xbox, Steam, and so on) or streaming service (like Netflix, Hulu, and more).
8 Save Lists as Templates
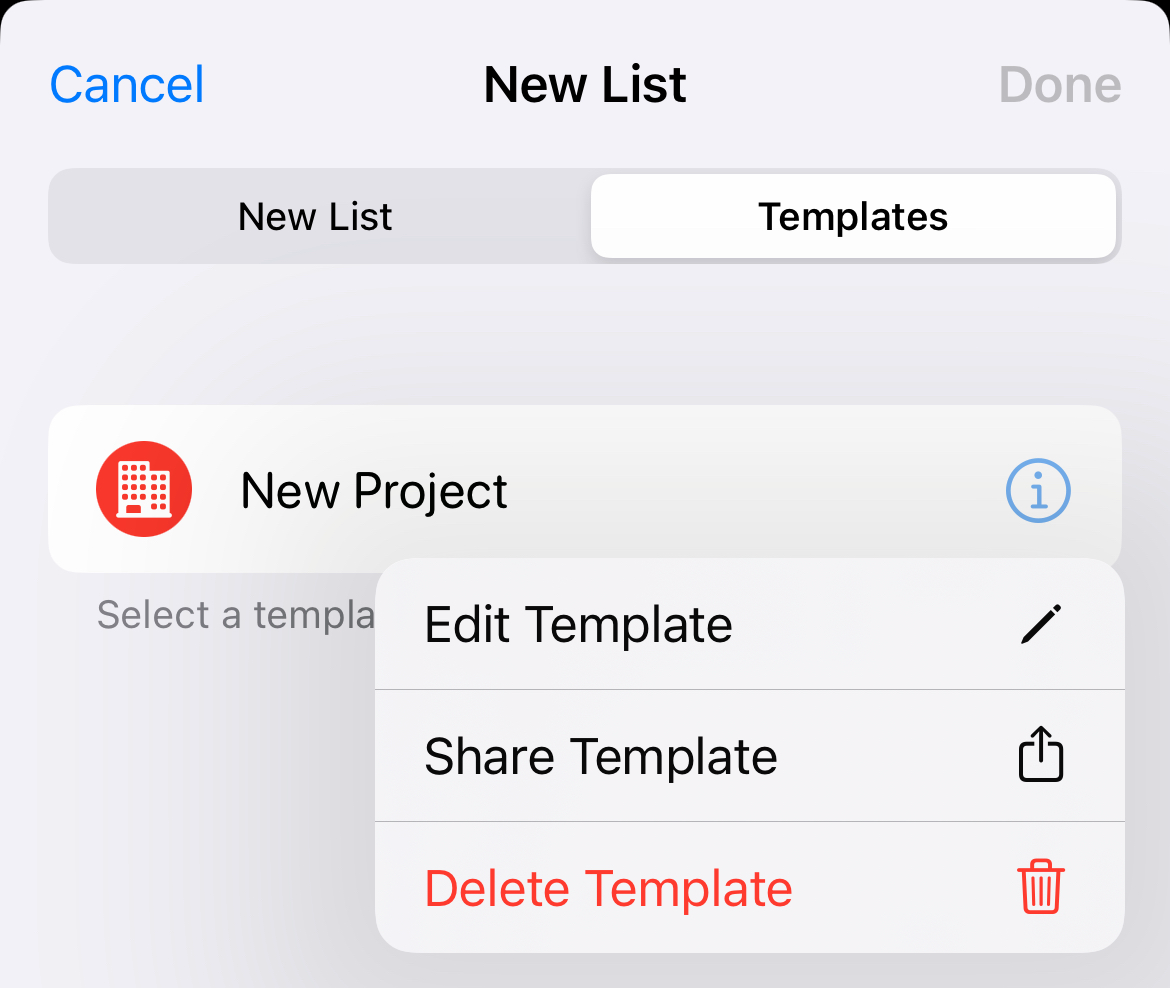
Templates let you create a list and then save it as a template in order to roll it out, time and time again. This is especially useful for work projects since you can construct a checklist of items (and organize them by section), then use “Save as Template” under the ellipsis “…” on an iPhone or File menu on a Mac.
You’ll be able to select your template when creating a new list. You can delete or modify your template using the “…” ellipsis button when viewing all lists on an iPhone or using File > View Templates on a Mac.
9 Advanced Reminder Conditions
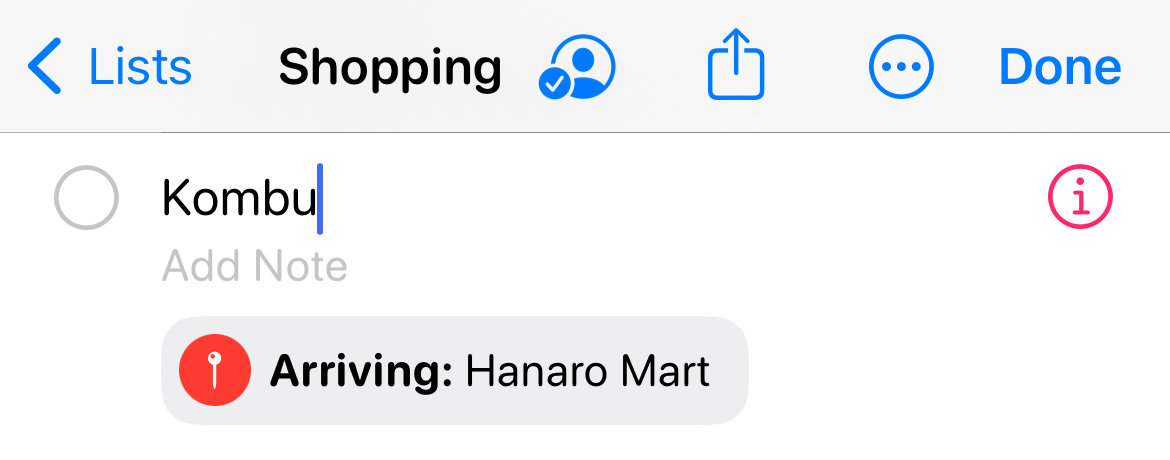
Due dates and times aren’t the only conditions you can assign to a task. You can also use the “i” button next to a task to get a reminder at a specific location or whenever you’re messaging a person. This gives you more flexibility than simply assigning a time.
In our experience, there’s a bit of a delay when using the “Location” feature as your devices aren’t constantly detecting your location (your battery life would be severely impacted if they were).
10 Pin and Toggle Default Lists
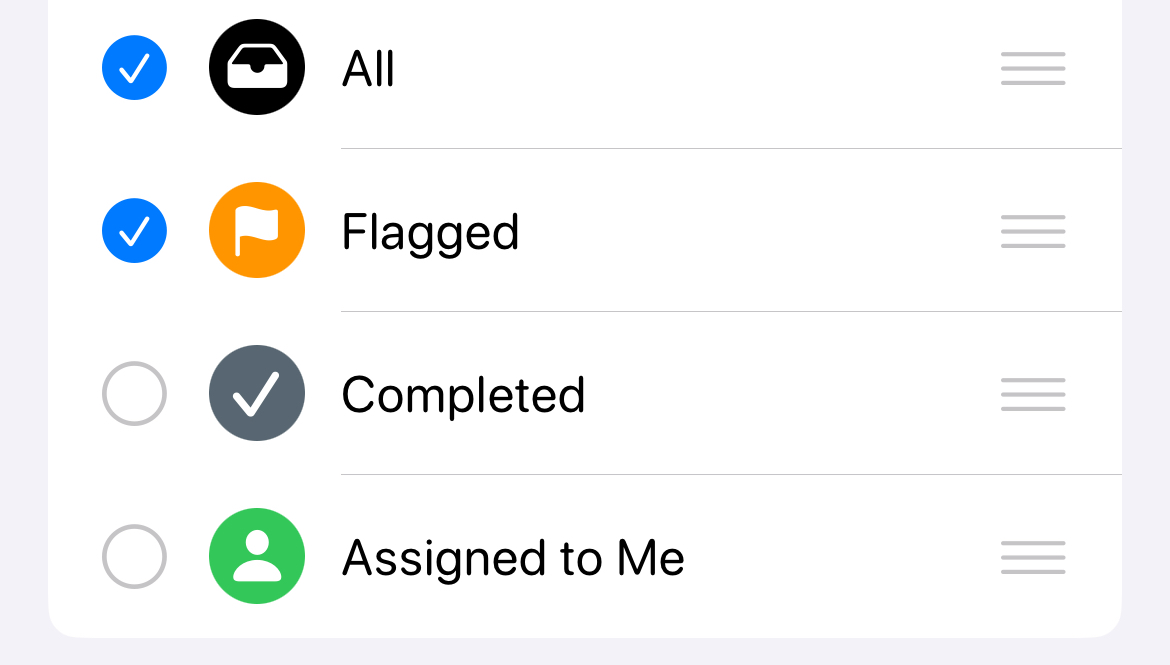
By default, some lists are given prominence including “Today” and “Flagged” items. You can display these stock smart lists using the “…” ellipsis icon on an iPhone when viewing all lists, or using View > Show Smart List on a Mac. You might want to toggle on the “Completed” smart list here to see a list of checked-off items.
On top of this, you can pin any list to this section. Use the same menu on the iPhone to drag a list from the “My Lists” section to the pinned section above. On a Mac, right-click on a list and select “Pin List.”
Apple Reminders isn’t the only stock app that’s worth using, Apple Notes is also packed with features and rivals many paid apps. Ultimately, Apple’s suite of apps is best suited to those who are all-in on Apple.
Looking for a third-party reminders app for use across other platforms? Check out our favorite to-do list apps.


