

Microsoft
Powerpoint presentations are a great way to share information with a team, but making them is a skillset in its own right. We’ve got guides on general Powerpoint use, but if you’re keen to just get started making a slideshow right now, this is the way.
Here’s how to make a Powerpoint presentation.
How to create a Powerpoint presentation
The first step in building your fancy slideshow is to create the presentation itself. Here’s how to do it.
Step 1: Install Powerpoint (as part of Microsoft 365) if you haven’t already, then open the app up.
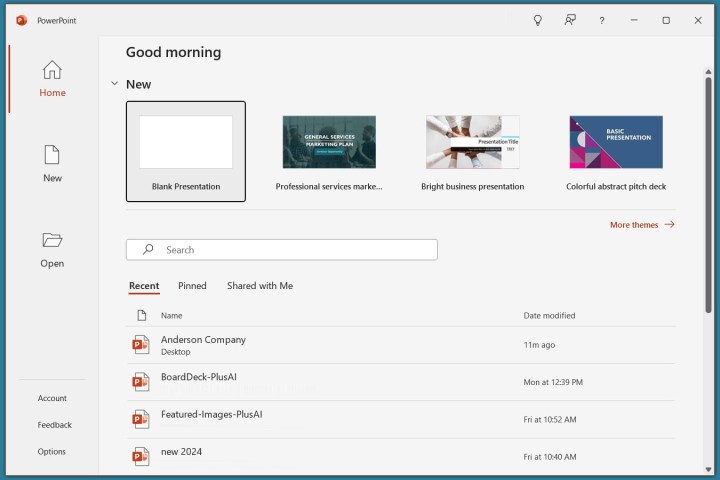
Step 2: The home screen will give you a range of options for selecting templates and premade presentations to give you a great starting-off point. Select one of them if they’re applicable. For even more options, select the New tab from the left-hand menu.
Alternatively, if you want to start from a blank canvas, select Blank presentation.
Digital Trends
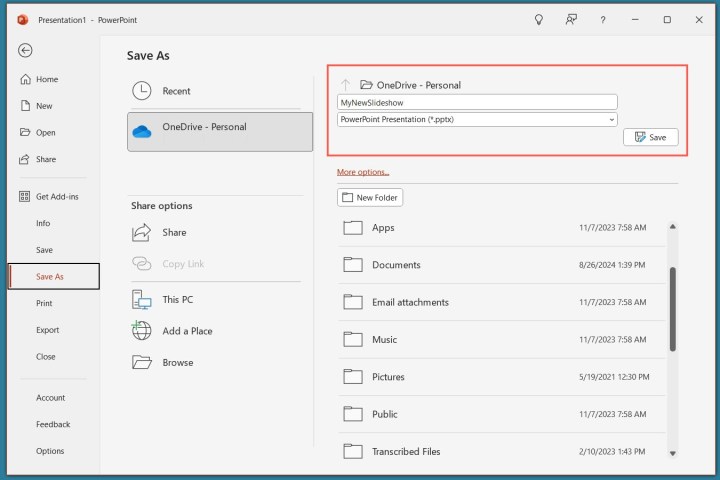
Step 3: From there, it’s a good idea to name and save the presentation so you can come back to it later. Select File > Save or* Save As*, then name the file on the right, choose a location for it, and select Save.
Digital Trends
How to build your first slide
Step 1: Your first slide will automatically have text fields for a title and subtitle. If you want to have that on your first slide, select them, then type in what you want them to read. You can also click and drag them around, or resize them using your mouse.
Hover your mouse over the white circles, then click and drag them to resize the box. Alternatively, select the rotational arrows near the corners of the box, to rotate it.
If you don’t want those text fields, select their boundary individually and press the Delete key to remove them.

DigitalTrends
Step 2: If you want to add more text to this slide (or any others in the future), select the Insert tab, then select Text box. Click on the slide where you want the box to appear, then use your mouse to drag the box to the desired shape.
Then click the box and type in what you want that text box to say. The contextual home menu will automatically adjust to give you quick access to font choices and other text style options.
You can access more detailed text formatting options by selecting the Format tab. There you’ll find options for changing text coloring, its outline, and any text effects you want to use.
Step 3: To add pictures to your slideshow, select the Insert tab, then select Pictures in the top-left. You’ll then have the option to insert an image from your local PC, a selection of stock images, or a range of online images.
Step 4: You can also freehand draw or annotate your slides, using the Draw tab, or alter the entire theme of the slideshow by selecting Design.
How to add more slides to a Powerpoint presentation
To add a new slide to your presentation, select the Insert tab at the top of the screen, then select New slide on the left. Then choose the type of slide you want. You can have a blank slide to do it all yourself, or you can get a headstart on its design by copying a previous slide, using the same theme as another part of your presentation, or having a predefined layout.
How to make an awesome slideshow presentation
Want even more tips on making a great slideshow? We’ve got you covered. Check out our guide on how to use Microsoft Powerpoint, for all the most important tips.
We’ve also got a guide for more tips and tricks for making engaging and attractive slides.


