Shooting videos can be a great way to remember a trip, but if you also like to share your travel videos with friends, there are a number of things you can do to make it more likely they will enjoy viewing them. Even better, some of the keys to making your videos enjoyable to watch also make them easier to shoot.
Think Entertaining, Not a Record of Your Trip
When you watch your own videos, it brings back all the memories and lets you relive the experiences. For some of my trips, I could happily watch real-time footage of some of the experiences I had.
But someone else watching your travel video is coming from a very different place. They don’t have the memories to relive and don’t want a minute-by-minute record of your trip.
Instead they will be treating it like any other video they watch on YouTube. They want to be entertained, and that means keeping up the pace and holding back on the details. So, let’s talk about how you can do that.
Make It Short: 2-4 Minutes Is Ideal
The single most important factor in how many people will watch your video is the length. It’s very easy to end up with a video that lasts 10 minutes, 15 minutes, or even longer. Most people don’t have that level of interest in someone else’s trip.
Your first goal, then, is to keep it short. As a general guide, if you can keep it below five minutes, many more people will watch it than if it goes over that psychological limit. I generally find somewhere in the 2-4 minute range is perfect to allow you to give a good sense of the place while retaining viewer interest.
Just as an example of the kind of style I’m recommending, I’m going to use a sample video I shot on a smartphone in London. This is 3 minutes and 19 seconds in length, and I’ll reference different sections of it as we go.
Keep Most Clips to 2-4 Seconds
Part of the secret to keeping your video short is ensuring that the individual clips are short. I generally recommend shooting about 10 seconds per clip and then picking the best 2-4 seconds of that clip in the final edit.
This creates visual interest but also makes it much easier to shoot. You may be at a particular location for an hour or more, but if you only need to shoot a handful of 10-second clips, it means you can get all the footage you need with minimal effort.
There may be exceptions where you really need or want to show a longer clip, especially in reveal shots, described below. But aim to keep the vast majority of your clips to this length so that the longer ones feel like they’ve earned their place.
There’s another huge advantage to shooting only short clips: you spend less time behind your screen. Those who instead shoot hours of footage end up viewing much of their trip through their phone rather than truly experiencing it.
I generally find it much easier to do the final edit on a computer, but if you want to do it directly on your phone, then you can do this on both iPhone and Android devices.
You might notice something about my sample video: almost the whole thing is shot in slow motion. In fact, the only exception is the sunset timelapse, where we’re speeding up time rather than slowing it down.
That’s not a coincidence—it’s something I do frequently. I’d even say slow-motion footage is my default approach to travel videos.
Slow-motion footage is magical. It transforms the most mundane of experiences into a romantic, dreamy visual. But it also has a second advantage: it takes less time to shoot than it does to watch! For example, if you’re shooting at 60fps for a 30fps video, then you can get your ten seconds of pre-edit footage in five seconds, so you spend even less time staring at your screen.
Vary the Shots, but Think Transitions Too
As well as keeping the individual clips short, you want to vary the look of them. Have some static shots, when you are holding the camera still while you shoot. Have some moving shots where you are panning the camera left to right or rotating it up.
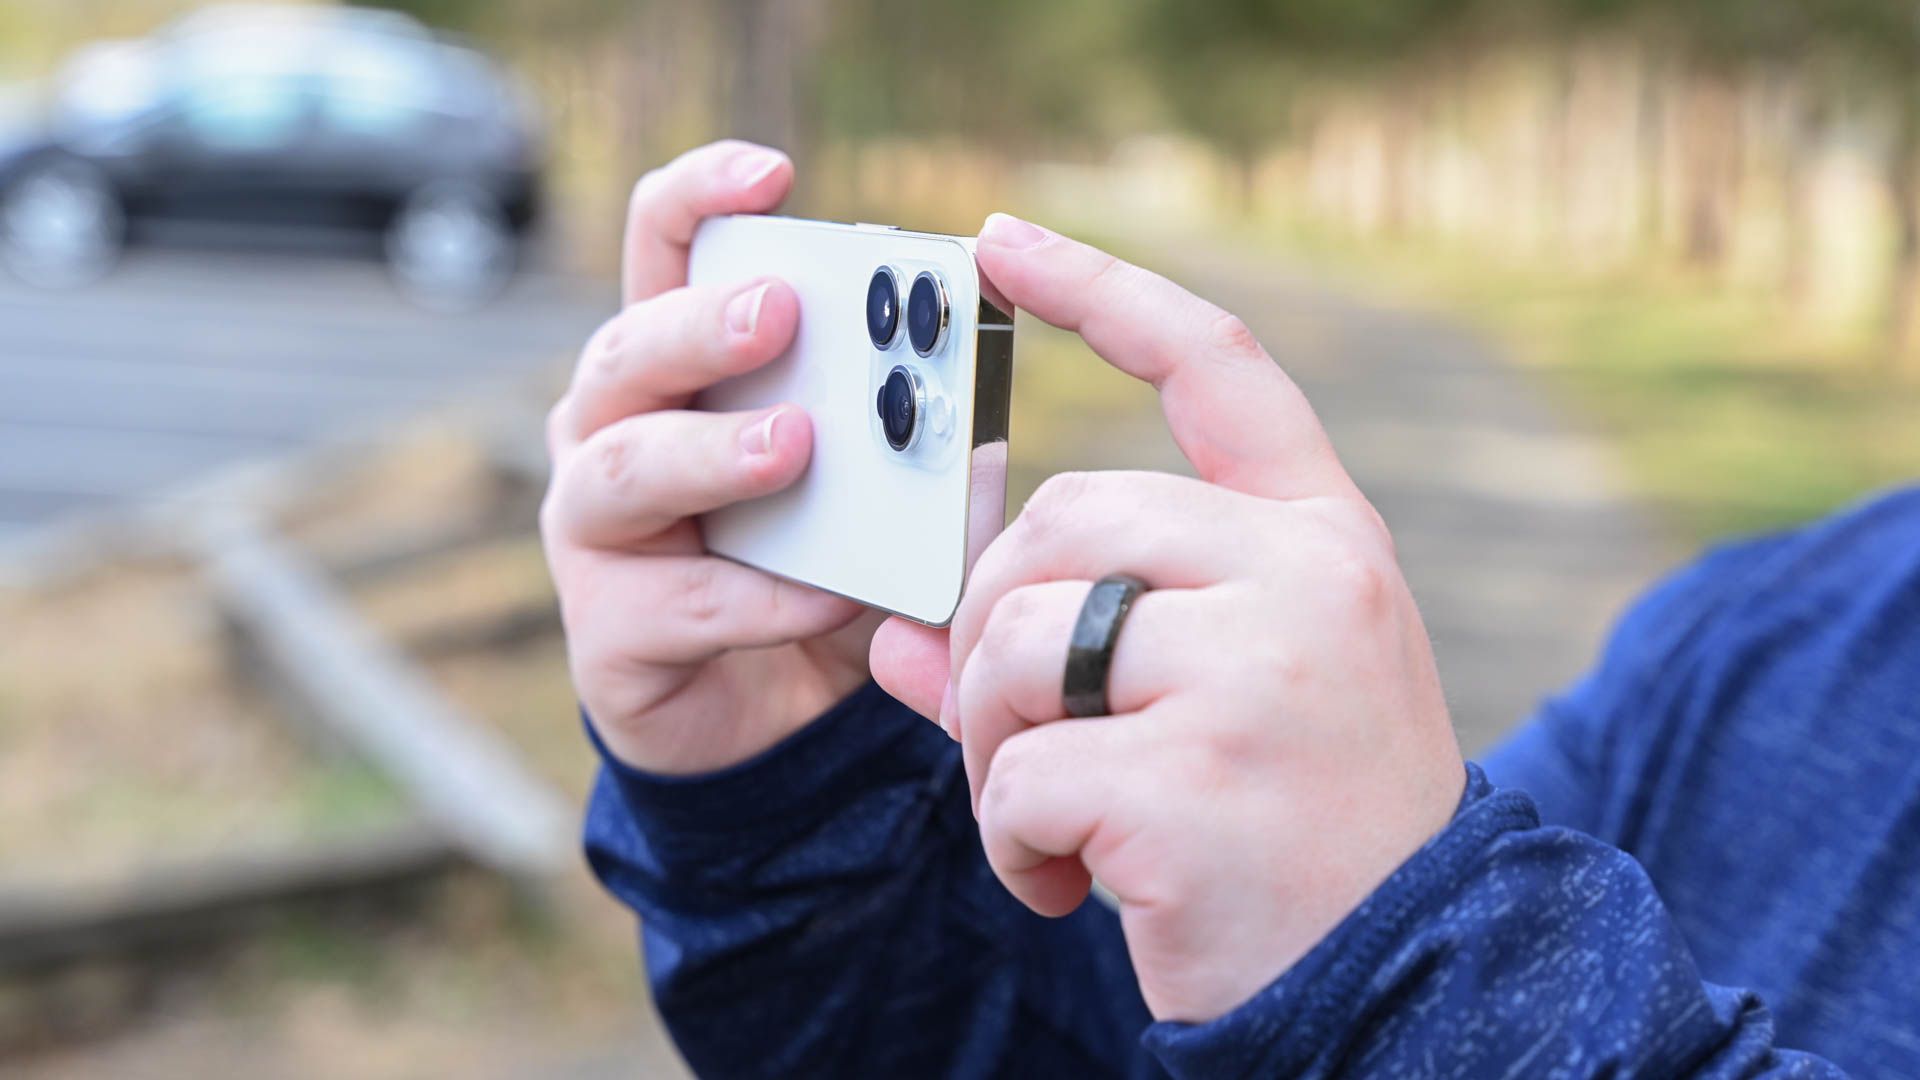
If your phone has multiple lenses, make sure you use all of them: wide-angle, normal, telephoto. Similarly, vary the angles. Don’t shoot everything from eye level; have some shots from waist height, somewhere you get the phone close to the ground, and so on. Have some shots looking up, others looking down. All of this variety really helps keep people engaged.
But think too about potential transitions in your video—how you switch from one clip to another. In general, you want to avoid cheesy effects like starbursts and wipes, sticking to direct transitions and maybe some cross-fades. But if you have one shot where you are panning the camera from left to right, for example, then think about doing this in another shot you might want to put straight after it in the edit. That kind of thing can give a really smooth feeling to your video. You can see examples of this at 35 seconds and 59 seconds.
Reveal Shots Create Intrigue
A simple but highly effective way to keep people watching is to make them wonder what’s coming next. A simple method of doing this is what are known as reveal shots. This is when you start with the view obscured by a wall or tree or something and then move the camera to reveal the thing you want to show. You can see this technique used a few times in the sample video, with examples at 25 seconds, 59 seconds, 1m 20s, and 1m 28s. In that last one, for example, we start out wondering what he’s looking at before we pan up to answer the question.
There’s a more subtle form of reveal, where you start with something out of focus and then bring it into focus. For this, you’ll need a camera app that supports manual focus. This particular video was shot in Filmic Pro, but I’ve since switched to using BlackMagic Cam, which is free on both iPhone and Android. I wouldn’t worry about this for your early videos, but it can be fun to play with later. You can see examples at 10 seconds and 1m 39s.
The Magic of Music
One drawback of shooting slow-motion video is that you can’t capture sound, but that’s not a problem because the finishing touch to most travel videos is to add a music track. (If you do instead want actual audio, then one approach is to record this separately using a voice recorder clip and overlay it on the slo-mo footage.)
The two keys here are finding music with the right feel for your video and cutting your video to match the music.
Finding the Right Music
So long as your channel isn’t monetized, you can use most commercial music. YouTube will detect the music, identify the rights holder, and send the ad revenue to them.
However, this can be risky because YouTube doesn’t have licensing deals for all commercial music, which means you can spend a lot of time matching your edit to the music only to find you’re not allowed to use it. Also, music licensed in one country may be blocked in another, so it’s safer to use royalty-free music.
All video platforms have large music selections that are free to use in your videos, like YouTube’s audio library of music and sound effects. Alternatively, if you get into video more seriously, there are subscription services for royalty-free music, like Epidemic Sound.
Cutting Your Video to Match the Music
If you’re using a piece of music with a strong beat, then you normally want to edit your video so that your cuts are on the beat. You can see an example in this modeling portfolio video.
If you choose a more lyrical piece, as I have in the London video, you have more editing flexibility. However, you’ll note that I’m still cutting to the phrases of the music (sections of four or eight beats).
However, you do it, ensuring a good sync between the music and your video cuts will make for a dramatically better result.
In summary, then, keep both clips and final edit short; consider slow-motion as an easy way to create a beautiful result; aim for a variety of angles; use all your phone’s camera lenses; use reveal shots to add intrigue; take the time to find the right music; and cut to the music. Using these tips, you should be able to easily create travel videos people will enjoy watching.


