I’m a big fan of the Wallet app as a single place to store all my tickets and passes for everything from travel to theater, but not every company directly supports the app.
Passbook is one of a number of apps which allow you to take any existing ticket and import it into the Wallet app, to keep everything together …
I recently had a mild panic moment when I approached a ticket barrier at a train station and opened the Wallet app to display the QR code needed to open the gates. It wasn’t there.
I’d booked the ticket quite some time ago, and for a moment wondered whether I’d somehow failed to complete the purchase, as I store all my train tickets in Wallet.
Fortunately I realized after a few seconds that I’d booked that particular ticket through a different app to my usual one, in order to use a discount code, and that app didn’t offer support for Wallet. I was then able to open the booking app to access the QR code.
But it was a reminder of just how much I appreciate being able to keep almost everything in one place. In most cases, they will also be automatically triggered by either place or date & time or both, so they proactively appear when needed.
I’ve often wished it were possible to import any QR code into the Wallet app, the same way Android users can with Google Wallet, and recently posted a Feature Request for this. Almost all 9to5Mac readers who took part in the poll wanted to see this too.
Enter Passbook
Passbook is an indie app which allows you to take any ticket or pass with a QR code, manually create a pass, and then export that to Wallet.
Depending on how carried away you want to get, the process of creating a pass takes anywhere from less than a minute to 2-3 minutes.
Creating a pass
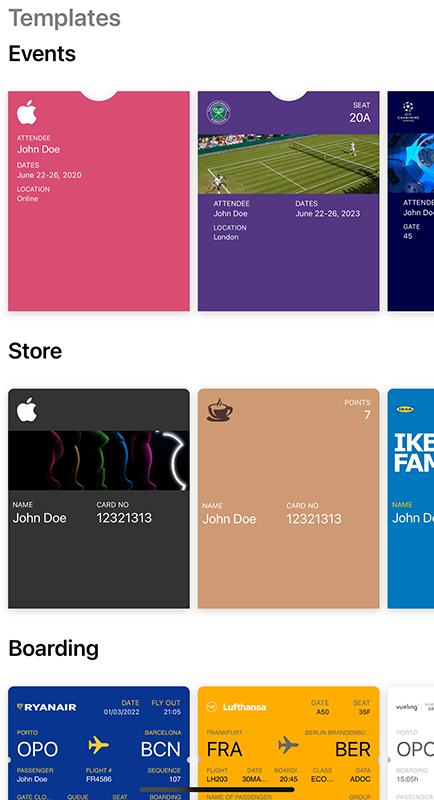
You start by opening a template. There are multiple options for each of events, stores, and boarding passes.
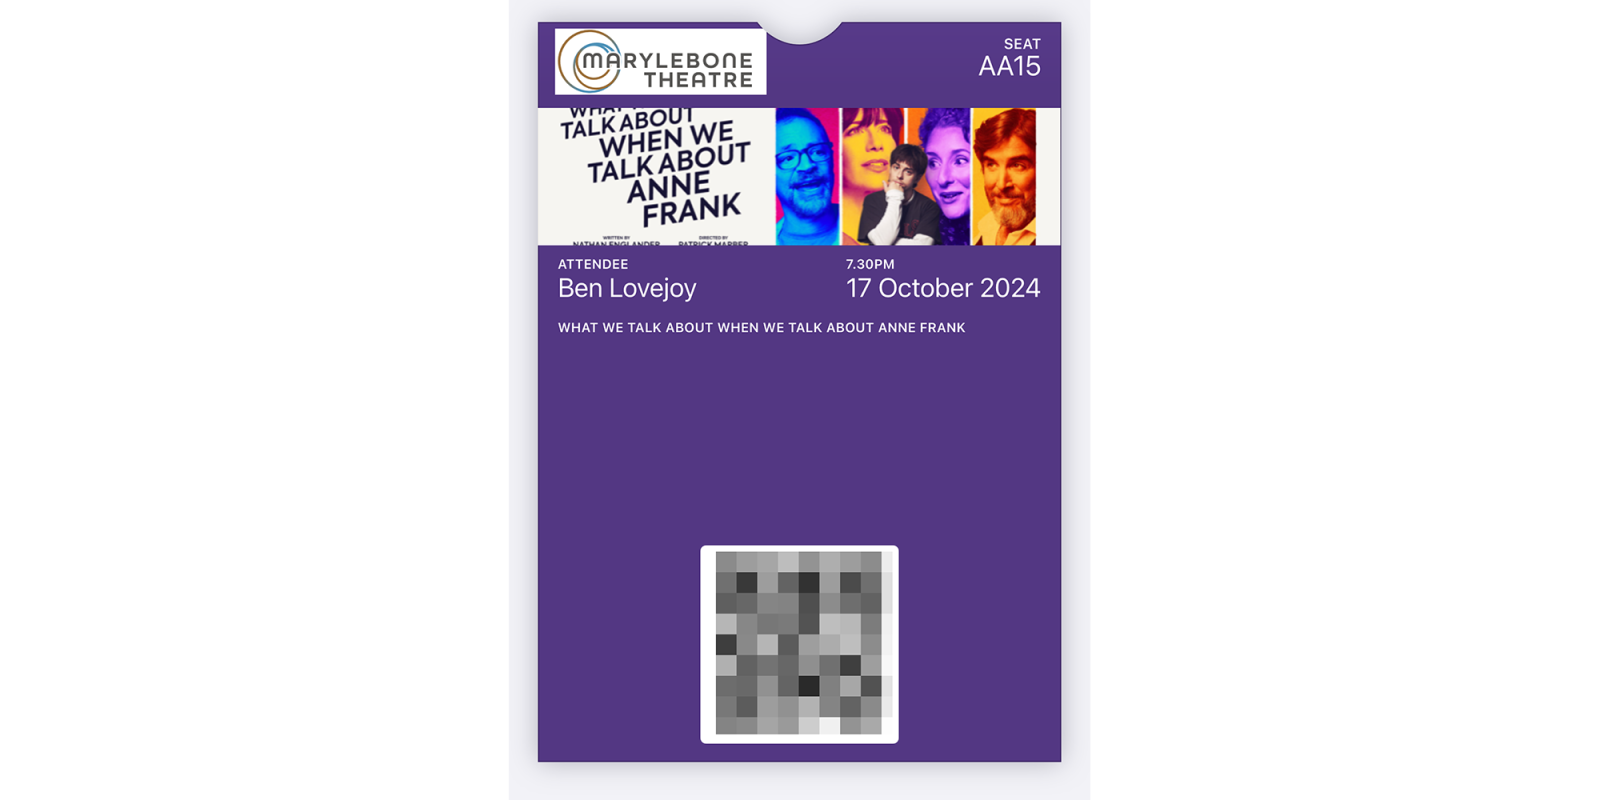
To create the example above, I chose the tennis one, went to the theater website to grab both the logo and a graphic for the play, then entered all the details (QR code obscured).
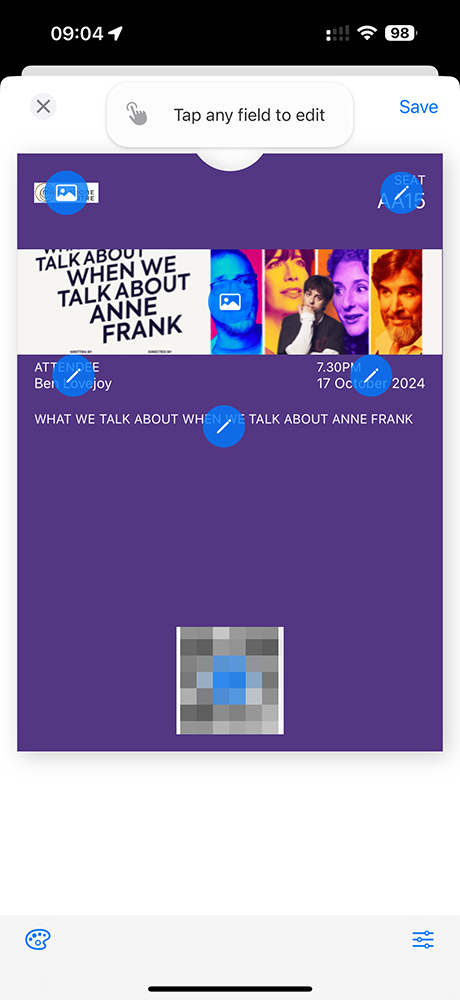
You can also tap the paint palette icon bottom-left to change the background color, and the edit icon bottom-right to set an expiry date.
That took maybe three minutes in all. I then substituted the seat number and QR code for the second ticket, so that took less than a minute. Once created, you just tap the Add to Wallet button to export it.
If you want to be lazy, you can pick a simpler template, not bother with the logo or graphic, and just put in the QR code and enough details to identify the event. That takes about a minute.
Once you’ve exported the passes, they appear in the Wallet app in the usual way.

Pricing and conclusions
You can buy an annual subscription for $8.99, so how worthwhile this is will depend on how many passes you want to create each year.
One minor gripe is that the graphic aspect ratio is fixed, and you can see the problem with that in my sample pass, which cuts off the title of the play. Longer-term, I’d like to see AI used to automatically extract details from an e-ticket in order to select an appropriate template and auto-populate the fields, but for now a manual option is a lot better than nothing.
Passbook is available on the App Store as an iPhone and iPad app, with the iPad version also running on Mac.
FTC: We use income earning auto affiliate links. More.