Just unboxed your brand-new Microsoft Surface device? Congratulations! Before using it as your primary device, you should take a few steps to ensure it’s eligible for technical support, protected from physical damage, and your data stays secure. Here are a few key steps to follow.
1 Set Up Your Microsoft Account
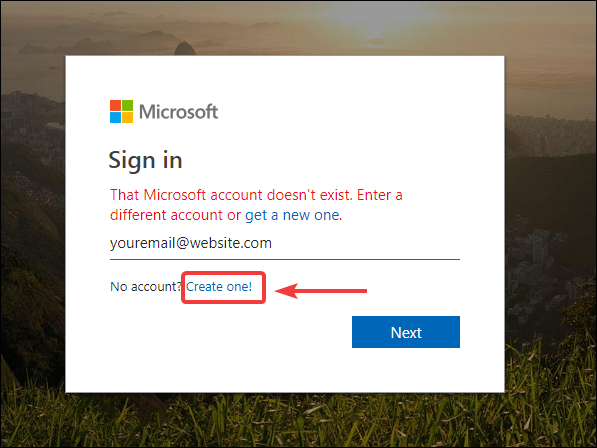
If you’re already a Microsoft enthusiast and have been using its services or the Windows operating system, you likely already have a Microsoft account. If that’s the case, you can skip this step. However, creating a Microsoft account should be your first task if you don’t have one. This will sync your settings and preferences across Microsoft devices.
You have a couple of options for creating an account. You can use another device to create one via the official Microsoft website or follow the on-screen prompts to set up your Surface when you first power it on. During the setup, Microsoft will offer you the option to create an account from scratch.
Once created, you can use this account on your device and for other Microsoft products or services later.
2 Register Your Surface Device
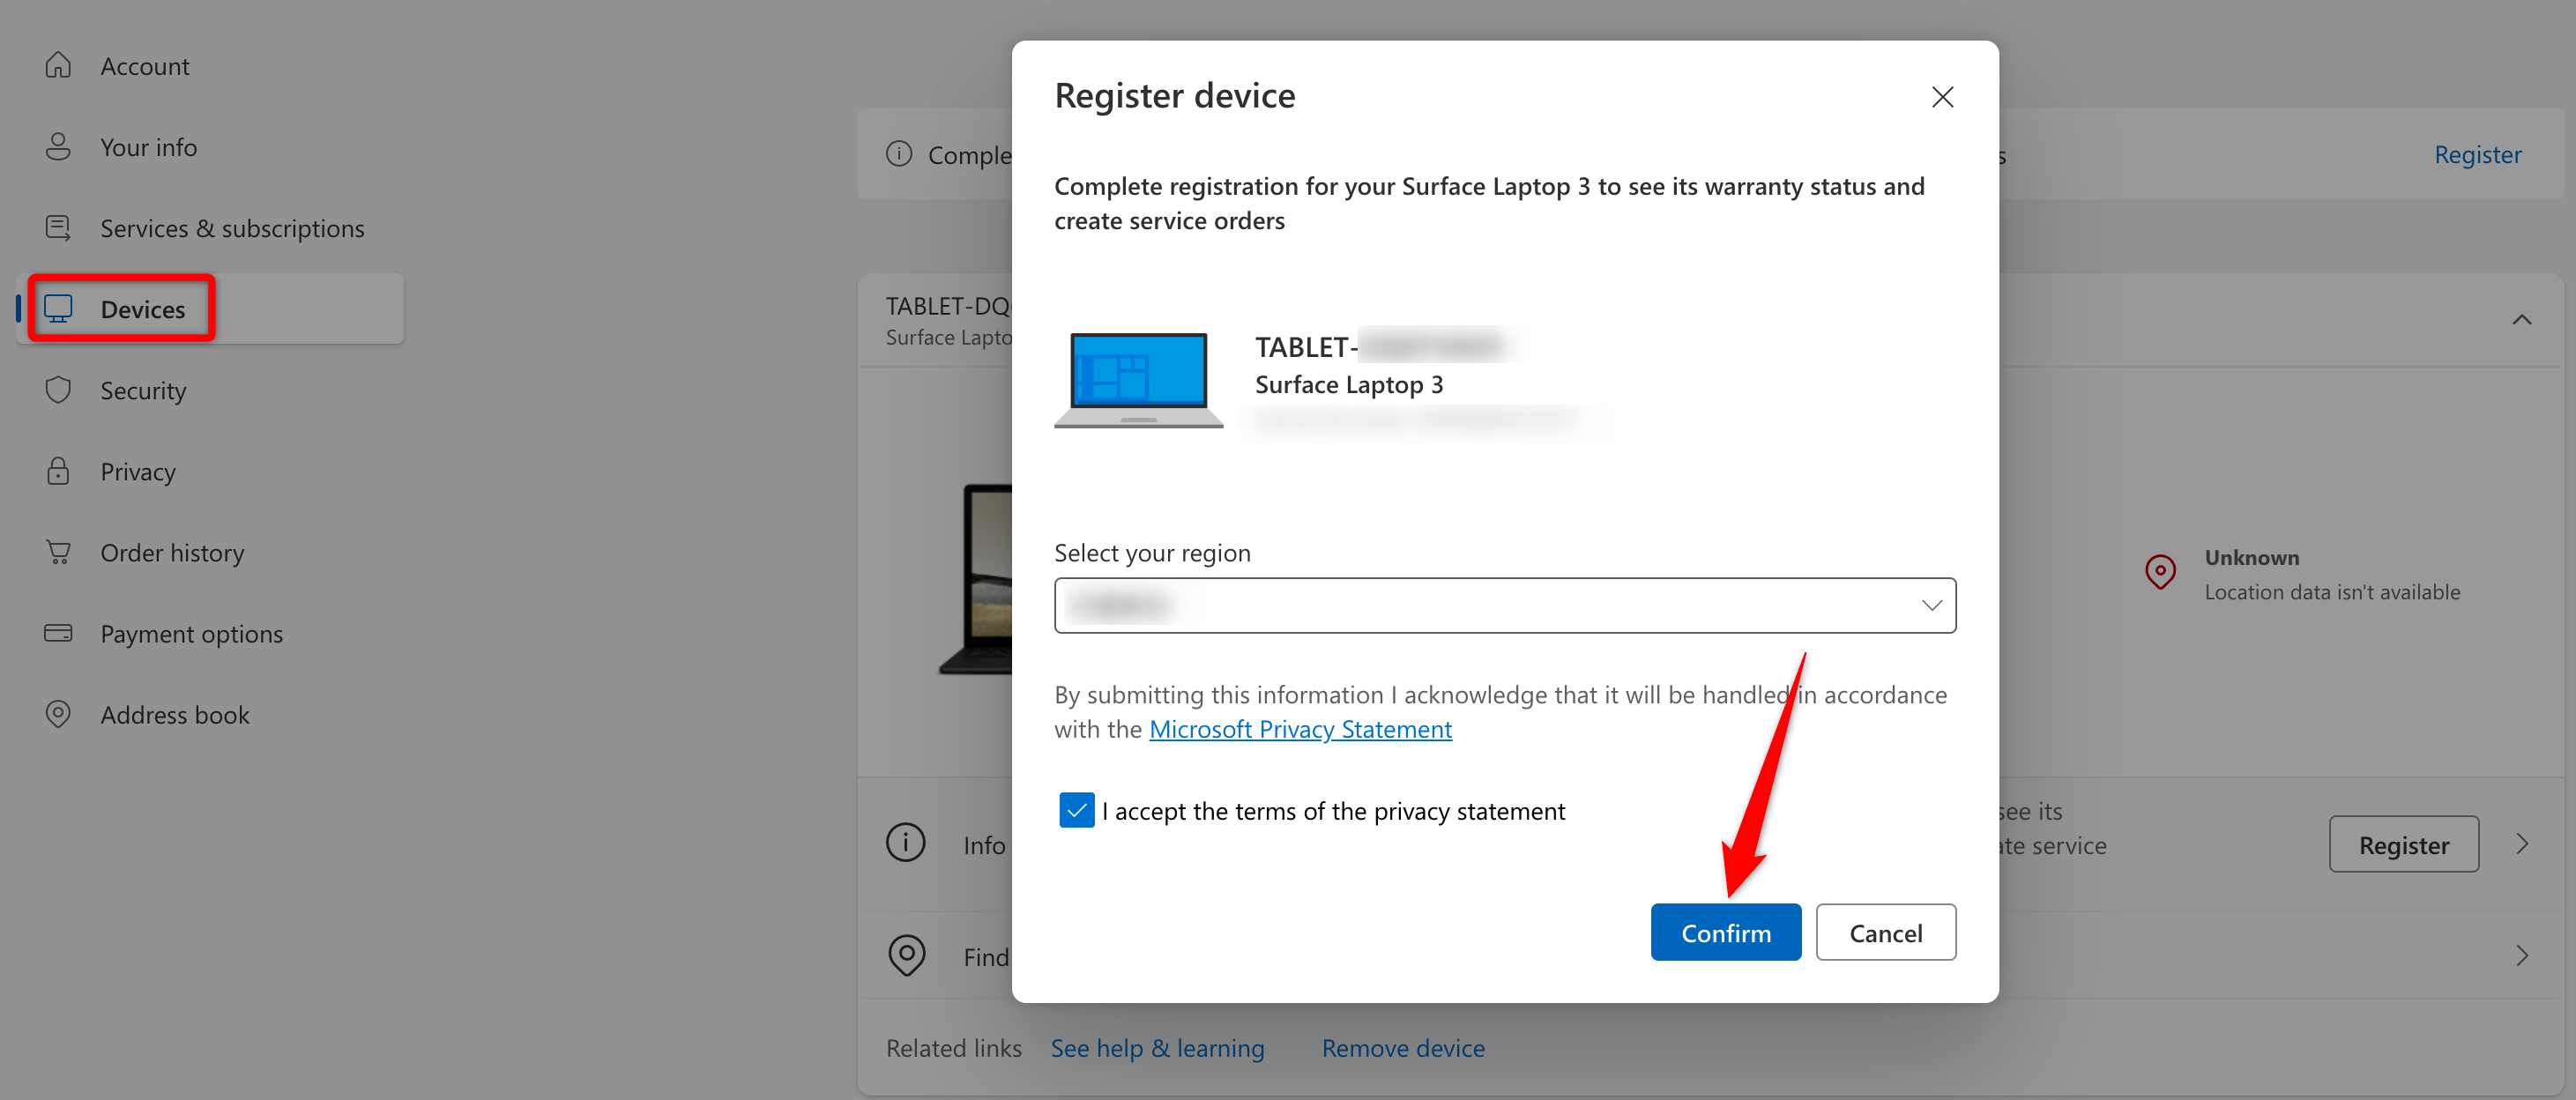
Once you’ve completed the basic setup and created your Microsoft account, the next important step is registering your Surface device. This ensures your device is eligible for warranty coverage, technical support, and other protections. It also allows you to receive Surface-specific updates, including firmware and driver installations.
Skipping this step means missing these benefits, so you shouldn’t overlook it. To register your device, visit the official Microsoft website and log in using the same account you use on your Surface. Then, navigate to the “Devices” section, click “Add Device,” and enter your device’s serial number. Follow the on-screen instructions to complete the process.
You can typically find the serial number on your device’s packaging or by going to Settings > System > About.
3 Set Up Windows Hello
If your Surface device supports it, the next step is to set up Microsoft’s biometric sign-in feature, Windows Hello, which allows you to unlock your device using facial recognition or fingerprint. These methods are faster and more secure. However, they only work if your Surface has a front-facing camera (which most models do) or a built-in fingerprint reader.
To set up Windows Hello, open the Settings app, navigate to the “Accounts” tab, and select “Sign-In Options.” Choose the sign-in method your device supports, such as fingerprint or facial recognition. Following the on-screen prompts, you must scan your face or fingerprint. Once set up, you can securely login using your chosen biometric method.
4 Configure OneDrive Backup
If you want to use your Surface as your primary device for work, school, or other important tasks, you must regularly back up your data. This ensures your important files, photos, and documents are safe in case of accidental data loss, corruption, ransomware, or other issues. With a backup, you can easily restore your data when needed.
Microsoft’s official cloud service, OneDrive, automatically backs up and syncs files across devices, giving you access to your content from anywhere. However, it only backs up specific folders and has storage limits. Alternatively, you can use a third-party backup solution to schedule automatic backups of your entire system.
5 Get a Protective Case and Screen Protector
Besides keeping your data safe, you must protect your Surface from physical wear and tear. The best way to do this is by investing in a protective case to shield the body from scratches and smudges and a screen protector to safeguard against damage from accidental drops and keep the screen free of smudges.
Since your Surface is a valuable investment, it deserves proper care. This helps it last longer and maintain its resale value, which could be useful if you sell it later.
I recommend getting a rugged or shockproof case that can absorb impact from accidental falls—this type I use, and it works well for me. A folio or keyboard cover might be a good option if you’d prefer a sleeker design. For screen protection, I advise going for tempered glass or film protectors.
If you’re not confident about applying it, have a professional install it to avoid bubbles or trapped dust.
6 Adjust the Battery Settings
I bought my Surface laptop about two years ago, and the biggest disappointment has been its battery life. Microsoft advertises up to 11.5 hours of usage on a single charge, but mine has never lasted more than six hours, even with light use. While this might not be needed for every Surface product, I opt for “Best Power Efficiency” mode to extend the battery life.
To adjust your battery power settings, go to Settings > System > Power & Battery. Select “Best Power Efficiency” in the Power Mode drop-down menu to help your laptop battery last longer.
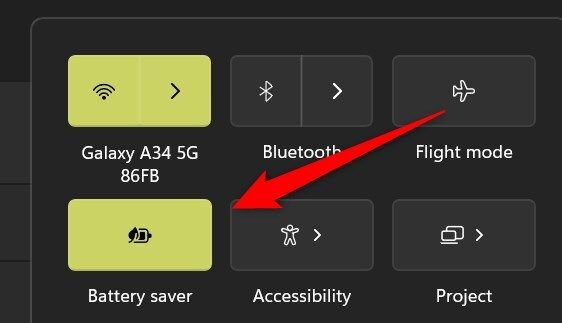
To enable the power saver mode, click on the battery icon in the bottom-right corner and click on “Battery Saver.”
7 Enable Find My Device
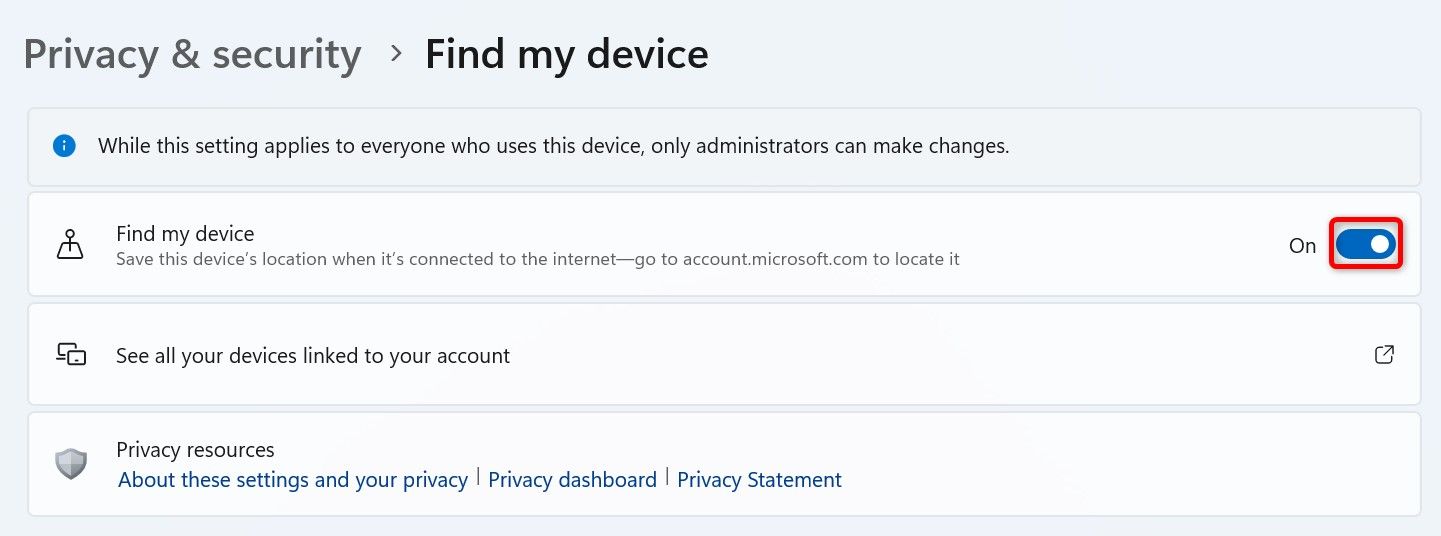
Enabling protection against theft and accidental loss is one of the first things I do when I get a new device. The Find My Device feature on Surface allows me to track my device’s location via my Microsoft account in case it’s ever lost or stolen, though fortunately, that hasn’t happened yet. I activated this feature as soon as I got my first Surface.
To enable Find My Device, open the Settings app and go to Privacy & Security > Find My Device. Turn on the toggle next to Find My Device. This will allow your Surface to periodically send its location to Microsoft, making it easier to track if it’s misplaced. Just make sure Location Services are also enabled on your device.
To turn on location services, go to Settings > Privacy & Security > Location, and ensure Location Services are switched on.
8 Get Familiar With the Surface Pen
The Surface Pen allows you to take notes, draw paintings, edit documents, and navigate your device’s interface. Whether a pen came bundled with your Surface or you purchased it separately, familiarizing yourself with how it works and customizing it can greatly improve your productivity and creativity.
First, identify the type of pen you have and review the labeled parts using the information on the Microsoft website. To pair the pen with your Surface, go to Settings > Bluetooth & Devices > Pen & Windows Ink. From there, you can adjust settings like pressure sensitivity, button functions, and how your device responds to different pen inputs.
You can also set up custom shortcuts for single-click, double-click, or press-and-hold functions.
The steps mentioned above are actions I recommend if you’re using a Microsoft Surface device for the first time. Each of these measures is essential for properly setting up your device and protecting it from physical damage and other risks. This small effort will help extend your device’s lifespan and secure your important data.


