Key Takeaways
- Avoid overcrowding your photo library by using the screenshot overlay to quickly edit, share, and delete screenshots before they make it to your Photos library.
- Save time by sharing screenshots directly from the overlay to contacts, apps, or devices and use Shortcuts to create workflows to perform repeatable actions quickly and efficiently.
- Clean up your Photos library by hiding screenshots from the main library by filtering them out using the “View Options” menu.
Screenshots can be useful, but they have a tendency to clog up your photo library. The best way to solve this is to avoid them getting into Photos in the first place.
Using the Screenshot Overlay
As a quick refresher, you can capture a screenshot on your iPhone by pressing the Side (lock) button and Volume Up or Down at the same time. When you do this, you’ll see a small preview appear in the bottom-left corner of the screen. This is the screenshot overlay.
If you want to save a file to the Photos app, you can ignore the overlay. When the overlay disappears, your screenshot will be saved in the Photos app. You can even swipe it away to speed up this process.
If you take multiple screenshots in a row, with the overlay visible, it won’t show up in your screenshots. As you rapid fire screenshots, they’ll be added to the overlay in the corner of the screen.
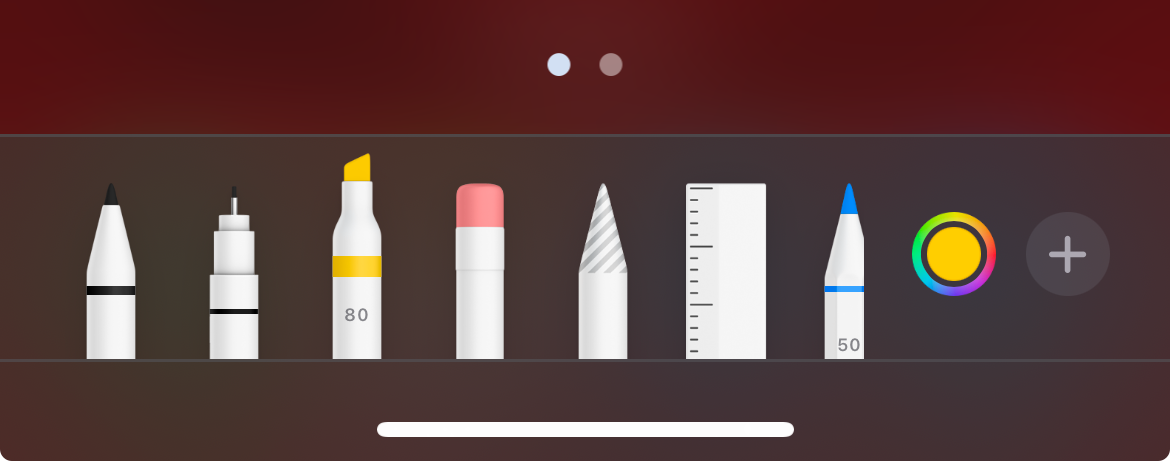
When you tap the overlay, you’ll see a broad range of options for editing and sharing. Just remember that while you’re editing your screenshots, the images have yet to be saved. You can hit the “Trash” icon at the top of the screen to bin them, and they’ll skip your photo library altogether.
Taking multiple screenshots in short succession will cause all of them to appear in the screenshot overlay. You can swipe between them and apply edits, or use the “Trash” button to delete them individually.
The overlay is also used to grab full-page screenshots within apps like Safari. Take a regular screenshot of a web page, then tap the preview in the bottom left corner of the screen and use the toggle to select between “Screen” and “Full Page.” This also works in other apps, like Notes and Mail.
Share, Save, or Copy From the Overlay Then Discard
The screenshot overlay is a useful tool for quickly marking up screenshots, but I mostly use it as a way to triage my screenshots without them ever hitting the Photos app. Since the screenshot isn’t saved while this overlay is open, you can put your screenshots to use and then immediately delete them.
If you hit the “Share” button, you can choose from a myriad of different options including:
- Sending the screenshot to a frequent contact via Messages or similar
- Using AirDrop to move the screenshot to another device
- Using LocalSend to send wirelessly to non-Apple devices
- Saving to Files
- Copying the screenshot to the clipboard, so you can paste it elsewhere
- Sharing to a third-party app like Facebook
- Printing the screenshot using an AirPrint-compatible printer
Picking any of these options won’t delete your screenshot immediately, and will dump you back in the screenshot overlay once complete. Remember that anything you do using the Share menu will apply to all screenshots that are currently open.
You can share without ever opening the overlay by tapping and holding the screenshot preview and choosing an action. You’ll still need to tap the screenshot preview when you’re done and delete the screenshot, or it will be saved to your photo library.
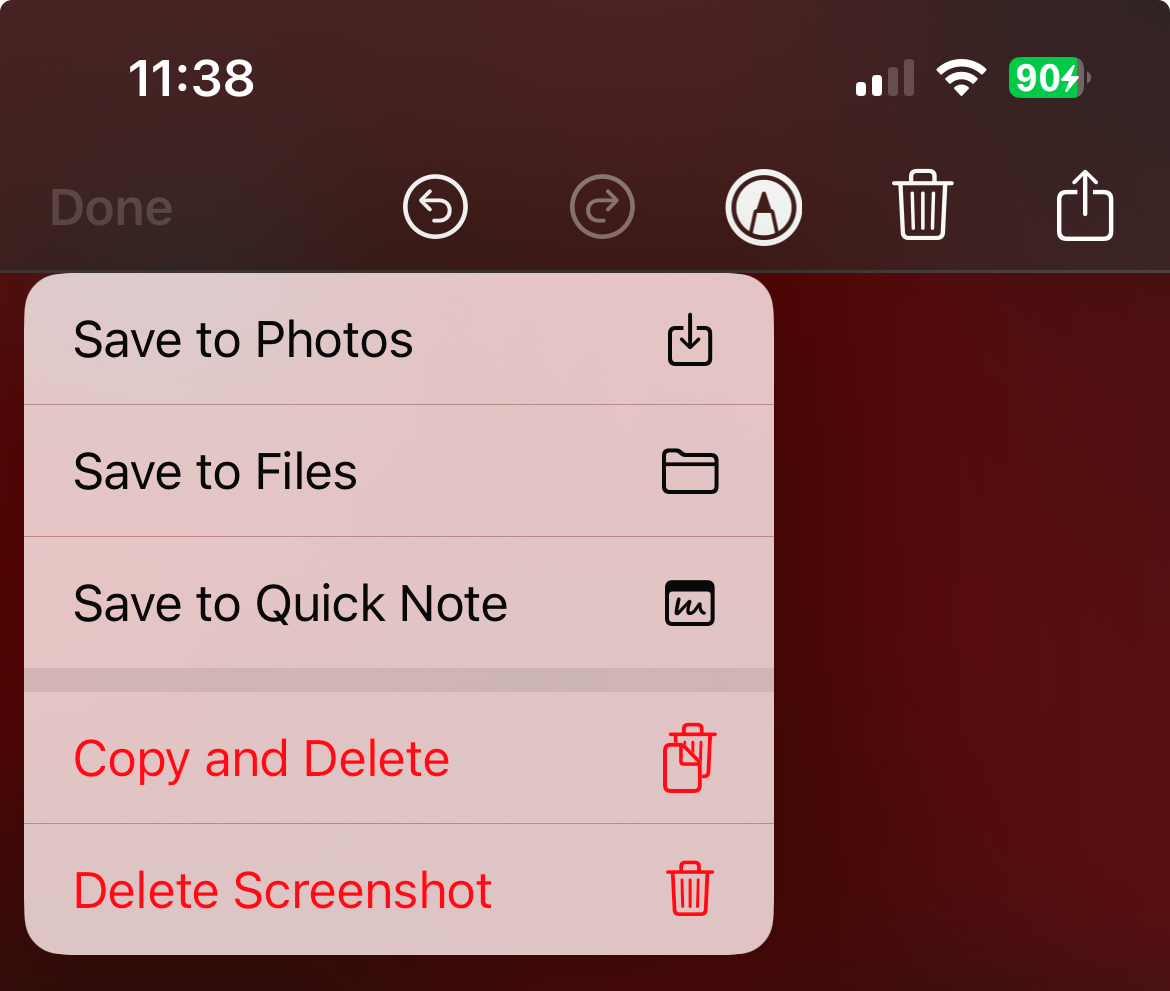
Hitting “Done” will also give you some options including the very useful “Copy and Delete.” This will place the screenshot on your clipboard, and you can paste it into virtually any app using the context menu or the three-finger-spread paste gesture.
“Copy and Delete” works over iCloud, so if you’re using a Mac or iPad you can use this option to capture a screenshot on your iPhone, copy and dismiss it after hitting “Done” and then paste it on your Mac or tablet. It’s great for sharing in apps like Slack or Teams.
You can also use this menu to save to Photos, Files, a new Quick Note, or just delete your screenshot. Files is a solid option, particularly if you’re using iCloud since your screenshot will be available on any connected device without appearing in the Photos app.
Get Creative With Shortcuts Workflows
If you have a particular screenshot workflow that you often repeat, you can speed things up with Apple’s workflow app Shortcuts. You can build a Shortcuts workflow to quickly perform a whole range of actions.
Let’s say you make a regular payment every month, and you always screenshot the “payment complete” screen and send it along for posterity. Create a workflow that emails your shortcut to a specified contact with your choice of subject line in two taps.
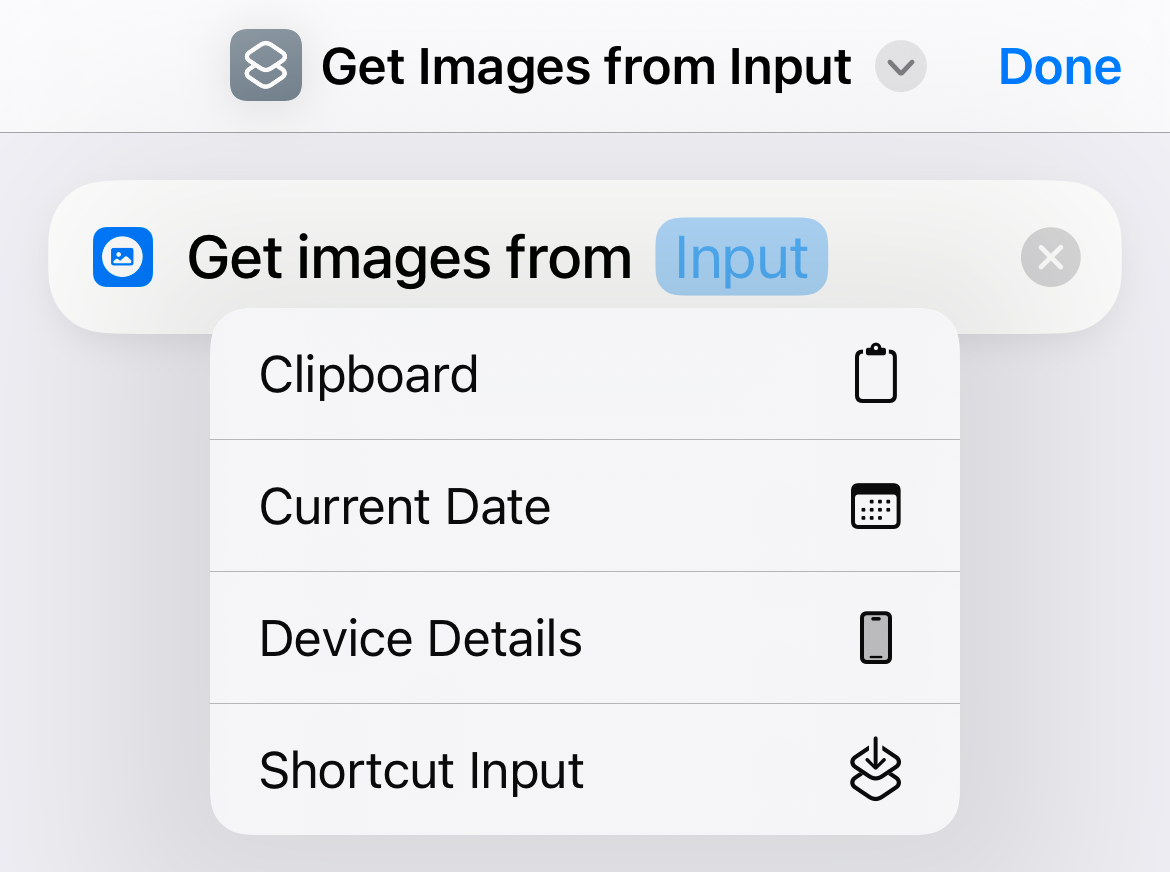
To do this, open Shortcuts and use the “+” plus icon to create a new workflow. Now search for “Input” and add the “Get Images from Input” action to your workflow.
Tap on “Input” and select “Shortcut Input” in the menu that appears.
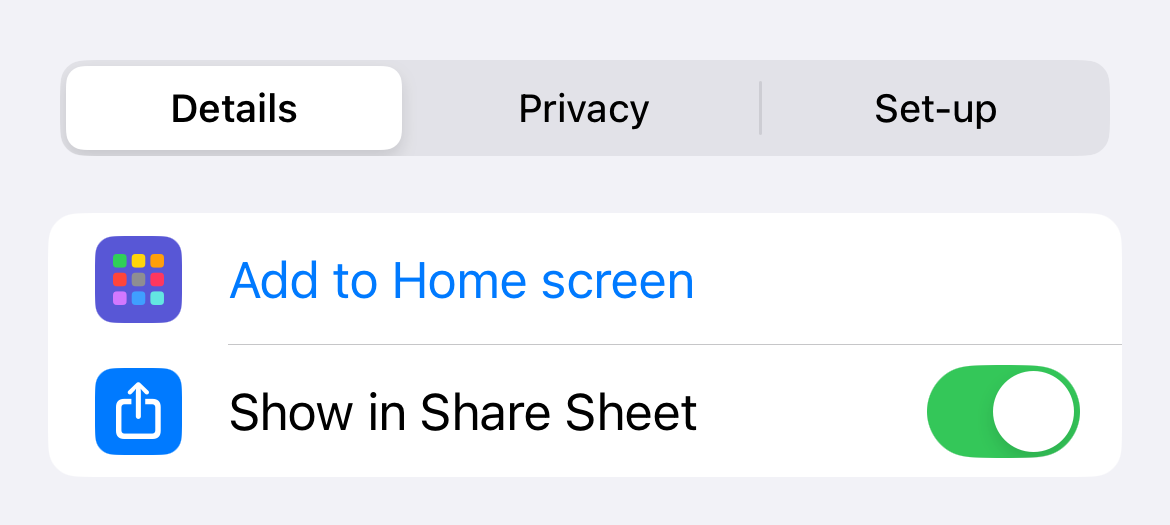
Now tap on “Nowhere” and make sure “Show in Share Sheet” is enabled.
Now you have a clean slate to do what you want with the image. Search for relevant actions, like:
- “Send Email” and specify a recipient and a subject line
- “Send Message” to a specific recipient
- “Save File” then specify where to save by disabling “Ask Where to Save” and picking a location (works great with iCloud Drive)
- “Append to Note” to add your screenshot to a specified note
- “Share with Apps” to specify a third-party app (like Instagram) to share with
You can access your workflow using the Share button in the screenshots overlay. If it doesn’t appear, hit “Edit Actions” and use the green “+” plus button to add it to the list.
My most common use for this is as a way to save a screenshot (or a series of screenshots) to an iCloud Drive folder. This is especially useful for getting screenshots from my iPhone to my Mac when AirDrop has decided to randomly stop working.
Hiding Your Screenshots
If it’s a bit late and your iPhone is already full of screenshots, you can use the Photos app to clean things up somewhat. The easiest way to do this is to exclude screenshots from the main library view. This is possible thanks to the redesigned Photos app that appears in iOS 18.
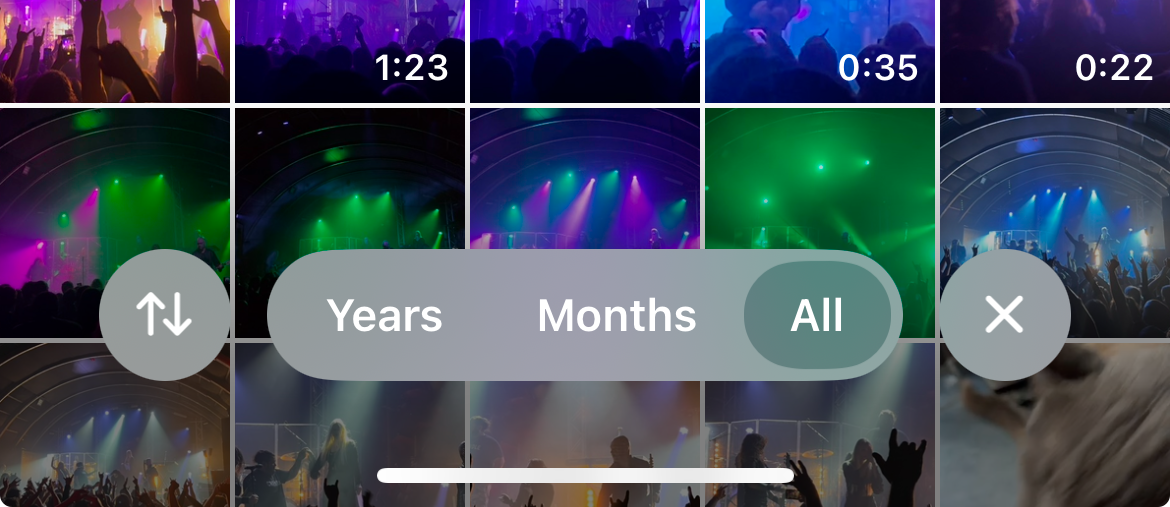
To do this, open the Photos app and scroll up (by “pulling down”) on the screen until you see the library view (you’ll see “Years Months All” at the bottom).
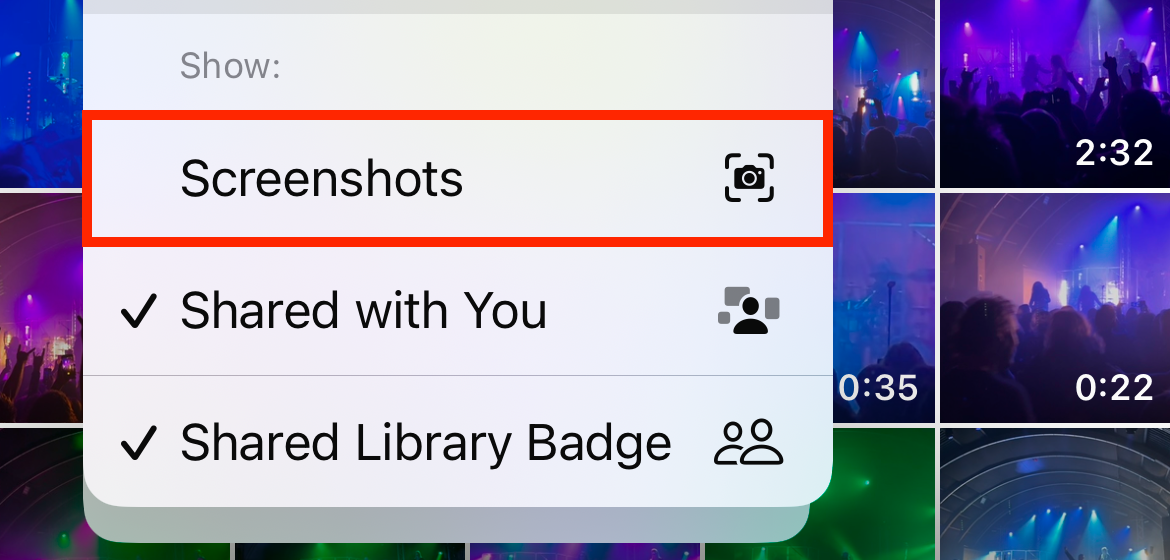
Now tap on the two arrows that appear in the bottom left corner of the screen, then tap “View Options” and uncheck “Screenshots” under the “Show:” section.
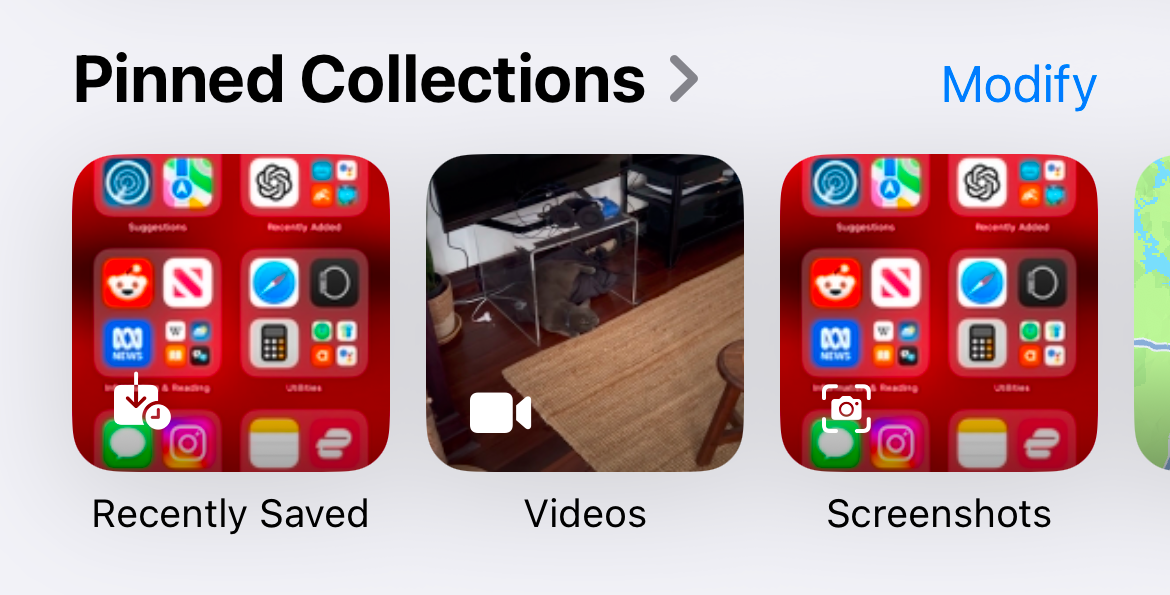
Screenshots will now be hidden from the main library view. You can still find them by scrolling all the way down the page, tapping “Media Types” and then tapping “Screenshots” or by pinning screenshots to your Pinned Collections using the “Modify” button.
While you’re viewing your screenshots, you can take a moment to clean things up manually if you want (we wouldn’t blame you for leaving it though). Use the “Select” button to select multiple items, then tap and drag on the screen to select lots of items quickly.
Want to get rid of screenshots from your Photos library altogether? You can select them all and then use the Share menu to save them to a folder in the Files app. You can then go back and delete them all from within Photos.
It’s possible to build complex workflows in Shortcuts (like this one) to aid in cleaning up your screenshots if you’re so inclined.
Many of us take the “if in doubt, grab a screenshot” approach, but this is almost always bad news for our photo libraries. Sure, you can hide screenshots in iOS 18 and beyond, but the best approach is to share, file, or use the screenshot for its intended purpose and then get rid of it.


