Finder seems simple on the surface, but it packs some powerful features under the hood that can transform how you work with files. Let’s explore some lesser-known tricks that will make you a Finder power user.
1 Previewing Files Without Opening Them
Quick Look is perfect for previewing files without waiting for apps to launch. Simply select any file and press the Spacebar—or right-click and choose Quick Look—to instantly see its contents. When I’m working on a presentation, I use Quick Look to rapidly preview dozens of images without waiting for Preview or Pixelmator Pro to launch. You can even play videos, scroll through PDFs, and copy text directly from previews.
There are a few nifty tricks within Quick Look as well. If you select a few files before using Quick Look, then you can navigate through your selection with the arrow keys. Also, you can control the zoom level within Quick Look by using Command-Equal or Command-Minus to zoom in or out, respectively (in addition to the usual trackpad gestures).
2 Using Smart Folders to Automatically Organize Files
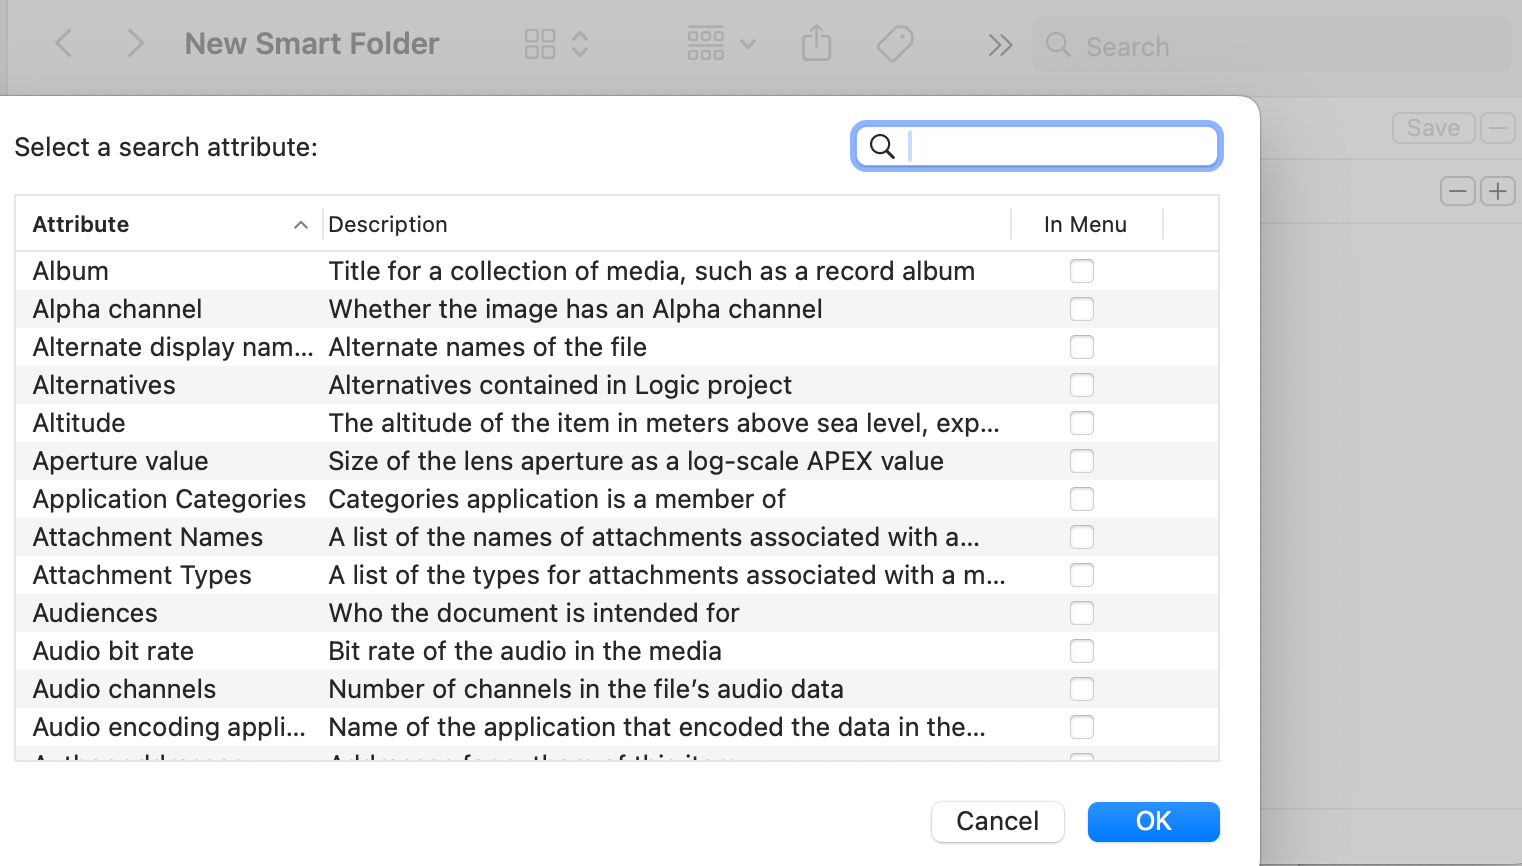
Smart Folders act like saved searches that update automatically based on rules you set. For instance, as a writer, I maintain a Smart Folder that shows all my drafts modified in the last week. It helps me track active projects without manually organizing files. Creating one is simple: choose File > New Smart Folder, then click the + button to add your conditions.
These virtual folders don’t actually move your files, think of them more like saved searches. A developer could use Smart Folders to track code files containing specific functions, while a photographer could use them to automatically collect all RAW files over 50MB for cleanup.
3 Batch Renaming Files
When you’re dealing with dozens or hundreds of files that need consistent names, Finder’s ability to batch rename files is invaluable. Let’s say you need to rename hundreds of photos from “IMG_1234.jpg” to “PersonsName_001.jpg.” Instead of spending hours renaming each file, just select them all, right-click, and choose “Rename.”
The tool offers several smart formatting options. You might add your company name before each file, apply sequential numbering to a series of documents, or even transform “IMG_1234.jpg” into “Italy2024_001.jpg” for your entire vacation photo collection in seconds.
4 Natural Language Search
Forget memorizing complex search operators, Finder understands plain English. As someone who occasionally hunts through years of project files, I’ve found natural language search to be a lifesaver.
Want to find that budget spreadsheet from last quarter? Just type “spreadsheets from last 3 months containing budget” into the search bar. Looking for that presentation you worked on last week? “Keynote files modified this week” will find it instantly.
My favorite trick is combining search terms to narrow down results. When looking for specific client photos, I might type “images from December containing sunset edited in Photoshop.” You can even save these powerful searches—I have one saved that shows all unfinished drafts created this month, helping me stay on top of writing deadlines.
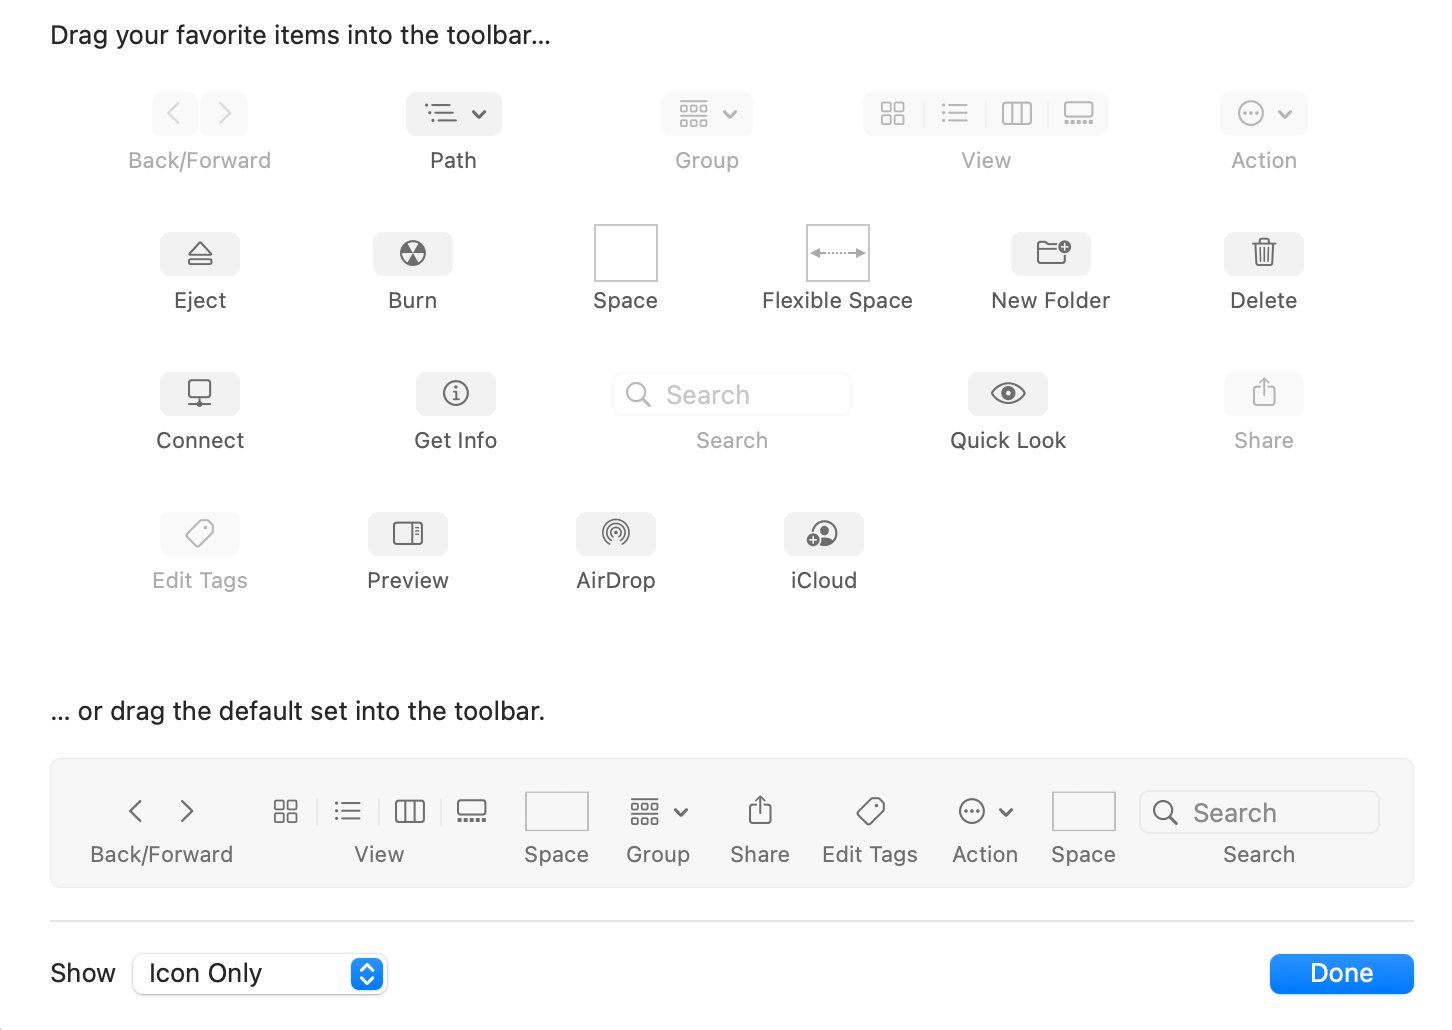
A stock Finder toolbar is like trying to cook in someone else’s kitchen—everything’s in the wrong place. Right-click the toolbar and choose “Customize Toolbar” to make it yours. A photographer might add the image rotation buttons for quick edits, while a programmer might add the New Folder and Get Info buttons to quickly create project directories and check file permissions.
Here’s a real-world example: when working on web development projects, I arranged my toolbar to have the Path button next to the search field, making it easy to copy file paths for my HTML links. You can even remove rarely-used buttons to prevent accidental clicks.
“What’s the Path button,” you ask? Well…
6 Mastering the Path Bar
The Path bar is like having a GPS for your files. Enable it by choosing View > Show Path Bar, and you’ll see your current location’s complete file path at the bottom of the window. When I’m organizing my photography archive, I use the path bar to quickly drag edited photos back to their original folders, saving countless clicks through nested directories.
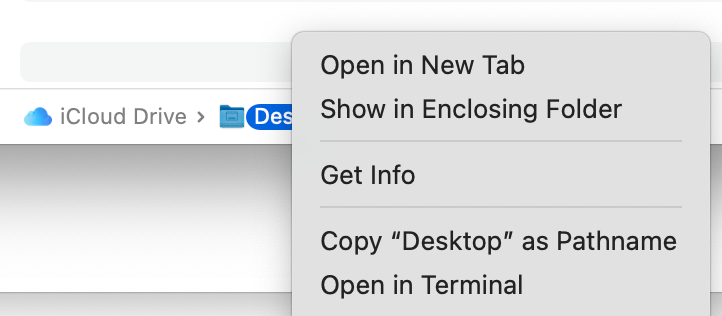
The path bar really shines when working on complex projects. Recently, while juggling multiple website backups, I used the path bar to quickly move files between deeply nested folders by dragging them to different points in the path. Right-clicking any location in the path also reveals a menu of powerful options—I frequently use this to open Terminal at specific folder locations.
7 Multitasking with the Preview Pane
The Preview pane (Command+Shift+P) transforms Finder into a lightweight media manager. When sorting through my music library, I can see album artwork, track listings, and even edit metadata without opening Music. For photographers, it’s a game-changer—rotate images, adjust labels, and add descriptions right in Finder.
I use this constantly when preparing client deliverables. With the Preview pane open, I can quickly review file information, add project-specific tags, and even make quick image rotations while organizing files into delivery folders. It’s like having a mini version of Preview or Photos always available.
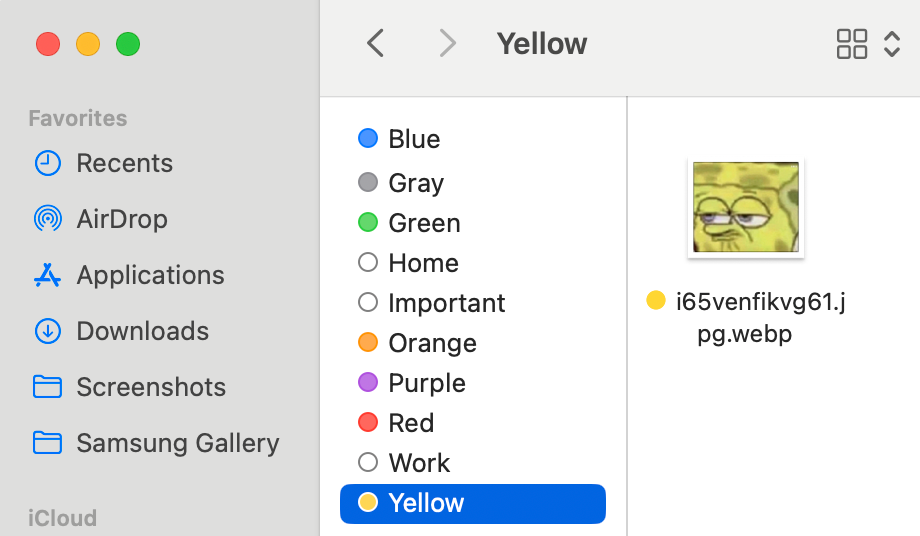
Tags are already great, but reaching for the mouse to apply them slows you down. In System Settings > Keyboard > Shortcuts > App Shortcuts, you can create custom shortcuts for your most-used tags. For instance, Command+Control+D could tag items as “Draft,” while Command+Control+F could mark them as “Final.”
When working on multiple projects, I can quickly tag files by client name or project stage without touching the mouse. This becomes particularly useful when sorting through incoming files—I can rapidly tag documents for different team members or workflow stages while reviewing them. Run out of key combinations to use? Consider using a hyperkey instead.
9 Managing Multiple Locations with Tabs
Just like your web browser, Finder tabs keep your workspace clean. While preparing a presentation, I’ll have one tab open for image assets, another for document drafts, and a third for the final exports folder. Each tab maintains its own view settings—I keep my asset folder in Gallery view for quick visual scanning, while my documents stay in List view for easy sorting by date.
Command+T opens a new tab, but my favorite trick is dragging a folder to the tab bar to open it in a new tab. When I’m deep in project work, I’ll have tabs for each major project component, making it easy to move files between locations without losing my place.
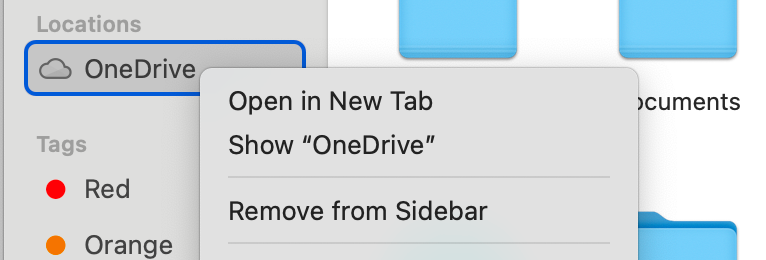
Think of the sidebar as your file navigation command center. Beyond basic folders, you can add smart folders, saved searches, and even network locations. When working remotely, I keep my team’s shared drive in the sidebar for quick access. For client projects, I’ll add both their asset folder and deliverables folder to the sidebar, making it easy to move between them.
Managing these shortcuts is simple—drag items out to remove them, or rearrange them to match your workflow. For instance, you could arrange folders to reflect the completion status of a project.
These Finder features have transformed how I work with files on my Mac. They’re not just tricks—they’re workflow enhancements that save time and reduce frustration. Try incorporating a few of these into your daily routine, and you’ll wonder how you ever worked without them.


