Microsoft 365 is a go-to for managing calendars, but if privacy is your priority, Proton Calendar is a great alternative. Thinking of making the switch? To keep things seamless, you’ll want to bring over your existing calendars. Here’s how to move your Outlook calendar into Proton Calendar.
Why Should You Import Outlook Calendar to Proton?
Proton offers a range of privacy-focused services, from Mail to Calendar, VPN, and more. If you’re looking to move away from Google or Microsoft ecosystems, Proton offers a secure alternative, especially with Proton Calendar, where your data is fully encrypted.
Proton Calendar stands out because of its end-to-end encryption. Your event details, locations, and guest information are kept private, accessible only by you. It also integrates smoothly with Proton’s other services, allowing you to manage everything from your calendar to your email in a secure environment.
Whether you’re using Proton Free with three personal calendars or upgrading to Proton Unlimited at $12 per month for 25 calendars and sharing features, the process is straightforward.
How To Transfer Outlook Calendar to Proton Calendar
Proton provides a built-in tool to help you transfer your emails, calendars, and contacts from the Microsoft ecosystem. You can use this default import tool for a seamless transfer, or if you prefer, you can also use an ICS file to move your calendar data. Let’s explore both options.
To use the default import tool, start by visiting Proton Calendar on the web and signing in to your account.
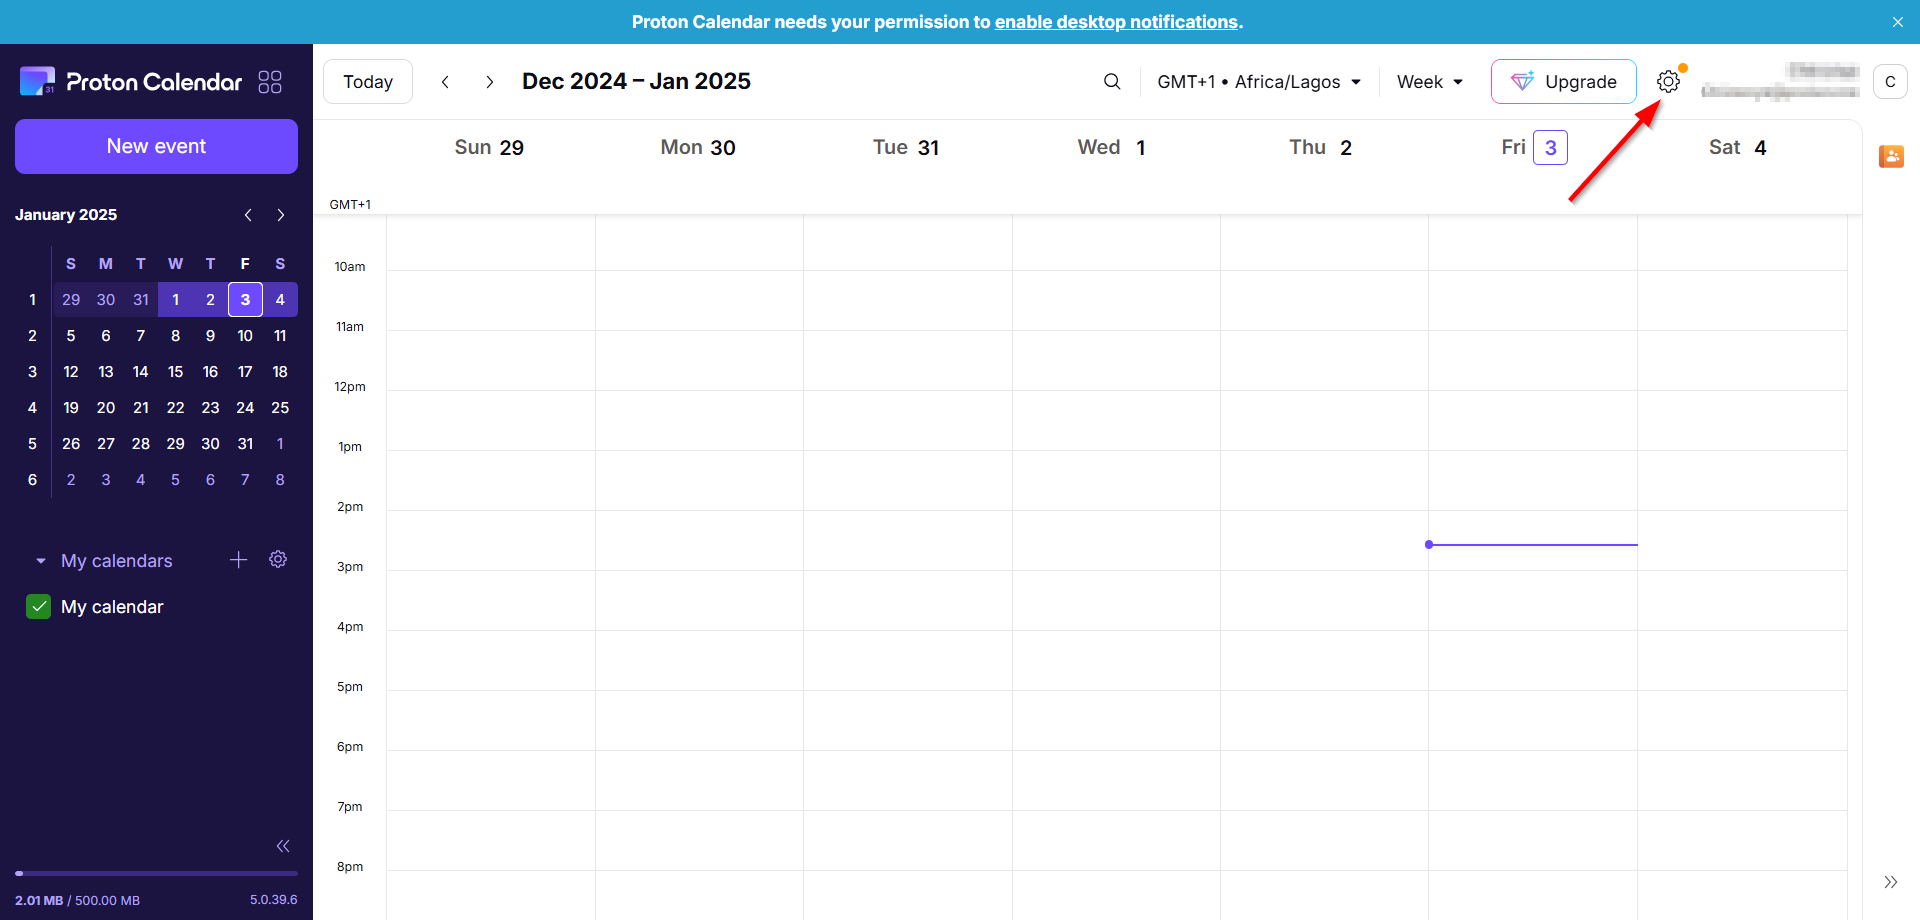
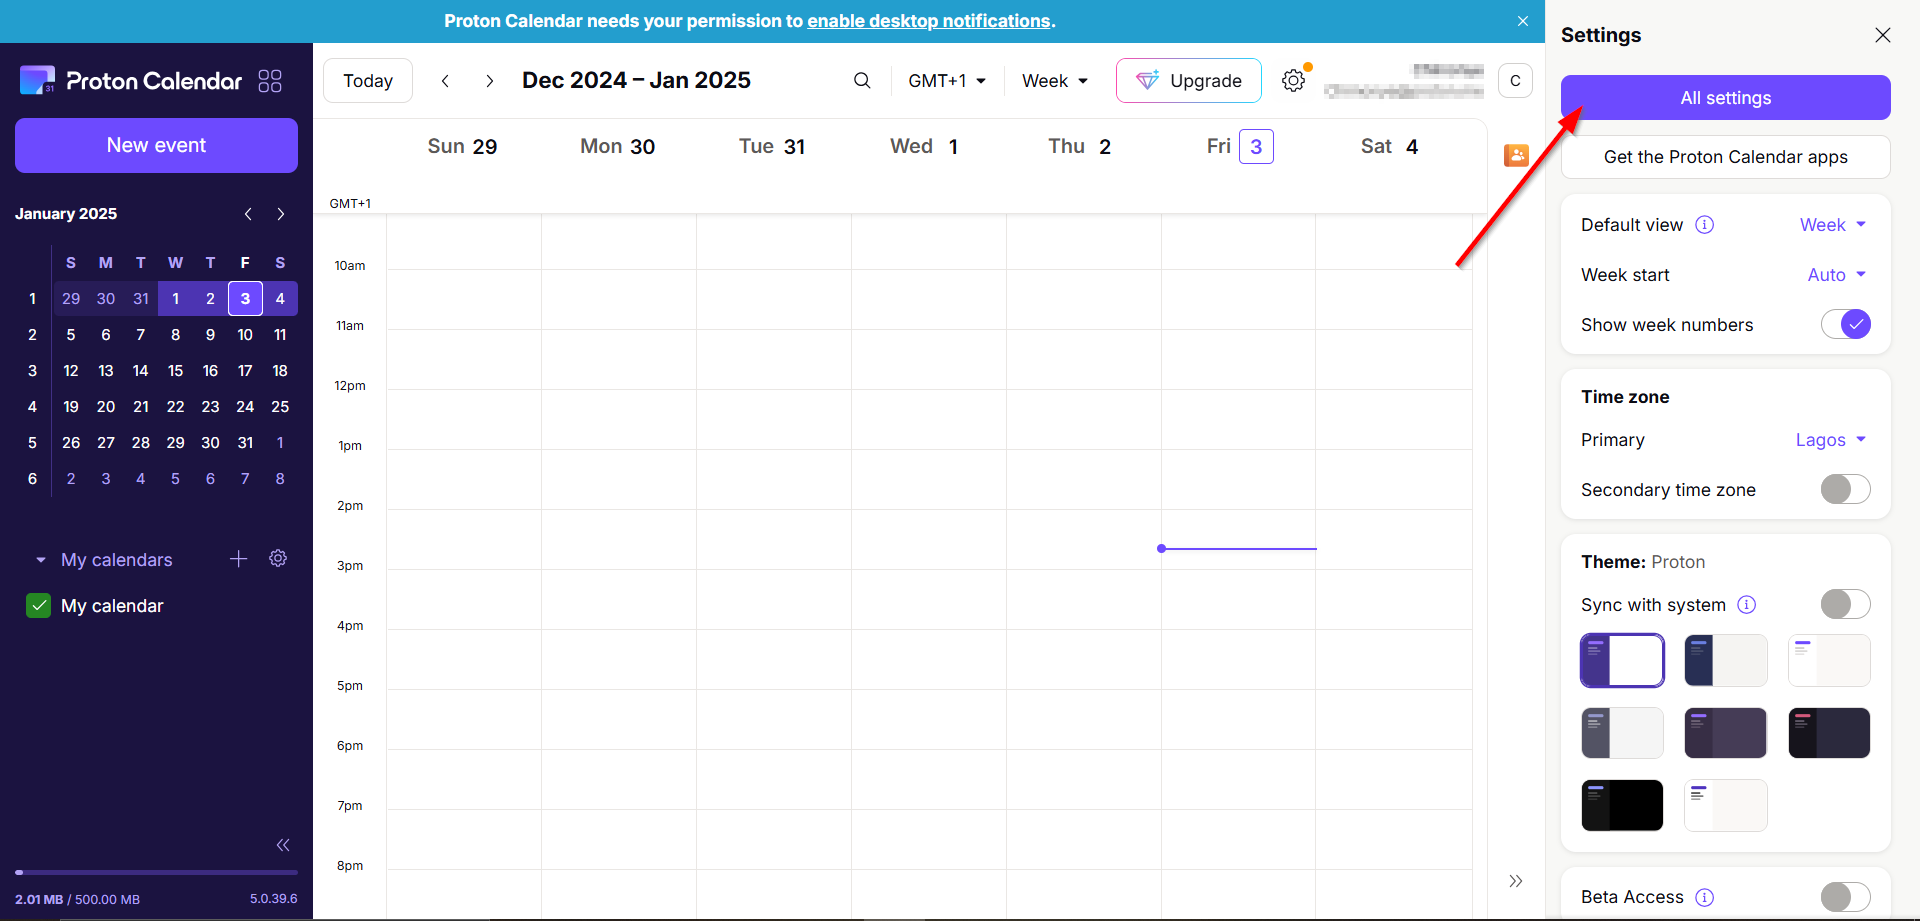
Once you’re logged in, click on the Settings icon in the top-right corner
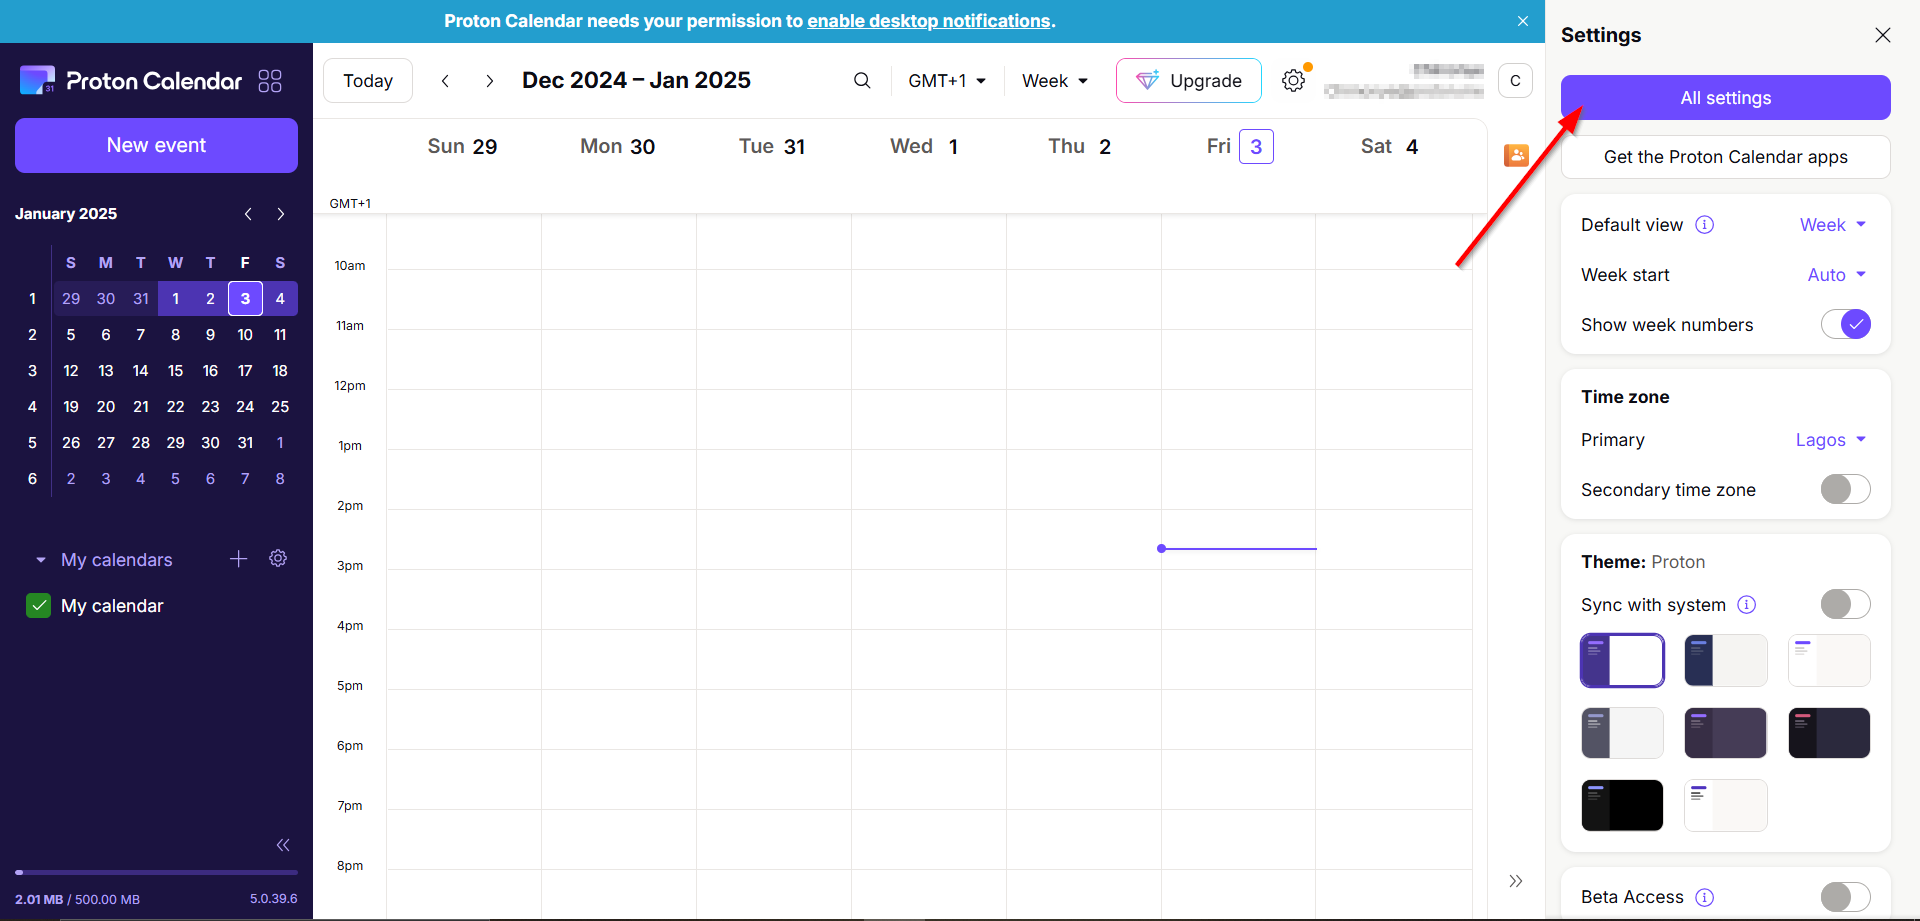
Click on “All settings” to begin the process.
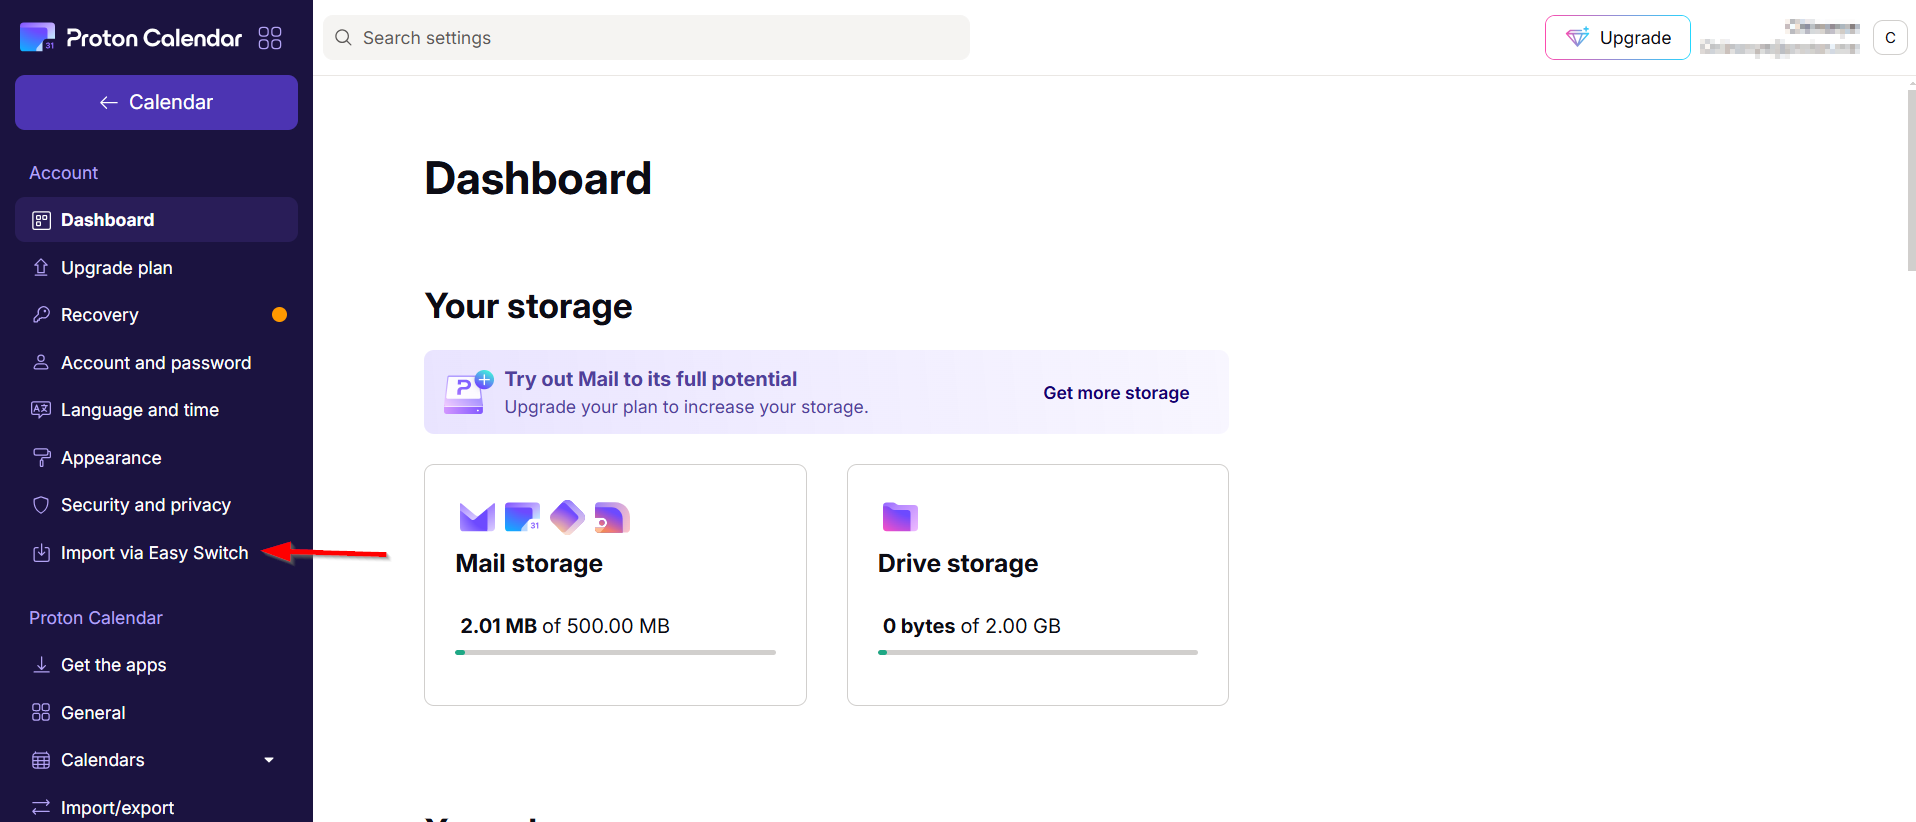
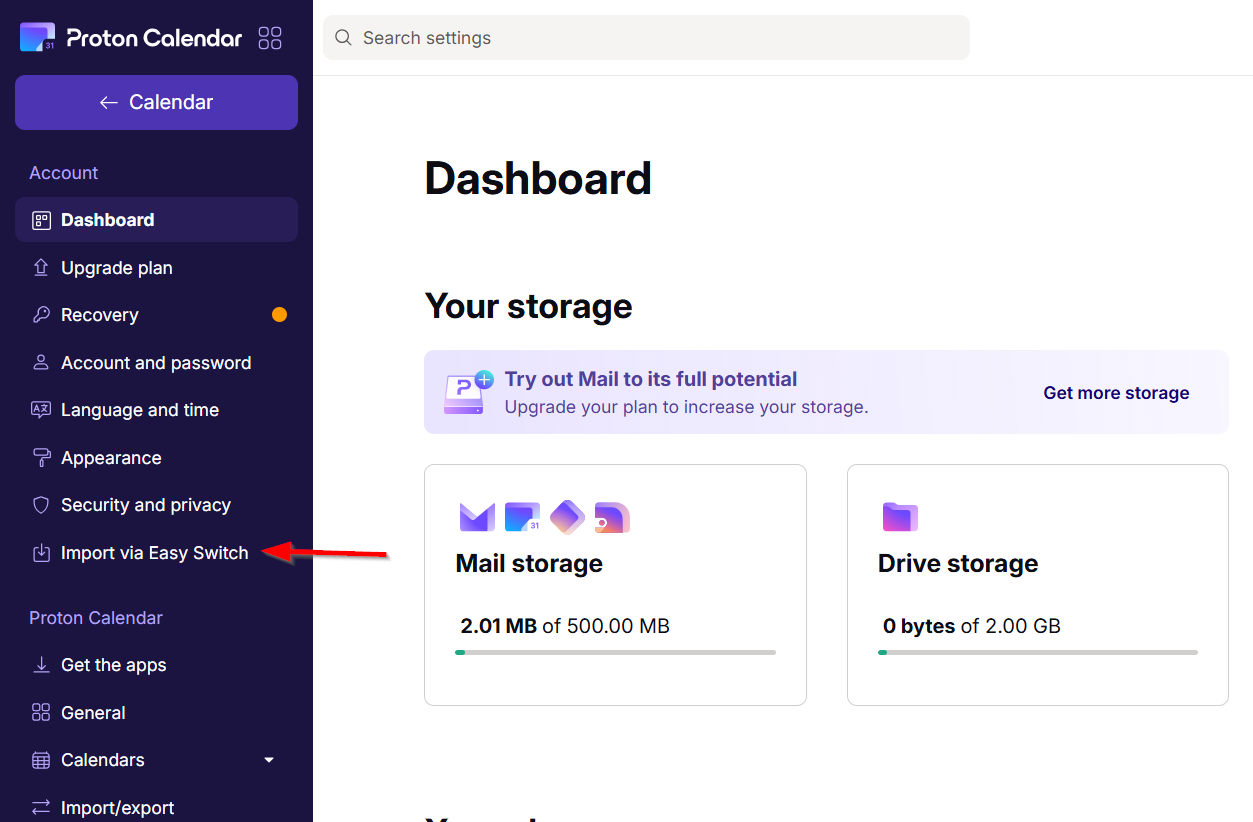
In the settings menu, select “Import via Easy Switch” from the sidebar.
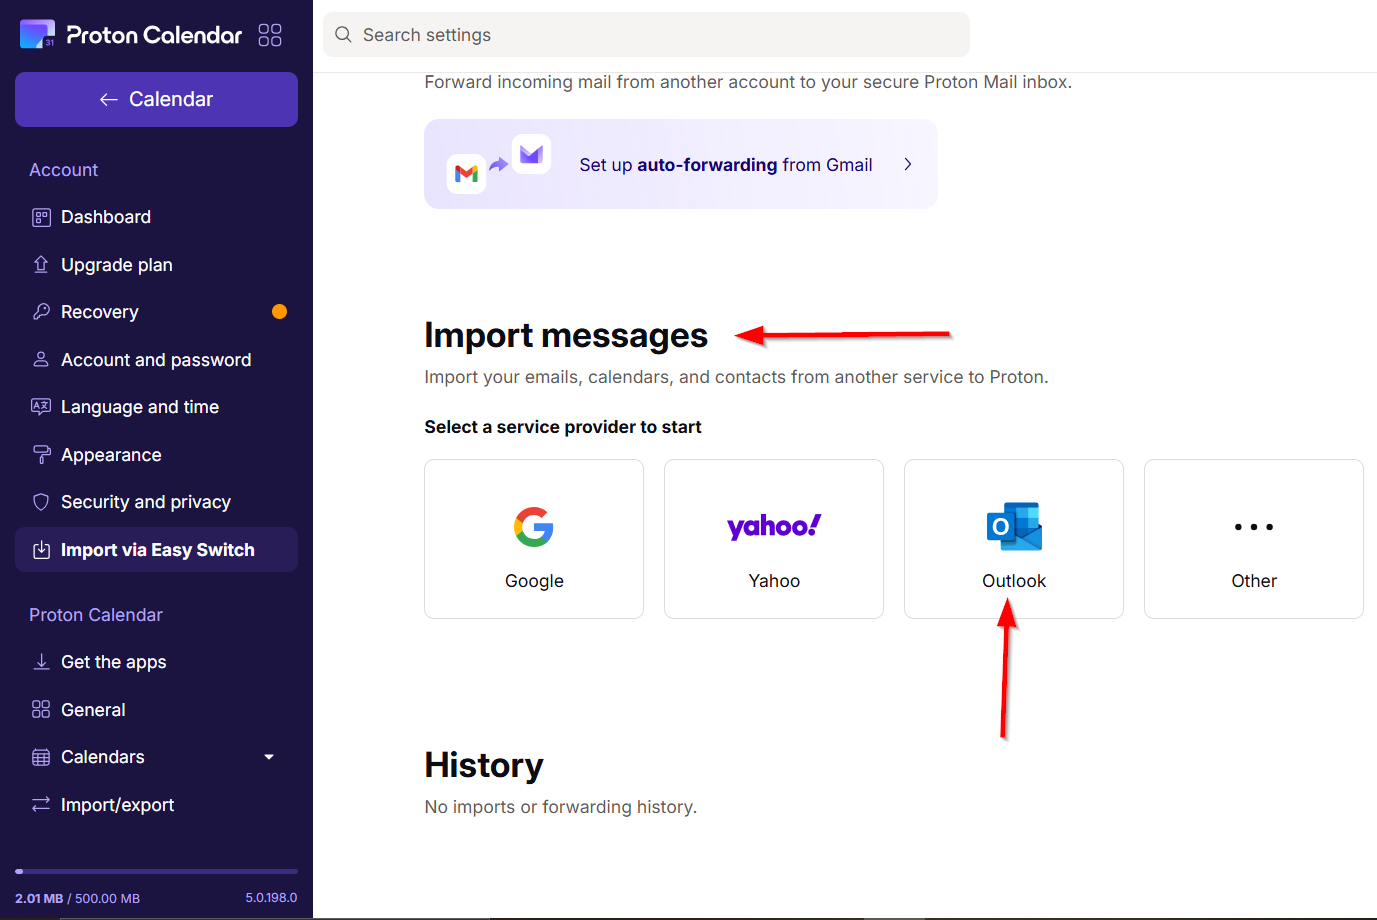
Then, click on “Outlook” under the Import Messages section to begin transferring your calendar data.
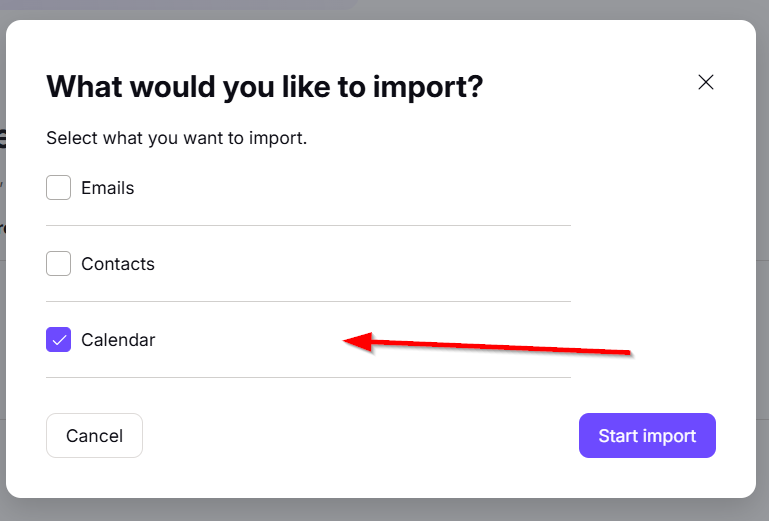
Uncheck the box next to “Emails” and “Contacts.”
Click on “Start import” to begin transferring your Outlook calendar data to Proton Calendar.
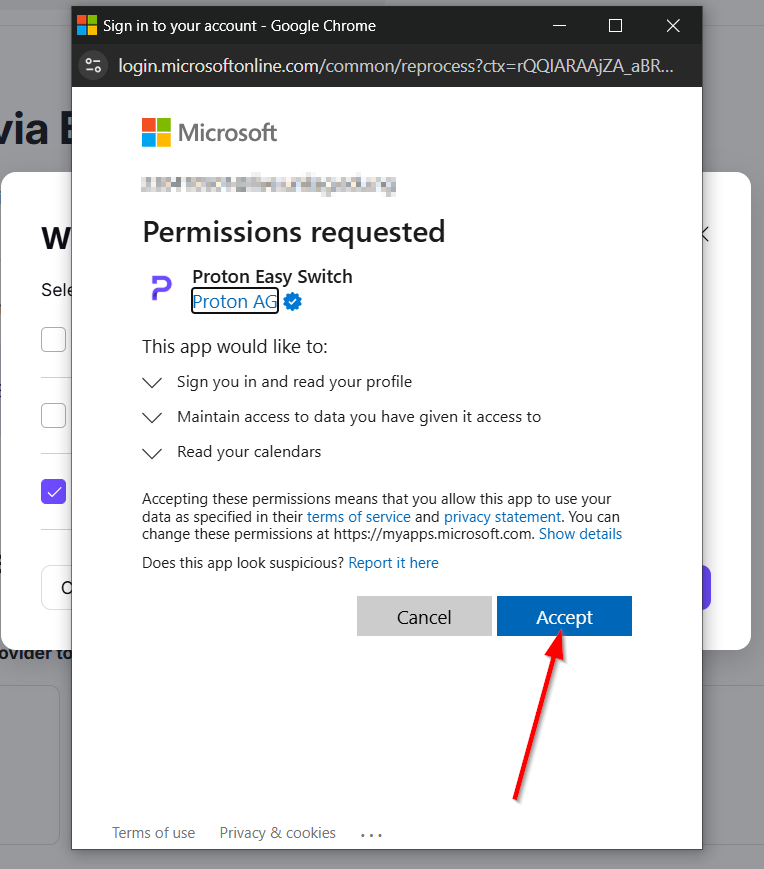
A pop-up will appear asking you to sign in with your Microsoft account details. After entering your credentials, grant the necessary permissions and click “Accept” to proceed with the import.
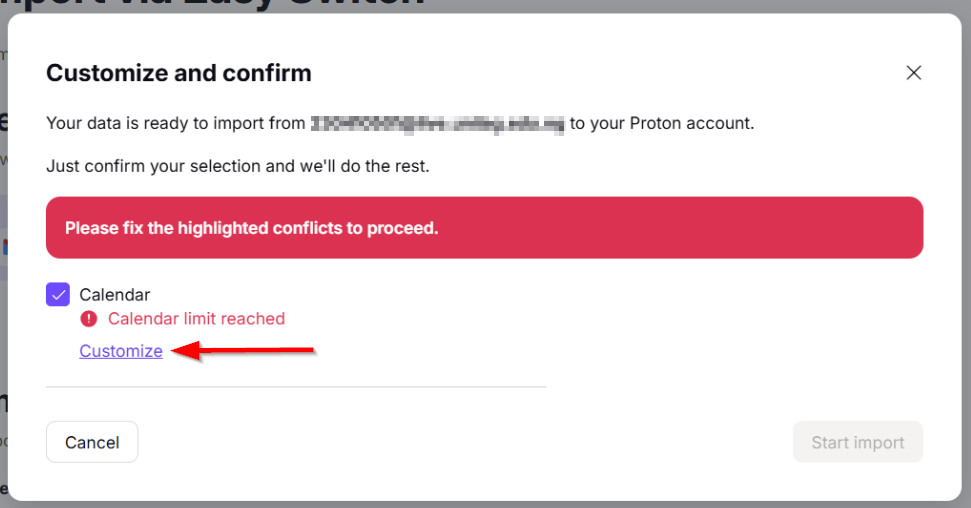
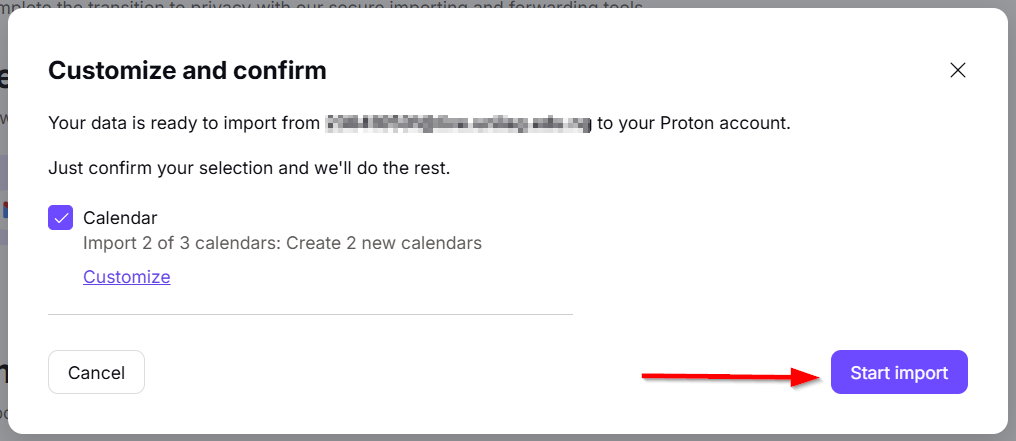
Proton will display all your Outlook calendars, including group calendars. If you don’t want to import all of them, click “Customize.”
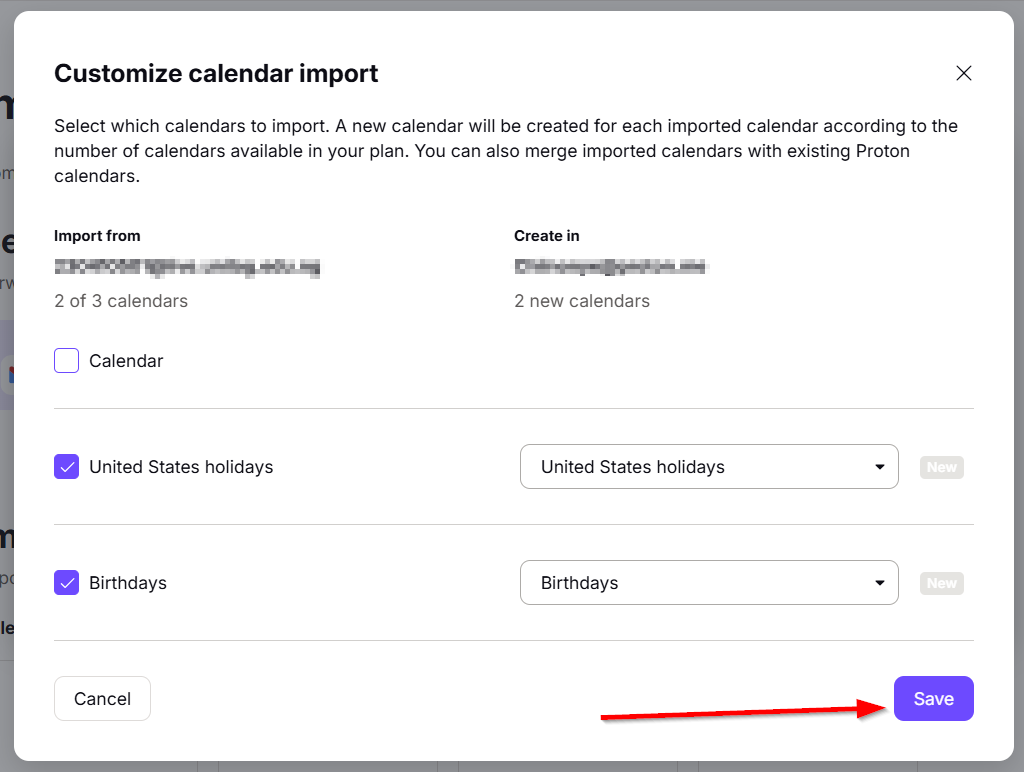
From there, you can uncheck any irrelevant calendars, such as birthdays, holidays, or sports calendars, to ensure only the ones you need are imported.
Afterwards, click “Save.”
Then click on “Start Import” to start the process.
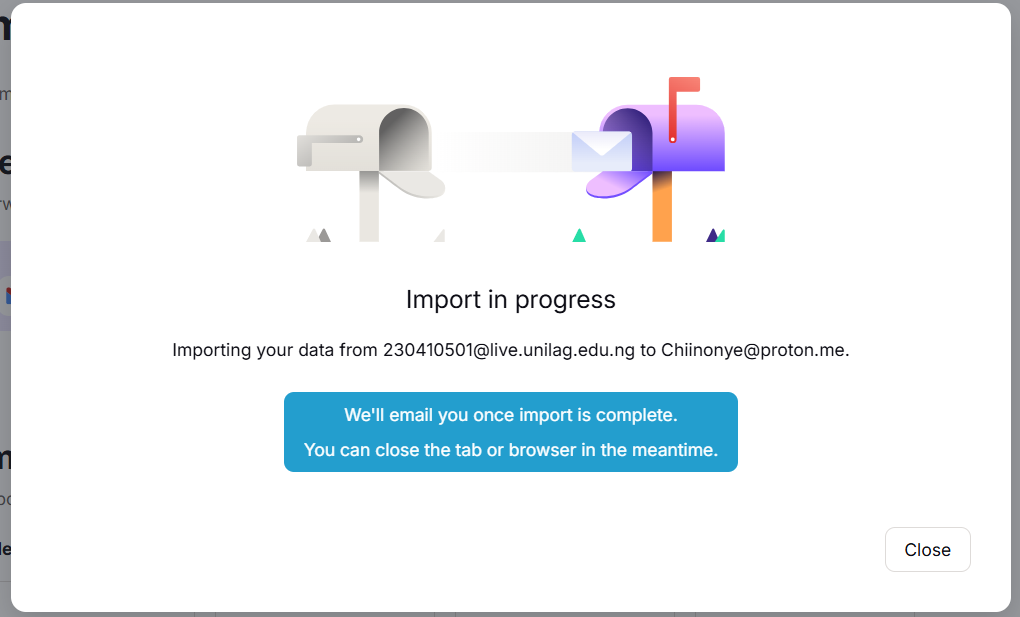
The import process may take some time, so feel free to close the tab. Proton will send you an email once the import is complete.
After a while, reopen Proton Calendar to check that all your events have been successfully imported and are ready to use.
How To Import Outlook Calendar Into Proton Using an ICS file
If the import tool doesn’t work, you can transfer your Outlook calendar to Proton using an ICS file. This involves downloading the ICS file of your Outlook calendar and importing it into Proton Calendar. Here’s how to import your Outlook calendar into Proton using an ICS file.
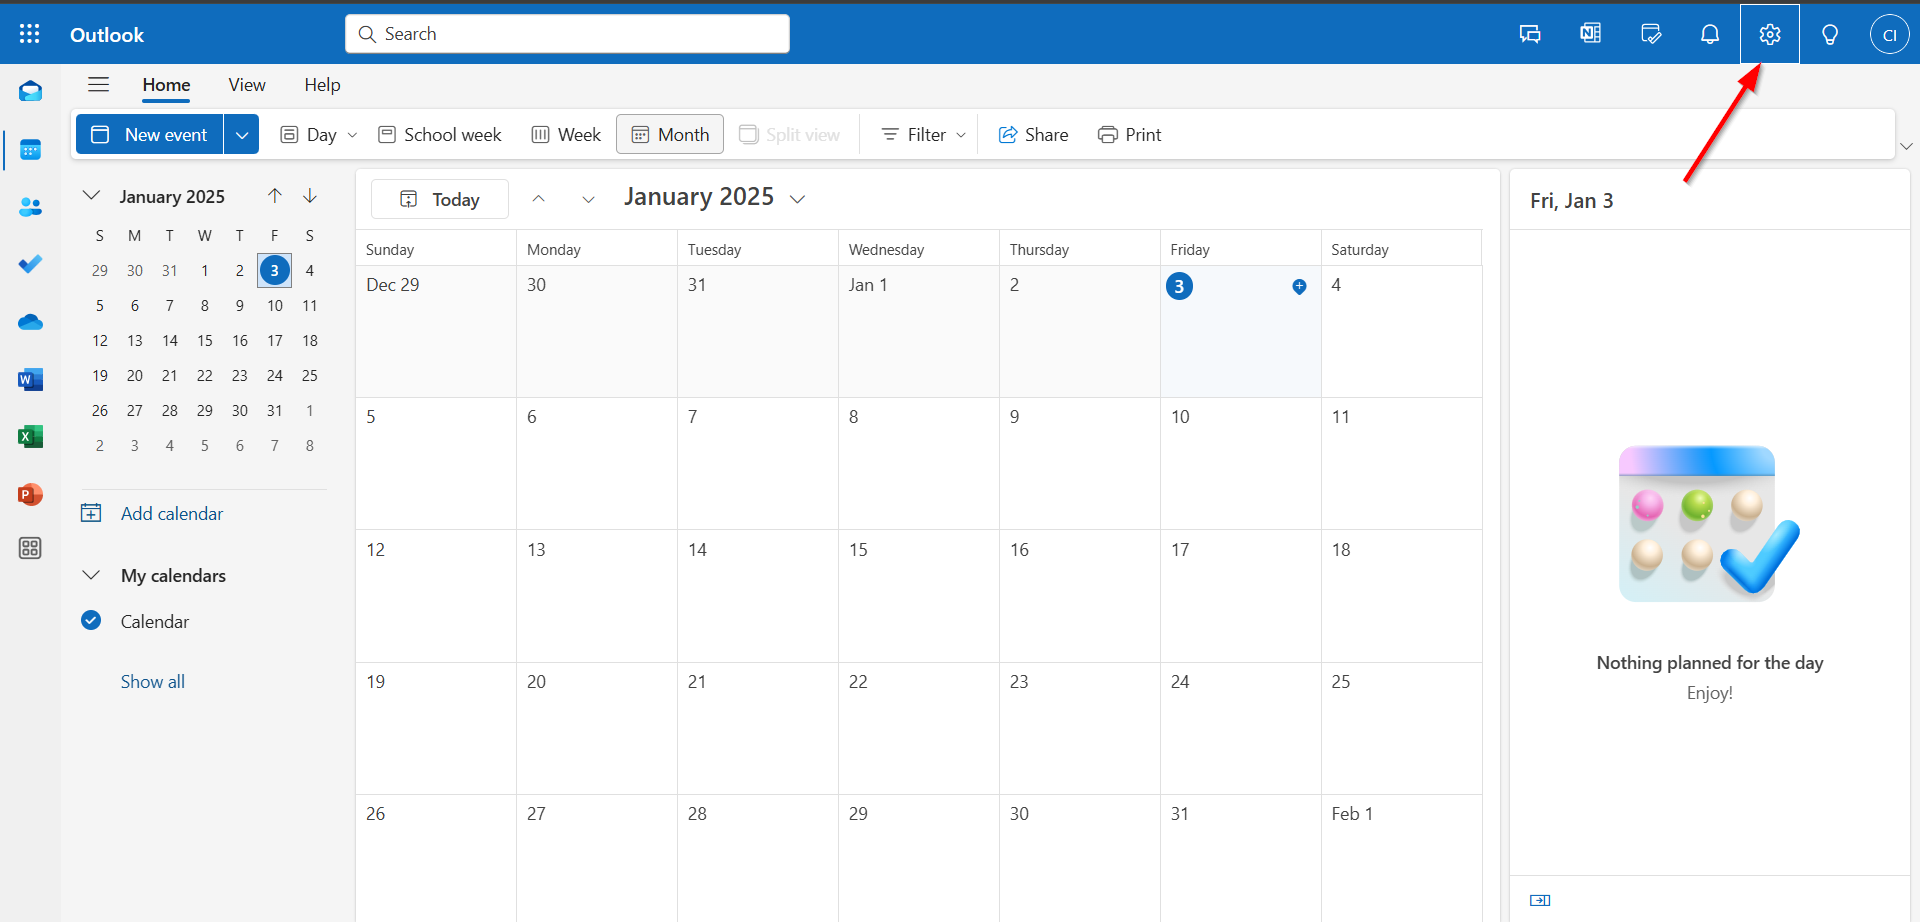
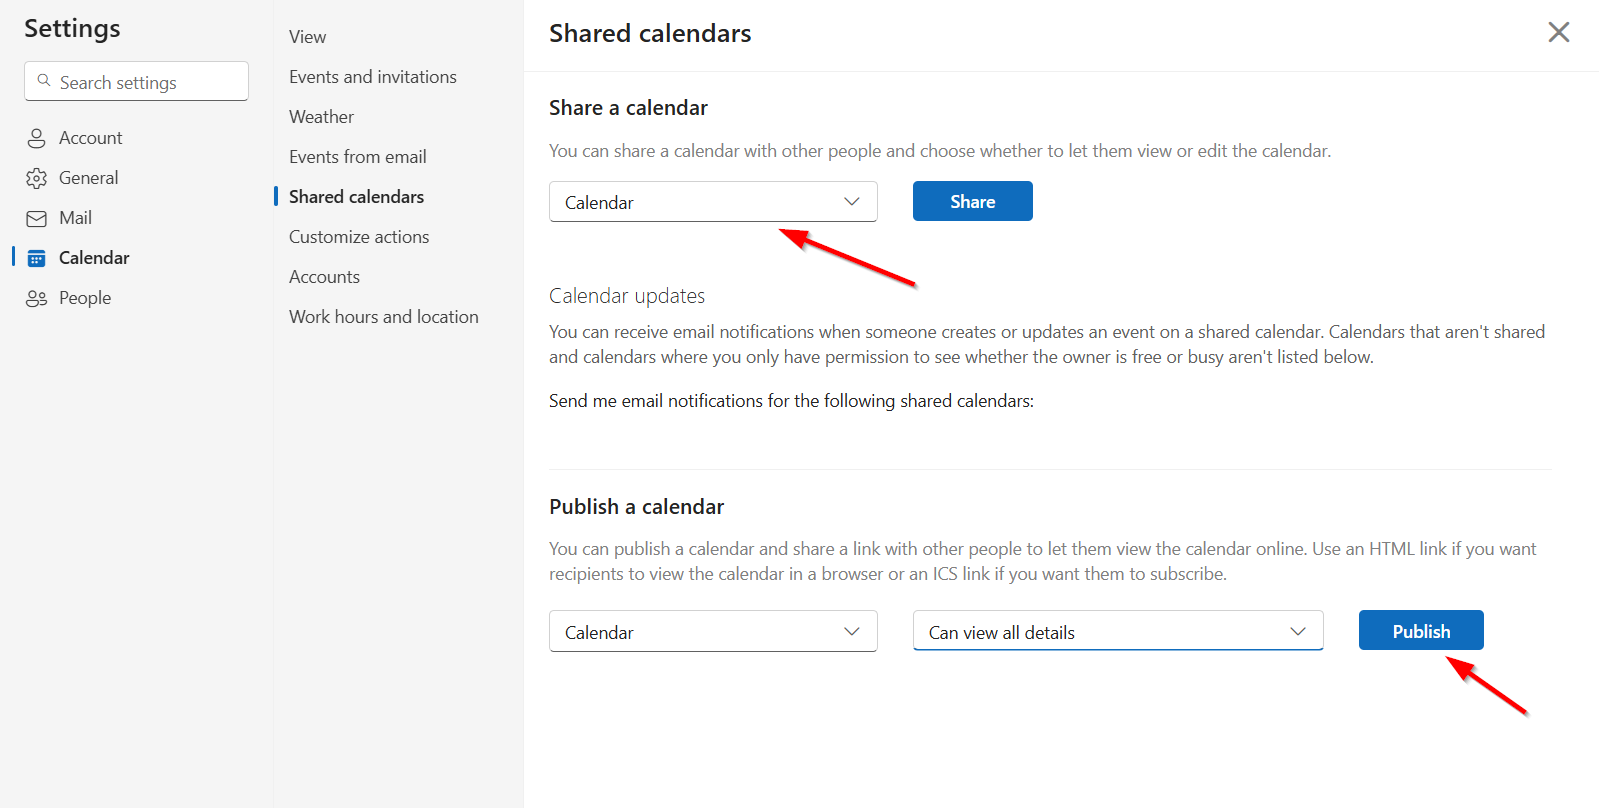
Go to Outlook Calendar on the web and sign in with your Microsoft account. Once logged in, click on the Settings icon in the top-right corner of the page.
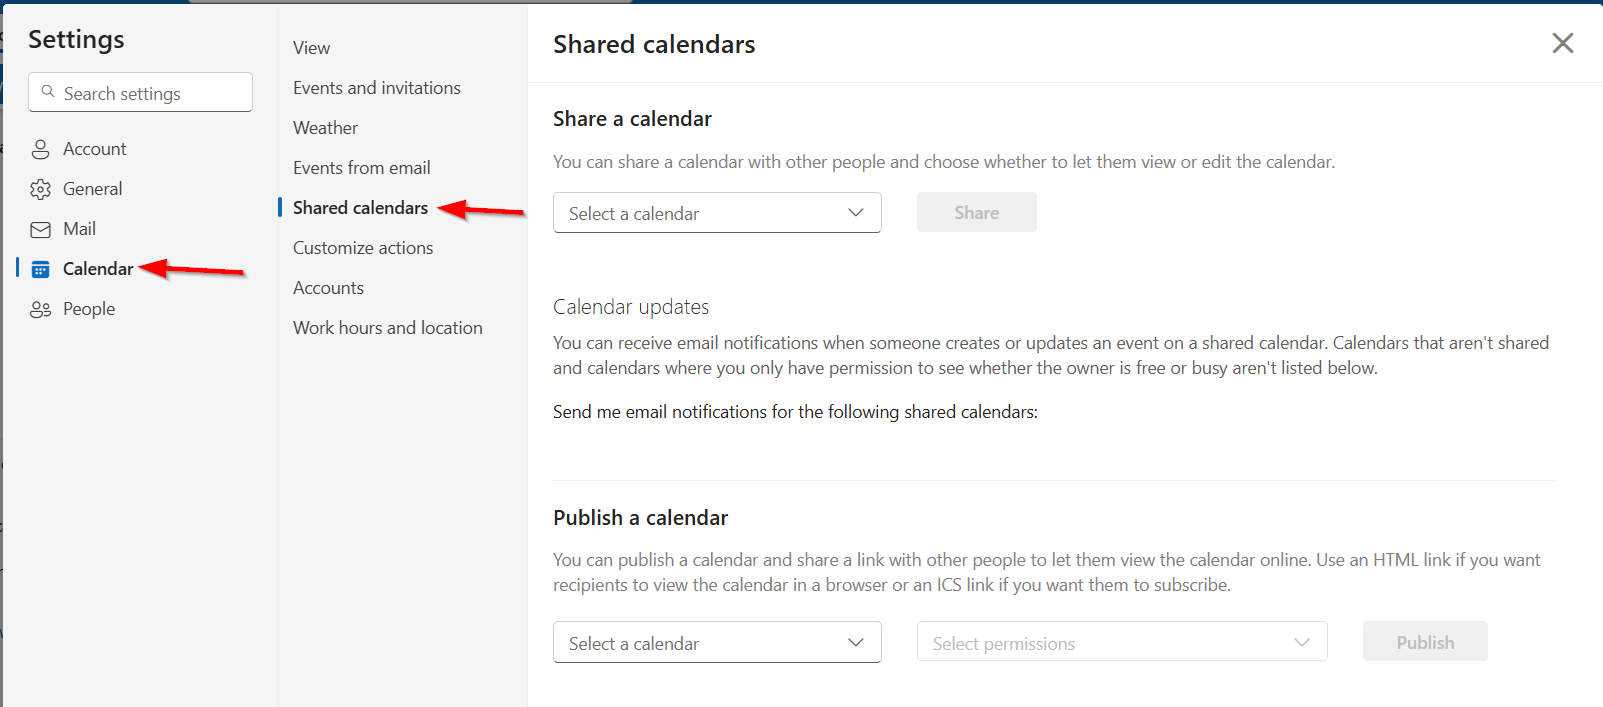
Navigate to the “Calendar” section and select “Shared calendars” from the menu.
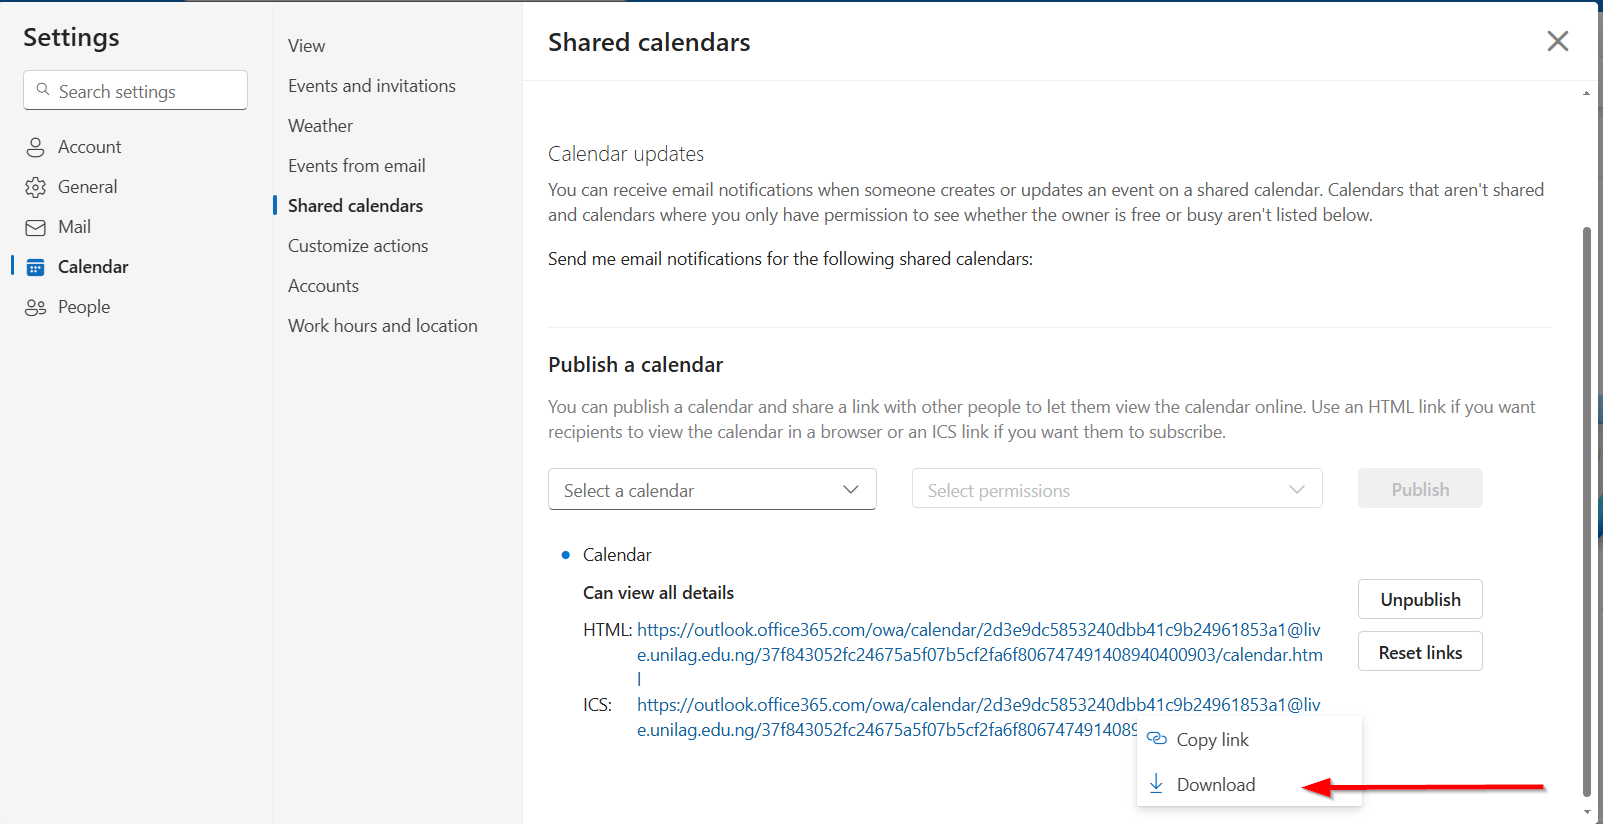
Choose your Outlook calendar and click “Publish.” Outlook will generate HTML and ICS links for your calendar.
Click the ICS link and select “Download” to save the ICS file to your computer.
Once downloaded, you can proceed to import it into Proton Calendar.
Open Proton Calendar on the web and navigate to “All Settings.”
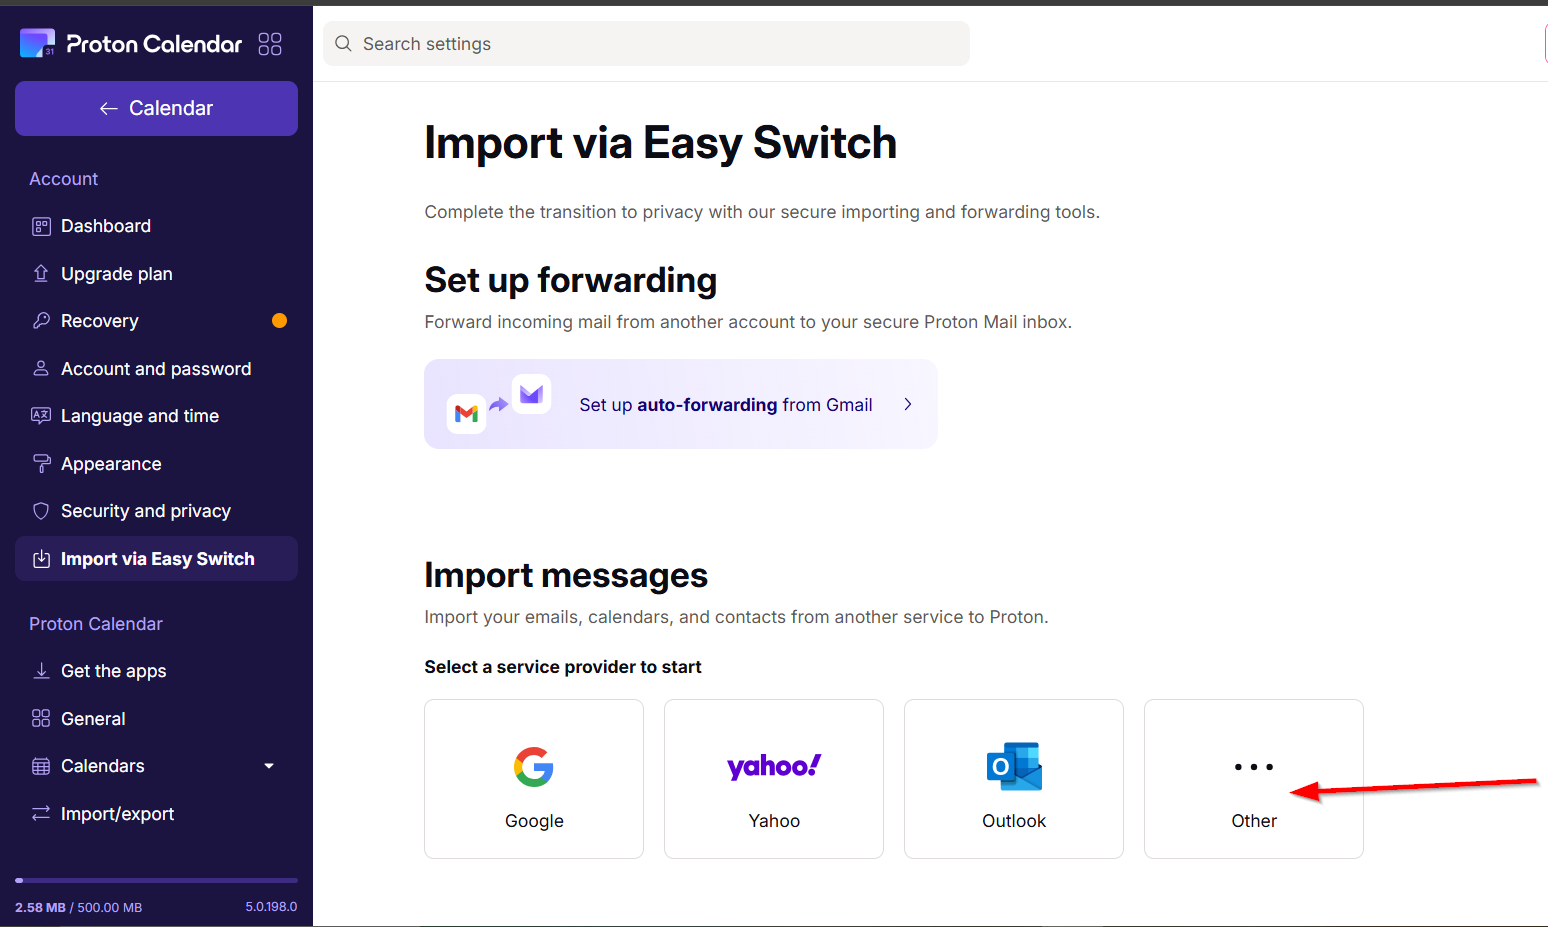
From there, go to “Import via Easy Switch.”
Under Import Messages, click on “Other” to continue with the import process.
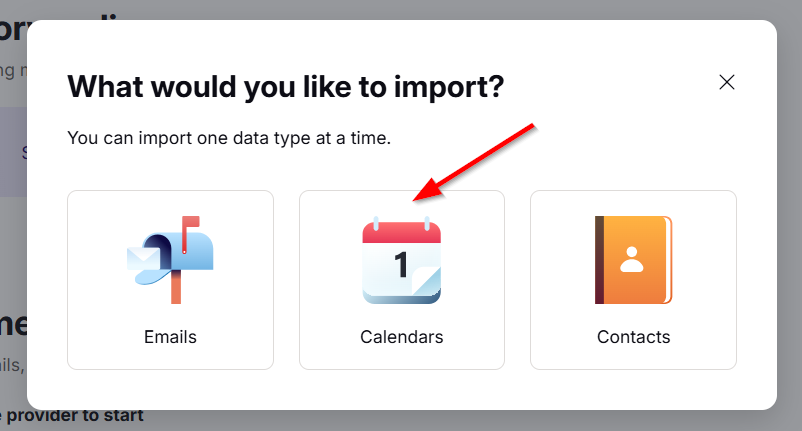
Under the import options, select “Calendars.”
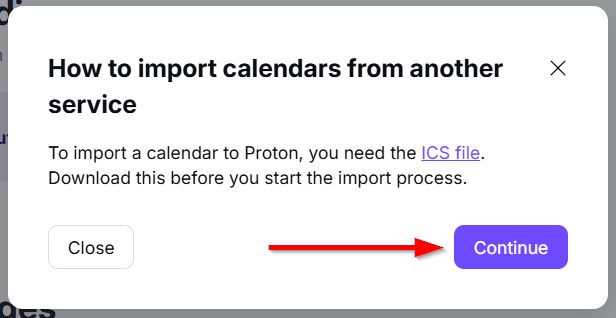
Click “Continue” to proceed with the calendar import process.
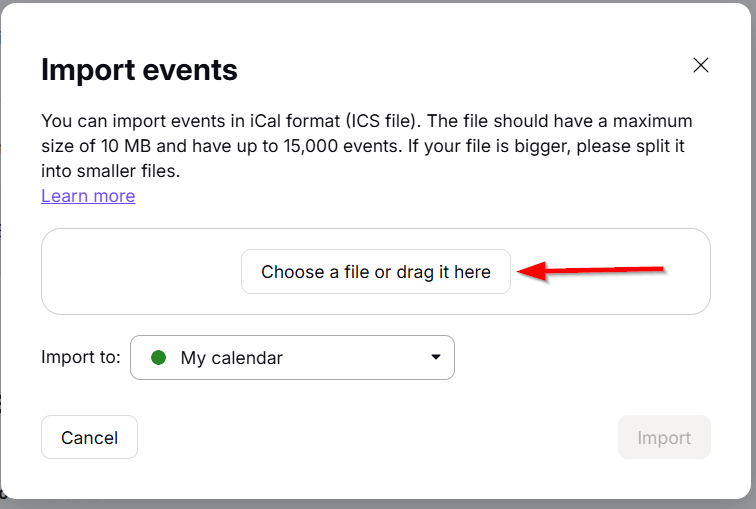
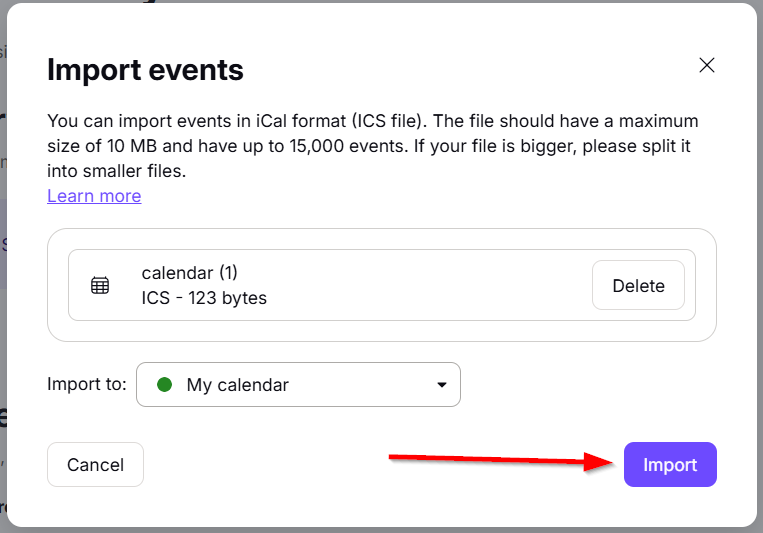
You can either choose the ICS file from your computer or drag and drop it into Proton. The file should not exceed 10MB and should contain no more than 15,000 events. If the file is too large, you could split it into smaller ones.
Once ready, click “Import” to complete the process, and your events will be transferred.
Proton securely encrypts and imports all your events into its ecosystem. Once the process is complete, you can return to Proton Calendar to view and manage your imported Outlook events.
Explore Proton Calendar Features
Now that your Outlook calendars are successfully imported into Proton, it’s time to explore the features and start scheduling your events. One of the key advantages of Proton’s ecosystem is its cross-platform availability. Whether you use Proton Mail, Calendar, or VPN, all apps are accessible on every platform, including Linux. Let’s take a look at how the Proton Calendar app works on Windows
First, download the Proton Calendar app for Windows from the official website.
Open the installer file and follow the instructions to complete the installation. Like Outlook, Proton combines Mail and Calendar functionalities in one app.
Once the installation is complete, open the app, sign in with your account details, and navigate to the calendar tab to start using Proton Calendar.
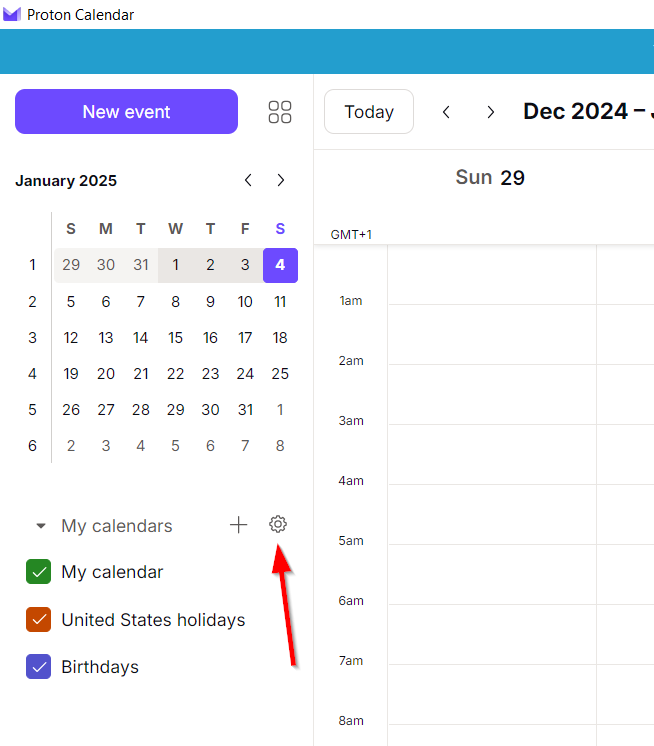
Once you’re in the calendar tab, check that all your calendars are visible. Then, click the Settings icon in the top-right corner to customize your calendar settings.
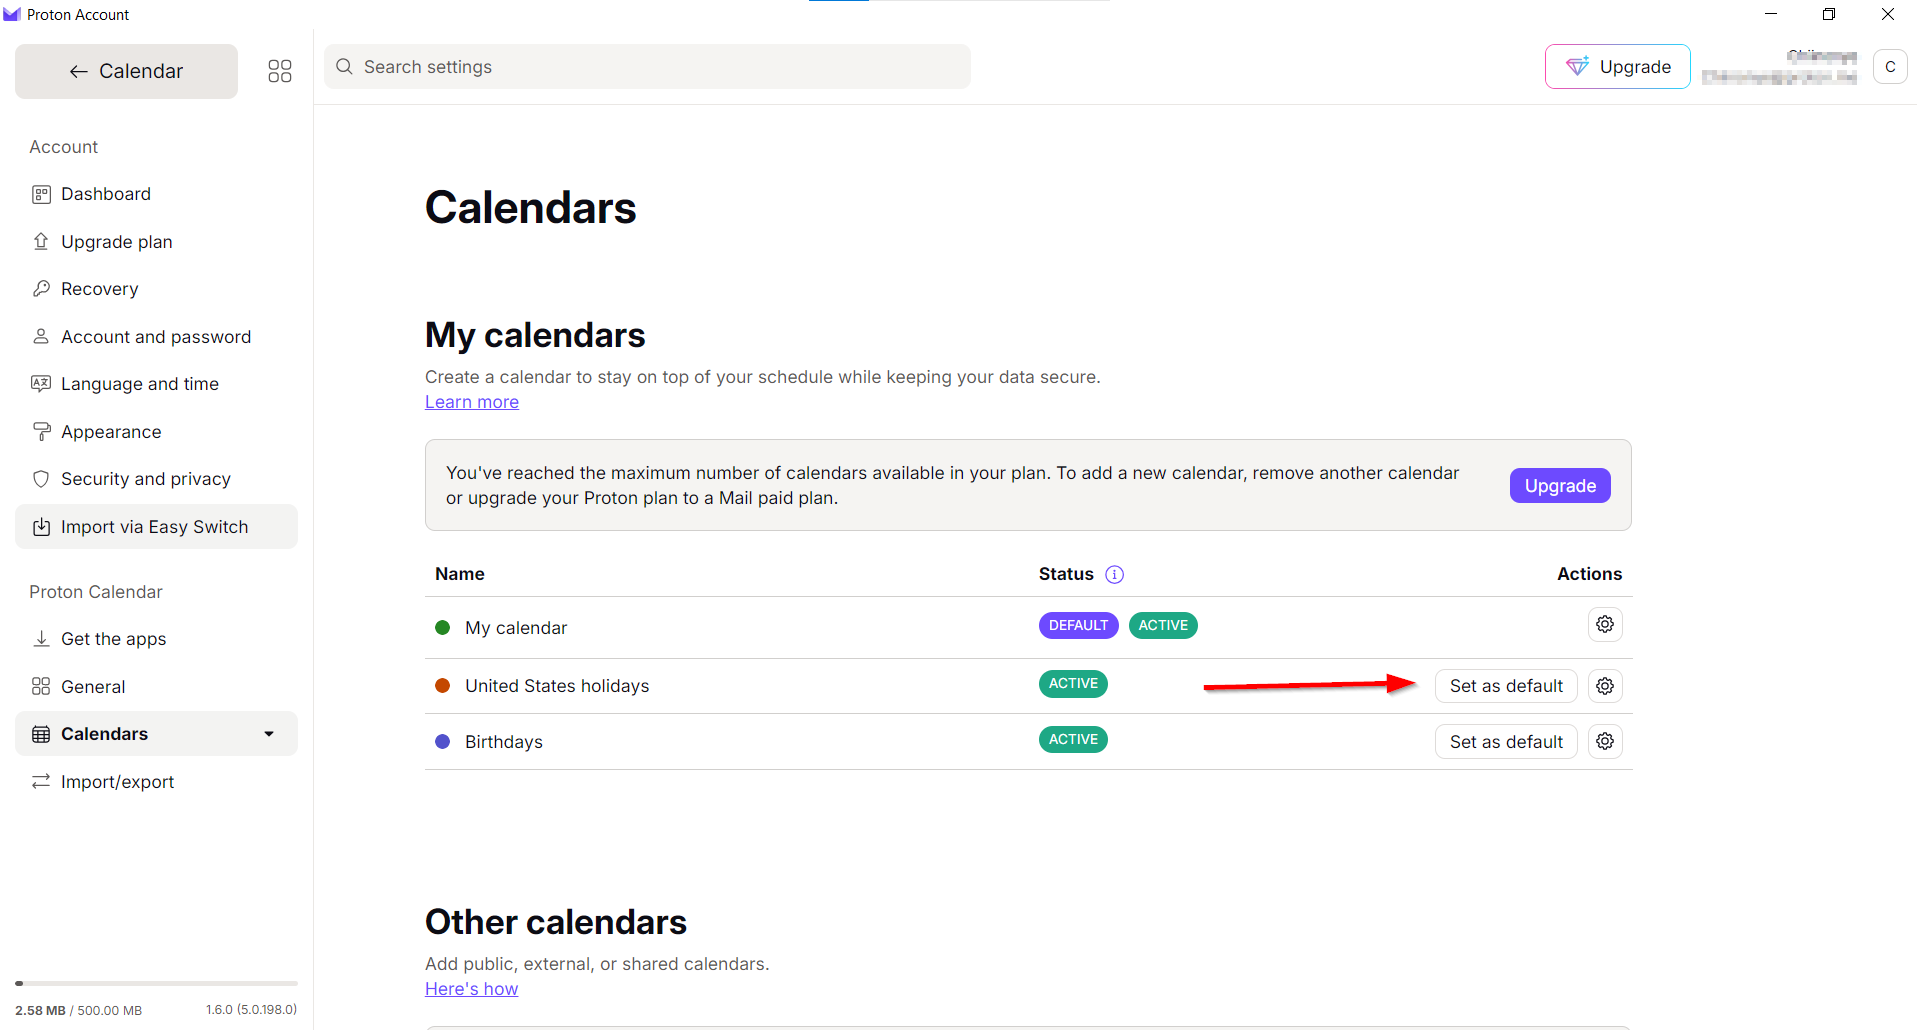
Next, select “Set As Default” beside the calendar you want to use as your main calendar. Once done, you’re all set to start managing your events in Proton Calendar.
Like any other calendar app, Proton Calendar covers all the essentials. You can easily create a new event, adding details such as the title, participants, location, alerts, and a description to ensure everything is organized and on track.
That’s it! You’ve successfully migrated your calendar from Outlook to Proton, bringing your schedule into the secure Proton Calendar environment. Now, explore its features, customize your settings, and enjoy a safer, more organized way to manage your time. Don’t stop there—consider moving your Gmail calendars to Proton as well!
