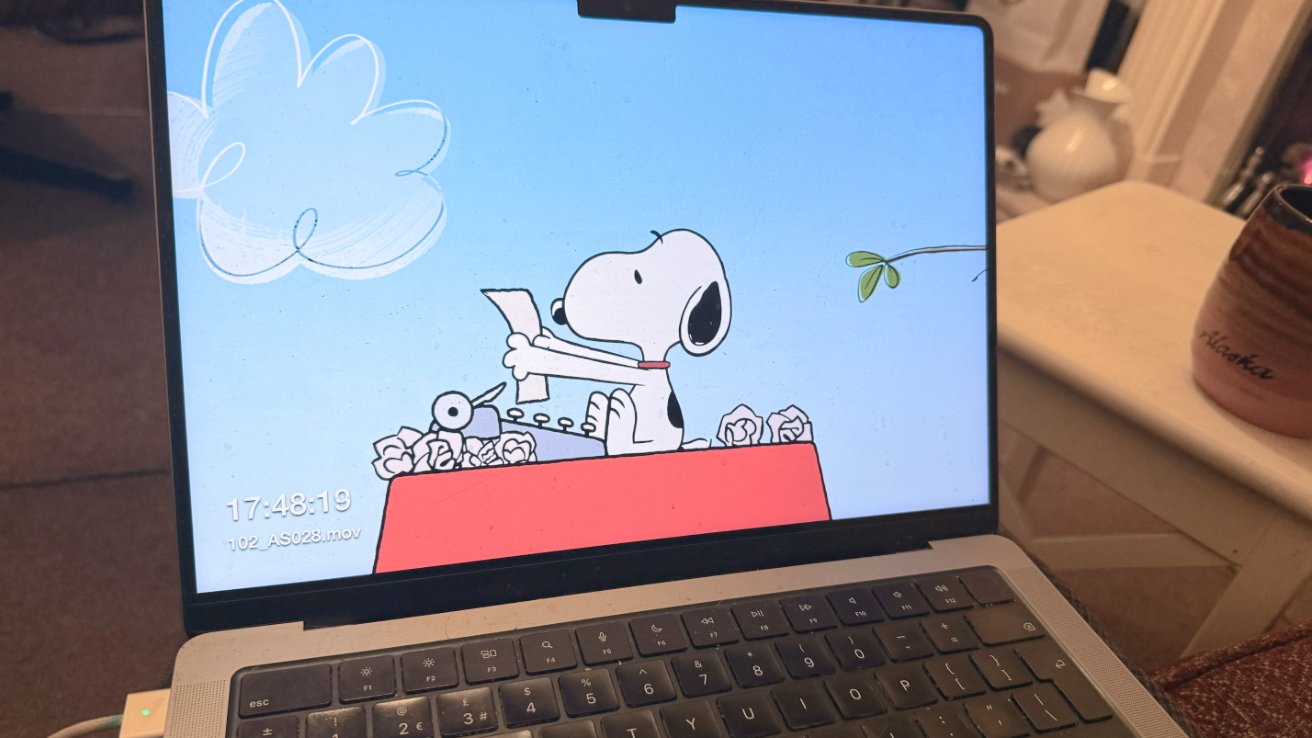
Alongside its famously gorgeous landscape and cityscape screensavers, Apple TV 4K set top boxes now feature animated Snoopy screensavers. Here’s how to get them onto your Mac.
Since Apple TV acquired the rights to screen classic “Charlie Brown” shows, and make new ones, it also added the cartoon’s Snoopy to the Apple Watch. Then from tvOS 18.2, Apple TV 4K has gained four animated Snoopy screensavers.
Getting them from Apple TV to your Mac turns out to take many steps, but they’re each quite simple. And the reward for your efforts is to see:
- Snoopy typing his next masterpiece novel
- Snoopy in space
- Snoopy and Woodstock playing football
- Woodstock and Snoopy in a movie theater
Getting them all onto your Mac requires:
- Downloading the screensavers
- Using a third-party app to store them
- Using Settings, Screen Saver to select them
Downloading the screensavers
This is the trickiest part because it involves using Apple’s Xcode development app, and then some Terminal commands. Fortunately, Xcode is free and can be downloaded from the Mac App Store.
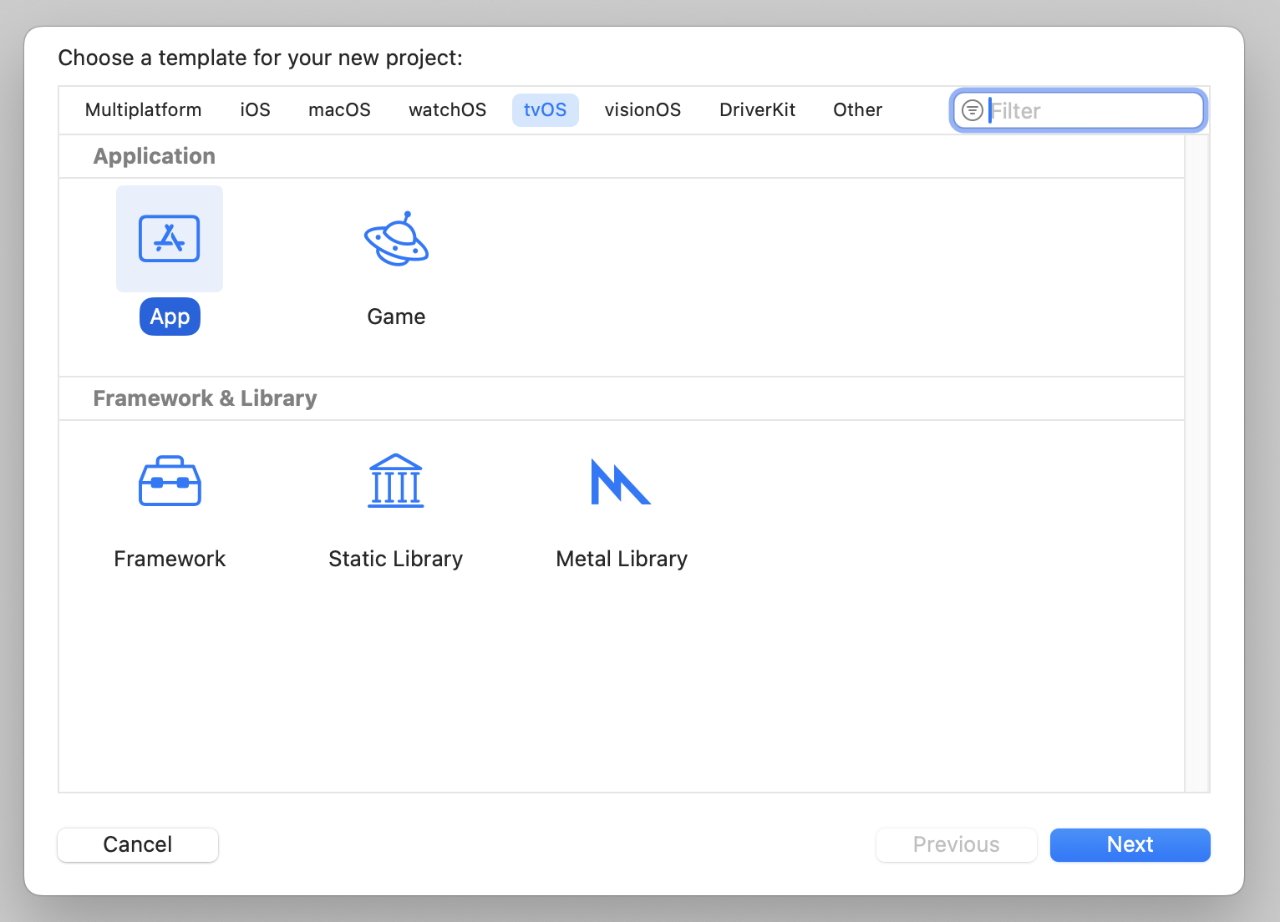
You then need to pretend to be starting to develop an Apple TV app, although you’ll barely scratch the surface of what it takes to actually create an app.
- Open Xcode
- From the Xcode menu, choose Settings
- Click on Components
- In the list that appears, make sure tvOS 18.2 is selected
- Once tvOS 18.2 has been downloaded, close the window
- Choose File, New, Project…
- In the dialog box that appears, click on tvOS in the top row
- Click on App, then Next
- In the form that appears, name your project Snoopy
- For organization, type anything at all, such as your name
- Click Next
- Save everything to your Desktop so you can find it later
- Quit Xcode
Next, you need to open Apple’s Terminal app. It’s in Applications, Utilities, or you can just use Spotlight to launch it.
Terminal, if you don’t already know, is a command-line app so in theory, you have to type the commands you want. In practice, you can often find the command you want online and just copy and paste.
Which is why, thanks to YouTuber MacProTips, once you’ve launched Terminal you can paste in this:
cd '/Library/Developer/CoreSimulator/Volumes/tvOS_22K154/Library/Developer/CoreSimulator/Profiles/Runtimes/tvOS 18.2.simruntime'
Press return and nothing seems to happen. What it’s done is switch to a folder, or directory, on your Mac where Xcode has saved the tvOS screensavers.
Next, copy and paste this into Terminal:
mkdir ~/Desktop/appletv_resources && sudo find . \( -name "*.mov" -o -name "*.heic" \) -exec cp {} ~/Desktop/appletv_resources \;
That makes a new folder called appletv_resources on your desktop and moves the screensavers into it. But it moves all of the screensavers, and there are a lot.
Open the folder, switch to viewing by Size so that the largest screensavers are at the top. They won’t all be Snoopy ones, so select the first one and press the space bar to start Quick View.
If the screensaver you see previewed is not a Snoopy one, press the down arrow on your keyboard to look at the next one. At time of writing, there are four Snoopy screensavers so when you’ve found all them, drag the lot to another new folder.
Wherever you make that new folder, you need to move it. There are a lot of constraints on where a screensaver file can be saved, so it can’t be on an external drive, for instance.

Right-click on the Download folder’s name and choose Users as you move the screensavers to where they can be used
There are many places you could store it and meet the constraints, but just for one example, do this:
- Open a new window with your Downloads folder
- Right click on its name at the top of the window
- From the list that appears, select Users
- Now double-click to open the Shared folder
- Drag your Snoopy folder into it
Now you have the screensavers and you also have them in a place where the Mac can use them. The last thing you need to do is tell it to use them, and you do that using the free third-party app Aerial Companion.
Using Aerial Companion
Download and install the app, then rather than running it, you go instead to Settings, Screen Saver. Scroll all the way to the bottom of the list of possible screensavers until you reach a category called Other.
Now scroll across until you find Aerial. Back up at the top, above all of the possible screensavers, there is an small preview window that should say Aerial. Click on Options next to it.
For some reason, there are times when clicking on that button does nothing at all. If that happens to you, quit Settings and start it again.
When Options does work, it opens a large pane with various settings for Aerial. Next:
- Clock on More Videos
- In the list that appears, find Local Sources
- Your Snoopy folder will be there, make sure it’s selected
- Deselect everything else
- Click Close at bottom left
You’re done — you now have the Snoopy screensavers on your Mac. To see them, you can click on the small preview window at the top of the Settings, Screen Saver pane.
Or you can use that Settings section to decide, for instance, how long your Mac should stay idle before it begins playing the screen saver.
If you do eventually tire of Snoopy — or if you want any of the other quite gorgeous Apple TV 4K screensavers — you can change them. Go back into Settings, Screen Saver and either select a different option with Aerial, or choose any screensaver other than it.


