If you want to take a screenshot on your Amazon Fire TV, you’ll quickly learn that it’s not a fast process. Requiring debugging tools and terminal commands, here’s everything you need to know to take a screenshot on your Amazon Fire TV.
Step 1: Enable ADB
Enabling ADB on your Amazon Fire TV is pretty simple. You just have to go to Devices & Software, then About, and then click “Your TV” seven times. From there, enter the new Developer Options submenu in the Devices & Software page and toggle on ADB. Be sure to check out my in-depth guide for enabling ADB if you need step-by-step instructions with screenshots.
Step 2: Install the Android SDK and ADB on Your Computer
ADB comes as part of the Platform Tools portion of the Android SDK. The SDK is also what you’d use to develop your own Android applications.
Once you install the Android SDK, you’ll want to find where the Platform Tools folder was placed and navigate there with your terminal.
This is the most complicated step in the entire process, so once you get ADB up and running using our step-by-step instructions, the rest of this article is a piece of cake.
Step 3: Connect to the Fire TV via the ADB Network Bridge
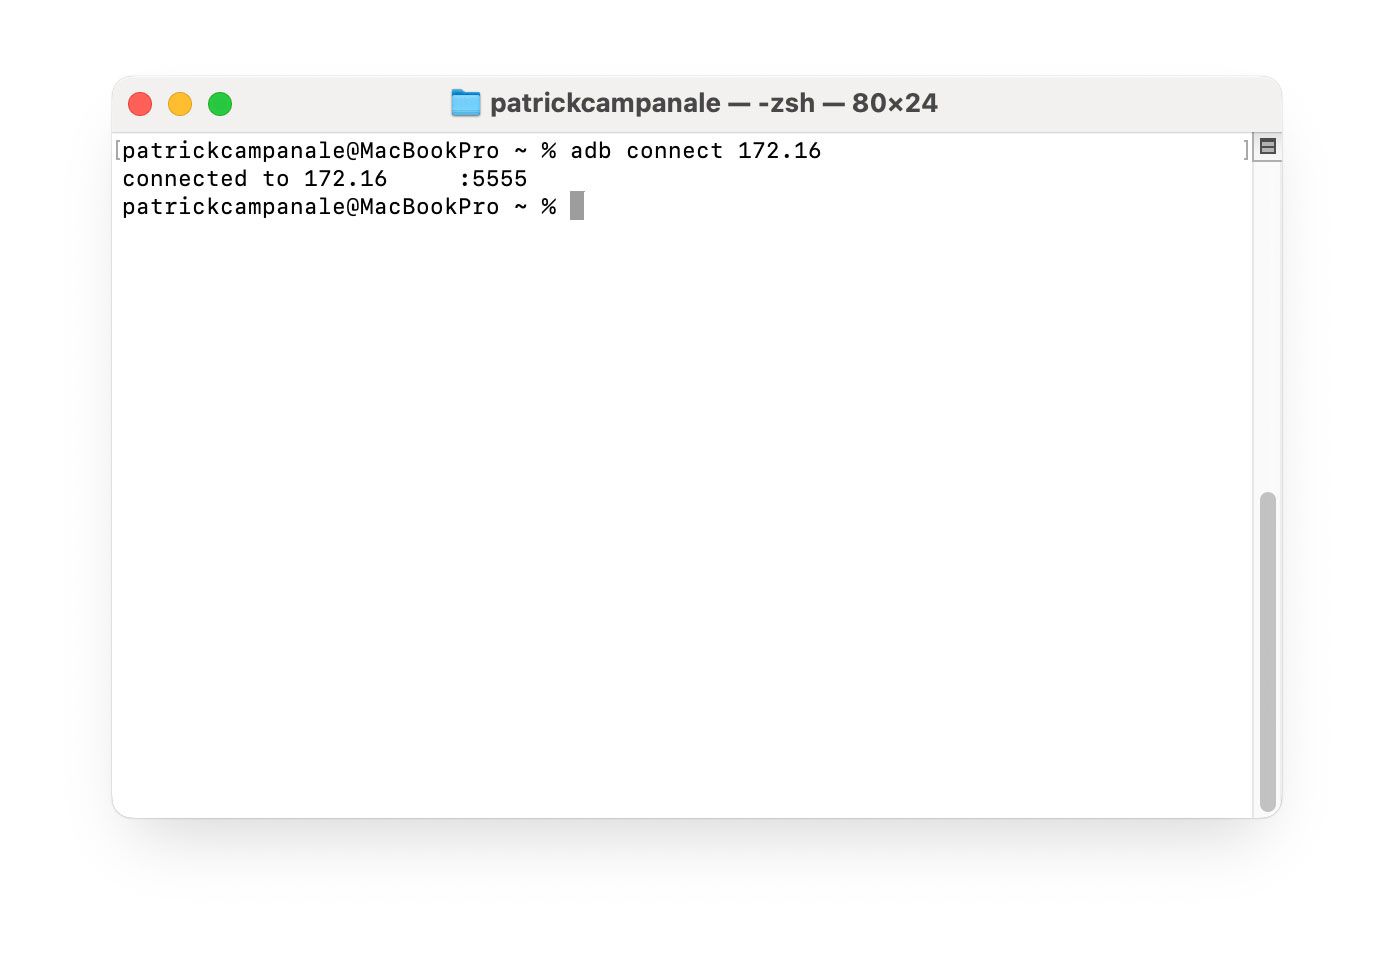
Now, we start the simple steps. To connect to your TV over the network, you’ll simply run the following command: adb connect ip.address, except, replace ip.address with the IP address of your Fire TV.
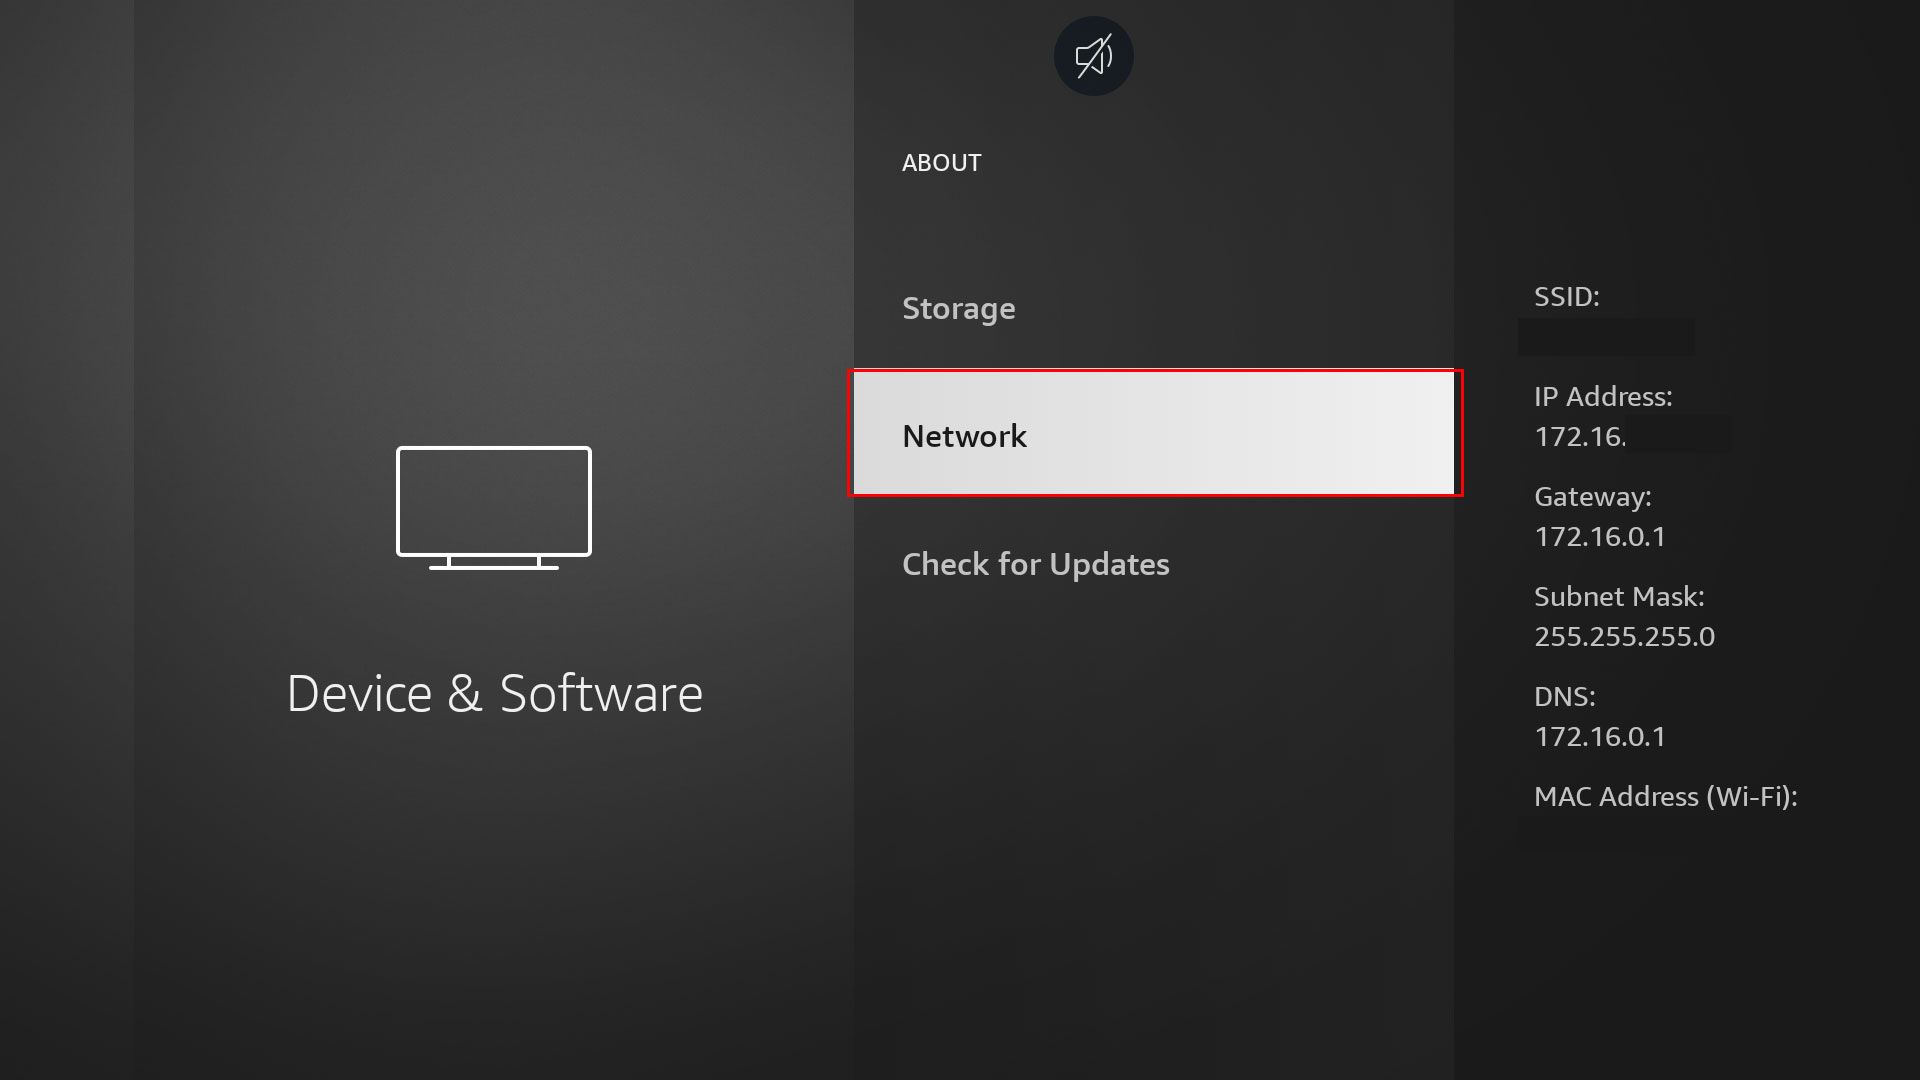
If you don’t know the IP address, then you can find it by navigating to Settings > Devices & Software > About. Scroll down to “Network,” and you’ll see the IP address on display on the righthand side of the screen.
Once you have the IP address of your TV, simply run the adb connect ip.address command, and you should be good to go! Sometimes, you’ll get a popup on your TV asking if you want to authenticate the connection from your computer to the Fire TV. Simply check “Allow” and then re-run the adb connect ip.address command one last time.
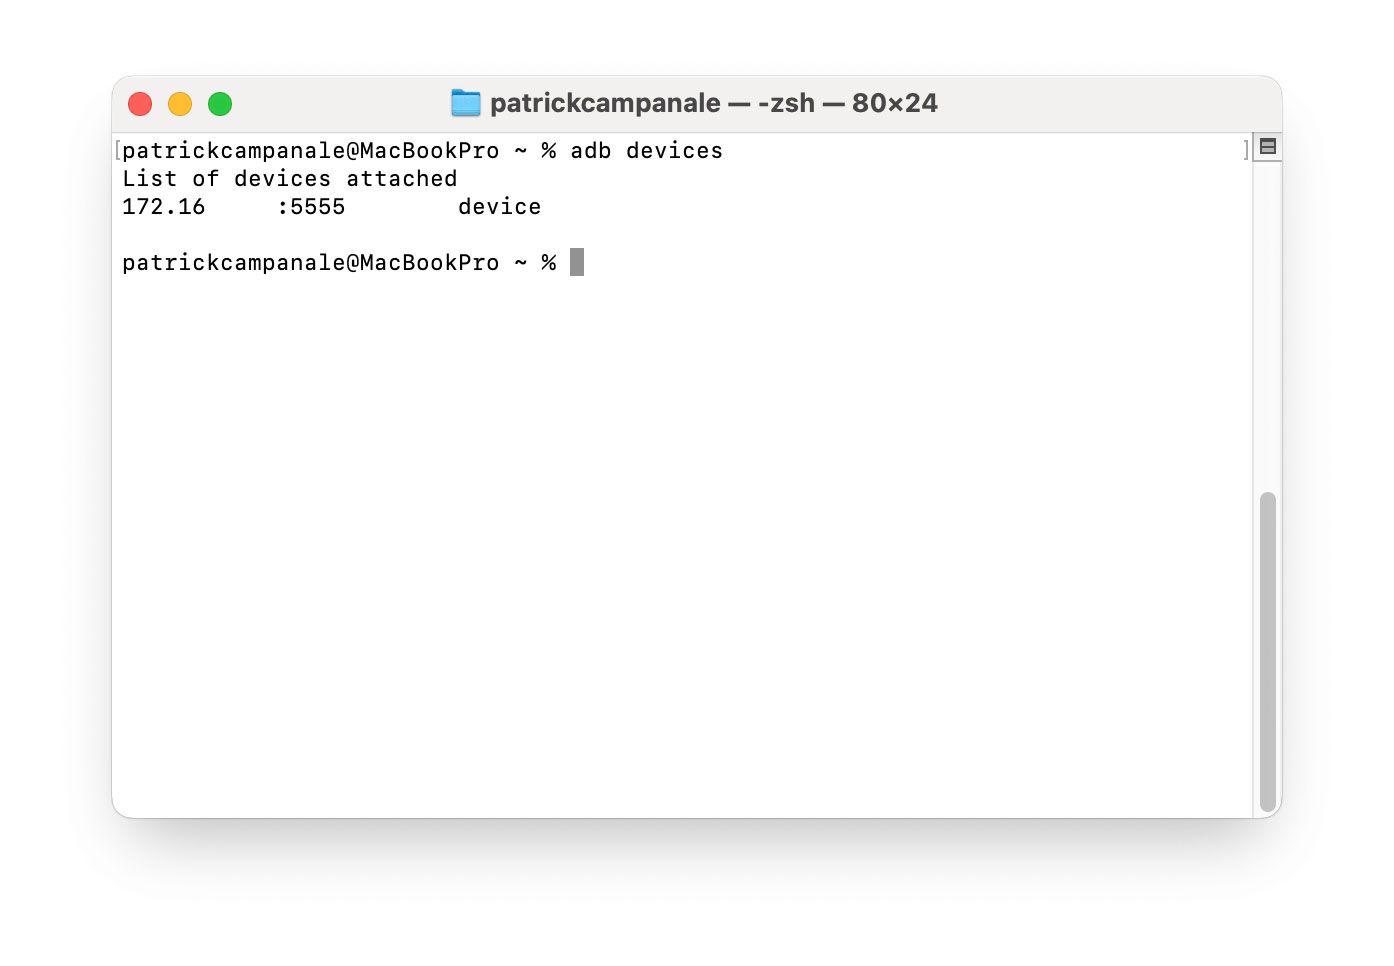
To verify that you’re connected, you can run adb devices and verify that your TV shows up. It should look like this.
Step 4: Run the Screenshot Command
Once you’re properly connected to your Fire TV via ADB, it’s time to actually take the screenshot.
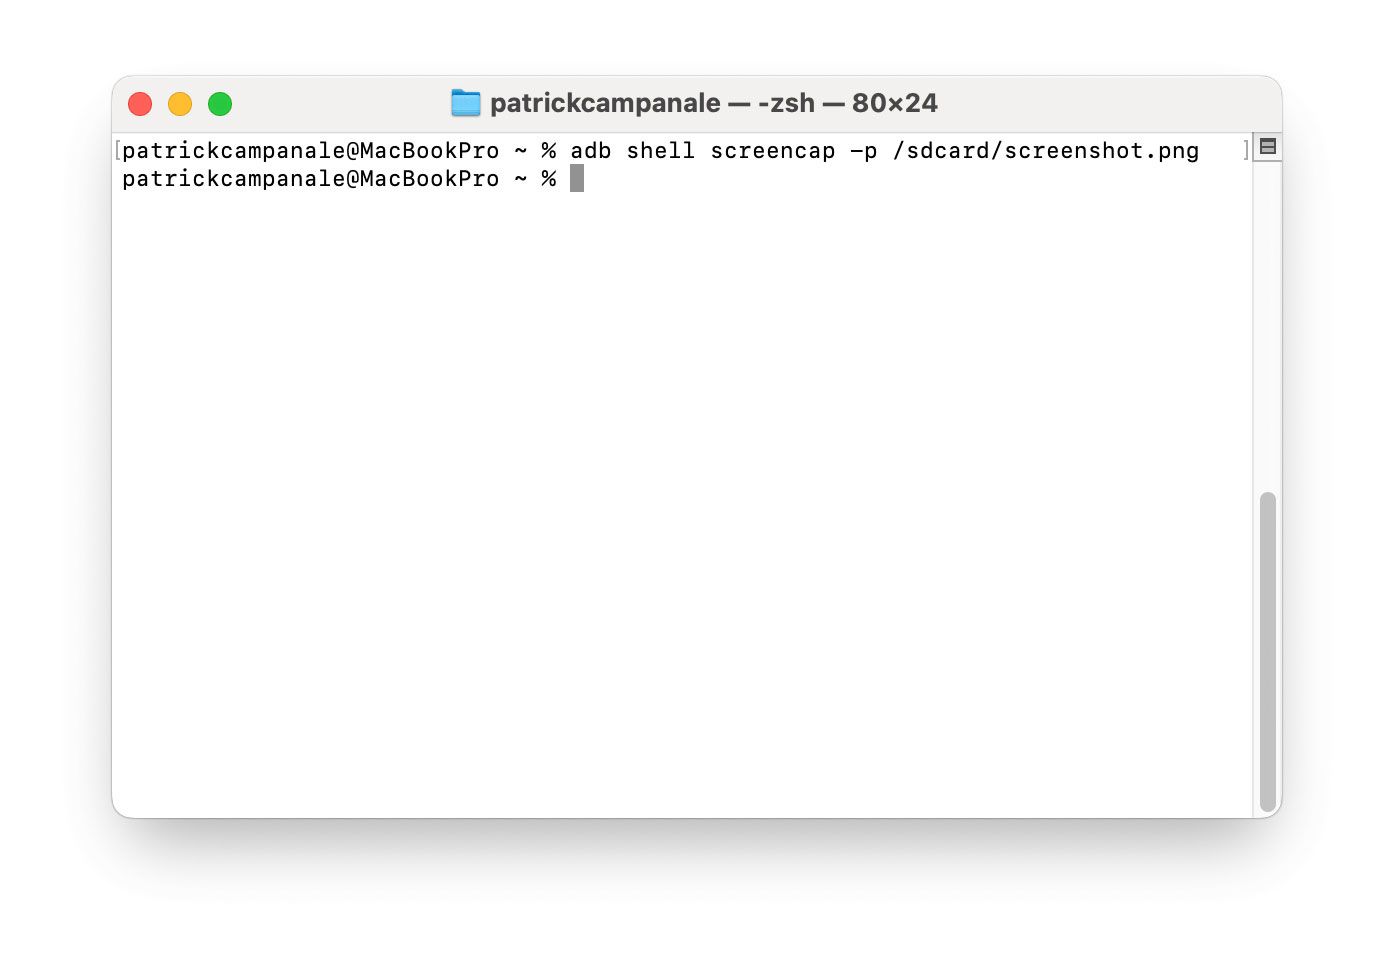
Doing so is quite simple. Just run the following command: adb shell screencap -p /sdcard/screenshot.png. You can feel free to replace screenshot.png with any filename you want — so long as it ends in .png.
I try to make my filenames descriptive so I know what they are once I copy them to my computer.
Step 5: Copy the File to Your Computer
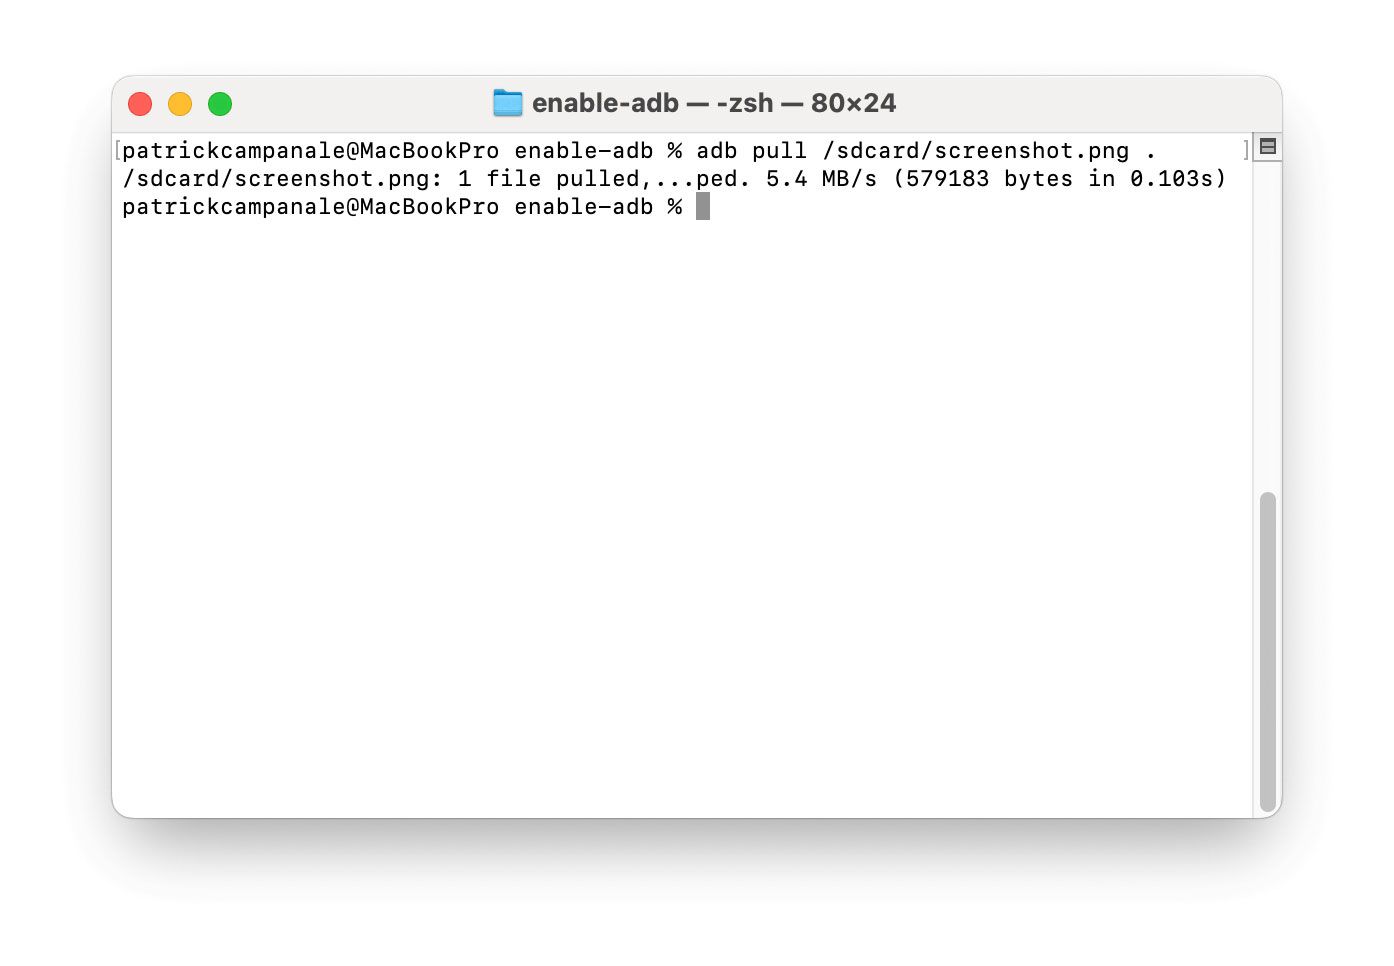
Now, it’s time to move the screenshot to your computer. To do this, run the command: adb pull /sdcard/screenshot.png tmp. Wildcard modifiers, like *, won’t work here, sadly. Now, the final part of the command, in this example tmp, is the folder you want the screenshot to go into. You can name the folder (i.e. Screenshots), create a folder called tmp to put them in, or, do what I do, use a period.
The command would look like this: adb pull /sdcard/screenshot.png .. The period is essentially saying “right here” and it’ll place the pulled file in the folder that you are currently inside in your terminal.
Of course, if your screenshot is named settings-screen.png, then be sure to replace screenshot.png with the correct file name.
Step 6: Remove the screenshot from the Fire TV’s storage
You likely don’t want to leave a ton of screenshots on your Fire TV. For me, using a TCL Fire TV, each screenshot varies from about 5MB to around 10MB. So, while one or two won’t take up much space, having several stored will start to eat into your limited storage.
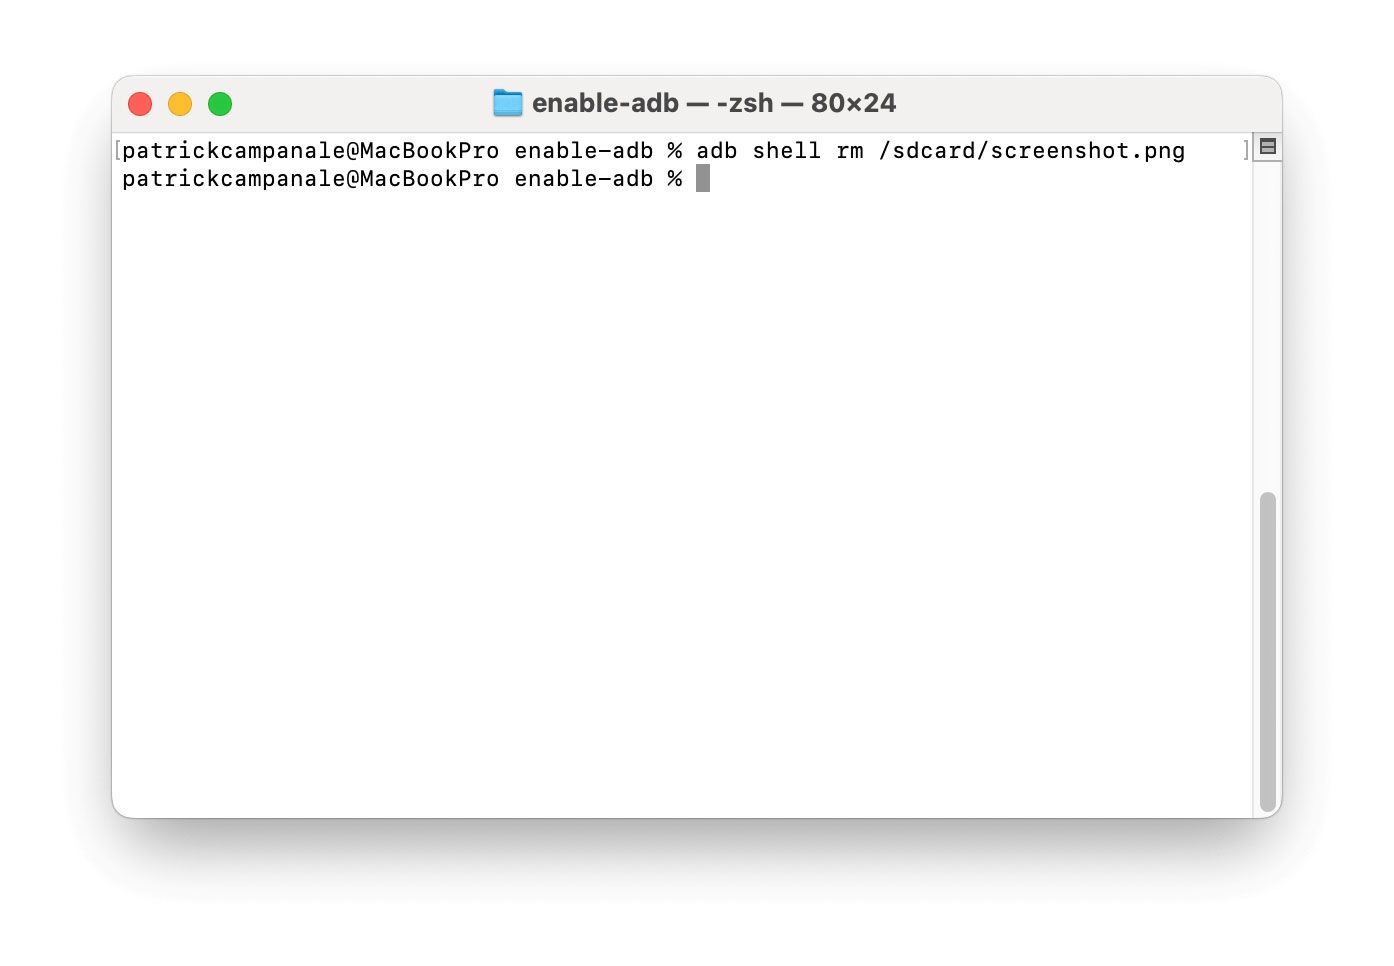
To delete the screenshots, use the following command: adb shell rm /sdcard/screenshot.png. Wildcard modifiers, like *, won’t work here either. So, you’ll have to delete each photo individually by its file name.
Now that you’ve taken screenshots on your Fire TV, you might want to sideload some apps next. Wondering what else you can do with ADB? We’ve got you covered with an in-depth guide of the tool.


