Summary
- The iPad has a built-in Virtual Trackpad which is ideal for precise tasks or avoiding repetitive touch actions that may cause hand strain.
- To start using this accessibility, enable AssistiveTouch and Virtual Trackpad under Accessibility settings.
- You can further customize the appearance and tracking and scrolling speeds of the Virtual Trackpad for a better user experience.
iPadOS has had mouse and trackpad support for a while now, transforming it into something of a MacBook replacement. If you don’t have a trackpad-equipped folio case or an external pointing device you can still use this feature with Virtual Trackpad.
What Is Virtual Trackpad, and Why Use It?
Virtual Trackpad is an accessibility feature that adds an on-screen trackpad to your iPad’s screen. In other words, it transforms a tiny area of your iPad’s screen into a trackpad, which you can use to navigate the UI and select items on the screen more easily—just like you do on a MacBook.
While there isn’t anything wrong with touch-based interaction, it often isn’t ideal if you’re using your iPad for serious work. This is because it demands a lot of finger gymnastics when, say, scrolling through a long list of items, accessing items on different corners of the screen, using the App Switcher, switching between recent apps, or selecting text on the screen. Not only are these tasks cumbersome via touch, but they could also induce hand strain.
The Virtual Trackpad, on the other hand, doesn’t have this problem as you can control everything from the tiny trackpad area on the screen. Plus, it doesn’t obscure your view, either, and hence offers better usability.
How to Set Up Virtual Trackpad on an iPad
Since it’s an accessibility feature, you need to enable AssistiveTouch to set up and use the Virtual Trackpad on your iPad. Doing this is easy. Head to Settings > Accessibility > Touch > AssistiveTouch and flip the “AssistiveTouch” toggle on.
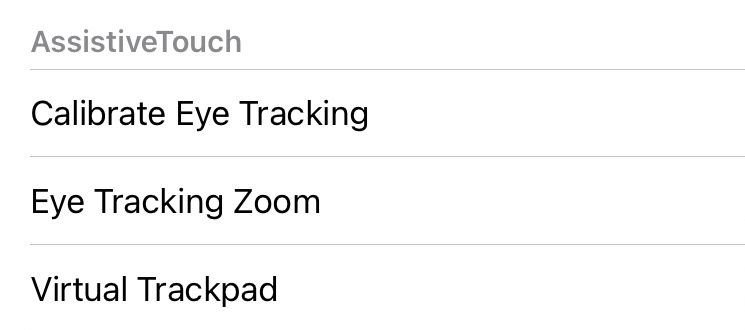
Scroll down, tap “Virtual Trackpad,” and toggle on the switch next to “Virtual Trackpad” on the following screen.
With Virtual Trackpad enabled, the next step is to set up how you access it. There are multiple ways to do this. You can either put the Virtual Trackpad in the AssistiveTouch menu or assign it to one of the three custom actions: Single-Tap, Double-Tap, or Long Press.
To add it to the AssistiveTouch menu, tap “Customize Top Level Menu” on the AssistiveTouch settings page.
Hit the “+” button at the bottom. Then, tap the newly added button and select “Virtual Trackpad” under “AssistiveTouch.”
Alternatively, if you want to assign it to one of the actions, tap on an action under “Custom Actions,” scroll down to the “AssistiveTouch” section, and choose “Virtual Trackpad.”
Accessing the Virtual Trackpad on Your iPad
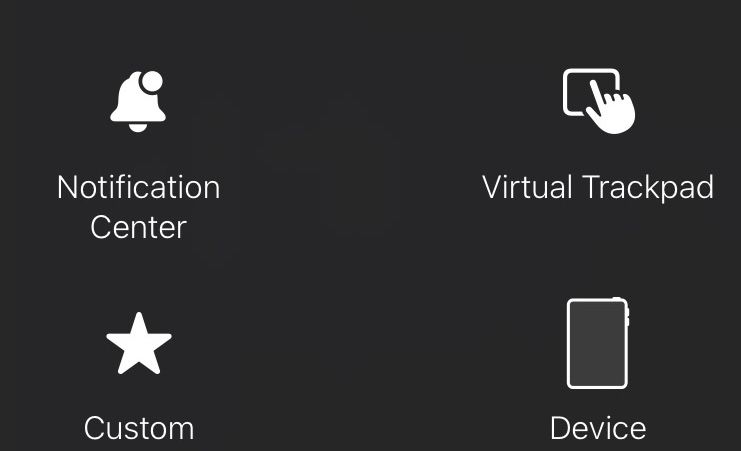
Accessing and using the Virtual Trackpad on your iPad is straightforward. If you’ve added it to the AssistiveTouch menu, access the menu by tapping the AssistiveTouch button on the screen. Then, tap the “Virtual Trackpad” button to bring it up.
On the other hand, if you’ve assigned it to one of the custom actions, perform the appropriate action on the AssistiveTouch button to bring up the Virtual Trackpad on your screen.
If you’ve used a physical trackpad with your iPad before, you’ll feel right at home since pretty much all the gestures will work in the same way. But if you haven’t, here’s an overview of the gestures Virtual Trackpad supports and what they do:
- Drag with one finger: Move the cursor on the screen
- Single-finger tap: Select an item
- Single-finger long tap: Perform a double-tap to open the context menu
- Single-finger long tap and drag: Mark and select text or select and drag an item
- Two-finger swipe-up or swipe-down: Scroll up or down
- Two-finger swipe-left or swipe-right: Swipe left or right
- Two-finger pinch-in or pinch-out: Zoom in or out
- Four-finger partial swipe-up: Access the App Switcher
- Four-finger full swipe-up: Go to the Home Screen
- Four-finger swipe-left or swipe-right: Switch between your recent apps
- Two-finger swipe-down on the Home Screen: Access the Spotlight Search
- Single-finger tap on time: Bring up the Notification Center
- Single-finger tap on battery indicator: Bring up the Control Center
By default, the Virtual Trackpad sits in the bottom-right corner of the screen, but you can move it anywhere you want. Simply tap and hold one of the edges and drag it to your preferred position.
Similarly, you can adjust the trackpad’s size if it seems too small or big. Tap the arrow icon in the top-left corner of the trackpad and drag it outward or inward to make it bigger or smaller, respectively.
Customize Your iPad’s Virtual Trackpad
While you can use the Virtual Trackpad in its default settings, changing some of them will make the trackpad more accessible and improve your experience of using it on your iPad. You can find these and other settings under the Virtual Trackpad settings by navigating to Settings > Accessibility > Touch > AssistiveTouch > Virtual Trackpad.
Personalize the Pointer Appearance
Finding the pointer on your screen in its default appearance could be difficult for some people. Luckily, you can improve its visibility by changing its appearance. This includes changing the pointer size and color and increasing its contrast.
Select “Pointer Control” from the Virtual Trackpad settings page.
Then, drag the “Pointer Size” slider left or right to make the pointer smaller or bigger.
If you want to increase the pointer’s contrast, toggle on the “Increase Contrast” option under “Appearance.”
To change the pointer color, tap on “Color” under “Appearance” and choose your preferred color.
You can also increase or decrease its border width using the “Border Width” slider below.
Personalize the Trackpad Appearance
Just like the pointer, you can also personalize the appearance of the Virtual Trackpad.
Tap “Trackpad” under “Appearance” on the Virtual Trackpad page.
Then, choose a color to change the trackpad’s color. You’ll need to tap the trackpad to see the change.
Similarly, you can adjust the trackpad’s opacity. Keep it low so that it’s easier to see what’s behind the trackpad on your screen.
Adjust the Tracking Speed and Scroll Speed
Aside from its appearance, you can also customize the behavior of the Virtual Trackpad, like its tracking and scrolling speed.
If you find the default trackpad speed too slow or fast, you can adjust it. From the Virtual Trackpad page, move the “Tracking Speed” slider left or right to decrease or increase the speed.
To adjust the scroll speed, drag the “Scroll Speed” toggle on the Virtual Trackpad settings to the left or right.
The Virtual Trackpad is an alternative way to interact with your iPad screen. While you might find it less intuitive to use initially—especially if you’ve primarily been using touch to interact with your iPad—you might find it more effective for fiddly tasks like editing spreadsheets or to reduce hand strain over long periods.
Prefer physical pointing devices? Use a mouse with your iPad, or connect a Bluetooth pointing device like Apple’s Magic Trackpad instead.


