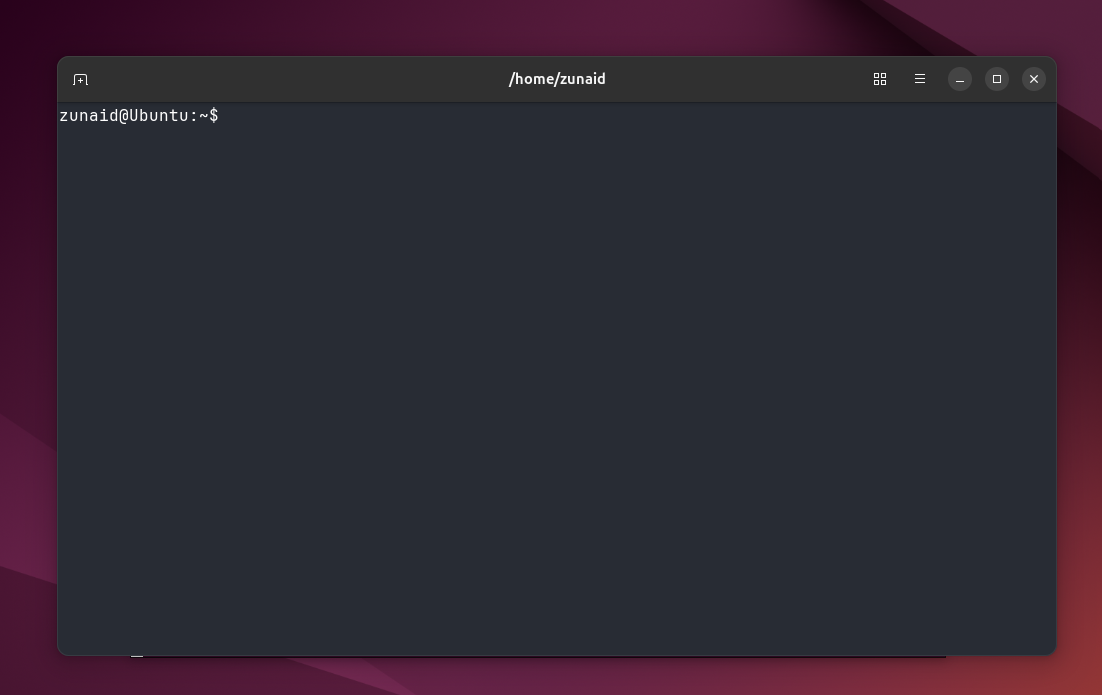
The Ghostty terminal has created some noise in the Linux community. As a Linux user who loves exploring new tools, I just had to give it a shot. It had some cool features I wanted to explore. But is it worth replacing your terminal? Let’s find out.
What is Ghostty?
Ghostty is a modern terminal emulator created as a passion project by Mitchell Hashimoto. It’s designed to be fast, feature-rich, and fully native to both Linux and macOS. It seeks to provide a seamless and highly integrated experience for power users.
Ghostty stands out with its native UI approach, using platform-specific technologies. Swift, AppKit, and SwiftUI on macOS, and Zig with GTK4 on Linux. It supports essential terminal features like the Kitty graphics protocol, hyperlinking, and light/dark mode notifications. Moreover, it offers application-level functionalities such as native tabs, split views, and a drop-down terminal on macOS. Performance is also a major focus, with optimizations for fast startup, smooth scrolling, and high input/output throughput.
Installing Ghostty on Linux
You can install Ghostty on Linux in several ways. For starters, you can use your distro’s package manager.
I was going to try it on Ubuntu. Unfortunately, there was no official package for Ubuntu and only a user-managed one was available. So I went with an AppImage since it was much easier to install and universal.
First, download the AppImage file of Ghostty from GitHub. You can go to the Ghostty AppImage repository and find the latest version at the top, or you can enter a command like this, adjusting for the version you want:
wget https://github.com/psadi/ghostty-appimage/releases/download/v1.0.1%2B4/Ghostty-1.0.1-x86_64.AppImage
Go to the directory where you downloaded the file and provide it with the correct file permission. Your file name may look different than the one below, so be sure to adjust for your downloaded file.
chmod +x Ghostty-x86_64.AppImage
Now, run the AppImage file.
./Ghostty-x86_64.AppImage
This should successfully launch the Ghostty terminal.
If you have Snap enabled, you can also install Ghostty as a Snap. Using package managers or Snap will let you have a bit more freedom in using Ghostty than the AppImage. To install it using Snap, run:
sudo snap install ghostty --classic
Then simply run the ghostty command to launch it or open it from the app drawer.
What I Liked About Ghostty
Ghostty does bring some new things and useful features worth trying out, including the tabs and configuration options.
Smooth Tabbing and Splitting
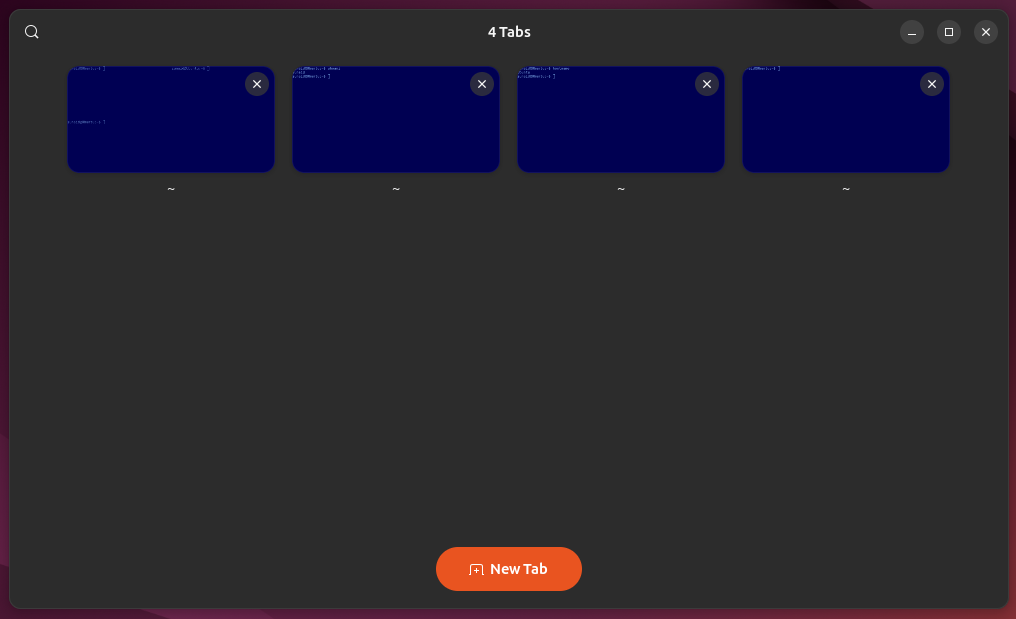
When you’re multitasking on the terminal, you know how convenient it is to use multiple tabs and screen splits. Ghostty makes this even more convenient. You can create multiple tabs by pressing the plus icon in the top left corner of the terminal window. Something I found new in Ghostty is the ability to view all opened tabs at once. Say you have like 5 or 6 tabs opened and are not sure which one you need to switch to. Getting an overview of all tabs makes it easier to find the tab you’re looking for.
For splits, you can create screen splits in any of the four directions. You can find the splitting options in the hamburger menu in the top right corner. However, the real convenience of splitting in Ghostty is by using keyboard shortcuts. You can use the default key bindings or define your own. I liked how quickly I could split the screen in different directions with some key presses.
Configuration Options
Ghostty comes with a lot of customization options. As a Linux enthusiast, the freedom to configure as I like is always appreciated. You can set different themes, fonts, colors, padding, keyboard shortcuts, and many more. That said, Ghostty promises to be a zero-configuration tool. That means you don’t necessarily need to configure it to use it. The default settings and configurations it comes with are already good to work with.
Configuring it is also easy. All you need to do is create a configuration file and declare the values you want to use. I’ll cover this in more detail later on.
Terminal Inspector
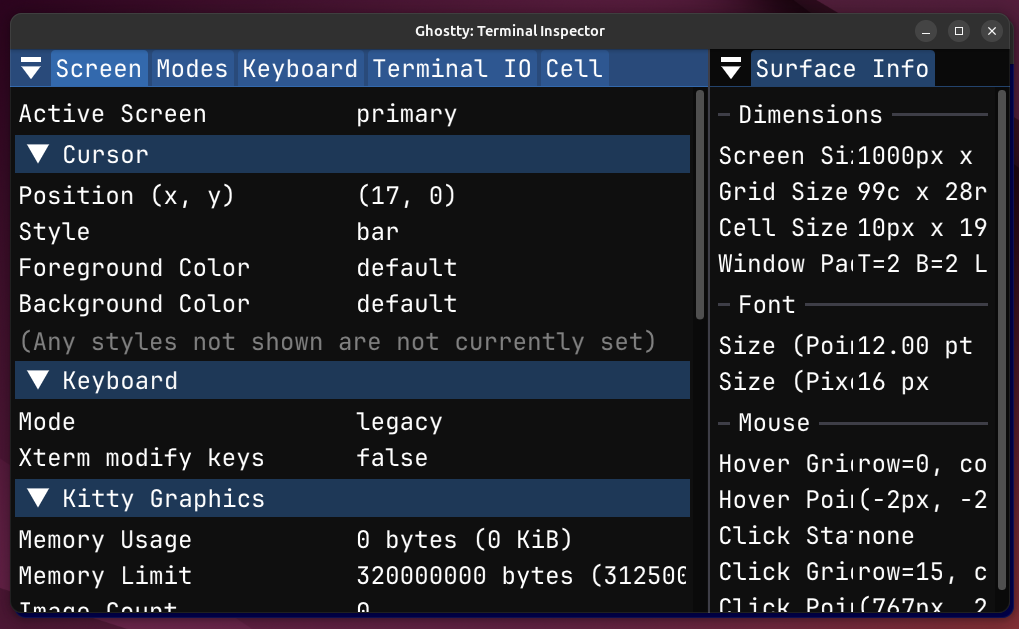
Another interesting feature I saw in Ghostty is the terminal inspector window that shows you some system information. Think of it just like the web inspector (also known as developer tools) in a browser. You can see different settings, like terminal mode, font and grid sizes, cell metadata, colors, among other things.
Great Documentation
For a terminal emulator, you usually wouldn’t expect the documentation to be so expansive. The Ghostty documentation has gone beyond and covered almost everything you need to know to get the best experience out of it. Moreover, unlike many other documentation, it’s really polished and organized. You can easily find the information you’re looking for, especially the different configuration options.
Configuring Ghostty
It wouldn’t be complete if I didn’t show you some of the configuration capabilities of Ghostty. When you first install the app, a configuration file is generated under the “~/.config/ghostty” directory. You can also create one if you don’t find it in that directory. Press the hamburger menu icon and press “Open Configuration.”
Configuring Ghostty is pretty straightforward. The configuration file uses a key-value pair system to evaluate your current configuration. There are many settings to explore here. For example, colors, key-bindings, font, themes, etc. Here’s an example configuration settings you can use and play with:
background = 000052foreground = 89bbf6
keybind = ctrl+z=close_surface
keybind = ctrl+shift+L=new_split:right
font-family = Courier 10 Pitch Regular
Once you’re done editing the configuration file, go to the hamburger menu and press “Reload Configuration” or hit Shift+Ctrl+, (comma) to apply the changes.
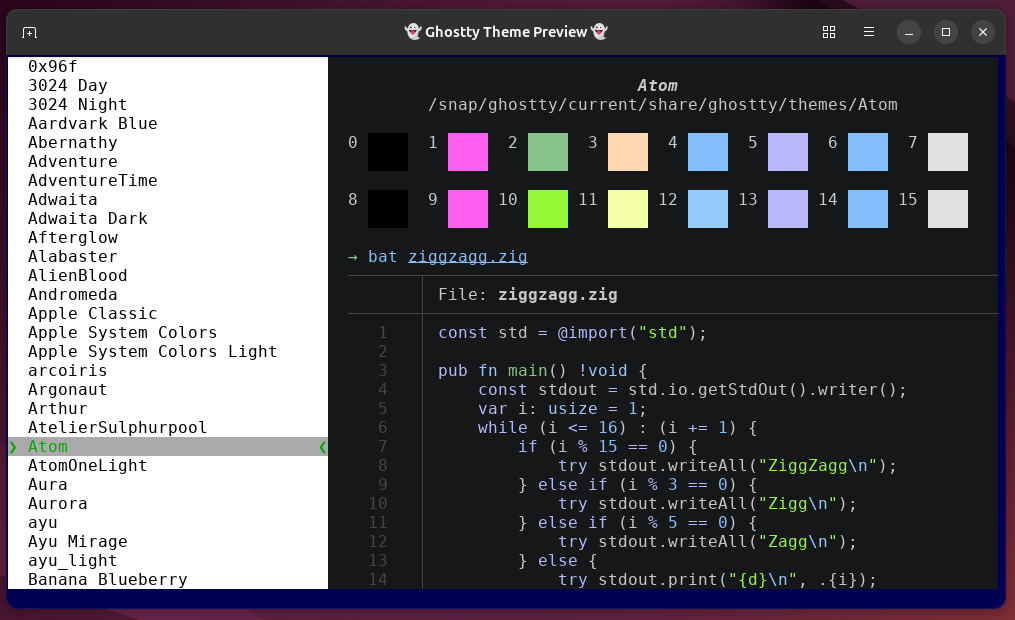
Next, let’s check out themes. You can choose from a bunch of default themes or build a custom one. To check out all the available themes, run:
ghostty +list-themes
Once you choose a theme, remember its name because you can select it from this menu. Go back to the configuration file and set the theme there.
theme = "Mirage"
You can also specify different themes for light mode and dark mode. Ghostty will pick the theme based on your system appearance. Likewise, you can check the available font families and key bindings.
        ghostty +list-fonts
ghostty +list-keybinds
This is just scratching the surface. You can check the documentation for the extensive configuration options.
It Does Need Some Improvements
Ghostty is still very new in the scene and that shows. I faced some issues while using it. Sometimes, it took a while to open it. I tested the theory by opening the default Ubuntu terminal. The stock terminal opened much faster than Ghostty in most cases. Now, I’m not entirely sure if this is because I used the Snap package.
Speaking of the Snap package, Ghostty doesn’t have official packages for Debian, Fedora, and Ubuntu. Given how popular these distros are, I expected official packages instead of community-maintained ones. That might be coming in the future, though.
This might come as subjective but some of the default keybindings looked a bit weird to me. Sure, you can configure them. However, I’d expect a bit more thought given to them since most terminal users would use them.
The Ghostty terminal emulator offers some cool features and a few novel ones too. However, I still haven’t found a solid reason for the hype yet. I, for one, am not switching to it unless, in a future update, I find a more convincing feature that I live by. If you’re interested in alternative terminal apps, I’ve previously reviewed Warp terminal which you might find more appealing.


