My productivity almost always falters when my Mac has a messy feel to it. If you’re like me, cleaning up your Mac can go a long way in creating some much-needed focus. Here are a few ways to declutter your Mac and boost productivity.
Clean Up Your Desktop and Dock
Your desktop is an important part of your Mac’s interface and any clutter can be a major source of distraction. The cleaner my desktop, the better my perception of how organized my life (and Mac) is. I like to regularly clean up files and folders on my desktop, and delete unnecessary screenshots. You can even choose to entirely hide everything if you are not a big fan of saving things on your desktop.
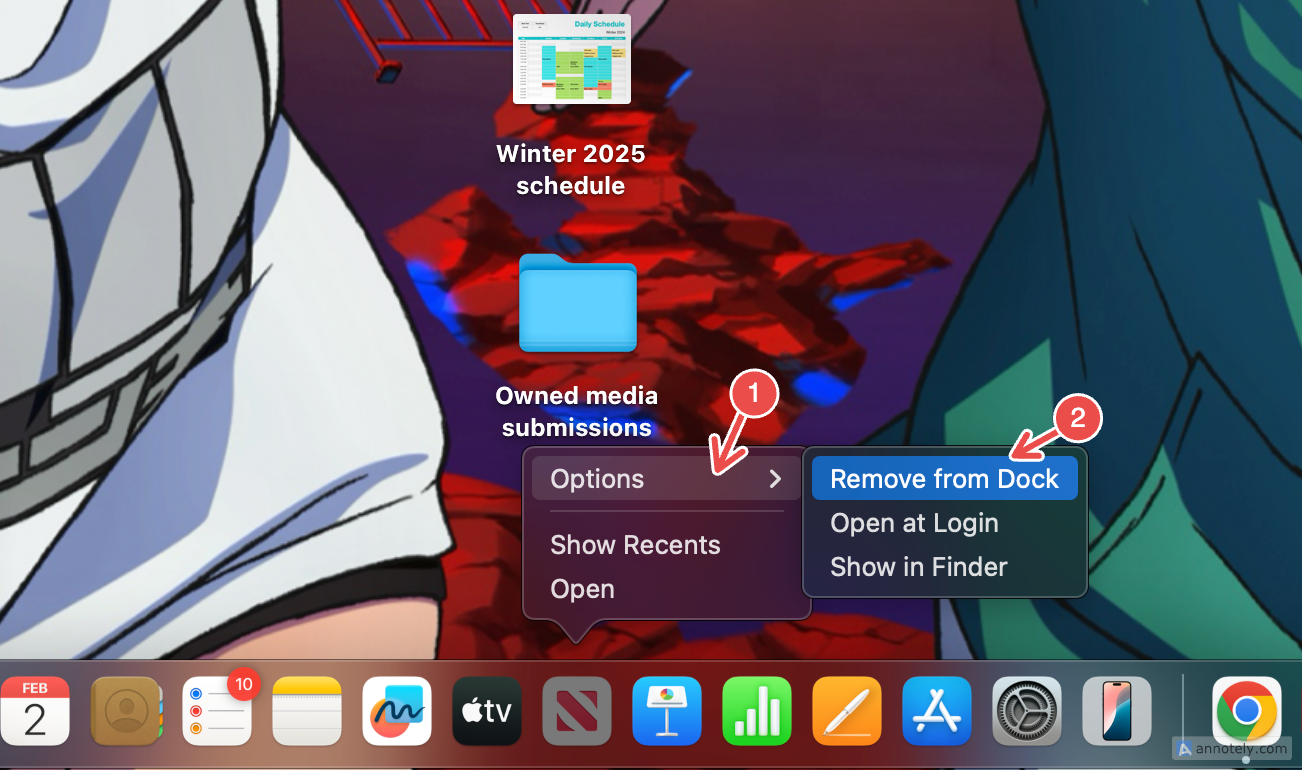
You can also check up on your dock, and remove apps that you don’t use often. To do this, hover over an app you want to remove and right-click (Control+click) it. Now, click on “Options,” then select “Remove from Dock.”
I also find that switching up my wallpaper from time to time for a minimalist one (or even dynamic wallpapers) cuts through any desktop clutter I might accumulate when working on a project.
Take Control of Your Files
File management is a crucial part of decluttering your Mac. Downloads and files can pile up quicker than you realize, which is why creating dedicated folders can help you clean up your desktop and files better. Manually deleting files within Finder and making careful use of iCloud to store files can also help with organization and save on storage.
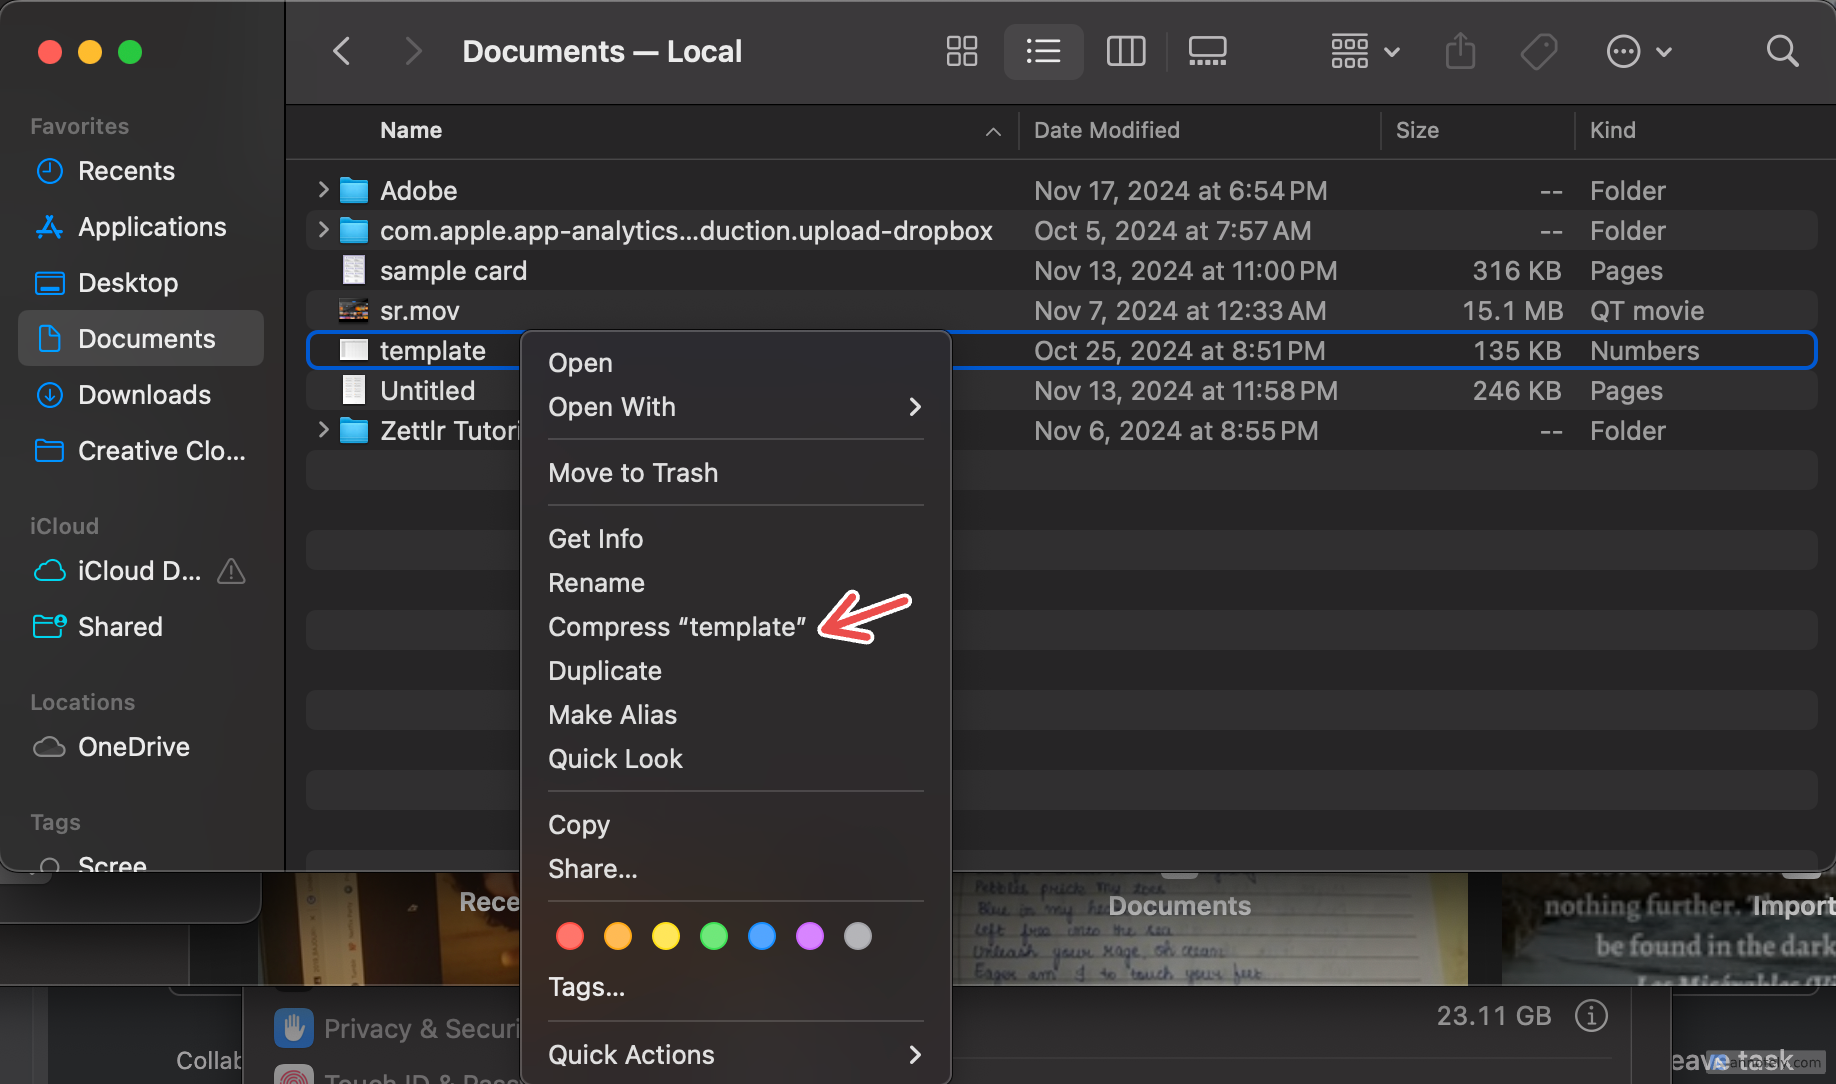
As a rule of thumb, I clear out downloaded files often to keep my Downloads folder in check. If you’d rather, you can create a Folder Action with Automator to automatically delete your Downloads after a set amount of time.
If you have a large library of files and folders that you cannot move to Trash but is in desperate need of organization, you can start utilizing tags and avoid a cramped desktop full of folders. These make your important files easier to find by assigning a color and label.
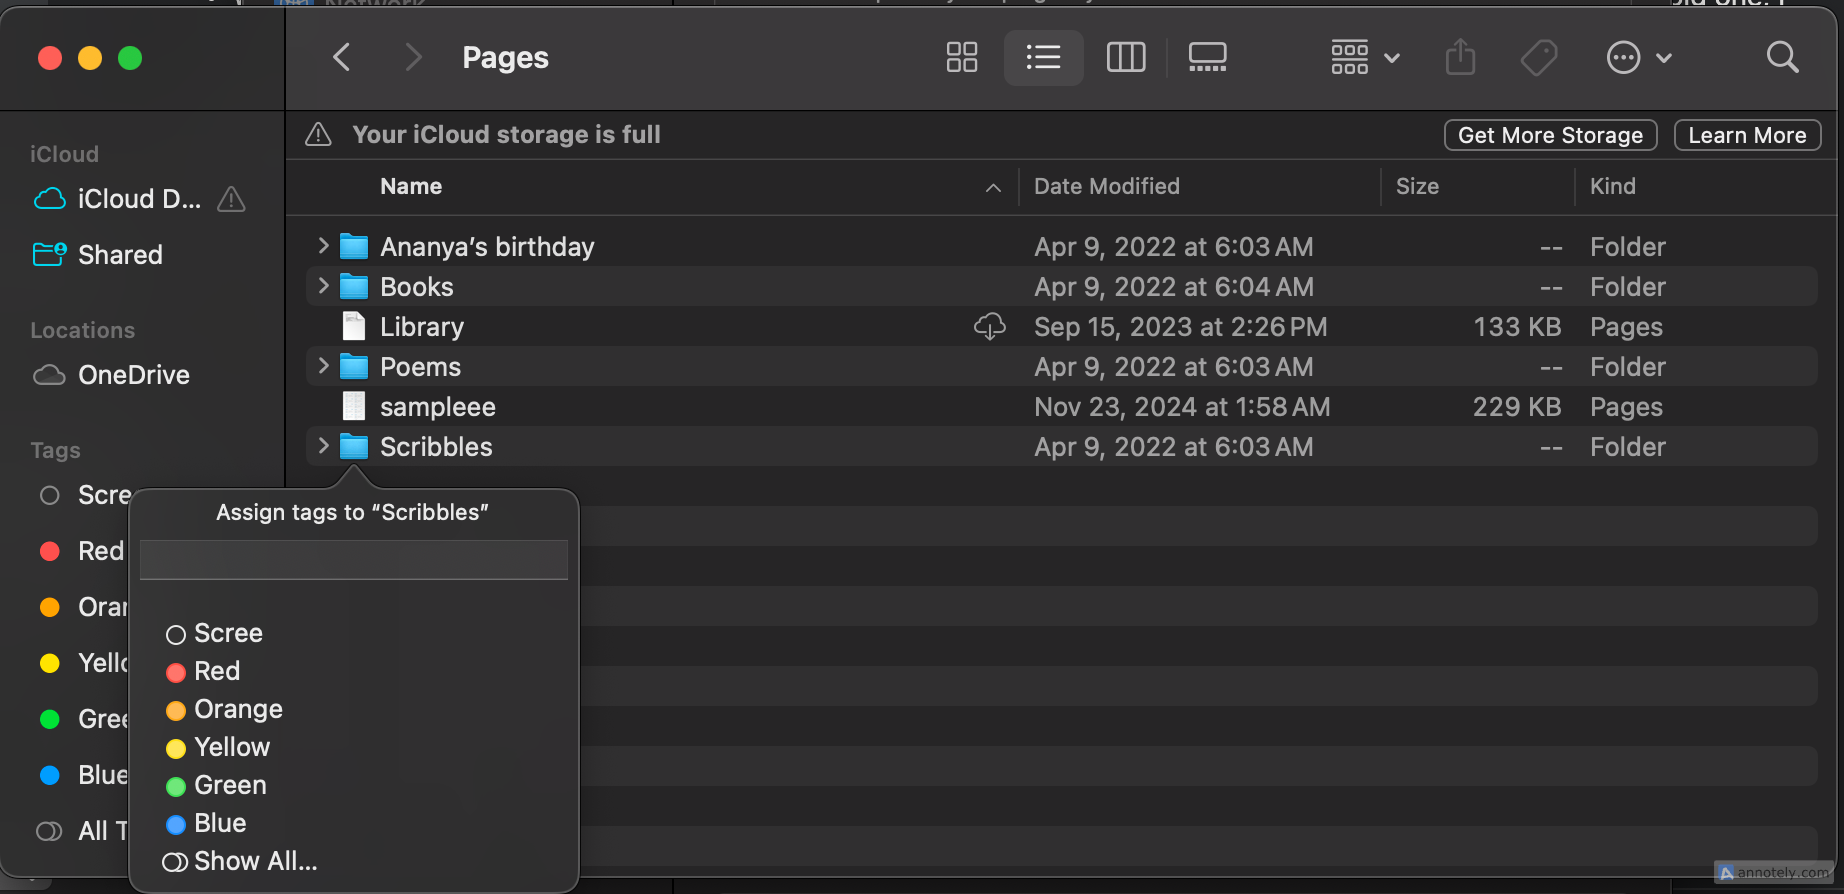
To tag a file or folder, right-click (Control+click) it, then go to Tags. You can select a preset color, or add a tag like “Home” or “Work.” You can also create custom tags by clicking “Tags,” typing the tag’s name, and clicking “Create New Tag.”
In Finder, click on a colored tag or custom tag to find your tagged files and folders easily. You can use tags to organize files using any method you like, and they can even be used as a filter when creating smart folders.
Delete Duplicate Photos
Whenever I declutter my iPhone, I always have to tackle my Photos library. I find that cleaning out the photo library on a Mac is a relatively easier process. You can drag and drop photos in batches into albums and folders to better organize them, and create project folders. But a simple trick to make sure that your library is not holding unnecessary space is to delete duplicate pictures.
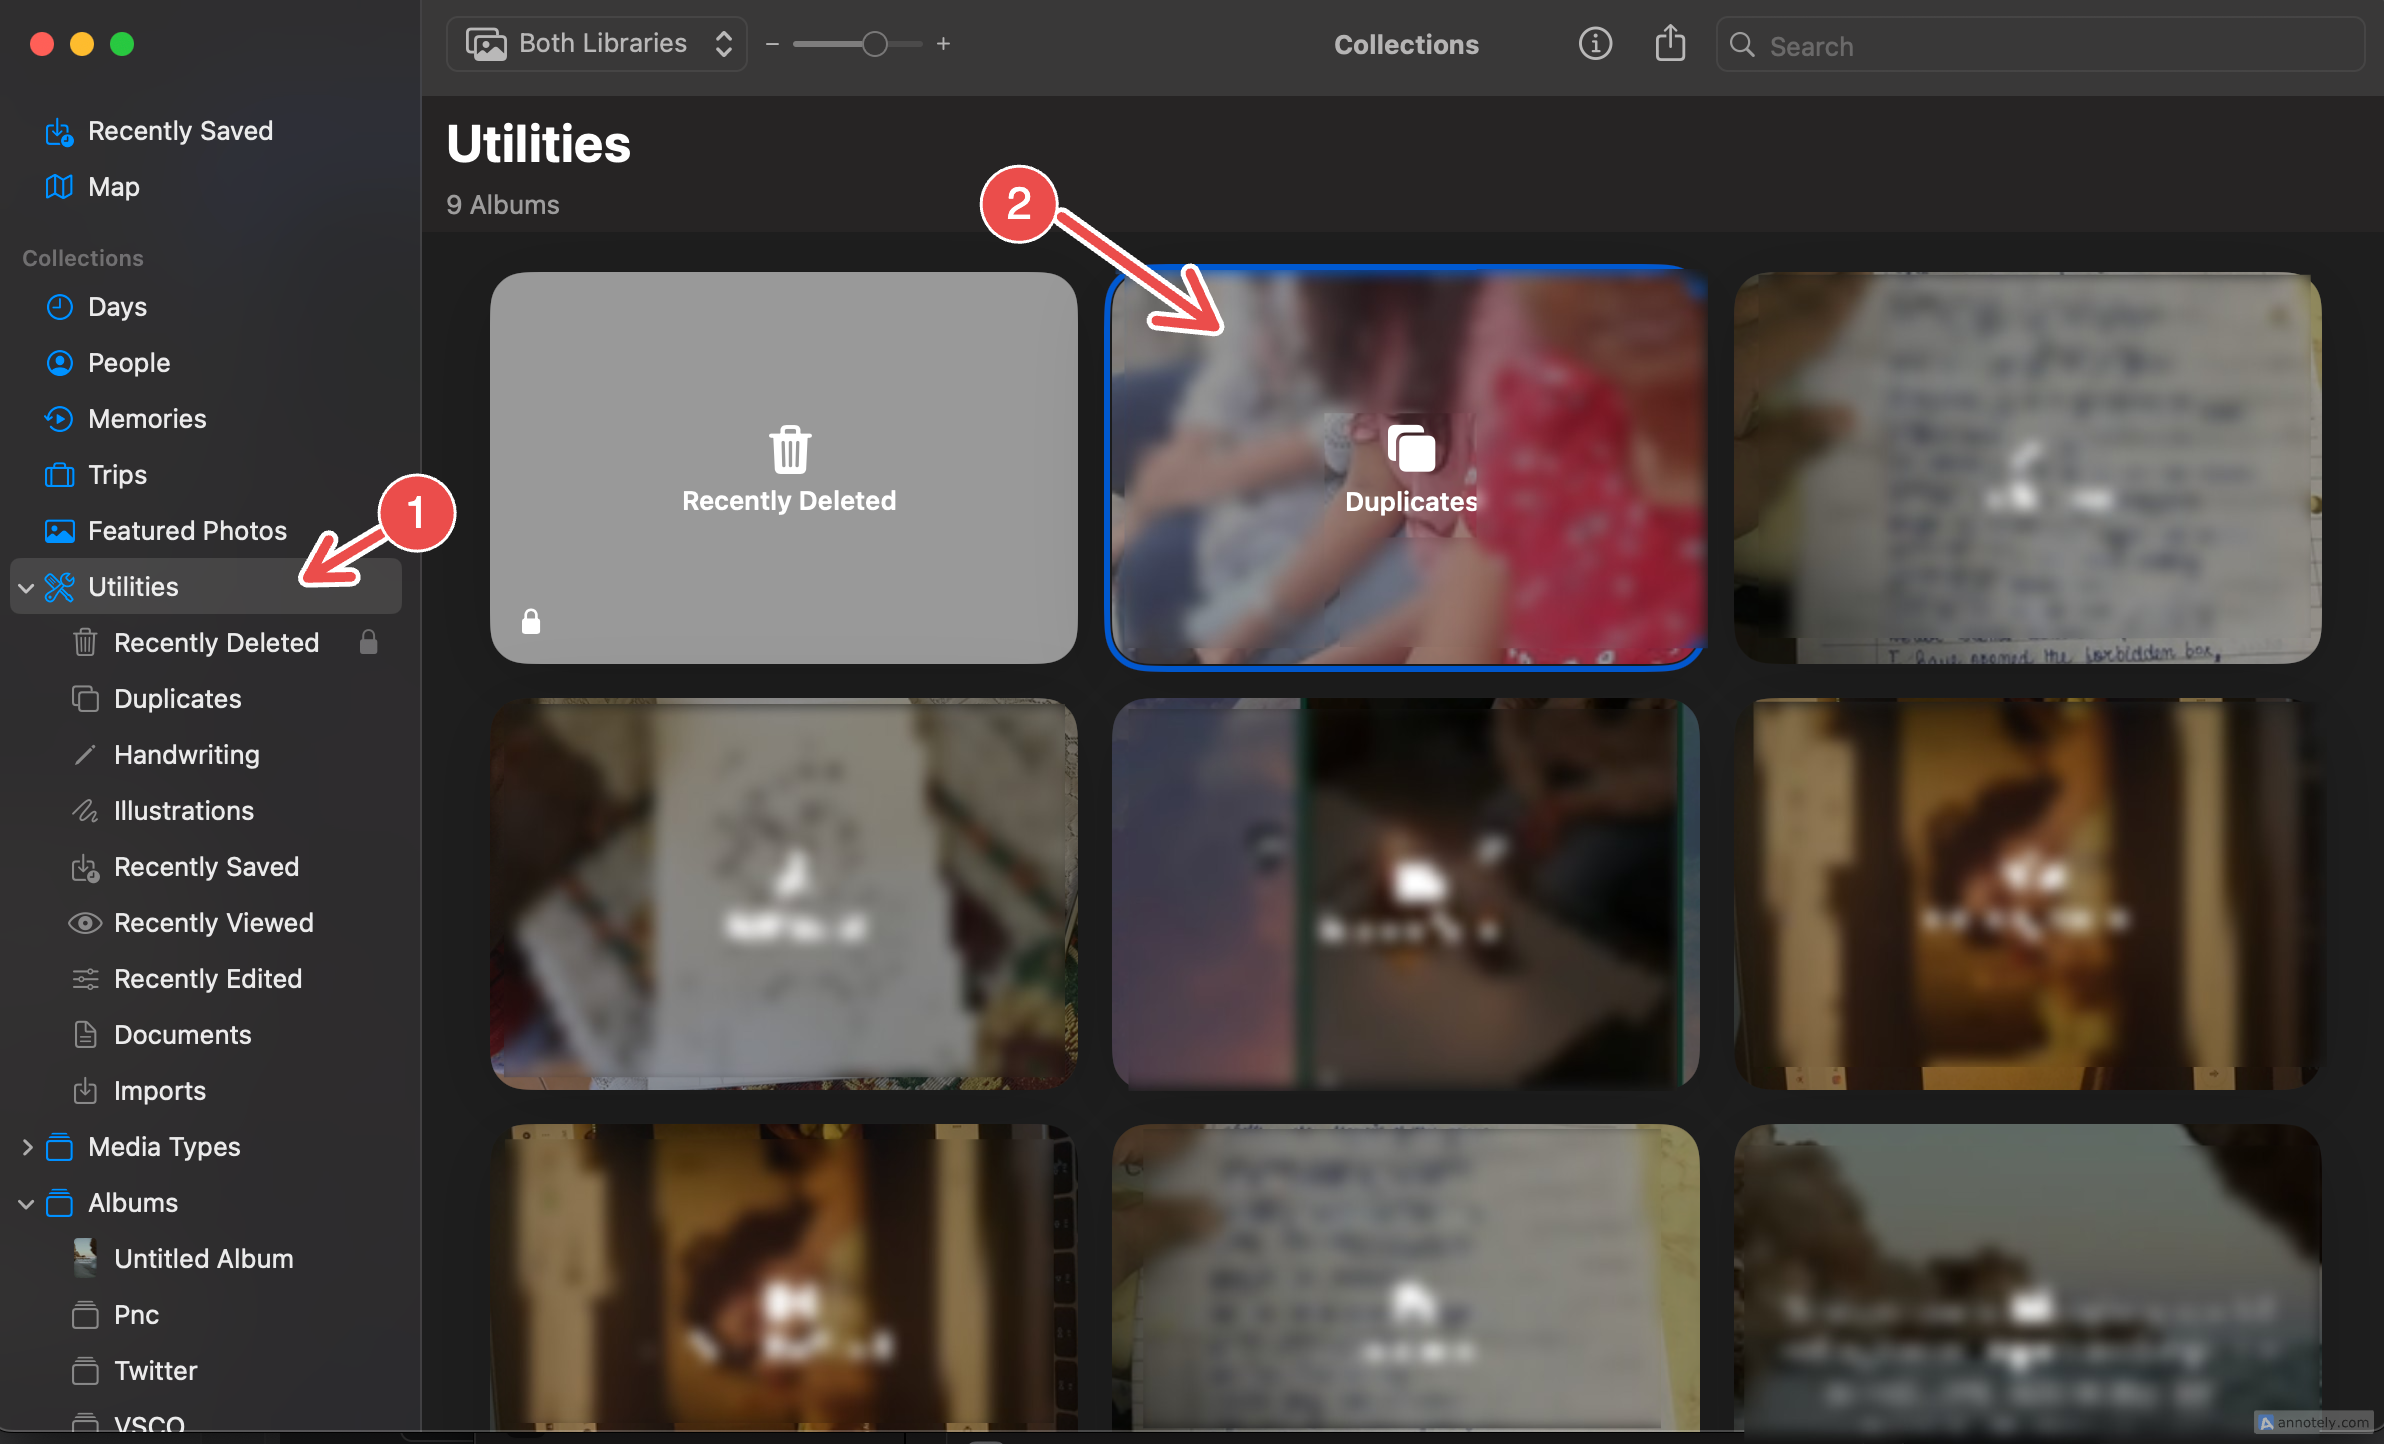
To clear out duplicate photos from your Mac, open your Photos app. Click on “Utilities” on the sidebar, then click “Duplicates.” You can then select “Merge Items” to get rid of duplicate pictures and organize your photo library a little better.
Empty the Trash
Delete items from your Mac if they don’t spark joy, even if they are sitting idle in your Trash. I had about 1,000 deleted items sitting in my Trash three months after buying a new Mac (which was way more than I expected). When you move a file to Trash, the storage space that it took up does not become available until it is permanently deleted from Trash, as well.
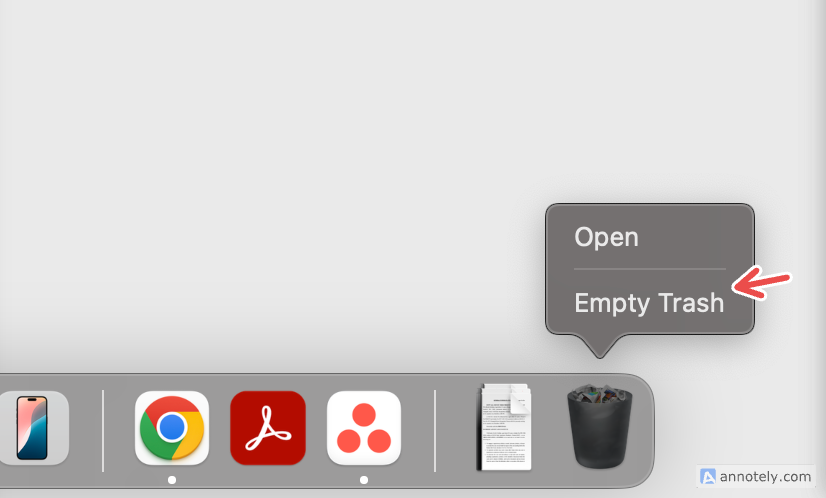
Emptying Trash is a simple process. If you want to completely empty the Trash, right-click (Control+click) the Trash icon from your dock and click “Empty Trash.”
Alternatively, you can open Trash, select and delete specific files, or recover ones that you might have accidentally deleted or want back.
You can set up a way to empty the Trash automatically. Go to Settings > Storage > Empty Trash Automatically and click “Turn On.” This will automatically empty items sitting in Trash for 30 days.
Manage Your App Library
Apps can take up a lot of storage on your Mac and clutter your app library. I like to do a monthly check-in and uninstall apps that I do not use or have the need for. Alternatively, you can create a folder to store apps that you don’t often use to prioritize important apps, and uninstall these apps when you’re sure you won’t be using them.
You can navigate to Finder > Applications, then drag the app you want to remove to the Trash. A better way, to get rid of all associated files, is to use a freeware app called AppCleaner.
Clean Your Mailbox
A forgotten aspect of your Mac that might need some dusting is your Mail. I often delay opening my mailbox to sort through important emails and deleting what’s not required. Apple Mail offers a few options when it comes to cleaning up your inbox. While you can just delete emails, you also have options to organize through flags, or move them to other locations like archives or iCloud.
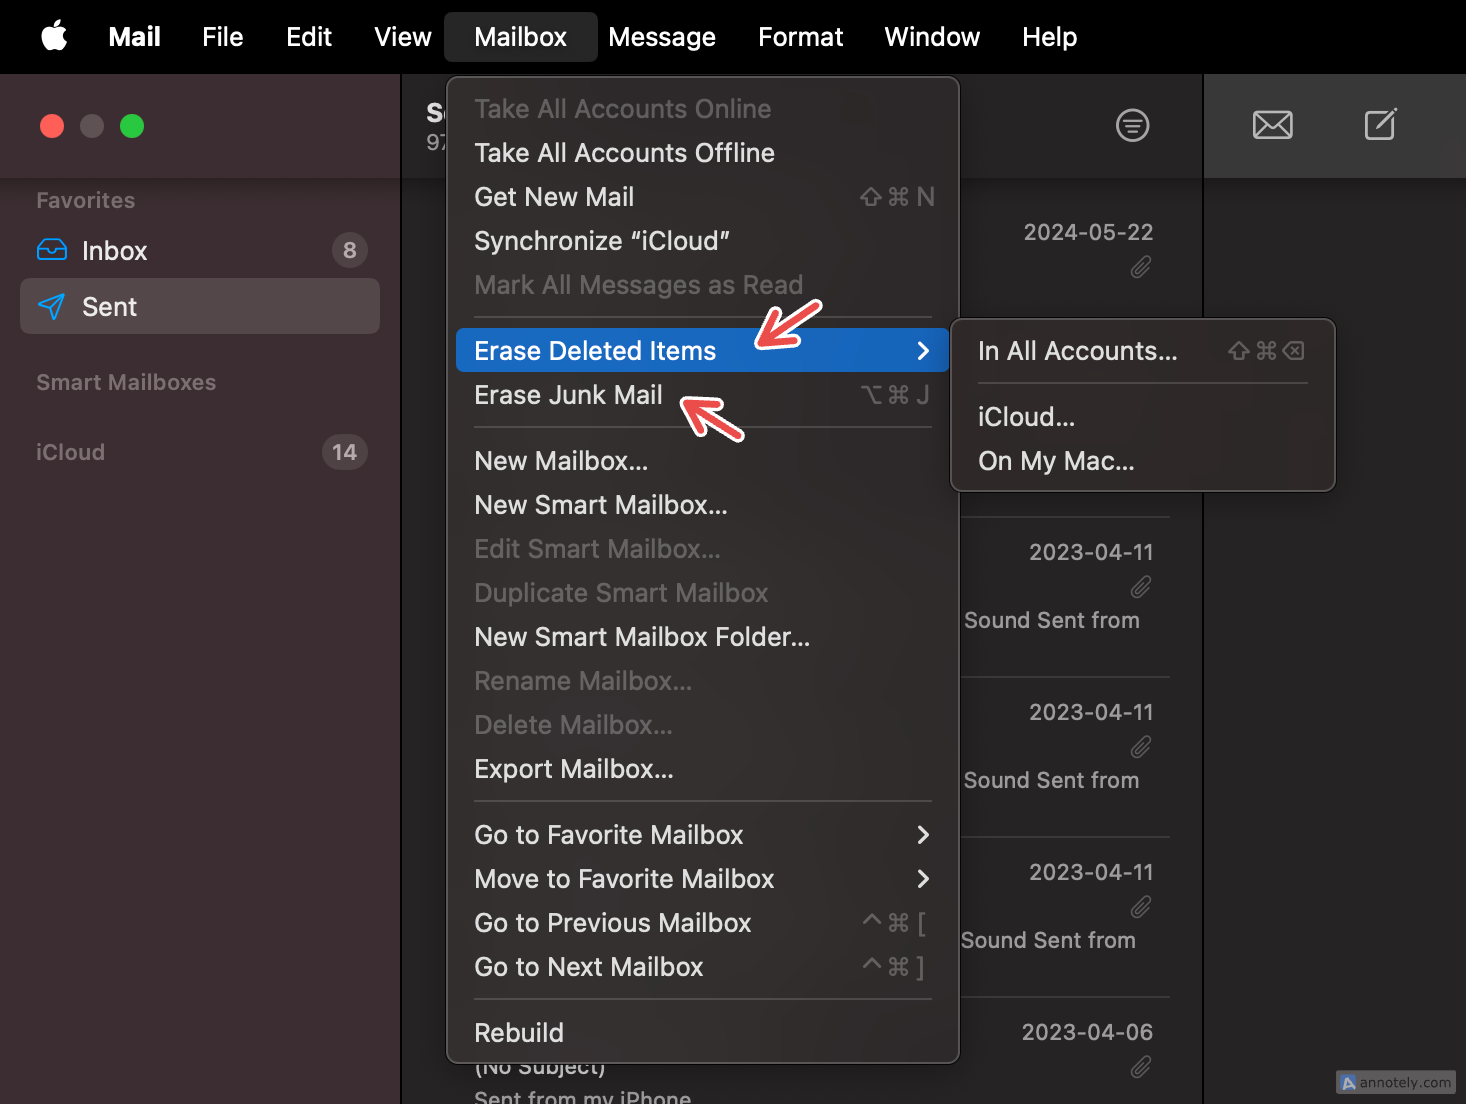
You can ensure that junk mail and deleted mail are permanently deleted. From your menu bar, click Mailbox > Erase Deleted Items or Erase Junk Mail to clear out emails that are taking up space.
Optimize Your Storage
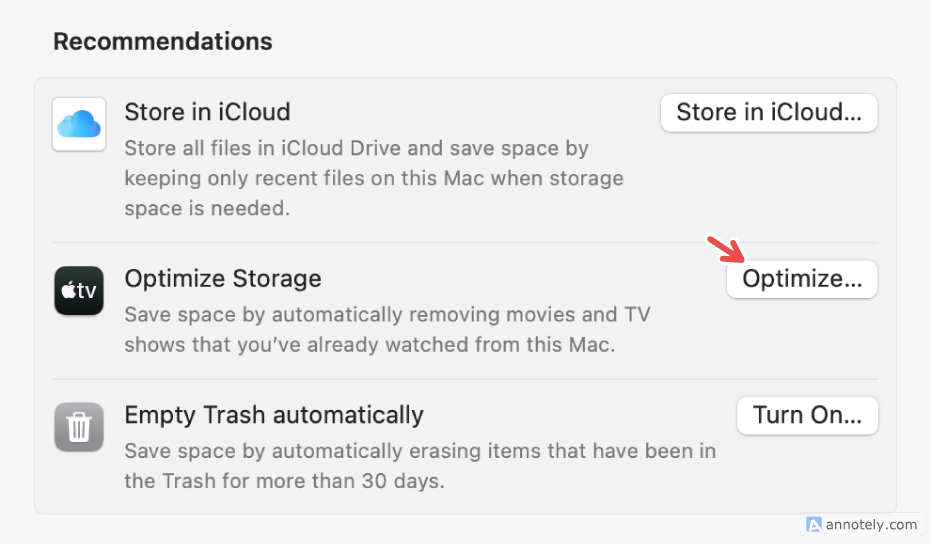
Optimizing your Mac’s storage, so that any watched movies and TV shows on your Mac (through Apple TV) are automatically deleted. This is something that easily slips my mind, so switching on the setting saves me time.
Go to Settings > General > Storage > Optimize Storage, and click on “Optimize.”
Delete What’s Taking Up Too Much Space
Finally, keeping an eye on apps or files that take up too much storage can help you declutter and create much-needed free space on your Mac. You can check your storage from your Mac’s settings under System Settings > General > Storage, or use a third-party utility app that will accurately tell you more about your disk usage.
GrandPerspective is one such app, which you can install for free through Sourceforge, or download from the Mac App Store for $2.99. DaisyDisk (which costs $9.99 to download) is another option that can quickly scan your disk and tell you the hidden causes of why space is being used, and how to efficiently recover it. If you’re looking for a free option, OmniDiskSweeper can help you find large files and delete them.
Looking for another boost? Check out some third-party apps that improve Mac productivity. There are also a ton of single-purpose Mac apps that perform all manner of useful tasks.


