From downloading different files and folders to taking multiple screenshots, your Mac can quickly become cluttered, but it’s not the end of the world. Here are six tips for organizing your Mac’s files so they are easier to navigate.
1
Use a Consistent Folder Structure
One of the most common ways to make your Mac cluttered is by having your files saved anywhere and everywhere. This can make searching for a specific file or folder almost impossible, possibly making you overwhelmed and frustrated.
To combat this disorganization, use a consistent folder structure to help you efficiently organize and navigate your files. You can begin this structure by storing your files in more organized locations, such as the Desktop, Documents, or Files folder.
Once you’ve saved your files in a well-known location on your Mac, start creating files within it to decipher what each file inside connects to. If you want to take it a step further, create folders inside those folders to organize what each file is about further.
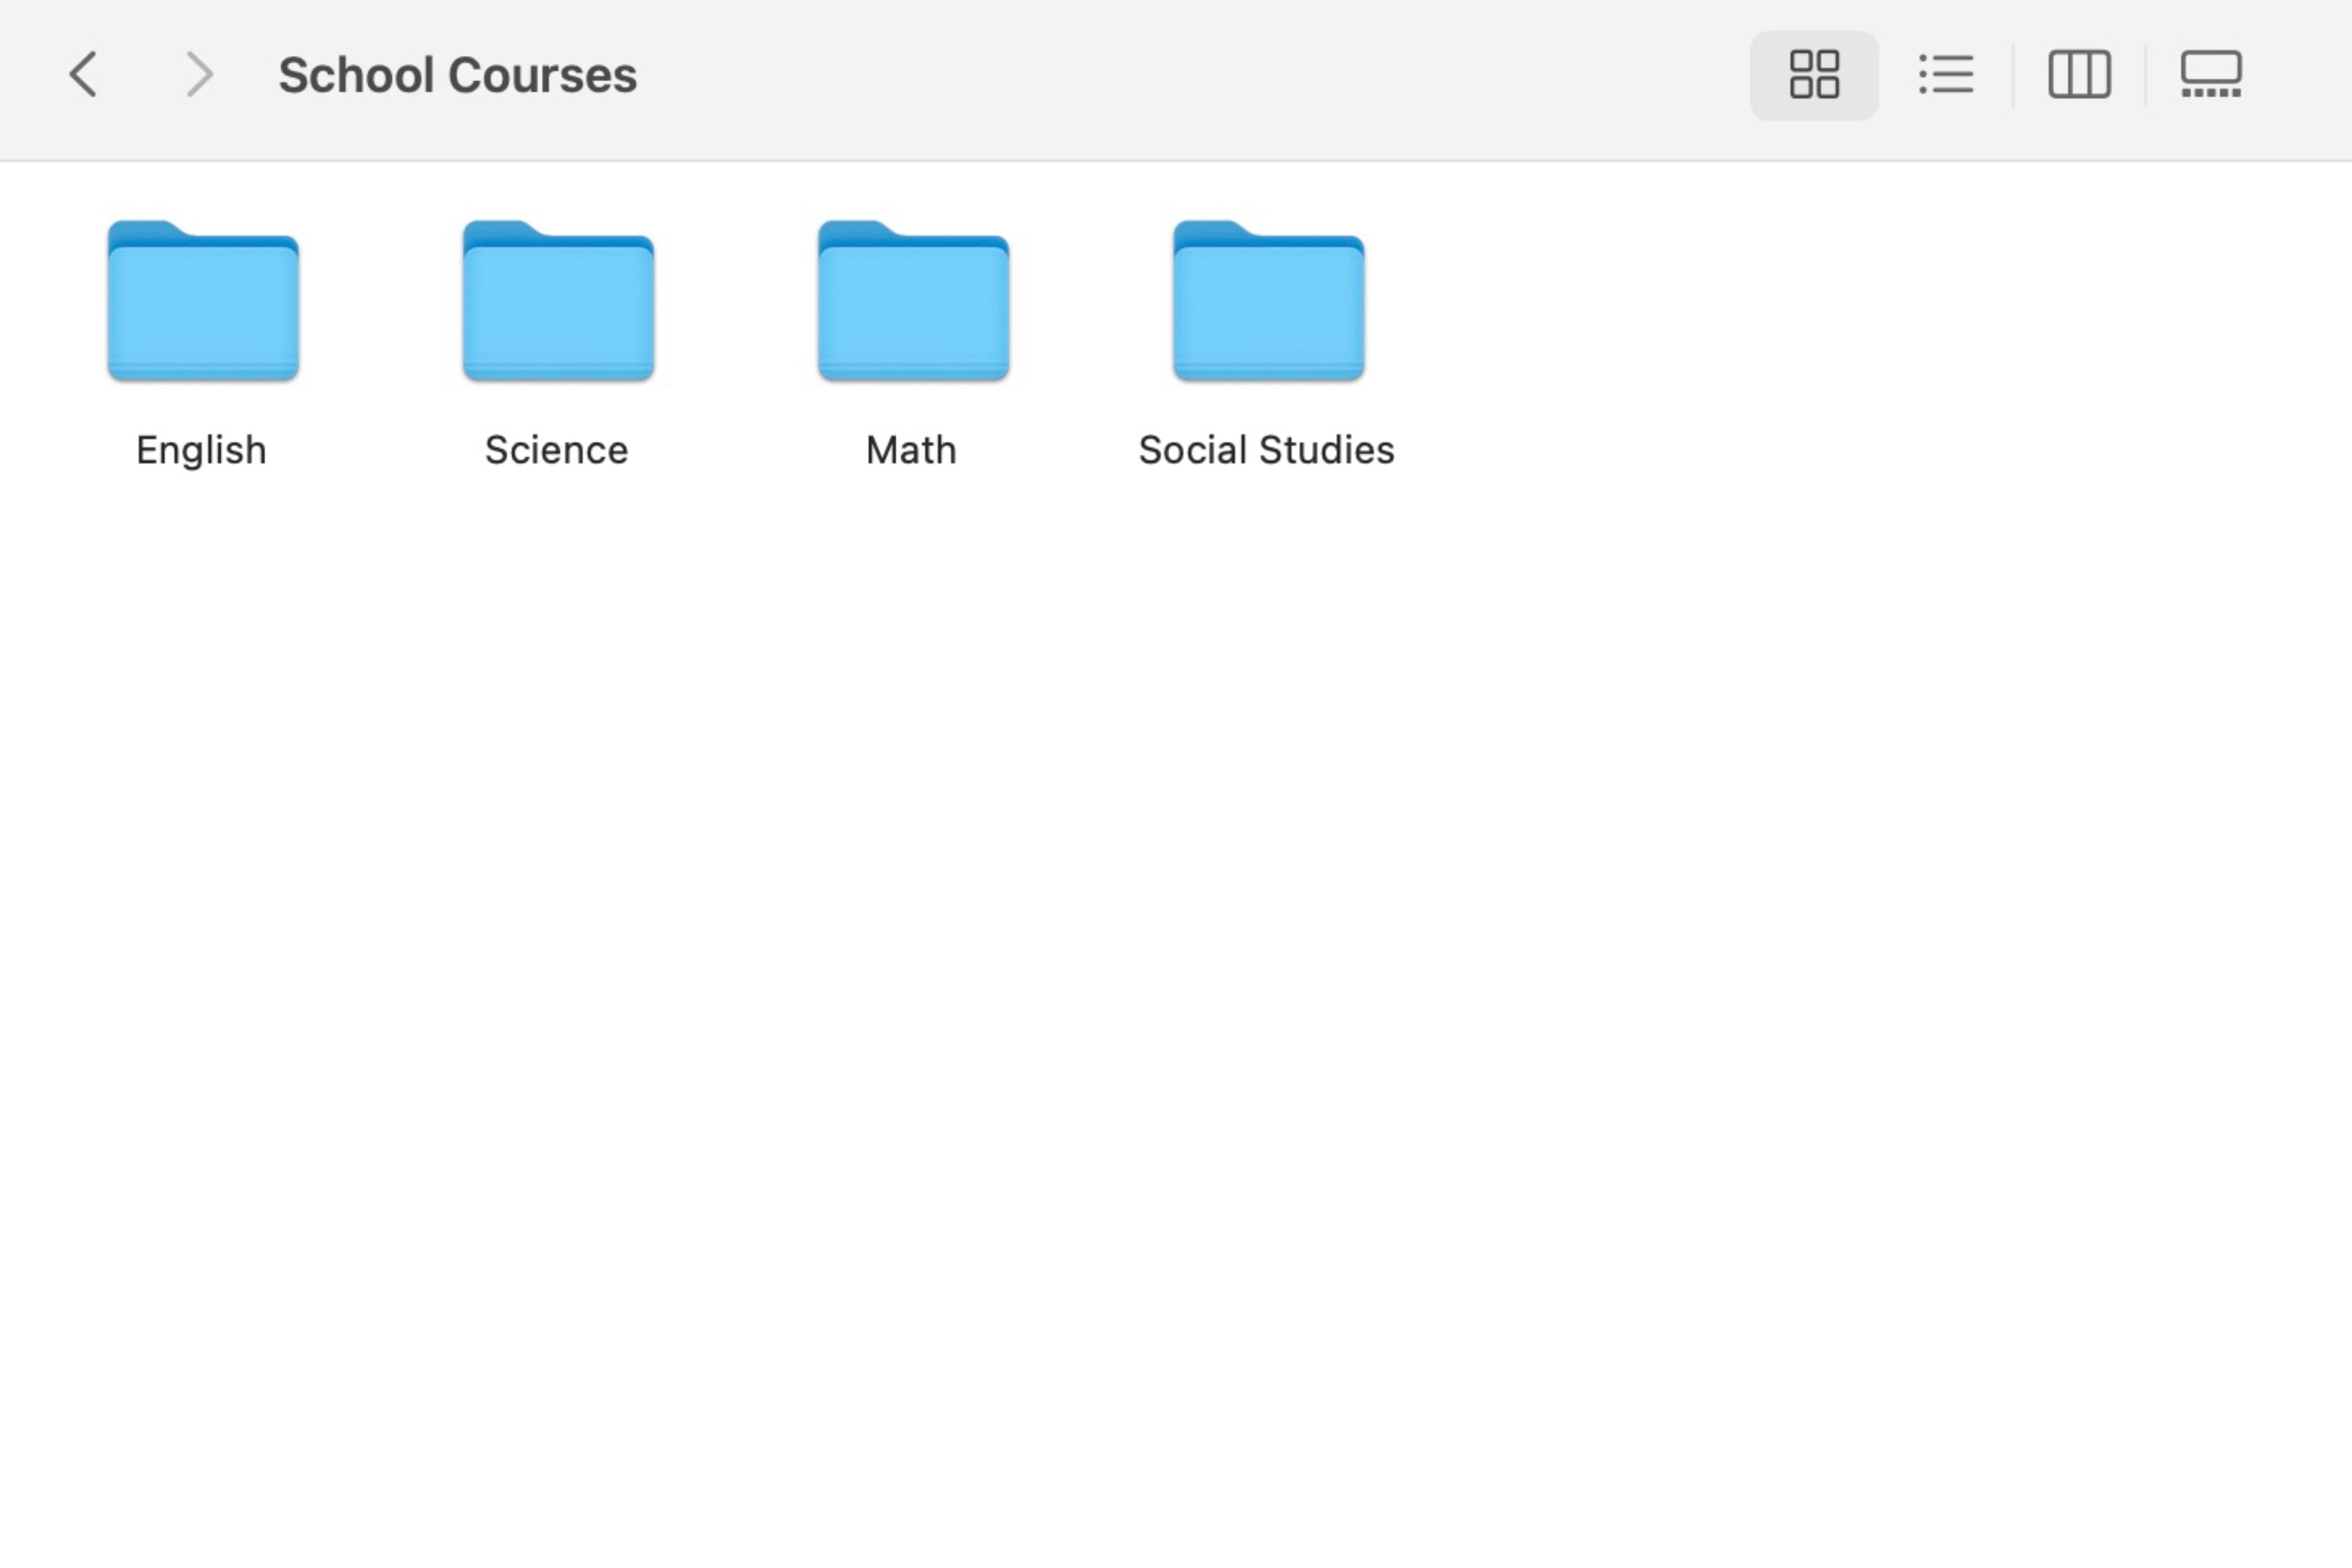
For example, you can create a single folder for your academic work if you’re a student, and then, within that folder, you can develop individual folders for each course. To take it a step further, within those course-labeled folders, you can create additional ones based on the different topics you learned to easily find them when studying for an exam or pulling research for a paper.
By organizing your Mac with folders and maintaining a consistent structure, you can prevent it from becoming overwhelming to navigate, as mismatched files scattered across different locations can make it difficult to find what you need.
2
Rename Files to Be More Specific
When you download a file or folder to your Mac, it is frequently imported with a disoriented name. This name can include a variety of letters and numbers pushed together between random words that have nothing to do with the file’s content.
Because of this, it’s a good idea to instantly label the downloaded content with a specific name describing what it explicitly includes so you can easily find it later. It also eliminates the event of your Mac being flooded with hundreds of “untitled folder” files floating around the Finder app.
If you have multiple files saved to your Mac, and they have unfiltered titles representing them, you can rename a batch of them at once. This will make getting your folders specified and labeled faster without wasting time going from file to file.
To rename a batch of files, select all the ones you want to rename, right-click on them, and then click “Rename” from the menu that appears. From there, you can add text, replace text, or format the titles to your liking.
However, this method doesn’t allow you to rename each file as precisely as you would if you were to rename it individually. Instead, it lets you organize them more neatly by giving each group a specific name and then adding a number after each in chronological order.
For example, this could be used if you have many photos from a vacation or destination. The group title can be based on the specific location where the images were taken, and the photos can be sectioned by number in chronological order.
3
Automate Your Organization with Smart Folders
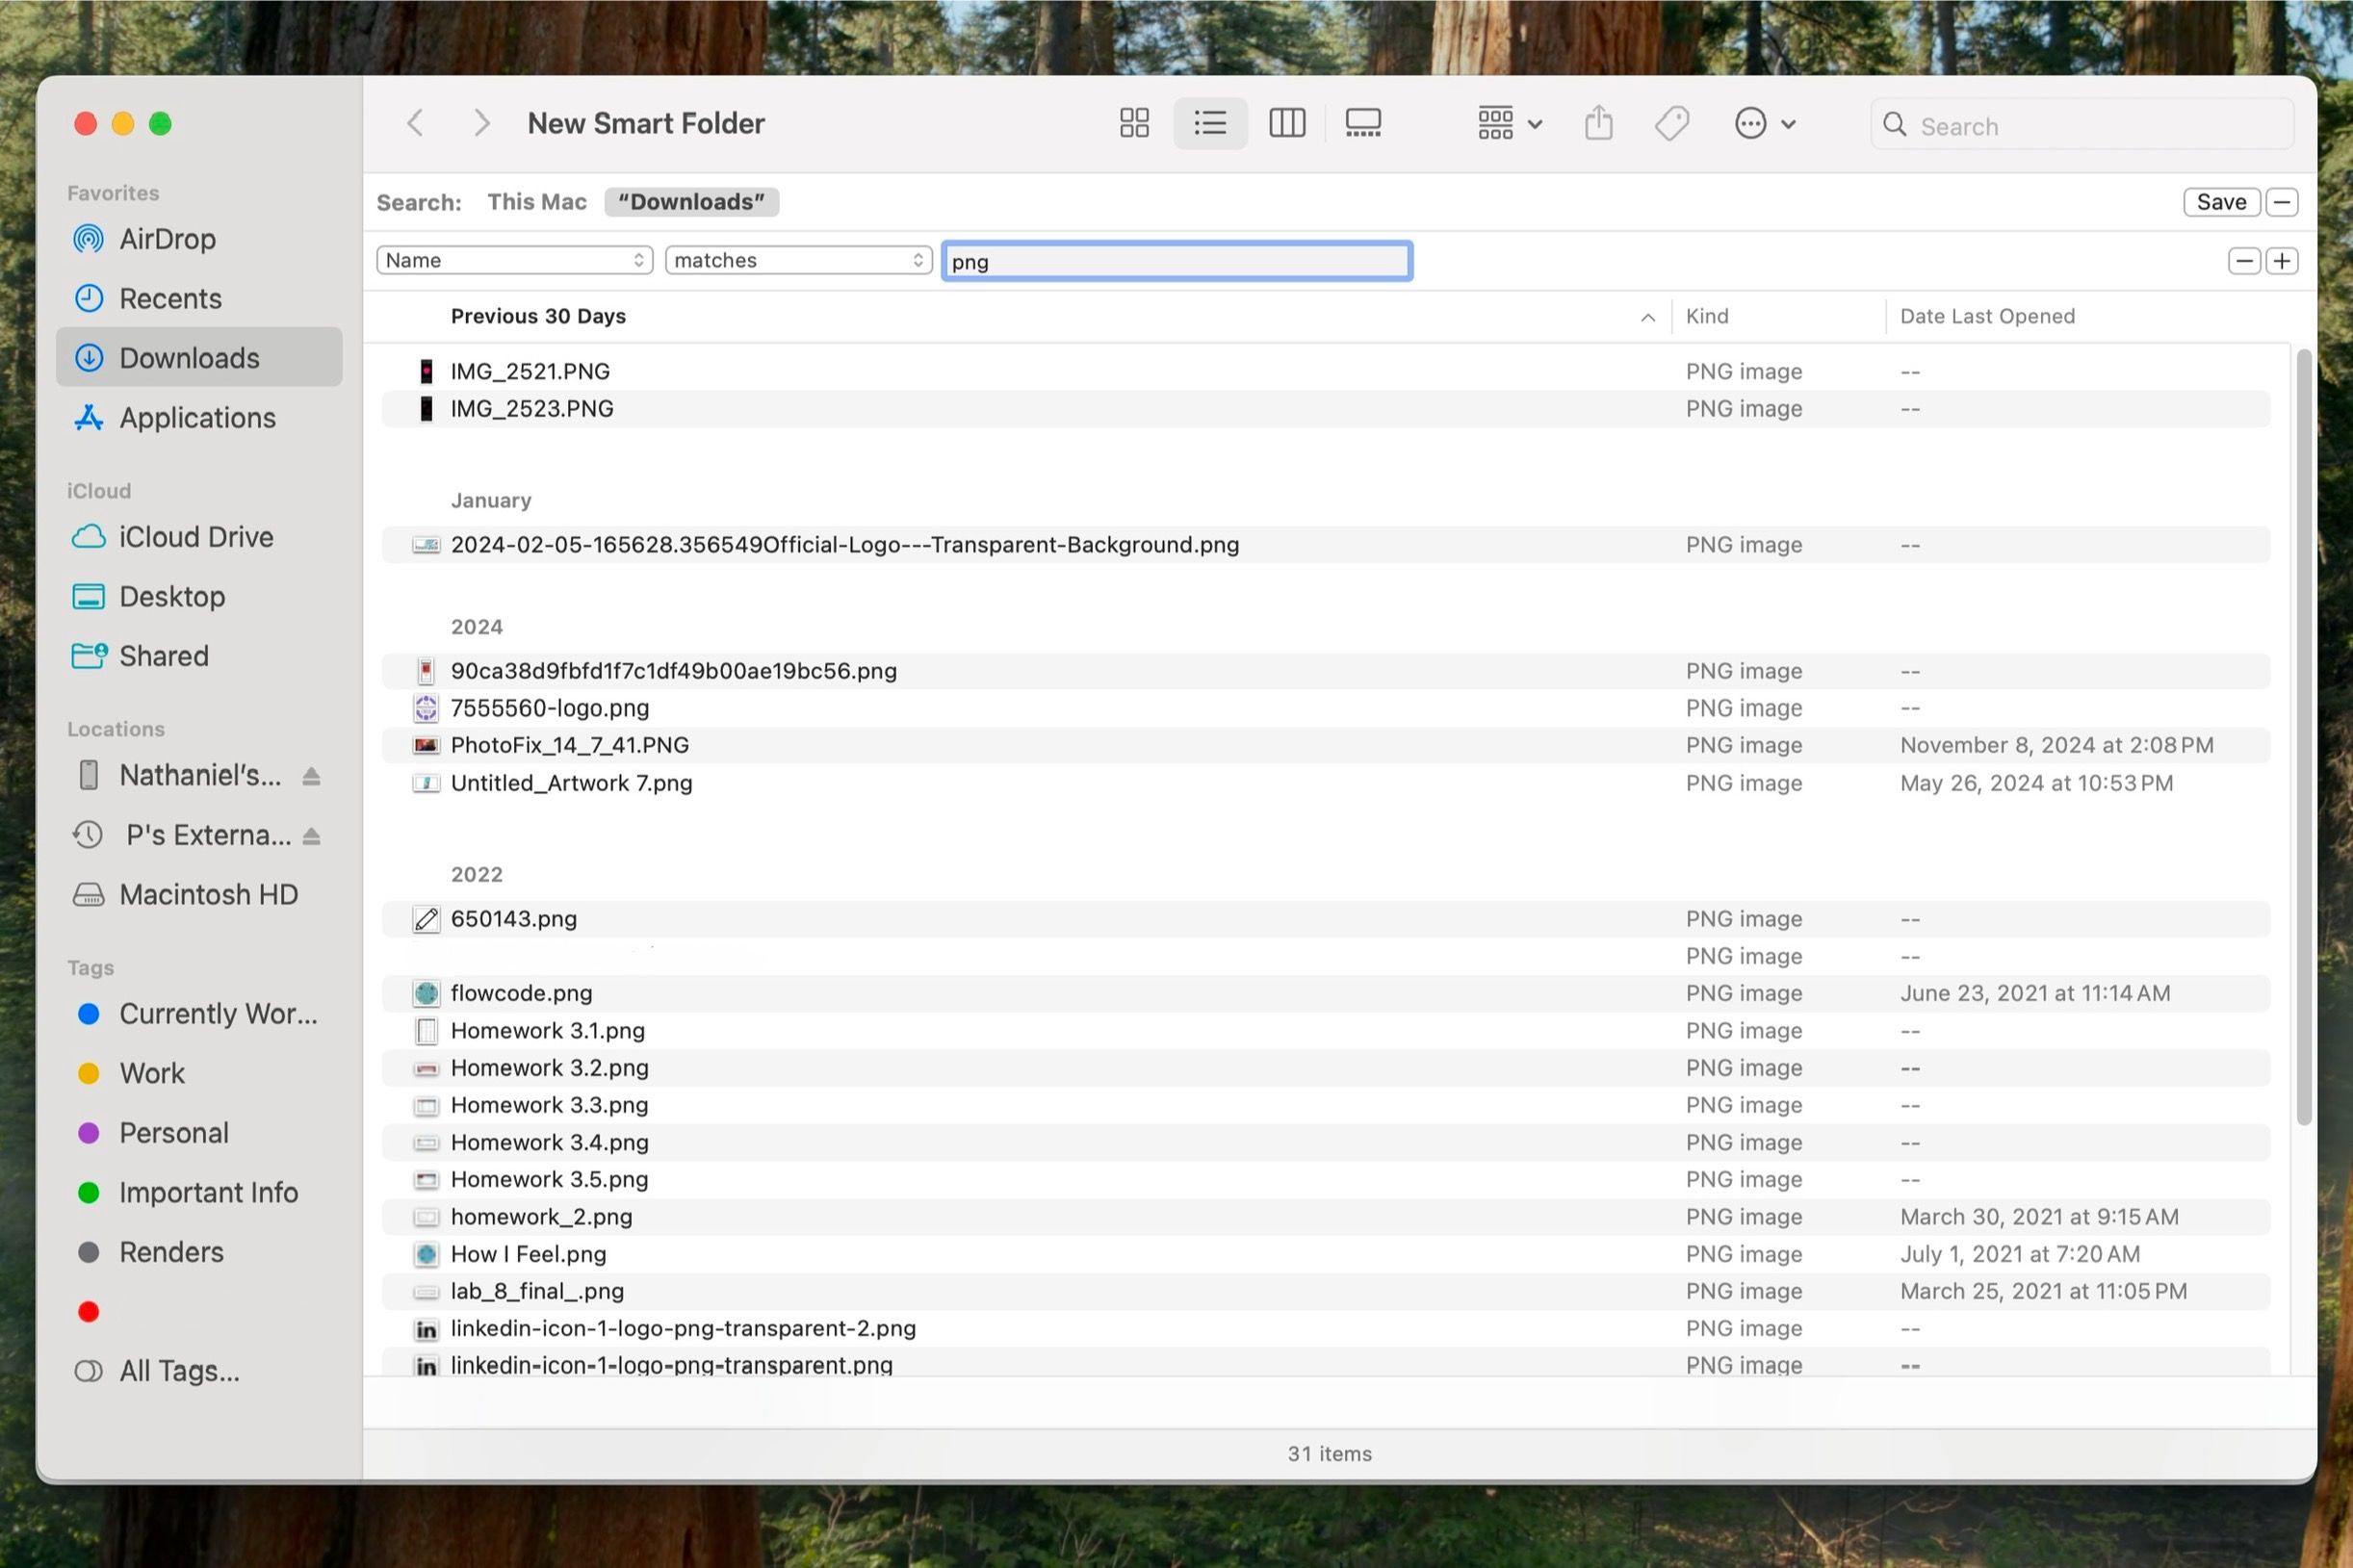
A Smart Folder is a “live” folder that automatically updates whenever a new file matches the rules set for it. It eliminates the need to organize files manually into separate folders based on specific criteria, such as file type, creation date, or keywords.
To create a Smart Folder, open the Finder app, select the folder you want to make one from, click the “File” option from the toolbar, and then select “New Smart Folder.” A new menu will appear, and you can customize how you want the folder to organize everything.
Smart Folders can section out and organize photos, documents, and other materials from a specific folder or your entire device. However, gathering files within a particular folder may be best so you don’t mess up other folders you have already organized.
Once the files are targeted and separated, they will be removed from the initial folder and placed in their new one. If you want to modify a preexisting Smart Folder, right-click it and select “Show Search Criteria.”
If you’re new to the Finder app or don’t pay close attention to all its details, you might not be familiar with tagging. Furthermore, you might have wondered what those colorful dots at the bottom of the sidebar were, but didn’t look into them. Those colorful dots are tags, like hashtags, allowing you to assign specific folders and files to a category designated to each color.
To add a file or folder to a specific tag, right-click on it and select the tag you want to associate it with. Then, when you click on the colored tag in the sidebar, it will appear. To remove a tag, repeat the same steps but click the tag it is currently assigned to.
Tags are great for quickly finding specific folders and files across multiple locations. For example, you could create a tag called “Currently Learning” and tag each folder with the topic you are learning in each course. This would make it quicker to access the folders from the tag than to dig through multiple folders to find them.
When configuring your tags, you can keep them nameless and only identifiable by their color, or you can customize them further by giving them custom names and choosing the color associated with them. You can choose from red, blue, orange, yellow, green, purple, or gray, or not have a color associated with them, which will leave an empty circle next to their name if they have one.
Unfortunately, those are the only colors you can choose since there’s no color wheel available or eyedropper tool to extract a color from a specific area.
5
Declutter Your Desktop With Desktop Stacks
Your desktop, a popular destination for files, screenshots, and folders, can quickly become cluttered if not appropriately managed. While it is where you can view your customized background, it can also become a graveyard for all the miscellaneous files you’ve saved there.
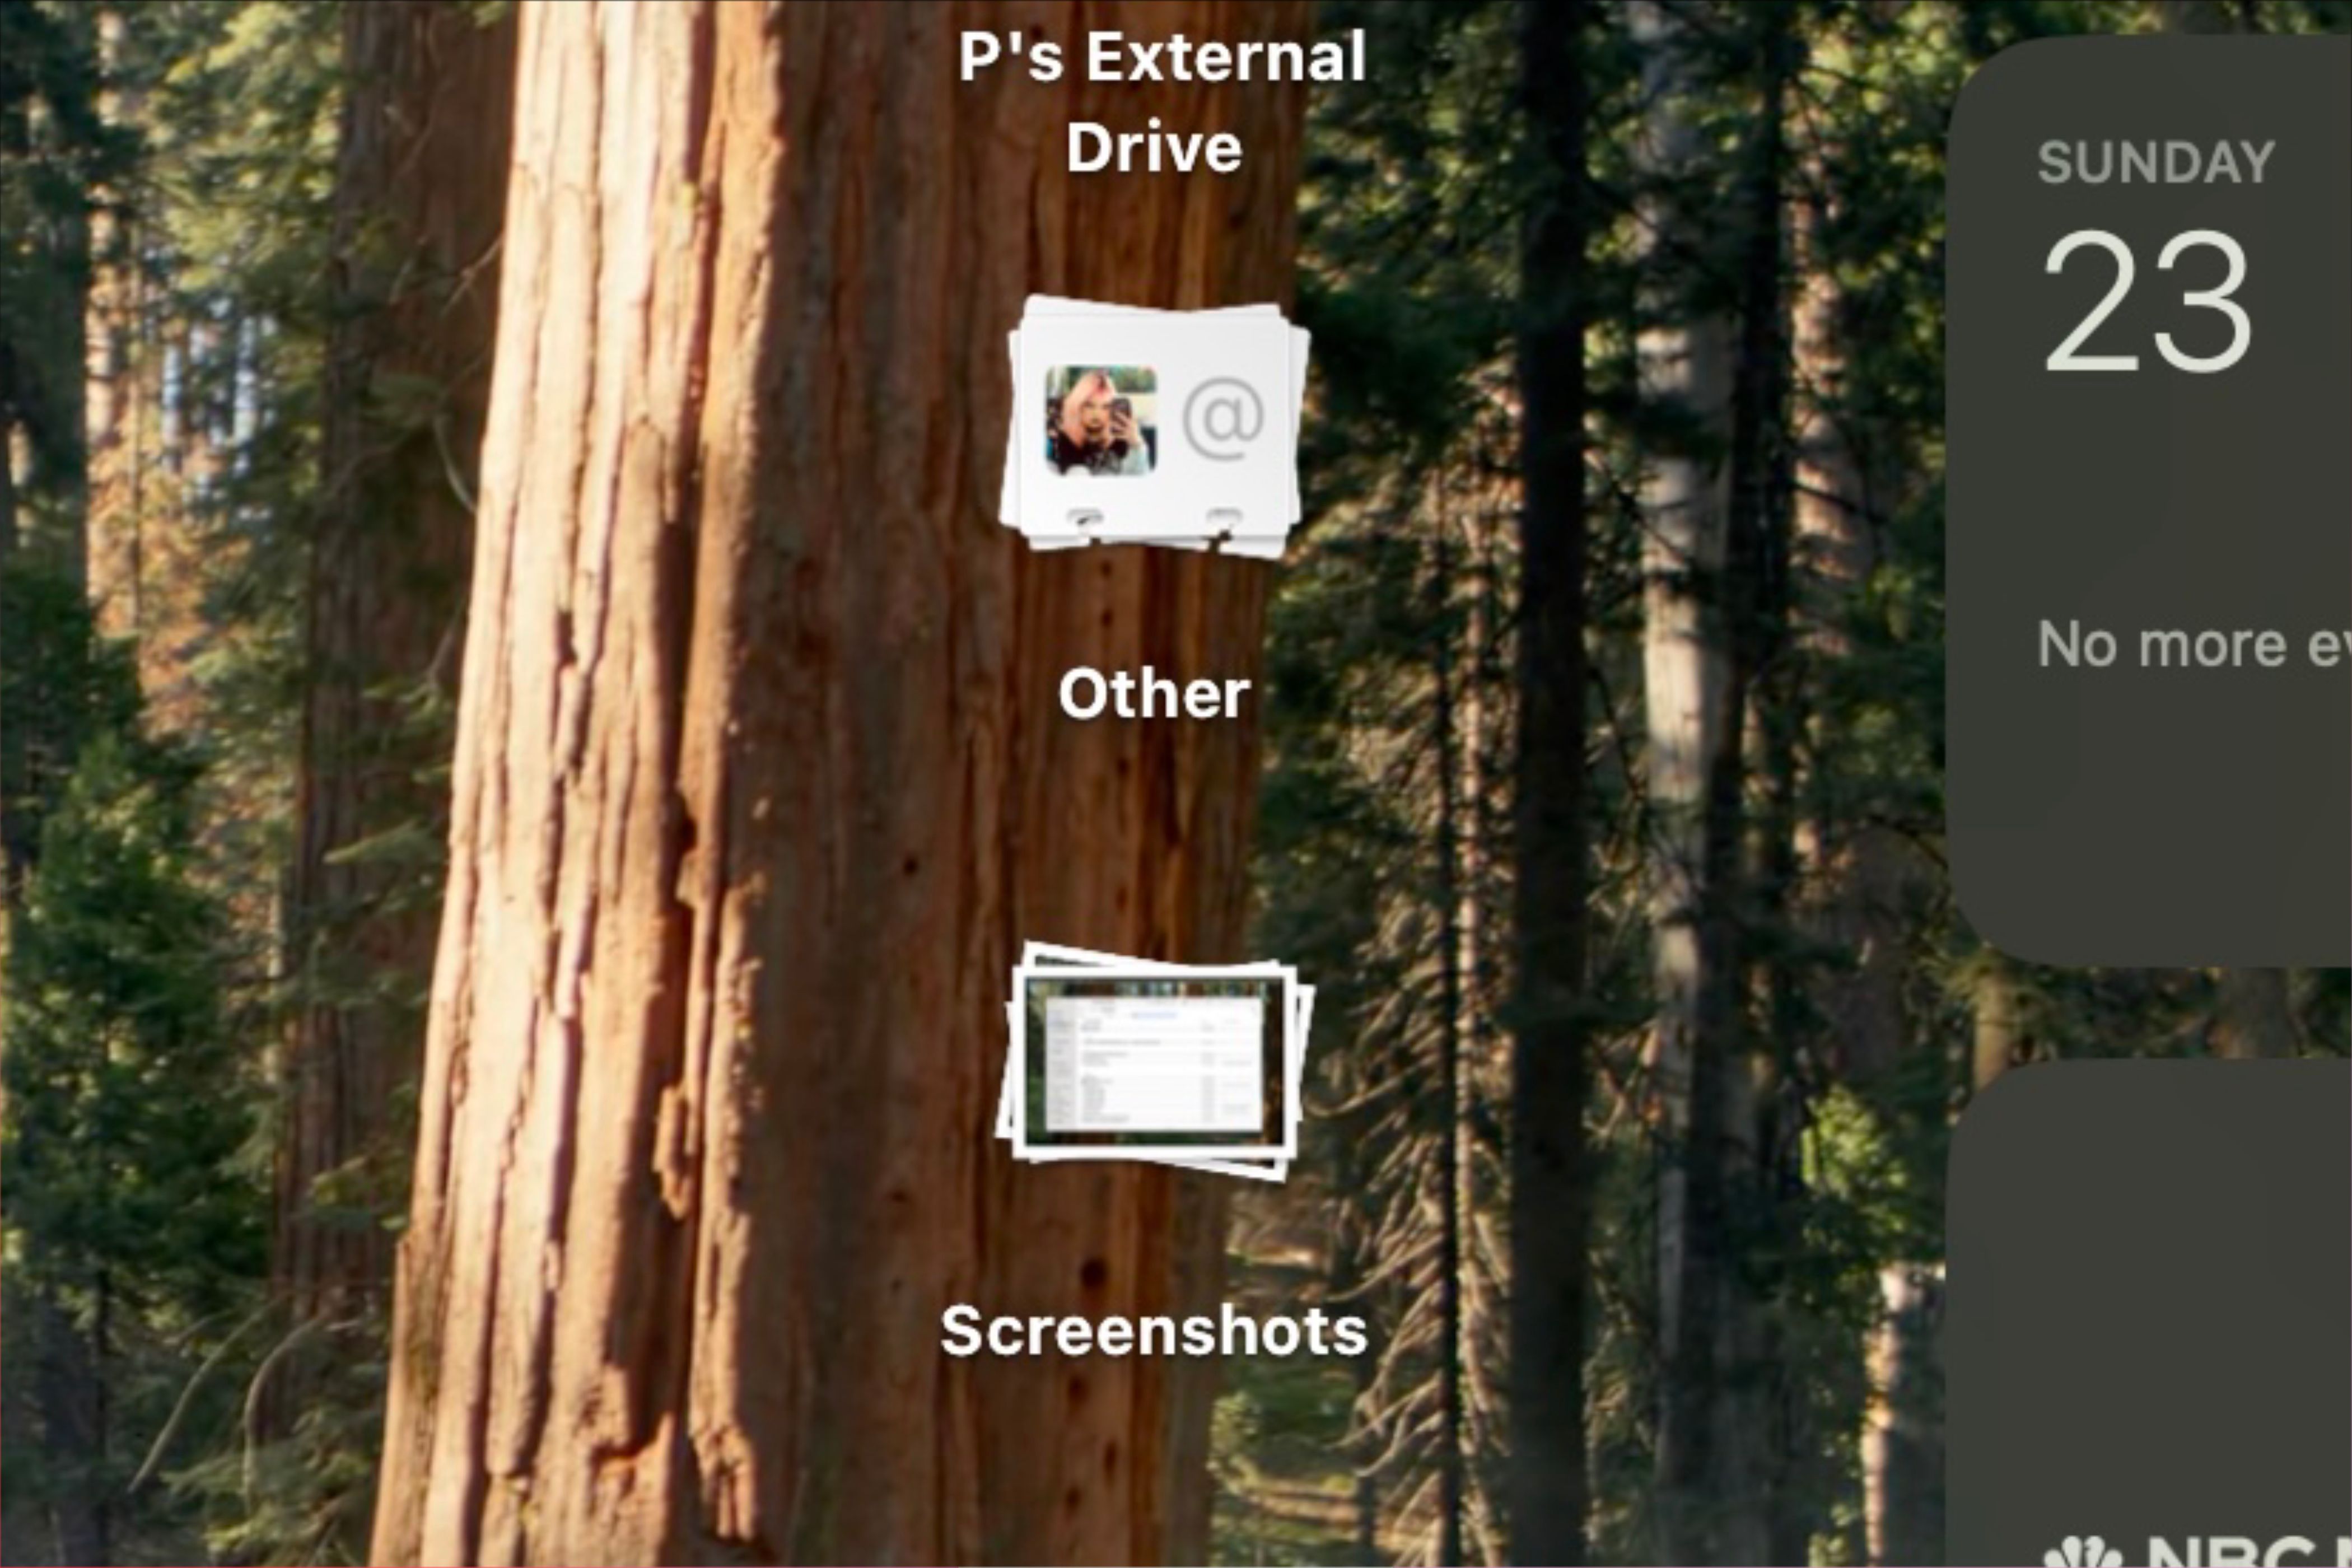
To solve this issue, try using Desktop Stacks. This feature lets you declutter your desktop by having your Mac automatically organize all your files by date, tag affiliation, or document type.
To enable Desktop Stacks, right-click on your desktop, choose “View” from the menu, then select “Use Stacks.” If you’d like to use a keyboard shortcut for quicker action, press Control+Command+0 simultaneously.
Desktop Stacks organize the files on your desktop according to fundamental specifications. If you’re unsatisfied with the initial grouping, you can modify it by clicking on your desktop, selecting “View” from the toolbar, and then choosing “Group Stack By.”
Once your files are stacked, you can click on the Desktop Stack, which will fan out to show all the content. To close it, click the arrow showcased on top of the Desktop Stack, and it will regroup.
6
Master Your Download Folder Workflow
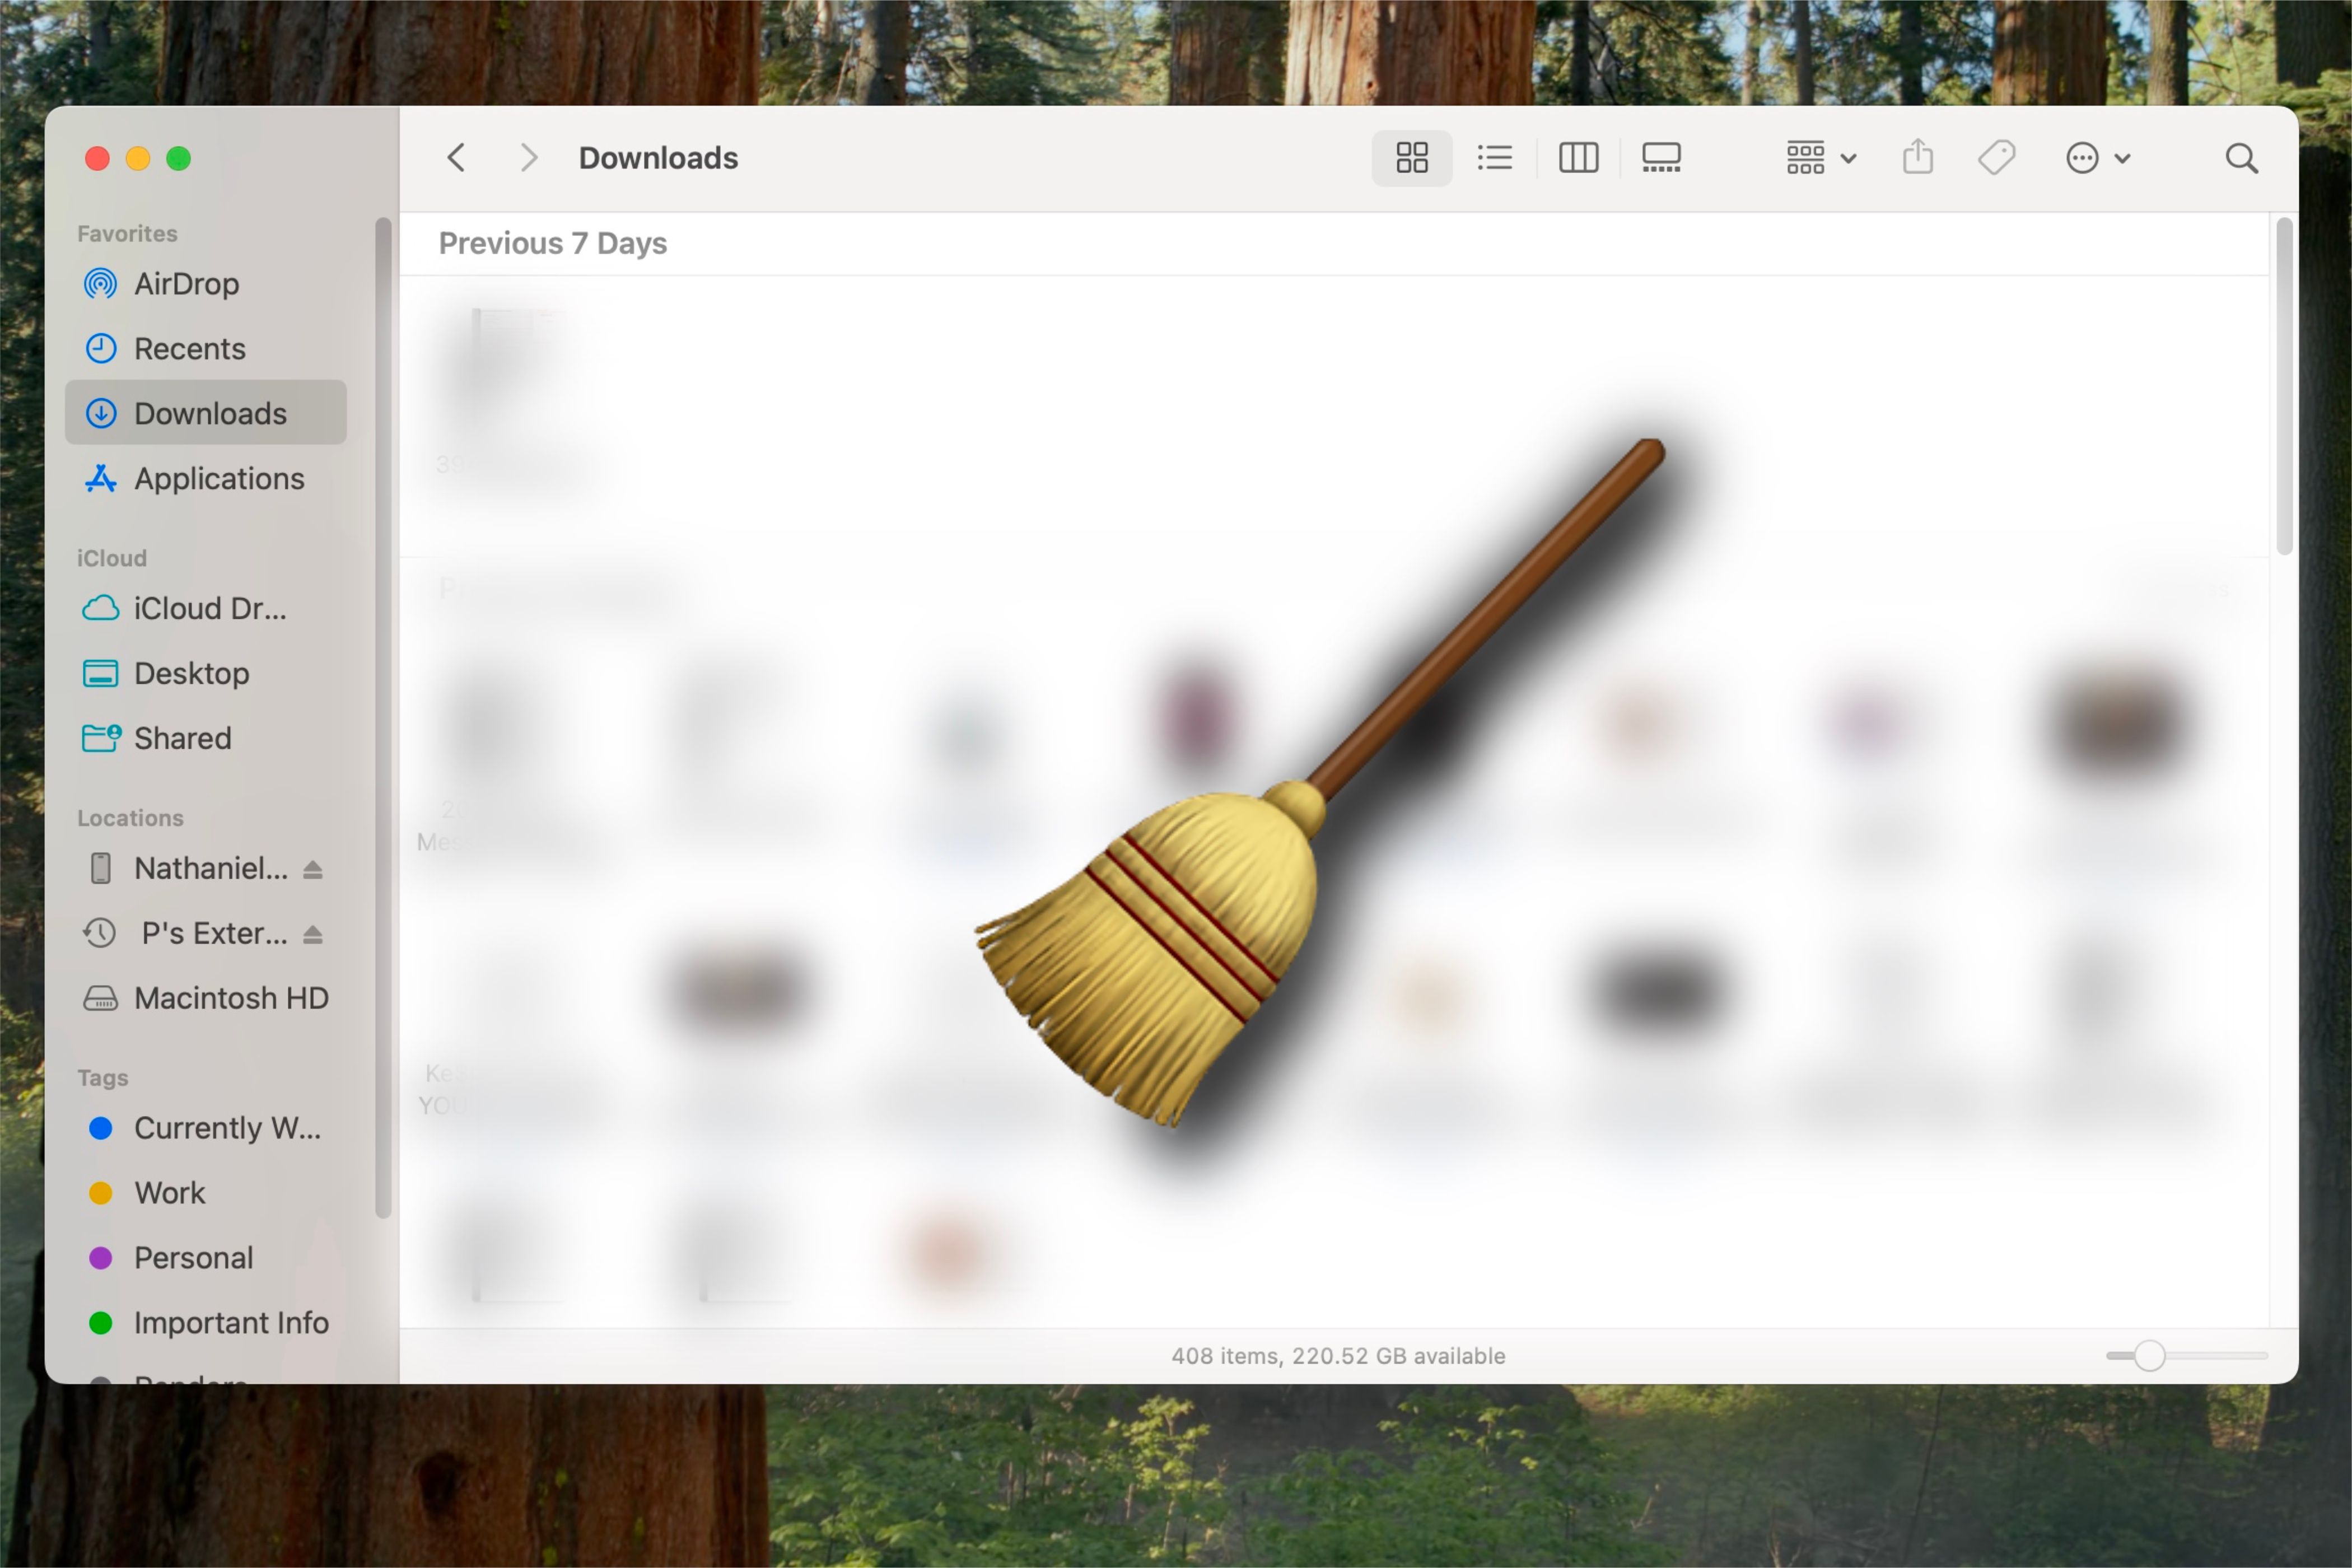
When you download anything to your Mac, the content will end up in the Downloads section of Finder, but just like with your desktop, this could become cluttered and unorganized fast.
Moving each file downloaded to its corresponding folder is the best way to organize the Downloads folder and make it easier to navigate when importing future files and folders onto your Mac.
Furthermore, before moving a file or folder out of the Downloads folder, name it according to its content. This will eliminate the need to do so in the future and make it easier for you to search for it later.
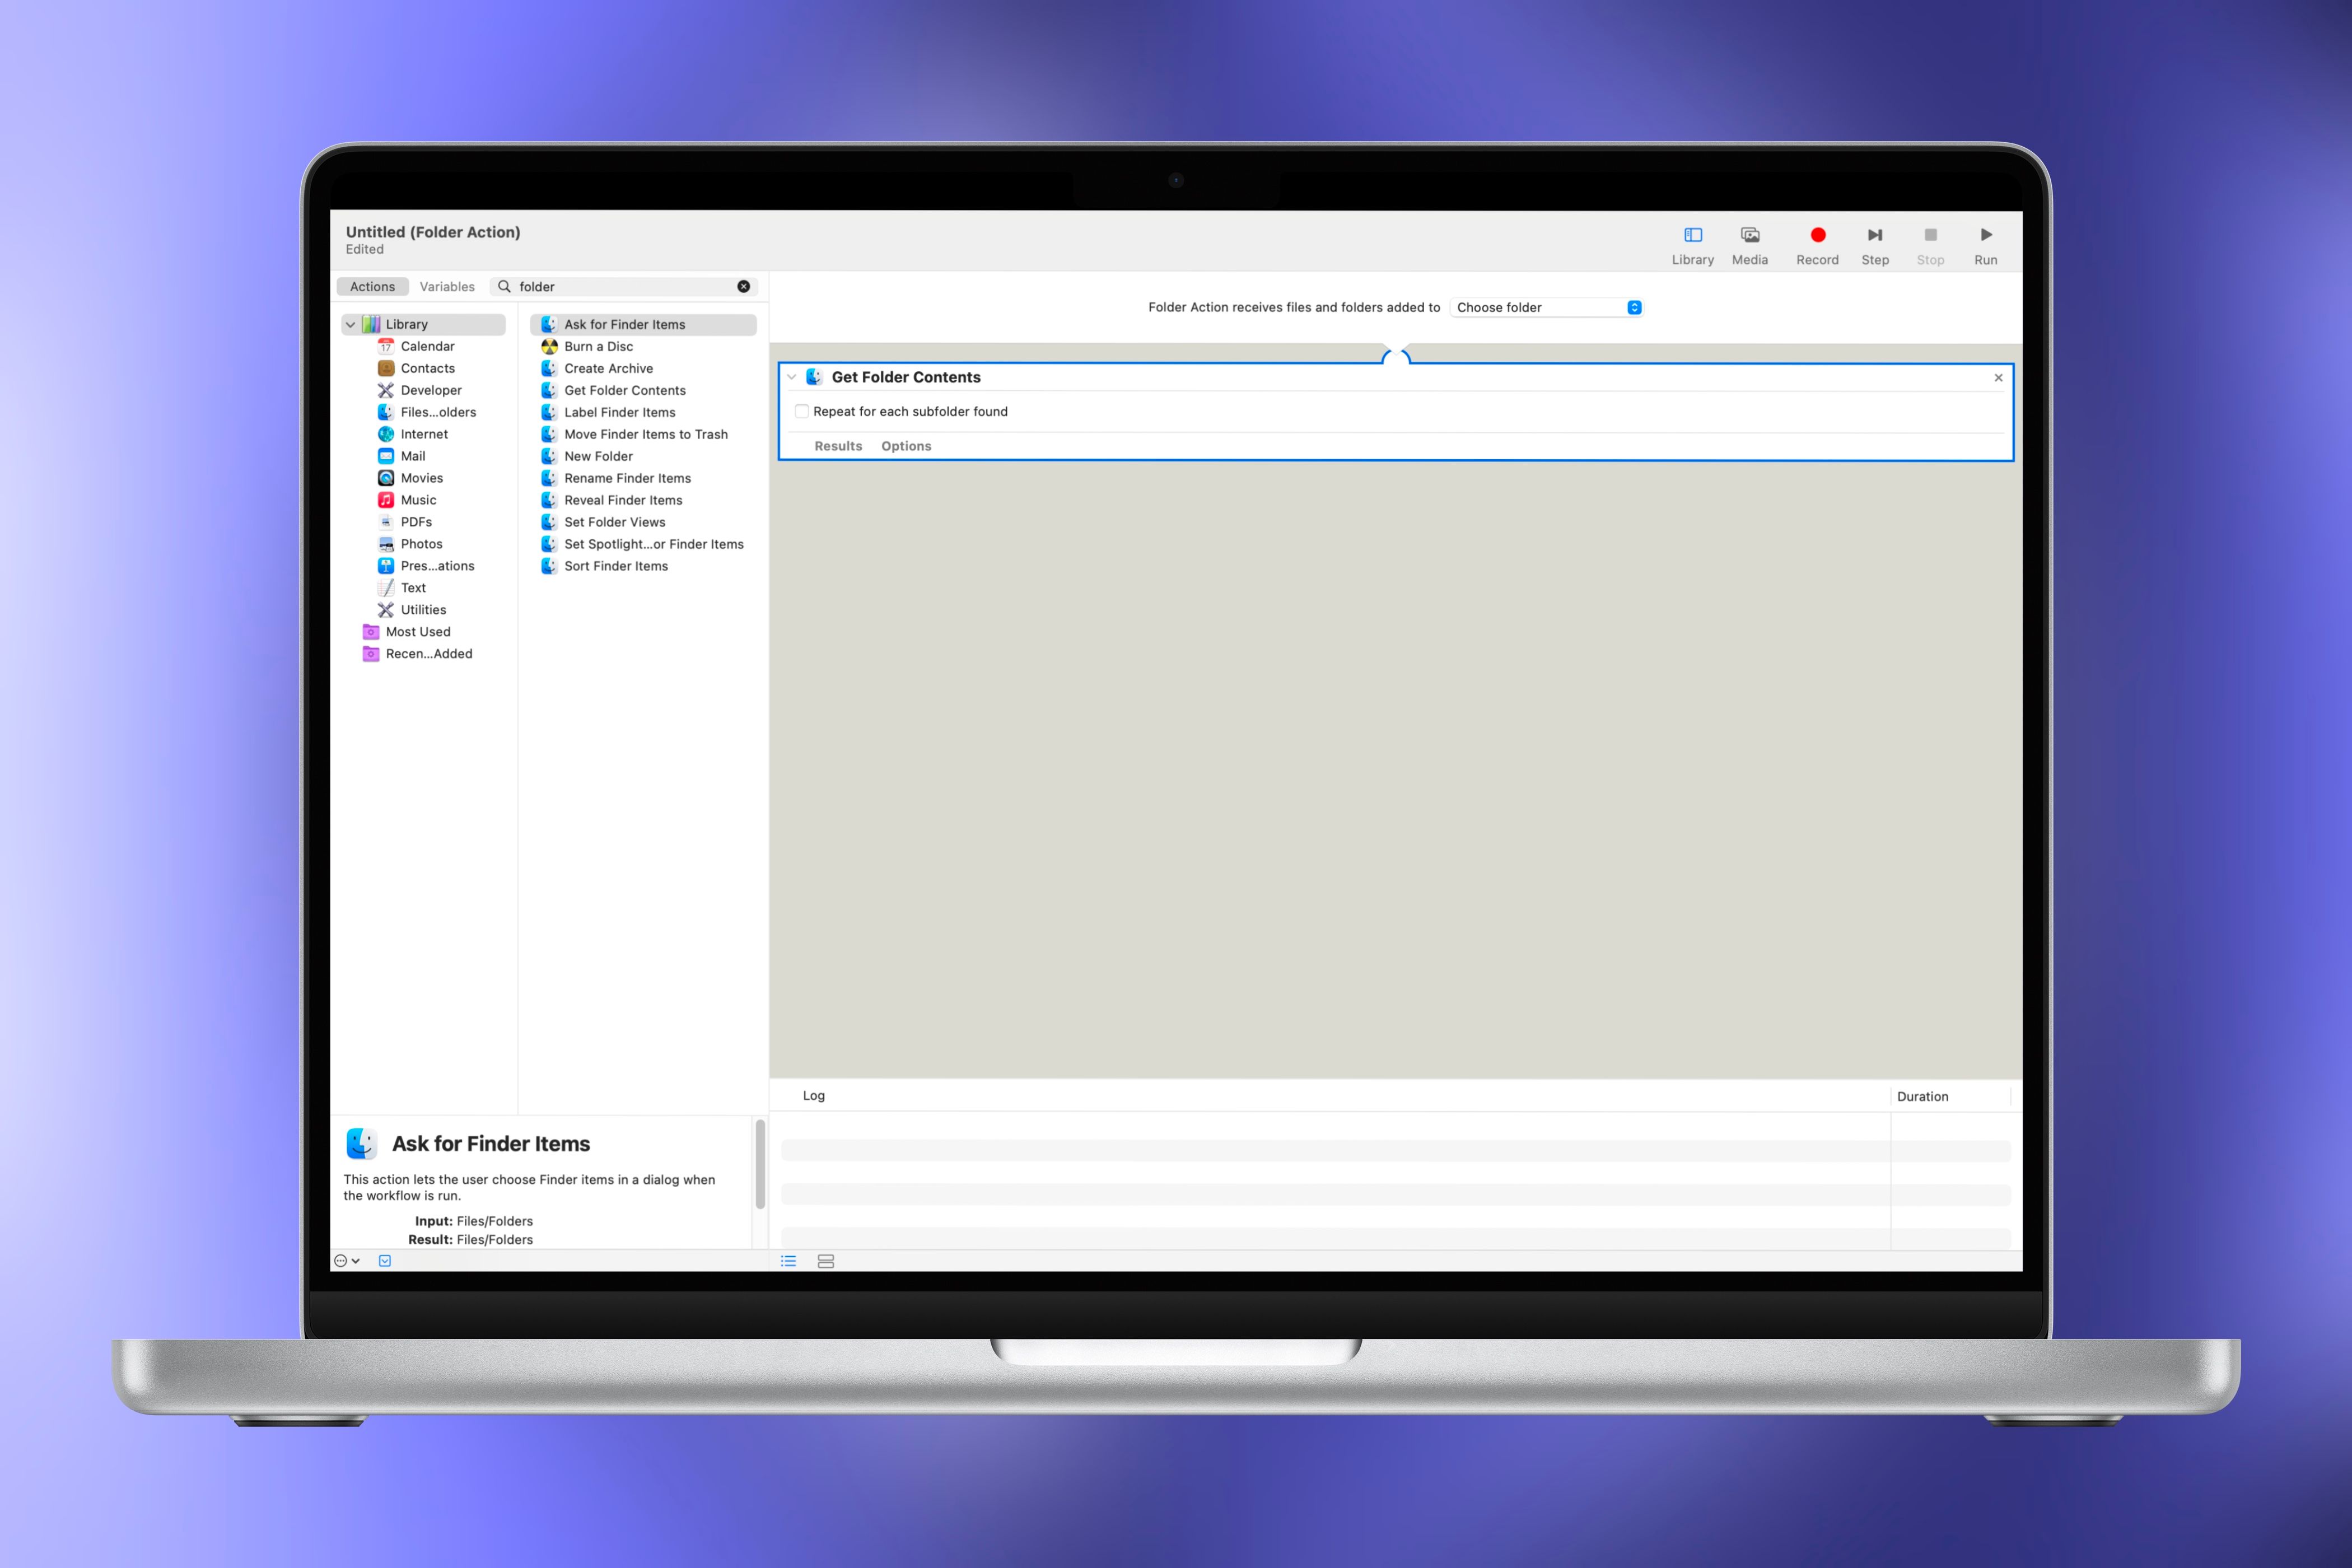
If you’re looking for a more automated route, you can set up a workflow in the Automator app on your Mac. In the app, you can set up a workflow that automatically sorts the files you download onto your Mac into a folder based on predefined criteria.
This workflow can be manually triggered or run whenever a new file is added to the Downloads folder. Additionally, you can customize the browser settings to specify the location where specific file types are saved after downloading.
Organizing your Mac’s Downloads folder is always worthwhile, regardless of your chosen method. It simplifies searching through the folder and can even free up space on your computer once you identify duplicate files.
Everyone’s Mac accumulates random files and folders, but these suggestions can help you achieve top-tier organization. Say goodbye to the days spent searching for files and hello to the days where you find them in just a few clicks.
Whether you’ve got a new Mac or have had the same one for a while, it is never too late to organize it. Once you do, it will feel like you just bought a new computer.


