

The ASUS ROG Ally is one of the best gaming handhelds. It does, however, have a flaw that could steer people away.
The ROG Ally has less-than-ideal battery life. Its 40Wh battery contributes to that, as does the large display of the console.
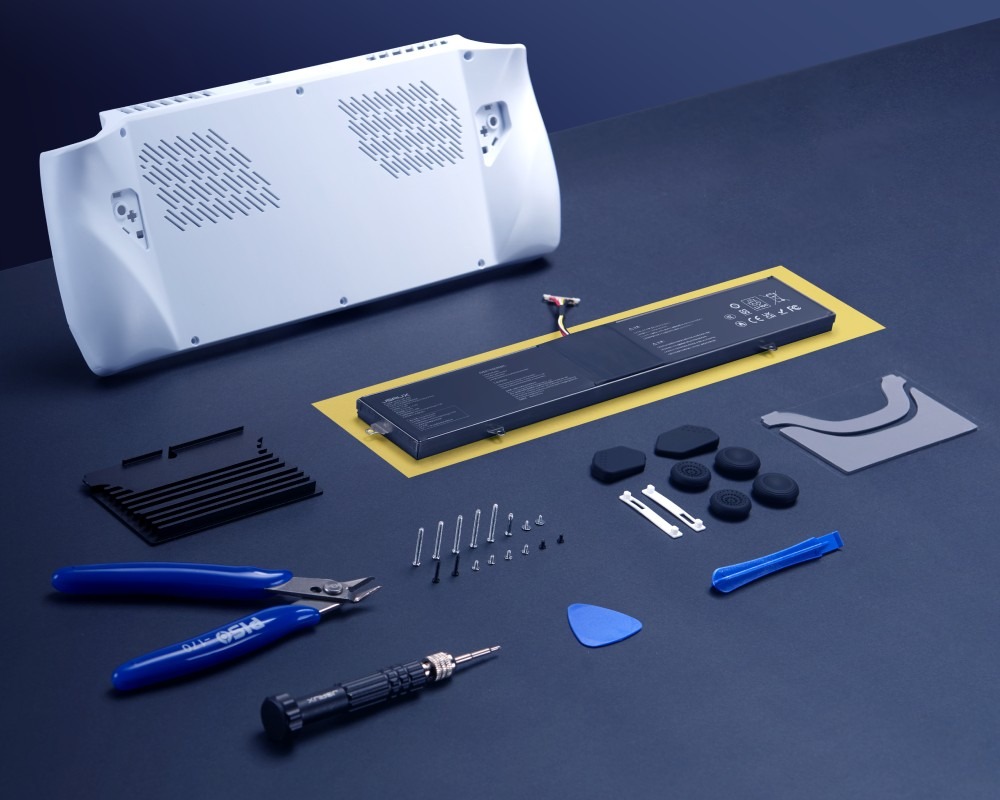
JSAUX just announced a new upgrade kit designed to extend the ROG Ally’s battery life. The Battery & Thermal Upgrade Kit with Back Cover for ROG Ally includes a 65Wh battery, which is more than 50% larger than the stock 40Wh battery that comes in the ROG Ally.
It also has a new backplate and aluminum heat shield, which JSAUX states will enhance thermal management.
JSAUX includes all the essential tools for installation, such as a screwdriver, pry bar, flush cutter, anti-static gloves, and spare screws.
ASUS ROG Ally battery life
In our ASUS ROG Ally review, our Gaming and News Editor Rebecca Spear gave the device a 4.5 out of 5. The gaming handheld received high marks for its performance, comfortable design, and display.
One of the few negatives Spear shared about the ROG Ally was its battery life.
“Overall, the Ally is an impressive little device, but it does have one huge flaw. You guessed it — the battery life still isn’t great,” said Spear.
She added that the ROG Ally is “a rather expensive device that doesn’t offer much battery life.”
In her testing, Spear only got one hour and 38 minutes of use on average. To hit over three hours of playtime, Spear had to reduce settings significantly.
While a larger 65Wh battery should help extend gaming sessions, we can’t say for certain how much longer an upgraded ROG Ally will last without firsthhand testing.
ASUS ROG Ally vs. ASUS ROG Ally X
If you love the ROG Ally but want a larger battery, you don’t need to swap out the battery of your gaming handheld. The ROG Ally X has an 80Wh battery, which is double the size of the stock 40Wh battery in the ROG Ally and still larger than the 65Wh battery in the JSAUX kit.
The ROG Ally X has the same Z1 Extreme processor and 7-inch touchscreen as the ROG Ally. But the ROG Ally X has more memory and storage.
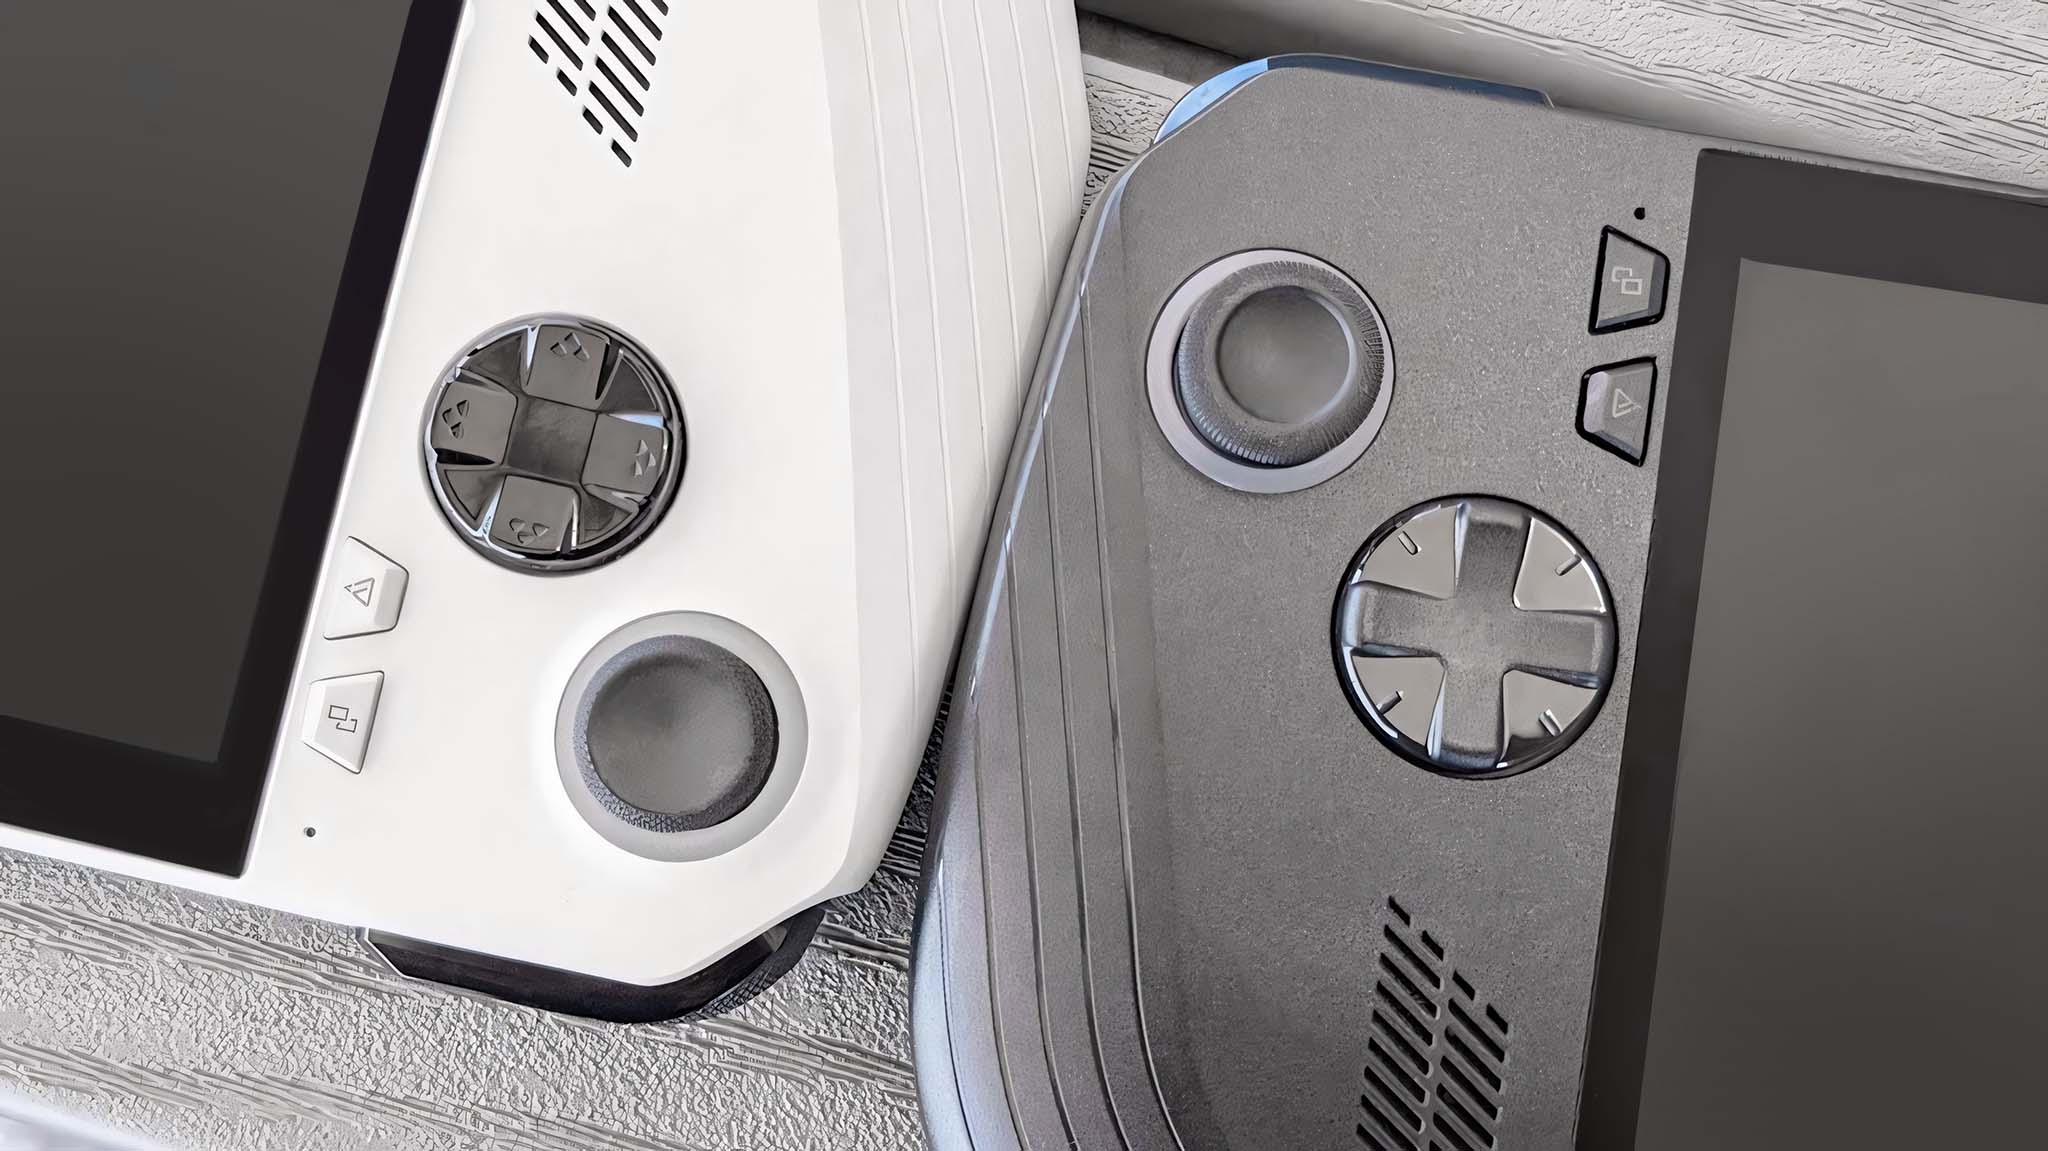
The ROG Ally X also has upgrade joysticks, back buttons, and a better D-Pad than the ROG Ally.
Our own Rebecca Spear has a full breakdown of the ASUS ROG Ally X vs. ASUS ROG Ally. That piece includes spec tables, thermal imaging, and first-hand experience with both devices.
“The ROG Ally X has an 80Whr battery capacity, which provides more than twice the battery life of the original Ally. In my own battery life testing, the Ally X could last two hours and 10 minutes while playing demanding games at max TDP, which is more than 50% of an increase from the original device’s measly 51 minutes at those same settings.”
Picking between the ROG Ally and ROG Ally X will depend on your preferences and if you already have an ROG Ally. Paying for an entirely new console may not be worth it if you already have an ROG Ally and the technical knowledge to swap its battery.
How to replace ASUS ROG Ally battery
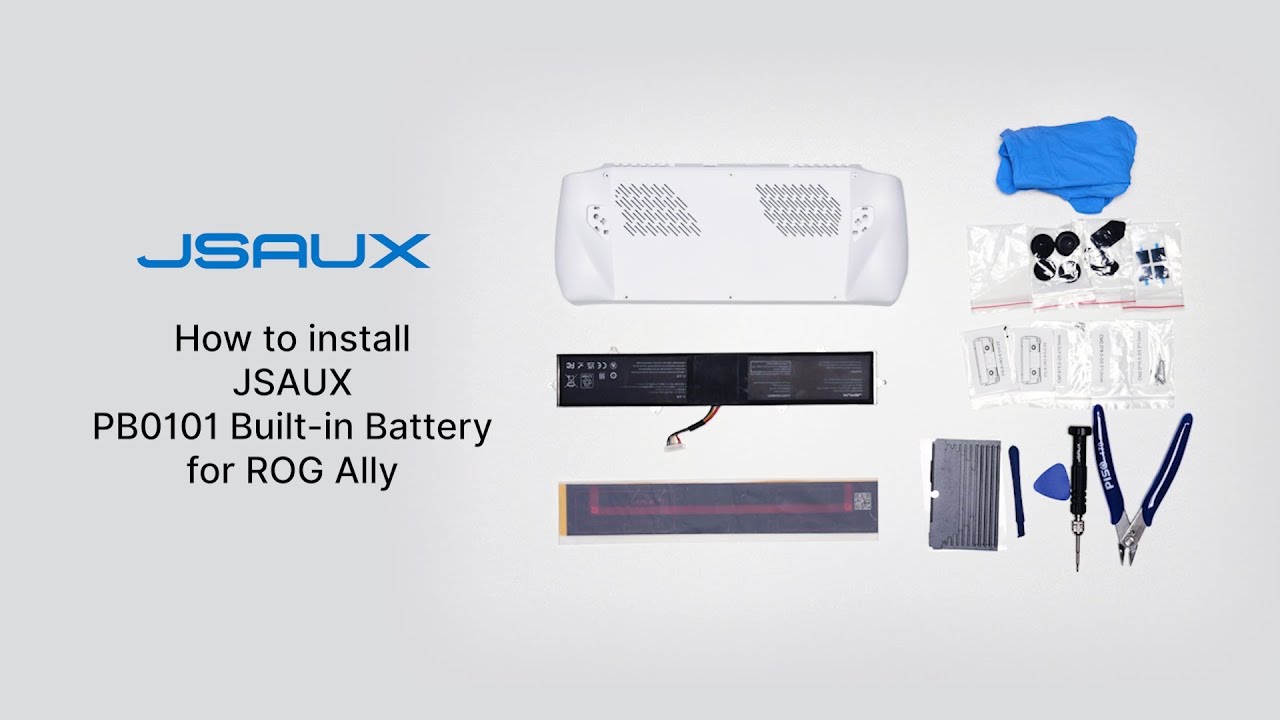
Swapping out the ROG Ally’s battery is relatively straightforward, but prior experience with hardware repairs is recommended. JSAUX has a video breaking down all the steps.
The following is not meant to be a step-by-step guide, since JSAUX already has that in a written guide with photos and a video. But it should give you a gauge of how technical the process is.
Before you replace the battery of your ROG Ally, make sure you have all the required equipment and watch or read the steps before you begin.
JSAUX cautions anyone replacing the battery of the ROG Ally to ensure the device is powered down and that you have proper Electrostatic Discharge (ESD) precautions in place.
You should also be aware that disassembling the ROG Ally may affect its warranty.
To replace the battery of the ROG Ally, you’ll need to remove screws, then the back plate, then remove the triggers of the console to get started.
You’ll need to remove the back button from your ROG Ally’s original back plate and install it and the triggers onto the new back plate.
A few springs and screws need to be placed correctly during the process, and you need to remove certain cables, so I’d suggest watching the video above as you go.
One of the steps involves trimming down plastic protrusions, so take your time — measure twice, cut once.
The final steps involve adding the heat sink, reattaching cables, and screwing everything into place. You’ll also need to add an adhesive strip to help secure the new back plate.


