
On Windows 11, if your laptop’s battery is draining quickly, the issue could be an application sucking all the energy and not a problem with the battery itself.
If you’re not sure, you have multiple ways to check the apps that use the most energy, which could cause the battery to drain quickly. You can complete these troubleshooting steps through the Settings app and Task Manager.
In this how-to guide, I will explain what you have to do to detect the apps using the most energy to improve battery life on Windows 11. In addition, I’ll outline several tips to resolve battery drainage issues on your computer.
How to determine app draining battery on Windows 11
On Windows 11, you have at least two ways to check which apps are wasting the most battery, including using the Settings app and Task Manager.
Check battery usage history from Settings
To determine the apps using the most battery on Windows 11, use these steps:
- Open Settings.
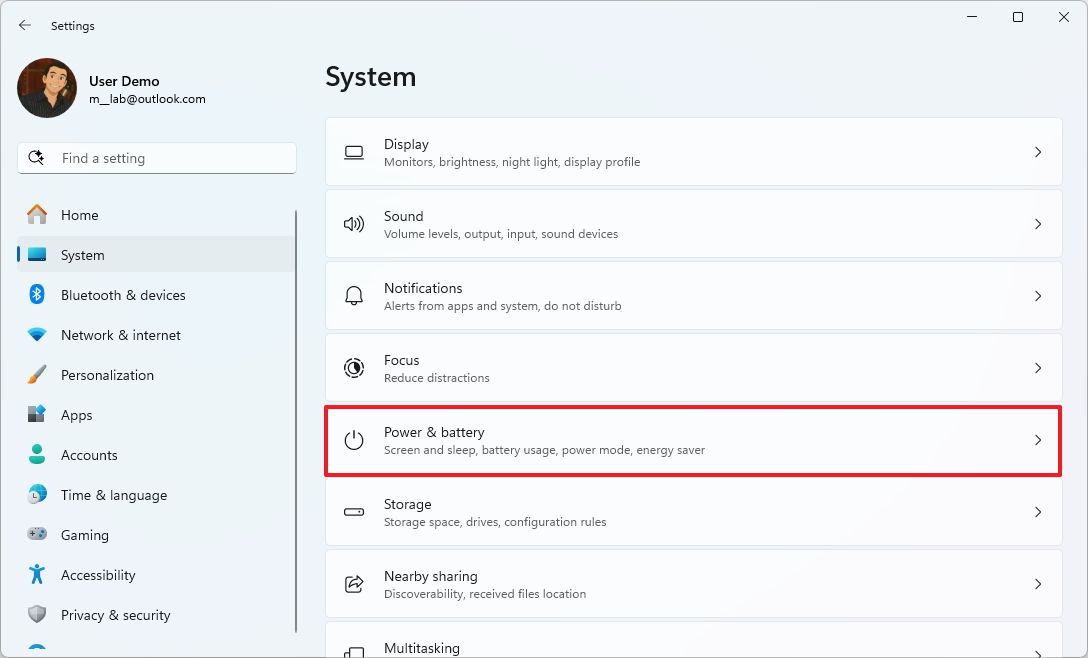
- Click on System.
- Click the Power & battery page.
- Click the Battery usage setting.
- Set the time period to “Last 24 hours” or “Last 7 days.”
- Select a portion from the graph to see the apps using battery from a more specific period.

- Choose the Overall usage from the “Sort by” menu.
- Confirm the app that is draining the most battery.

Once you complete the steps, you will have an understanding of the apps draining the most battery.
Check battery usage history from Task Manager
To identify the apps draining your laptop’s battery on Windows 11, use these steps:
- Open Start.
- Search for Task Manager and click the top result to open the app.
- Click on Processes.
- Right-click one of the column headers and choose the “Power usage” and “Power usage trend” options.

- Confirm the app drains the most battery.

After you complete the steps, the Task Manager will give you an insight into the apps consuming the most energy.
If you use this method, it’s worth understanding the difference between the “Power usage” and “Power usage trend” details.
The “Power usage” column provides a snapshot of a process’s current, real-time power consumption. On the other hand, the “Power usage trend” column offers a view of a process’s historical or average power consumption over time.
A process might show “high” power usage at a particular moment due to a temporary spike in activity. However, its “power usage trend” might be “low” if it generally consumes minimal power.
In contrast, a process with a “moderate” power usage reading might have a “high” power usage trend, indicating that it consistently consumes a noticeable amount of power.
How to improve battery life on Windows 11
If you want to extend the battery life of your laptop running Windows 11, you can follow my previous guide with more than 20 tips to improve energy usage. However, there are five things you can do, including uninstalling apps that are draining the battery, enabling Energy Saver mode, changing the current Power Mode, restricting background processes, and following the suggestions available through the Energy Recommendations feature.
Change Power Mode
To enable Energy Saver on Windows 11, use these steps:
- Open Settings.
- Click on System.
- Click the Power & battery page.
- Click the Power Mode setting.
- Choose the “Best Power Efficiency” option for the “On battery” setting.

Once you complete the steps, the system will optimize the power usage to battery life rather than performance.
Enable Energy Saver
To enable Energy Saver on Windows 11, use these steps:
- Open Settings.
- Click on System.
- Click the Power & battery page.
- Click the Energy Saver setting.
- (Option 1) Turn on the “Always use energy saver” toggle switch.

- (Option 2) Change the battery level to turn the feature on automatically to a higher level.
After you complete the steps, Windows 11 will disable various features to improve battery life, such as background-specific syncing, processes, and features like system effects that are known to consume more energy.
In addition, the brightness of the display will lower, and the system will favor battery life over performance.
Energy Recommendations
To apply Windows 11 suggestions to preserve battery life, use these steps:
- Open Settings.
- Click on System.
- Click the Power & battery page.
- Click the Energy Recommendations setting.

- (Option 1) Click the Apply button for the energy recommendations you want to use.

- (Option 2) Click the Apply all button to use every recommendation.
Once you complete the steps, the system will apply the recommendations to improve the battery life on your computer.
Restrict background permissions
If the processes of an app are causing battery drainage issues, you can restrict the background permissions:
- Open Settings.
- Click on System.
- Click the Power & battery page.
- Click the Battery usage setting.
- Set the time period to “Last 24 hours” or “Last 7 days.”
- Select a portion from the graph to see the apps using battery from a more specific period.
- Choose the Overall usage from the “Sort by” menu.
- Select the app you want to control.
- Click the menu (three dots) button and choose the “Manage background activity” option.

- Quick note: This option isn’t available for every application.
- Select the Never option under the “Background app permissions” setting.

After you complete the steps, the apps you configured with the “Never” option will run in the background anymore.
Uninstall app
If a particular app is causing significant battery usage, you can uninstall it with these instructions:
- Open Settings.
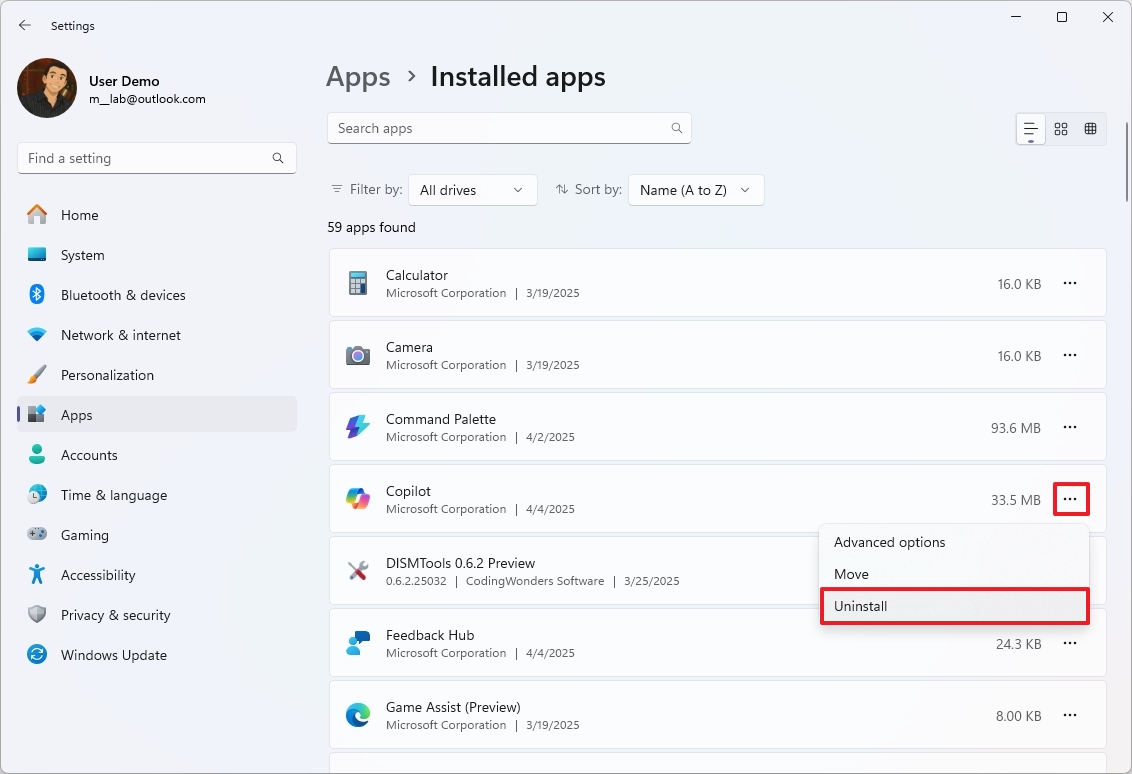
- Click on Apps.
- Click the Installed apps page.

- Select the app you want to uninstall.
- Click the menu (three dots) button and choose the Uninstall option.
- Continue with the on-directions to complete the process.
Once you complete the steps, the system will uninstall the app, thus preventing it from wasting system resources.
More resources
Find in-depth guides, troubleshooting tips, and the latest updates on Windows 11 and 10 here:


