Summary
- Losing access to digital photos and documents can be life-altering, so having backups is crucial.
- VeraCrypt is a versatile encryption tool for creating secure backups on external drives.
- Safeguard your files and personal info by maintaining encrypted offsite backups and following cybersecurity best practices.
You know you have a real friend if they’ve checked that you’ve backed up recently. It shows true care, as losing your photos and documents could really ruin your day (or year). Here’s how to create an encrypted backup drive that will work on any PC.
Why Do You Need to Encrypt Your Backups?
Pretty much all of our important memories, important government and financial documents, and work, are now stored digitally on your PC. Losing your device and all the files on it could be life-altering: your family photos and videos are gone, you need to request new identity documents, you might lose your password databases and access to your social media and other online accounts. Basically, you could be starting your digital life from scratch, and it could take weeks or months to put things right (and those photos still won’t be coming back).
That is, unless you have a backup that you can restore your files from in case you lose or break your device, or are victim to a cybersecurity incident like a ransomware attack. While one backup is good, multiple backups are better. Multiple backups on external hard drives, stored offsite in different physical locations are totally ideal, as they protect against destructive events like fire, flooding, or your home being blown away in a tornado.
The problem with storing external backup drives outside your home or office is the sensitive nature of the data on them. Even leaving your backup with a trusted friend or at another company office has risks: if the backup itself is lost or stolen in transit or while unattended, the personal data on it could be used to hack into your accounts to steal money, impersonate you, or extort you.
This is why you need encrypted offsite backups that are protected by a strong password, so only you can read them.
While Windows and MacOS include disk encryption tools (BitLocker and FileVault, respectively), they only work on their native platforms. This is fine if you keep a spare device available to read encrypted backups created using these tools, but it may hinder getting your files back if you’re in a hurry or can’t afford to purchase another modern Mac or Windows PC immediately.
VeraCrypt is a disk encryption tool that works on Windows, MacOS, and Linux, and can be used for encrypting backups stored on external drives. This makes it ideal for creating backups that you can have ready access to if you lose your main device, allowing you to access encrypted files from almost any available PC.
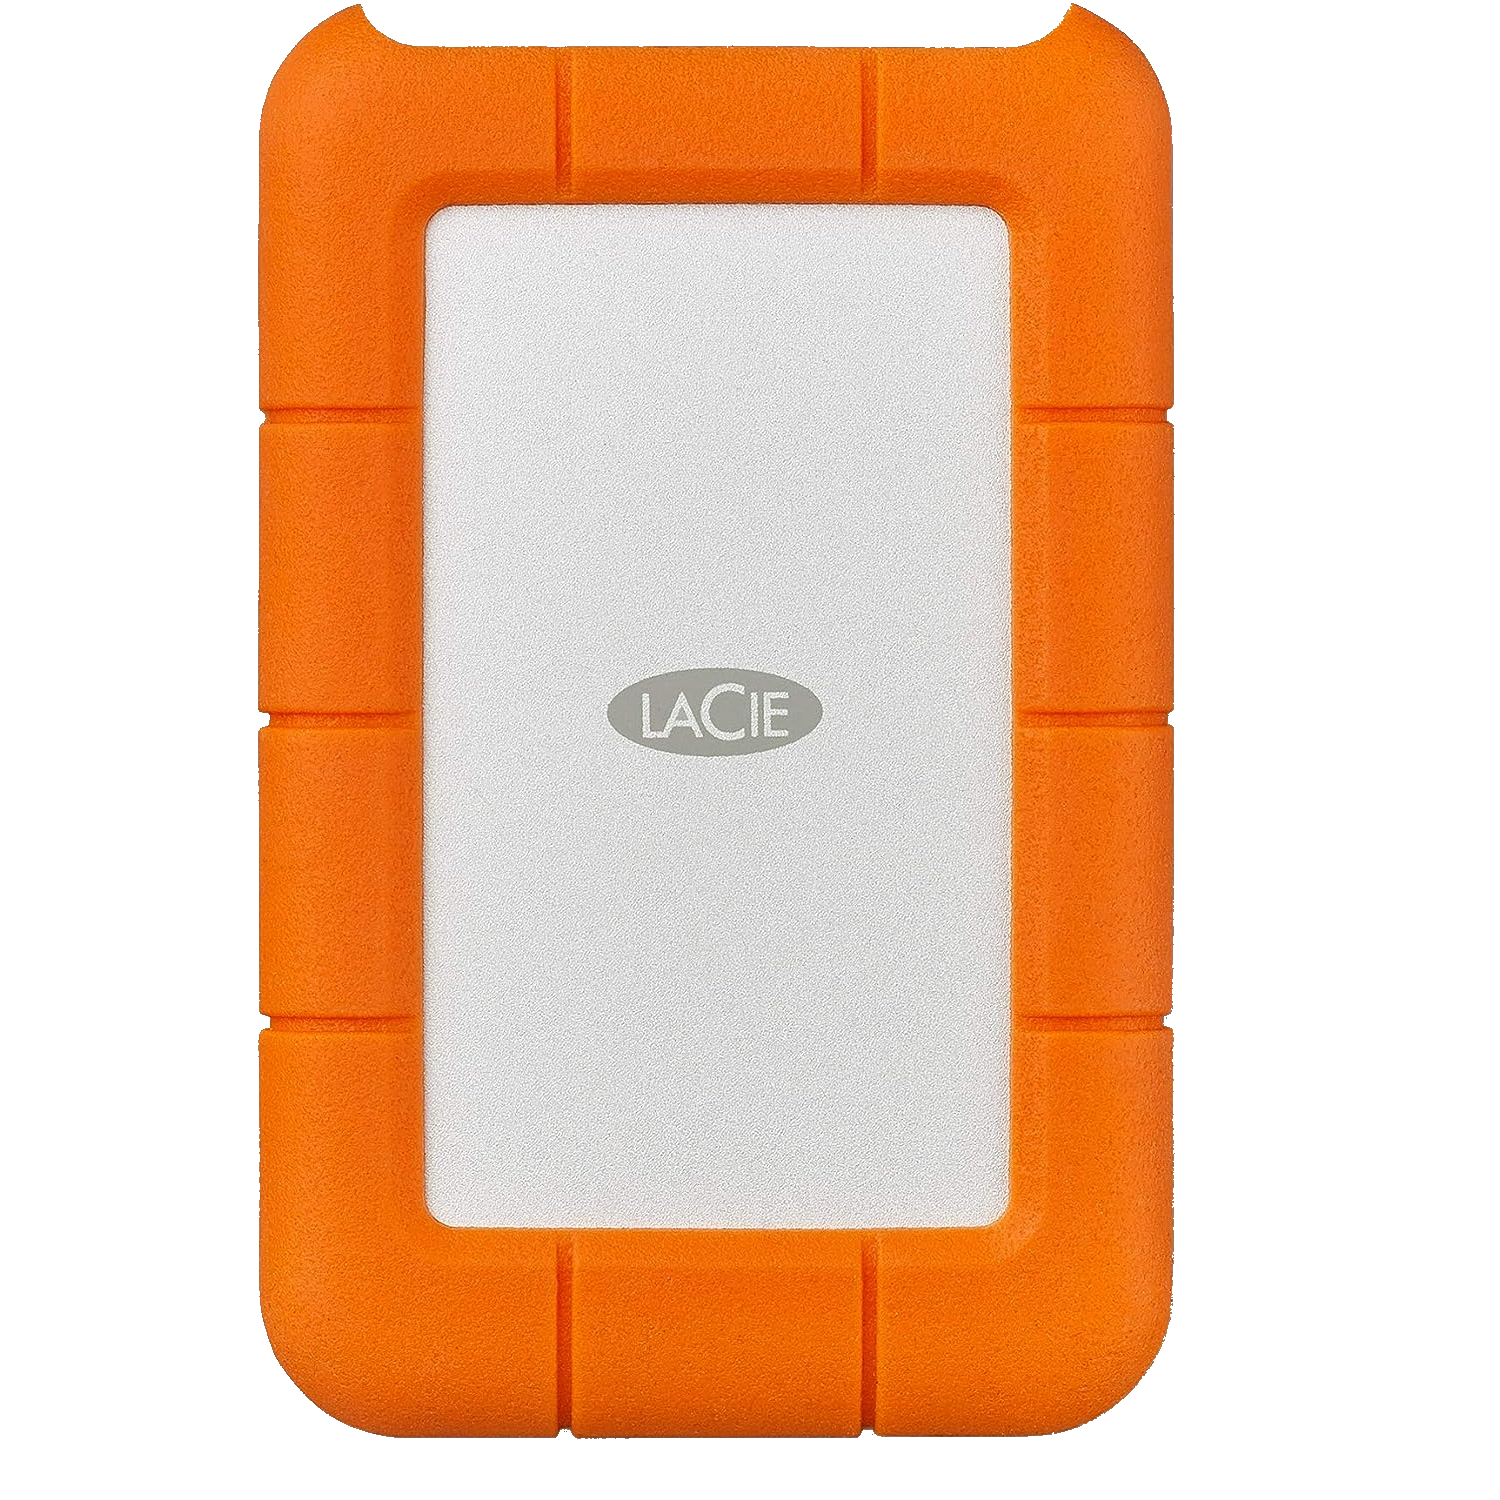
LaCie Rugged Mini External Hard Drive
$89 $100 Save
$11
How To Use Encrypted VeraCrypt Containers for Backups
VeraCrypt has a user-friendly graphical interface, and is fairly easy to use. It can encrypt physical external drives, and can also create containers—these are files that can be mounted as a virtual drive, bundling all the files on that virtual drive into one big file that can easily be copied to external disks or other devices (and even to cloud or network storage), which is perfect for storing and moving backups.
To set up an encrypted container on your external backup drive, download and install VeraCrypt from its website.
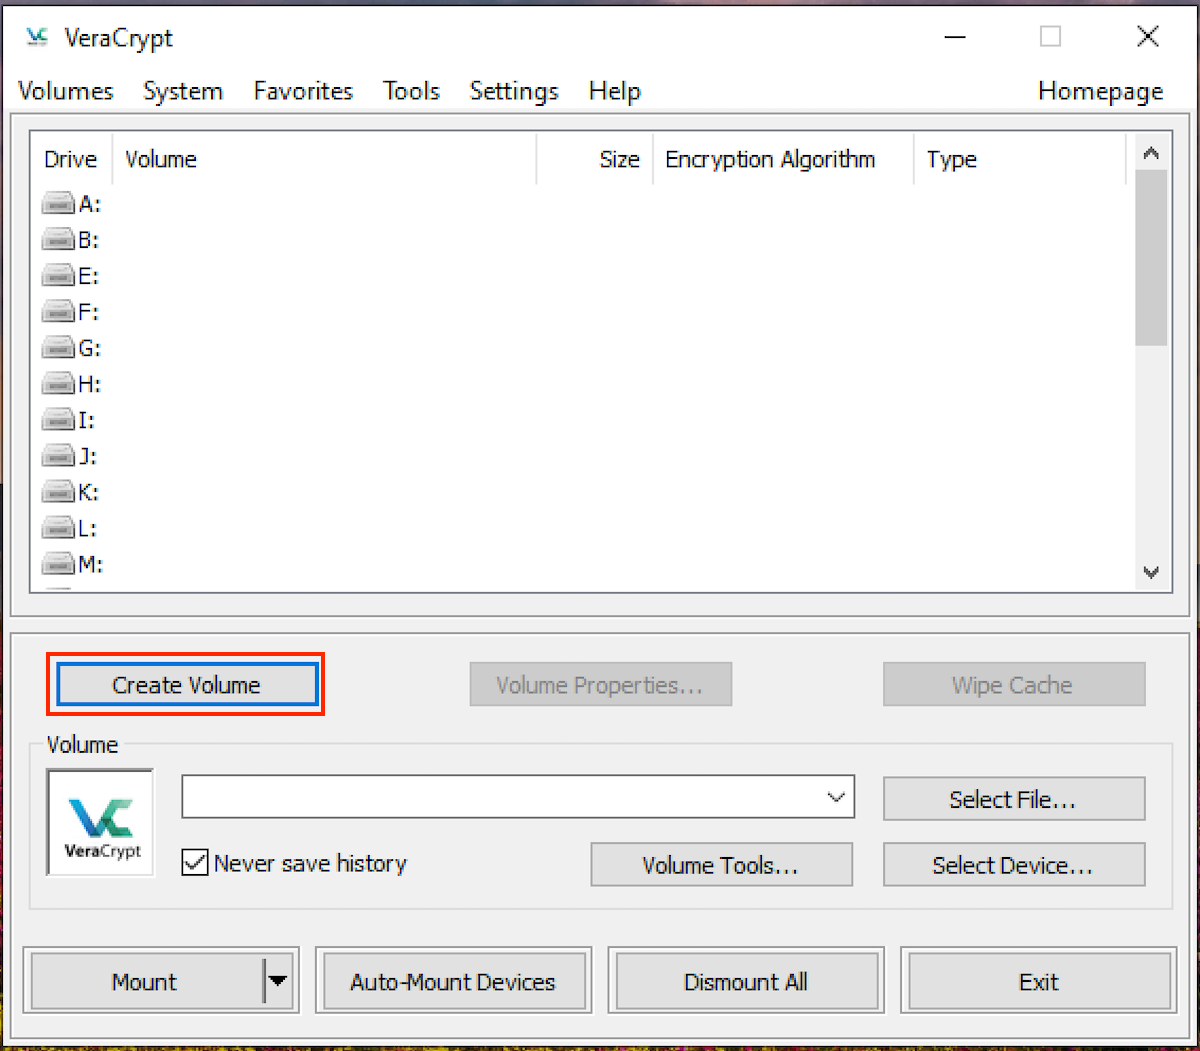
Then, open VeraCrypt and click “Create Volume.”
In the VeraCrypt Volume Creation Wizard, select “Create an encrypted file container,” and on the next screen, select the “Standard VeraCrypt volume” type.
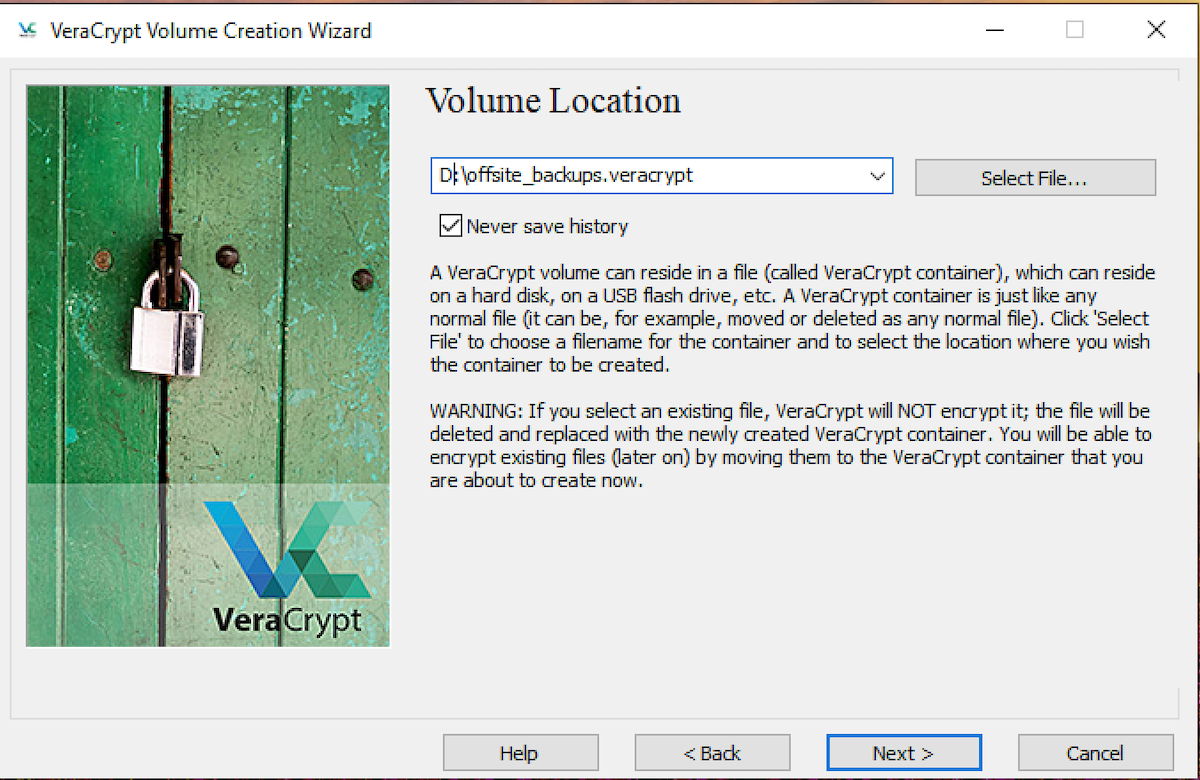
Select your backup drive as the location for the container and name it something sensible like “offsite_backups.veracrypt”.
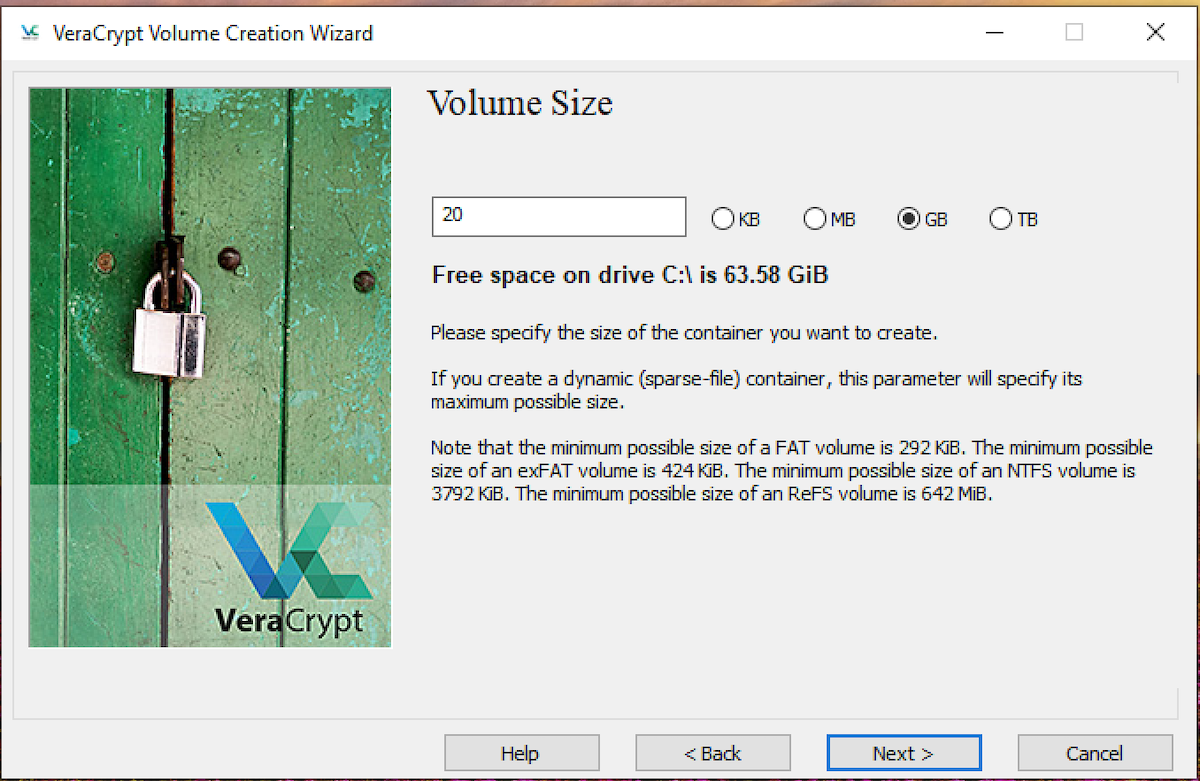
On the following Encryption Options screen, leave everything at its defaults. The volume size will then need to be set based on how much data you’re storing (the minimum size), and the size of your backup drive (which will determine the maximum size the container can be).
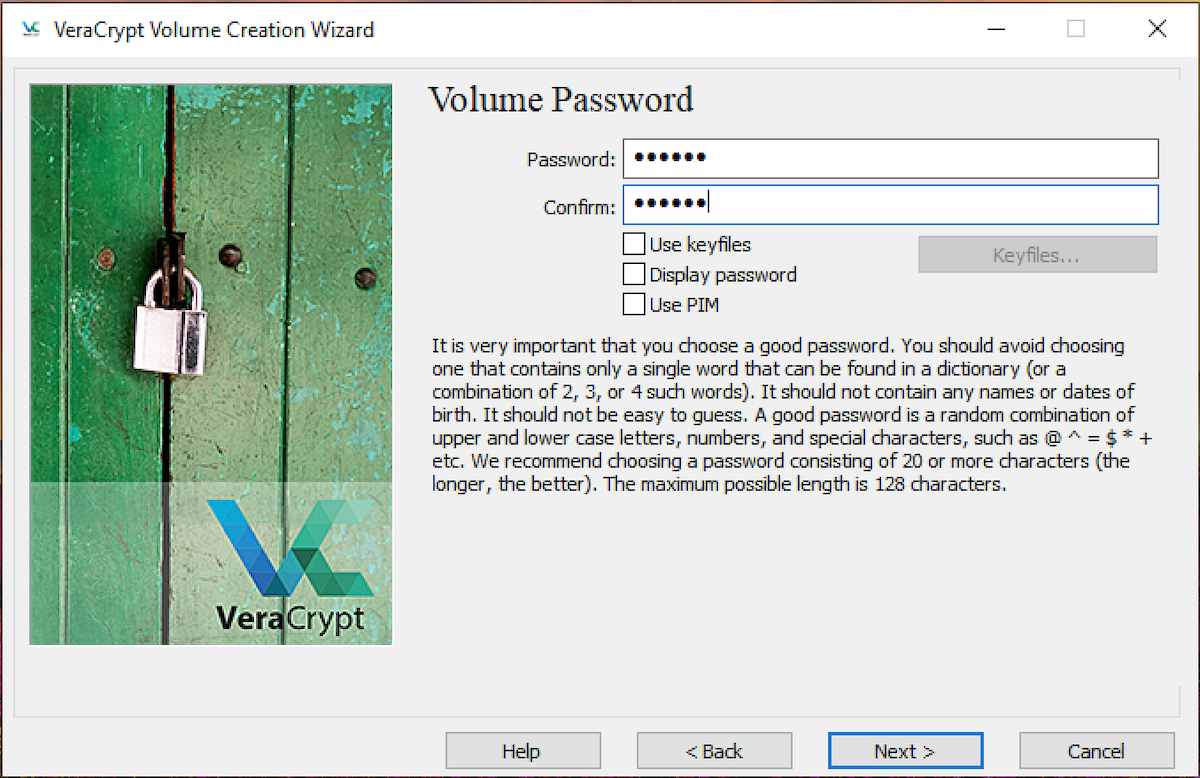
Next, set a strong password that will be used to encrypt and unlock the container.
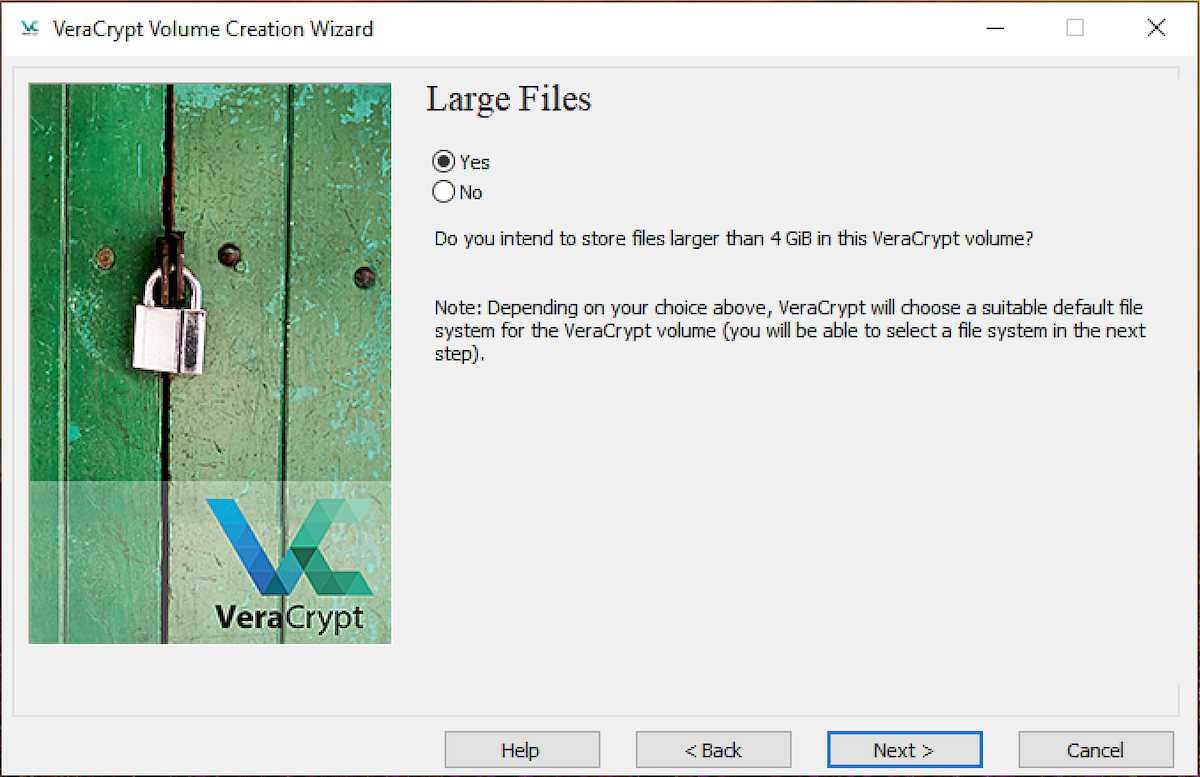
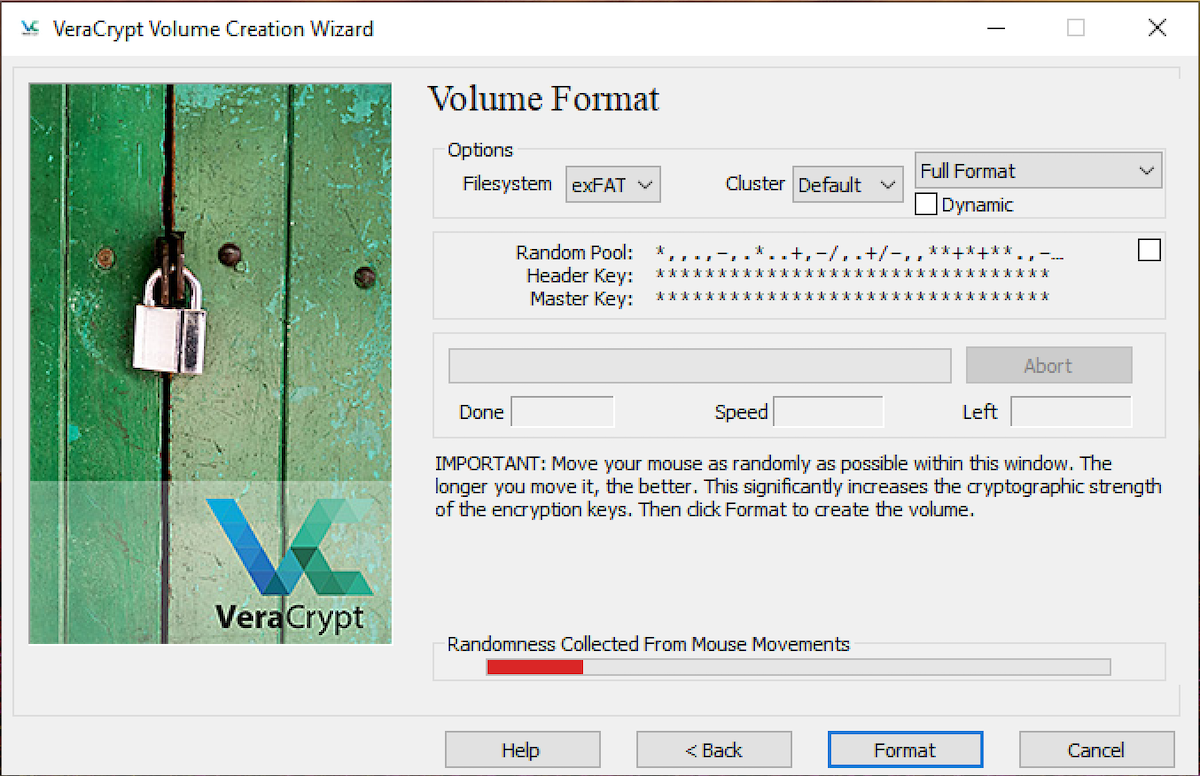
When asked whether you plan on storing large files in the container, select “Yes.” On the Volume Format screen, make sure that this has set the Filesystem option to ExFat, a format that can be widely read by many operating systems and devices.
The next step is kind of cool: you need to move your mouse erratically to fill up the progress bar, creating the random data that will be used to encrypt the backup volume. Once you’ve done this, press “Format” to create the container. You can then close the volume creation wizard.
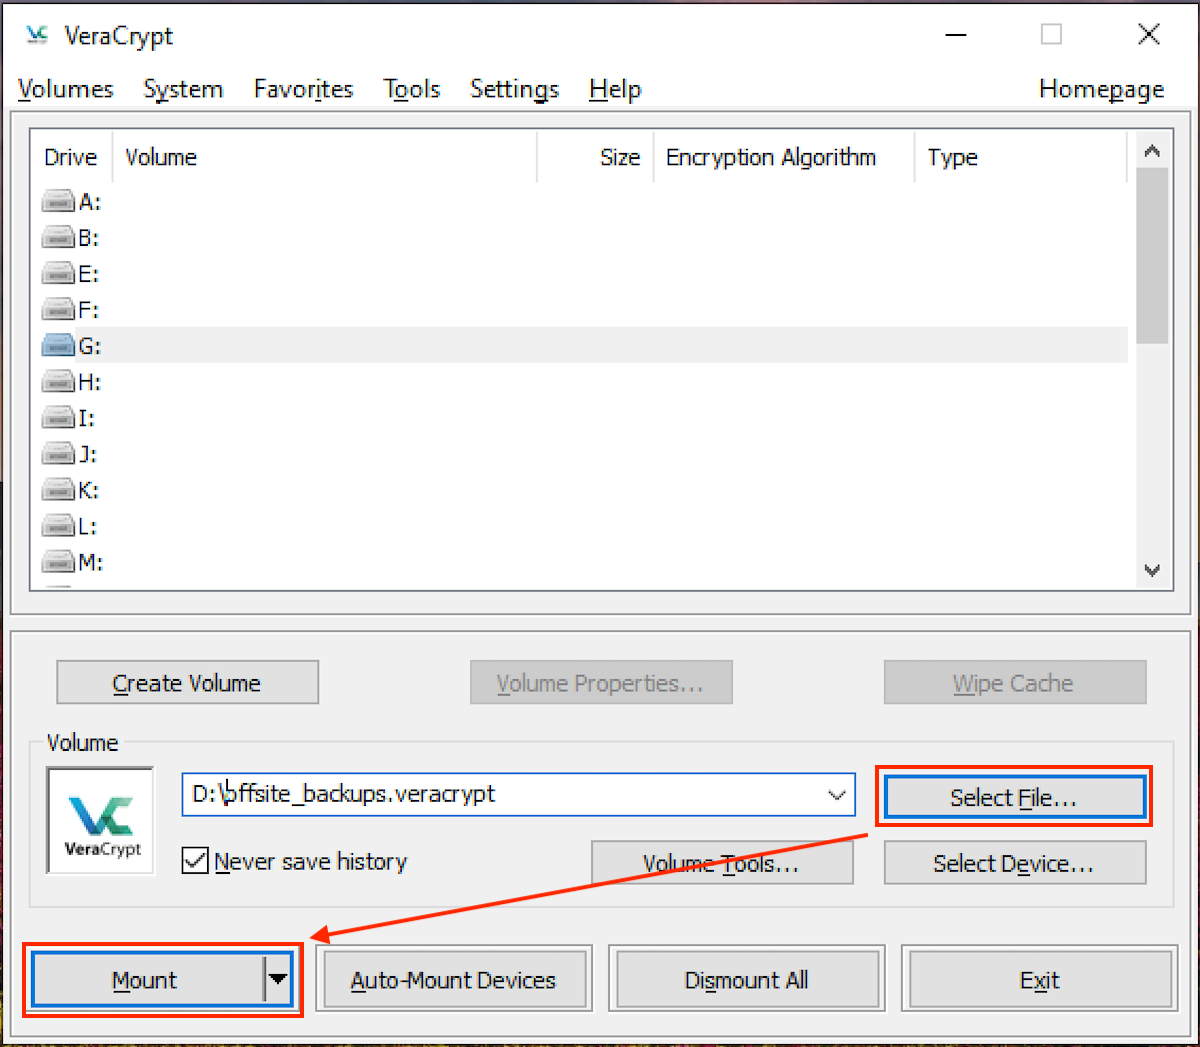
To mount the new encrypted container, open VeraCrypt, select an unused drive letter, click “Select File” and choose your encrypted backup container, then click “Mount.”
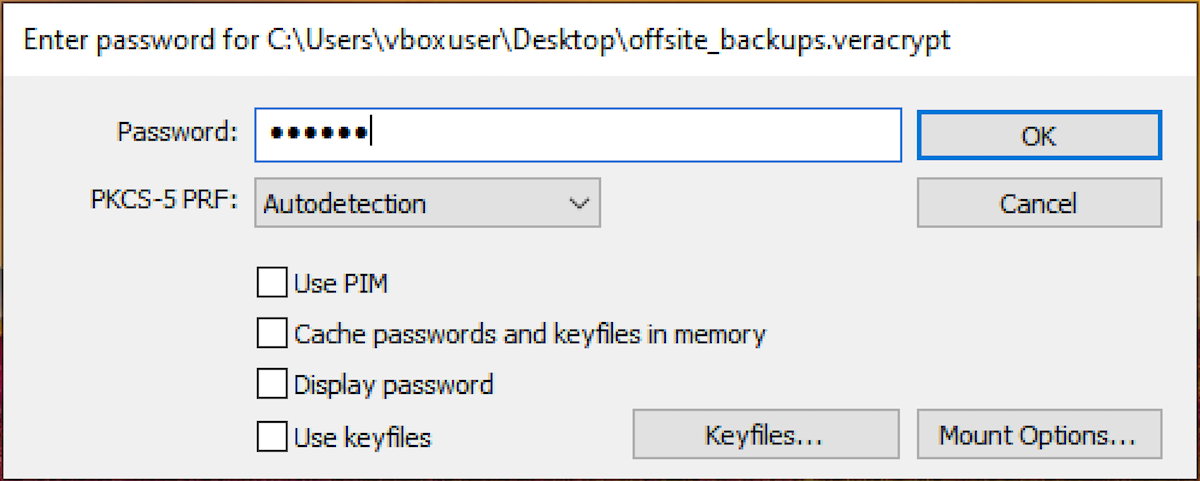
Enter the password you set when creating the volume, and click the OK button to finish mounting it.
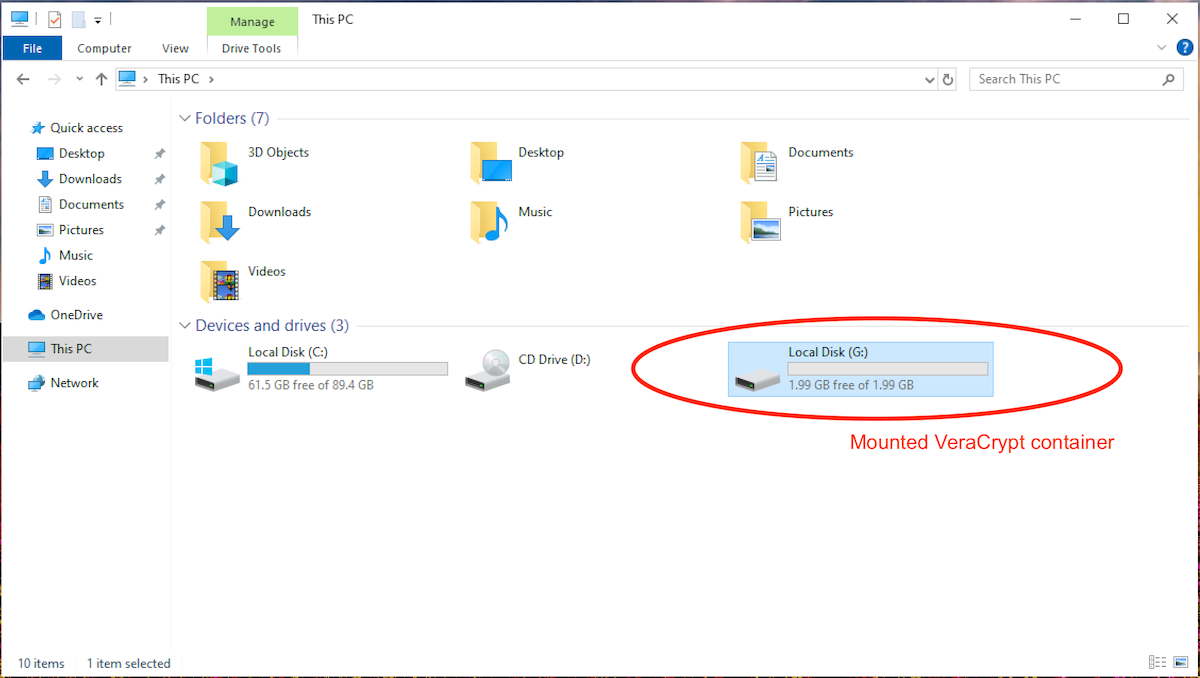
The mounted volume will then appear in the list of drives in VeraCrypt, and appear in the Windows File Explorer as a regular hard drive, ready for you to copy files to (you may elect to rename the drive in Windows so it’s easier to identify).
Once your container is mounted, you can treat it like any normal external USB drive by copying files to and from it, but you need to make sure you safely dismount it by selecting it in the VeraCrypt app. Once it is dismounted, the container file can be moved, and cannot be read without the encryption key (password) used when creating it. You can mount and unmount containers on any system with VeraCrypt installed as many times as you need, but if you’re storing containers on a network share, make sure you only mount them on one device at a time.
Getting your files into your encrypted container is then a simple matter of setting up an automatic backup tool to do the work for you. SyncBack is a great cross-platform tool for this that lets you specify which files and folders to copy, and keeps your backups in sync. The free version is great for general usage, while the paid version adds extra features like keeping old versions and retaining deleted files so that they can be recovered if you accidentally delete something important.
To use SyncBack to sync your files to your encrypted container, download and install SyncBack, make sure your VeraCrypt container is mounted, and then set up a backup profile. You can optionally set a schedule to automatically back up periodically. If you’re more technically inclined, you can also schedule rsync on your platform of choice for a completely free solution.
Just make sure you set your sync tool to sync in the correct direction with the intended source and destination paths. Mixing them up may mean accidentally overwriting your files with those from the backup location (which could be empty!). Make sure you keep a record of your backup password too, as your files cannot be recovered without it. You also need to actually check in on your backups from time to time by making sure they are readable and that the files you require are present.
Do You Really Need to Safely Eject External Drives?
With how far we’ve come in consumer technology, haven’t we outgrown ejecting drives?
Safeguarding Your Files and Protecting Your Personal Info Is Your Responsibility
Cybersecurity threats are just another facet of modern life. While it’s not worth worrying about them constantly, you do need to take ongoing measures to protect yourself. This means taking regular backups, and following cybersecurity best practices.


