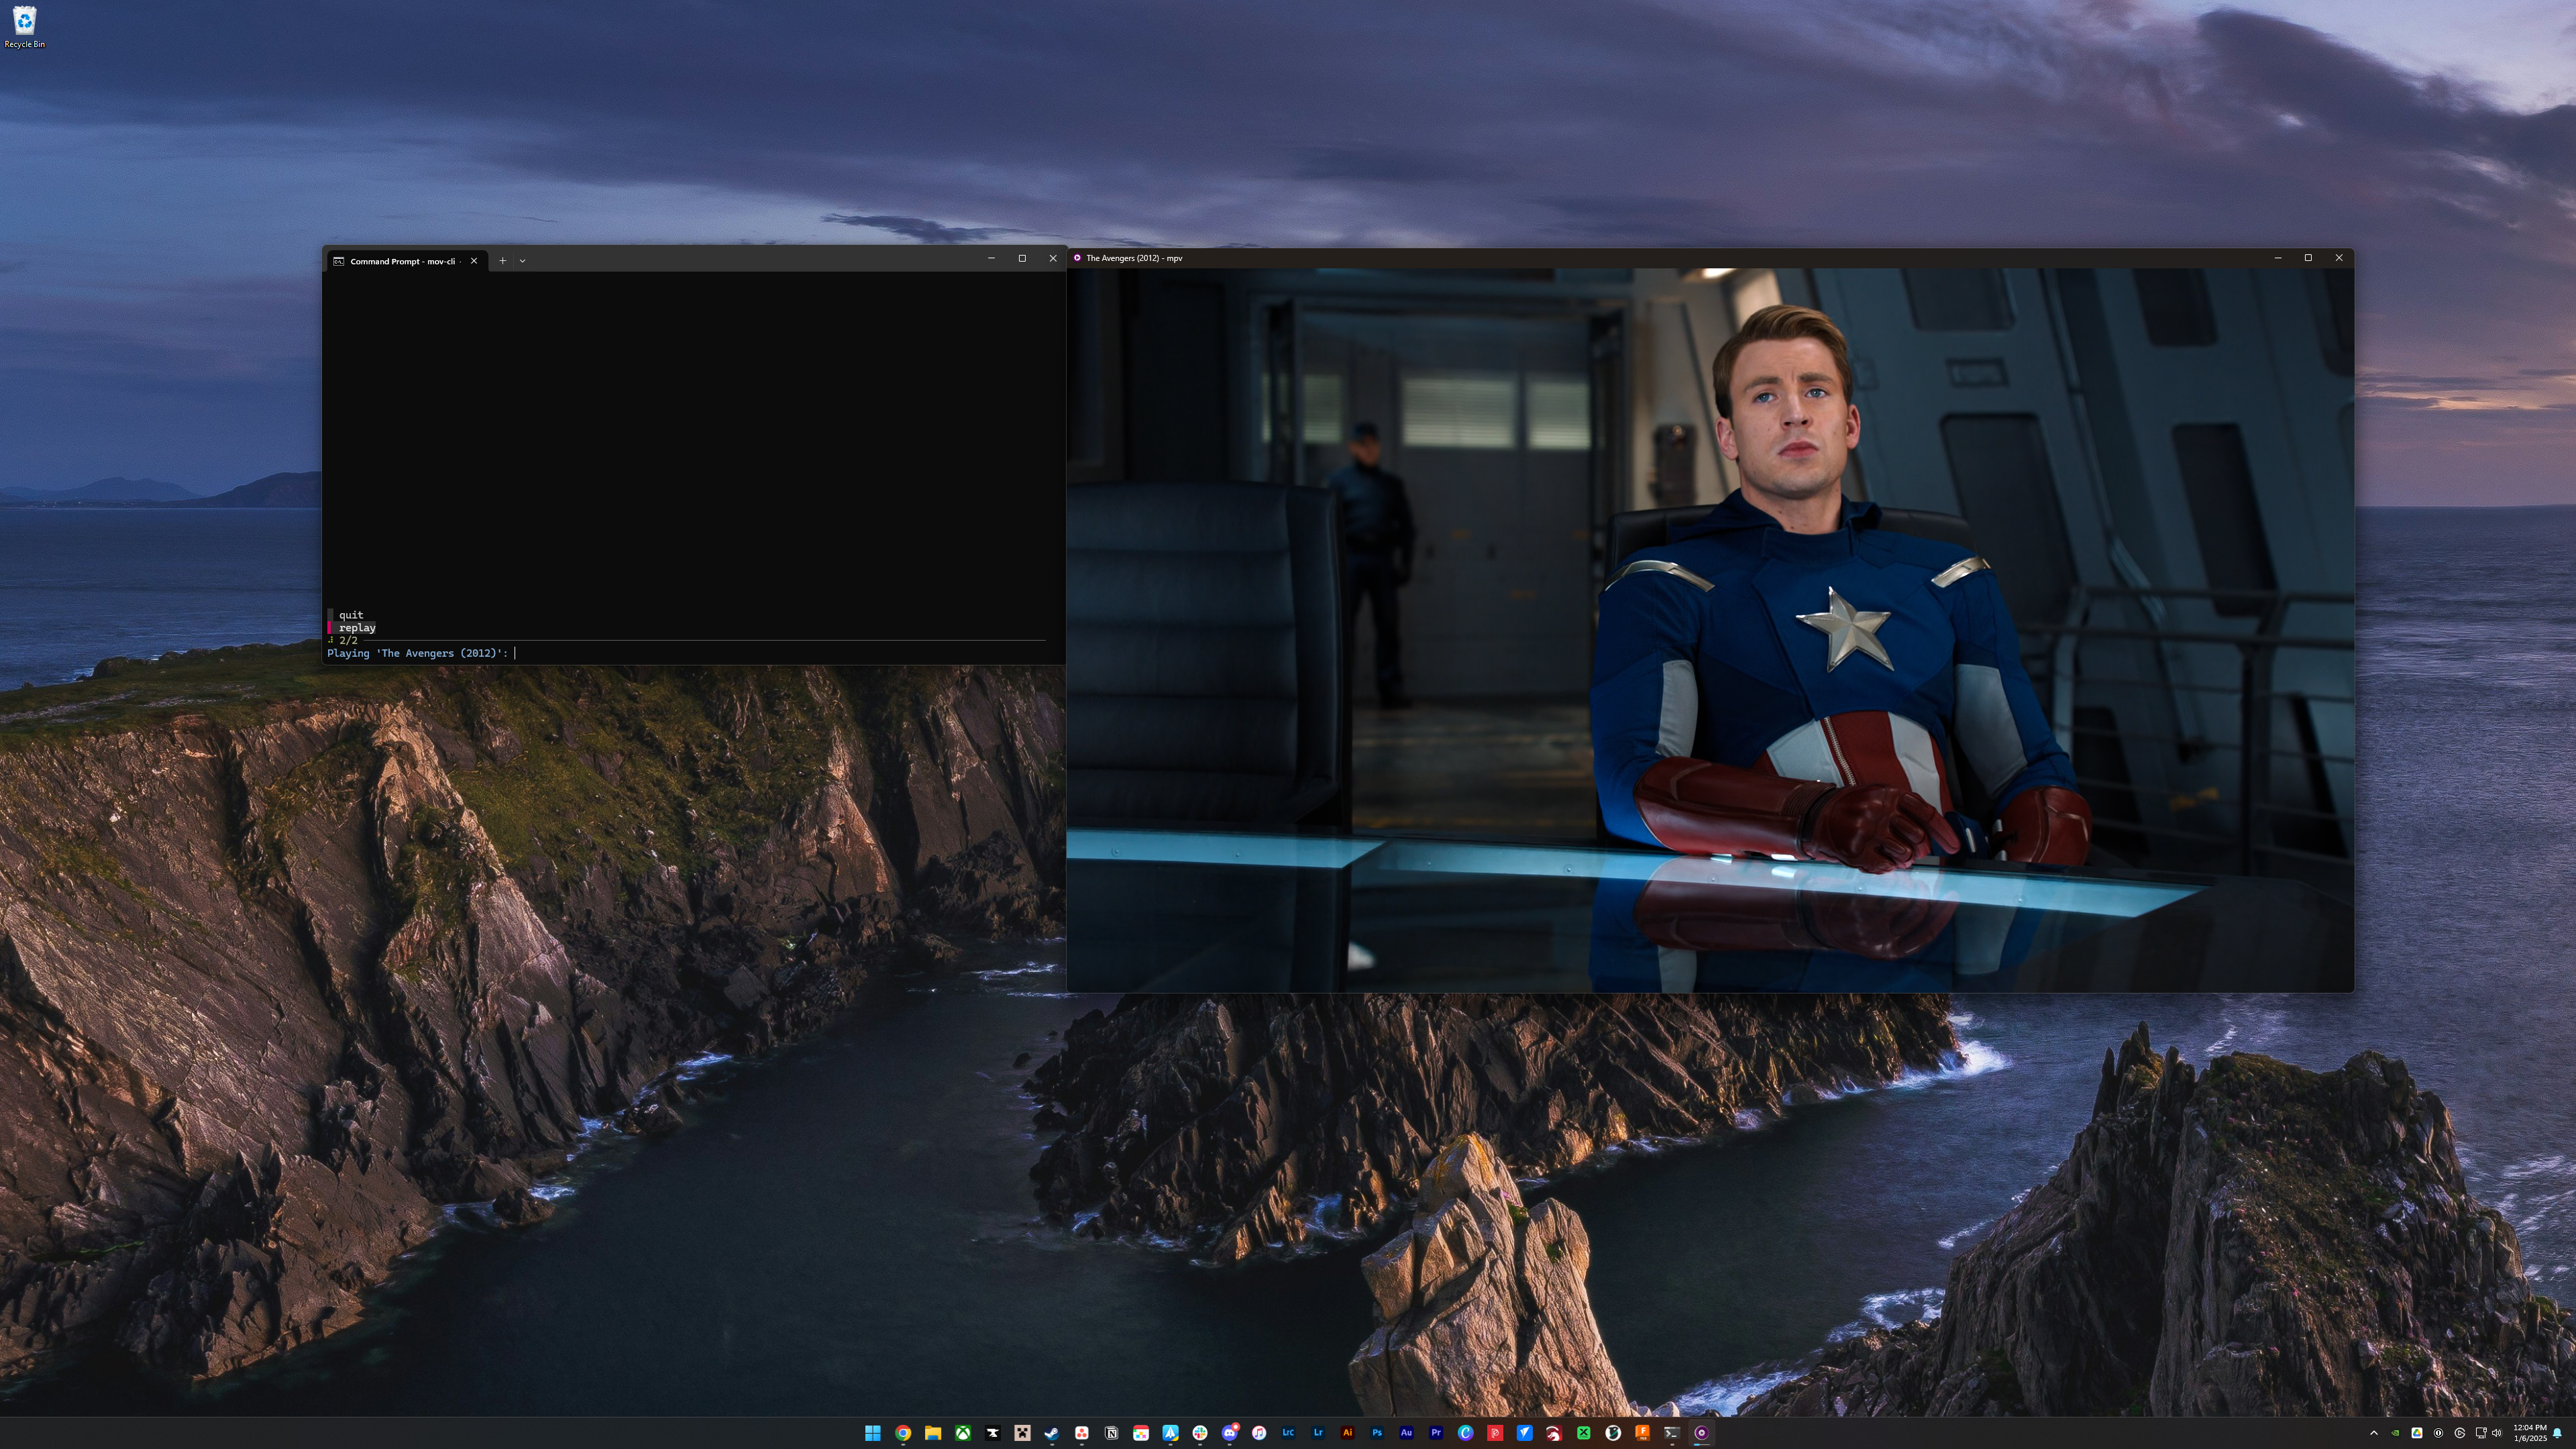
Typically, you stream Plex in the standard places: on a TV, a smartphone, tablet, or computer. What if I told you that you could stream Plex (or Jellyfin) through your terminal? That’s exactly what the new mov-cli-jellyplex plugin does. Here’s how it works.
What Is mov-cli?
If you haven’t heard of mov-cli, then you’re not alone. I hadn’t either until very recently, and it’s a pretty cool piece of software. To put it simply, mov-cli is a plugin for your computer that lets you stream various media types through your terminal.
Installation of mov-cli is pretty straightforward and there are docs for Windows, Linux, macOS, Android, and even iOS. In this article, I’ll go over using it in Windows. However, the functionality is the same across all platforms. I also installed it on Windows Subsystem for Linux (WSL), which is essentially Linux on Windows, and it worked flawlessly there, too.
How to Install mov-cli
To use the mov-cli-jellyplex plugin, you’ll need to first install mov-cli. For this article, I’m going to focus on installing within Windows as that’s my primary operating system.
To start, you’ll want to be sure that scoop is installed. It wasn’t on my computer, so that’s where I started.
You’ll want to open Windows PowerShell as an administrator, and then run the following commands.
Set-ExecutionPolicy -ExecutionPolicy RemoteSigned -Scope CurrentUserInvoke-RestMethod -Uri https:
Now, with scoop installed, you can head on over to the standard Windows Command Prompt to finish installing mov-cli. The rest is pretty simple, and only requires four further commands before you’re up and running. There are a few prerequisits that need to be installed first.
scoop install git pythonscoop bucket add extras
scoop install mpv fzf
Then, with that completed, you’ll simply run:
pip install mov-cli -U Now you’re ready to go! To explain a bit of what just happened, the first scoop command installed both git and python. Then, it gets some extras added to scoop, and finally installs mpv and fzf. MPV is for playing the movie, and fzf is how it generates the menu for you to choose the movie or show to play.
At this point, mov-cli is installed and ready to go, so we can move onto installing the jellyplex plugin!
How to Install the mov-cli-jellyplex Plugin
Once mov-cli is installed, installing the mov-cli-jellyplex is pretty simple, though you will have to do some configuration to get it to link up with your Jellyfin or Plex account.
To install it, simply run the following command within the Windows Command Prompt.
pip install mov-cli-jellyplex Then, run
mov-cli -e to open up the mov-cli config. Find the area that’s labeled
[mov-cli.plugins] and add the following below it:
jelly = "mov-cli-jellyplex" And it’s installed and enabled! This is the simplest portion of the installation, and now we move onto actually configuring the plugin for use.
How to Configure the mov-cli-jellyplex Plugin
To start with, you need to open up your environmental variable file. To do this, run:
mov-cli -e .env This file should, for all intents and purposes, remain 100% private and never be shared with anyone. For the purposes of this article, I will be making up random information to put in the example env file for you. But, this is extremely sensitive information and should always be redacted if sharing the file with someone for troubleshooting.
I’m going to demo how to set up Plex here, but the mov-cli-jellyplex plugin has documentation on how to configure Jellyfin.
Your environmental variable file should look like the following:
PLEX_SERVER_ID="abunchofrandomtext"
PLEX_USERNAME="ilovemovies"
PLEX_PASSWORD="D0ntHaxM3Plz"
To get your Plex server ID, simply navigate to yourplexIP:32400/identity and find the machineIdentifier="" field. This is your Plex ID to use in the environmental variable field.
How to Stream Movies Using the mov-cli-jellyplex Plugin
Once you have this configured, you’re ready to use the plugin. If you’re using Jellyfin, then you should be able to run the following command (I don’t have Jellyfin, so I’ve not tested this):
mov-cli -s jelly The Avengers To use the plugin with Plex, the command is a little different. It took me a bit to figure this out so you don’t have to:
mov-cli -s jelly.plex The Avengers Adding the .plex is how it knows to search Plex. I’m not sure why that’s necessary, but it seems to be. I’m not alone in the issue, however, as it’s an open issue with the plugin at the time of writing, so it’s possible that it could get fixed in the future.
Simply choose from the list of movies or shows that match your search query and then click enter, and you’ll be watching a movie from your terminal!
Not sure whether to choose Jellyfin or Plex for your media server? Check out this explainer on why Jellyfin is the Plex alternative that you’ve been waiting for. Or, skip that and just deep dive into what Plex is and how it works.


