Key Takeaways
- Virtual environments create isolated spaces for Python projects to prevent package conflicts and errors.
- They create a separate folder with their own copy of Python and manage your system’s PATH to switch between environments.
- They help keep your global Python environment clean by preventing pollution with unnecessary packages that may not be needed for every project.
Starting a Python project? As a developer, you’ll often find yourself working on multiple projects. If that’s the case for you, then virtual environments are your friend. They’ll help you overcome package conflicts and dependency hell when working on multiple Python projects.
What’s a Virtual Environment?
A virtual environment in the context of Python programming means a self-contained location that allows you to maintain separate and isolated environments for your Python projects. When activated, it adjusts your terminal’s environment to use that isolated Python setup. Virtual environments let you use multiple versions of Python and other packages without one conflicting with the other. This process is consistent across operating systems like Windows, Linux, and macOS.
To use a virtual environment, you’ll first create it, activate it, install the necessary packages for your project inside it, and, when you’re done working on the project, finally deactivate the environment. (I’ll cover all the steps in a bit.)
When you first make a virtual environment, it creates a new folder in your project directory. The virtual environment lives inside this folder. A copy of the Python interpreter and some essential files are placed inside this folder. This copy acts as the main Python installation for your project. It also stores a Scripts (Windows) or bin (Linux) folder, which contains the activation and deactivation scripts, so you can switch between your global Python and isolated versions.
After activating the environment, your shell’s environment changes, making the command line use the Python interpreter and libraries inside the virtual environment. Behind the scenes, the environment’s PATH variable is updated. The virtual environment’s “bin” (“Scripts” on Windows) folder is added to the beginning of the PATH, which tells your terminal to look there first. Also, your prompt changes to reflect the update.
When installing a Python package inside a virtual environment, it’s typically installed inside the “lib/pythonX.X/site-packages” (“Lib\site-packages” in Windows) folder instead of the global Python system. Each environment has its own “site-packages” directory, where all installed libraries and dependencies are kept. This keeps each project isolated and free from conflicts with other projects or global packages.
Why Use a Virtual Environment for Python Development?
Suppose you’re working on multiple Python projects at the same time. One of the projects is a bit old. Both projects require the Django module. However, the old project requires Django version 3 while the newer one requires Django version 4. At first thought, you may consider installing both versions on your system.
However, that’s not possible, and you’ll receive an error if you try to do it. So, you can’t install two different versions of the same package at the same time. Even if you manage to install it, the latter installed version will override the previously installed one. To add to that, when you import a package into your Python code, you can’t define which version to use. So, that’s another reason you can only have one version of a package at a time.
Now, if you want to work on both projects, you’ll have to first install a Django version, work on that project, then uninstall it, install the other version, switch to the other project, and so on. That’s not at all practical. This is only a small example. You’ll likely face much more complex dependency conflicts like this.
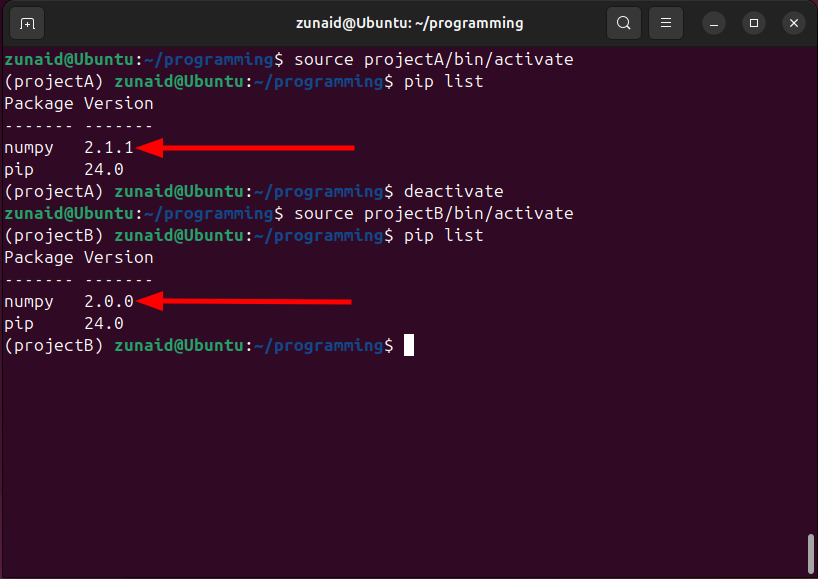
Virtual environments solve this problem. You can create a new environment for each of your projects, install the required packages and dependencies, and not worry about any conflicts and errors. Here’s a quick example where I’ve installed two different versions of NumPy for two different projects.
For this example, I’ve set up two virtual environments for two separate projects. Then I successfully installed two separate versions of NumPy. Here, projectA is using version 2.1.1 while projectB is using version 2.0.0.
Another advantage of using virtual environments is when you want to collaborate with others or share your projects. By using a ‘requirements.txt’ file, you can define all the dependencies, which can then be recreated in a new environment on another machine.
How to Create A Virtual Environment
The virtual environment is a directory you create where you hold all the project files and related packages. For demonstration, I’m first going to create a directory to set up the environment.
mkdir programming
cd programming
Inside this newly created directory, I’m going to create a virtual environment.
Linux
On most Linux distros, Python usually comes pre-installed. If not, you can install Python on Linux using your package manager. Then install the virtual environment with this command:
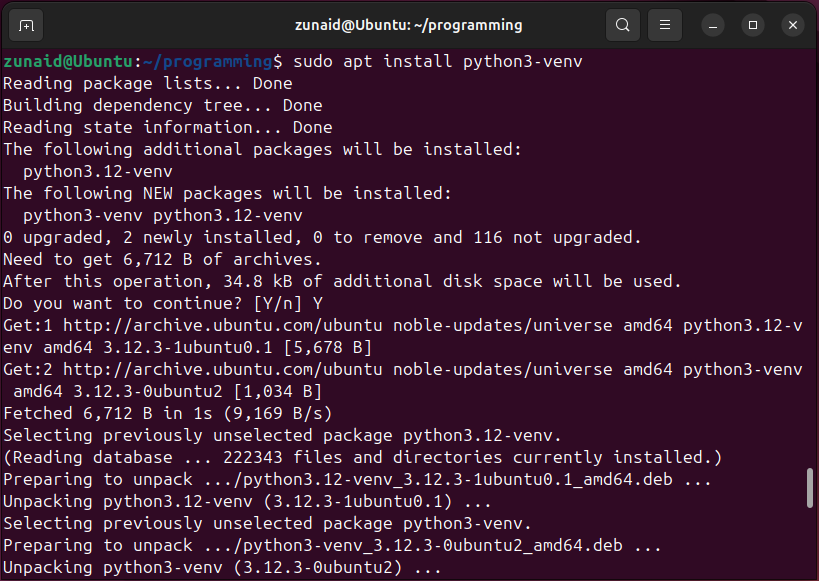
sudo apt install python3-venv After that, you can create virtual environments. You need to name the environment. Then run the command below:
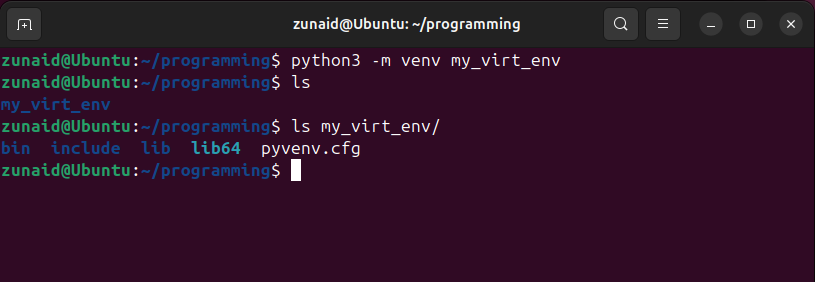
python3 -m venv my_virt_env In my case, I named it ‘my_virt_env.’ You can choose any suitable name.
Windows
The first thing you need to do is install Python on Windows. While installing, make sure to add Python.exe to your system PATH. Navigate to the folder where you want to create the virtual environment. Open your preferred command line tool and then run:
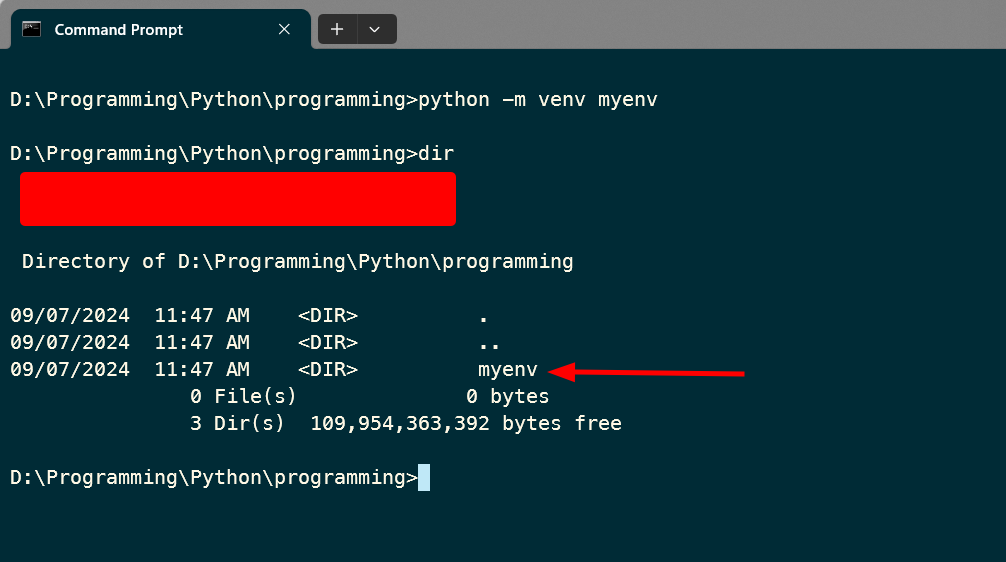
python -m venv myenv Activating the Virtual Environment
Creating a virtual environment isn’t enough. You’ll need to activate it using the activation file inside the folder to start using it. If you successfully activate the virtual environment, you’ll notice the folder name inside the parentheses in your command line at the beginning of the prompt.
Linux
To activate the virtual environment on Linux, run:
source my_virt_env/bin/activate Remember to use the same directory name you used for the virtual environment.
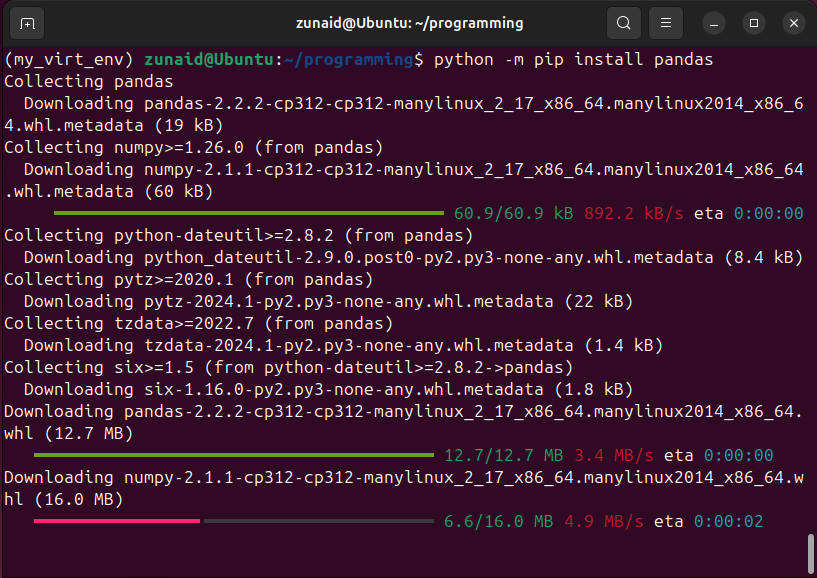
Now that you’ve activated the virtual environment, you can install Python packages inside it, like this:
python -m pip install package_name Once you install some packages, you can check their versions with this command:
pip list If you want to get out of the virtual environment, then run:
deactivate The environment name inside the parentheses should disappear from the command line prompt.
Windows
To activate the environment on Windows, run:
myenv\Scripts\activate
.\myenv\Scripts\Activate.ps1
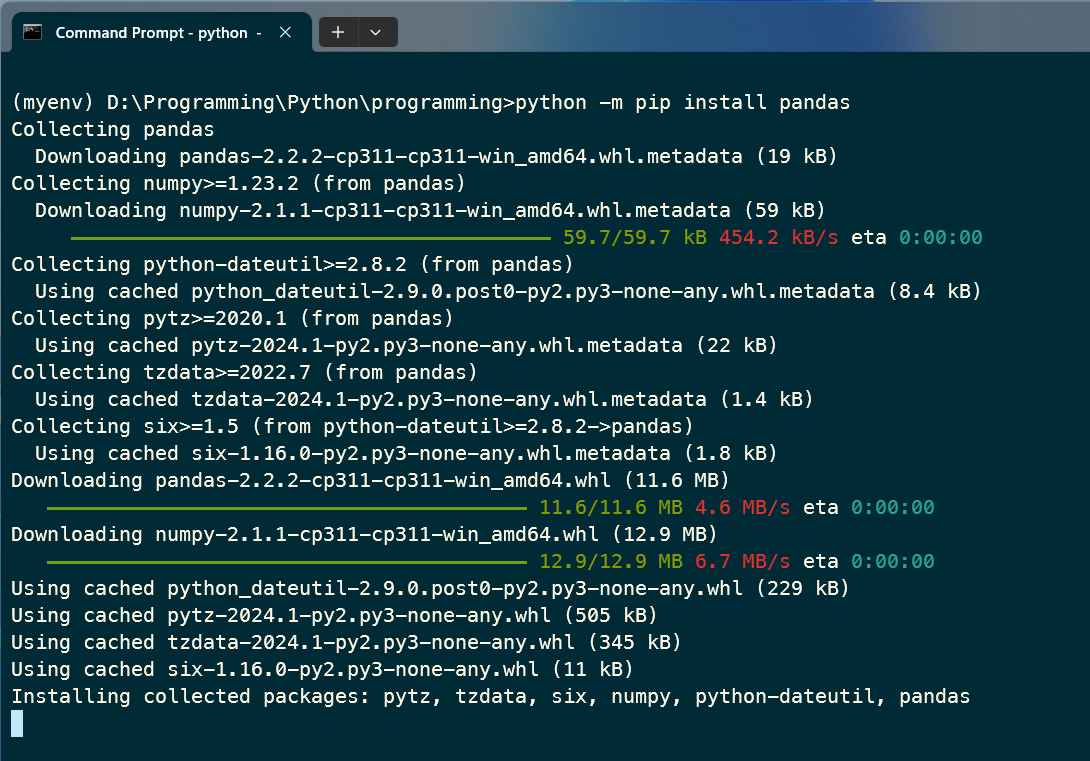
To install a package inside this environment, use this command:
python -m pip install package_name You can list the installed packages by running:
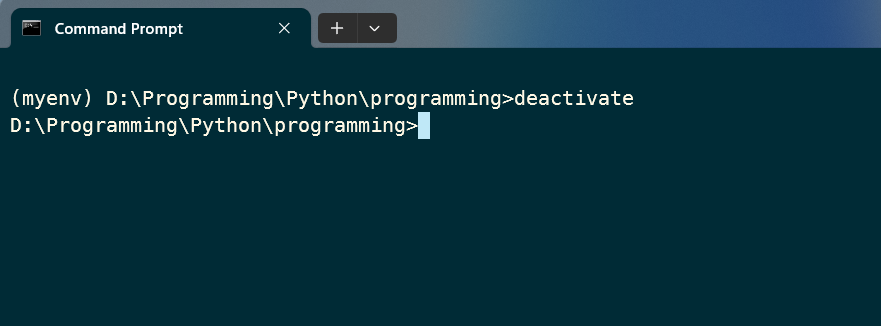
pip list If you want to get out of the virtual environment, run:
deactivate When you deactivate the virtual environment, you’ll return to your global Python setup.
Python Package Headaches Gone
With a virtual environment set, you’re ready to start coding in Python without worrying about different package versions, conflicts, and errors. For this guide, I’ve used the venv tool. There are other tools such as Virtualenv and Conda. You can feel free to explore them. If you’re new to Python, start with the basics and build your first project.


