Key Takeaways
- Transfer your save data from an old Switch to a new one, or to Nintendo’s save data cloud if you have an active Nintendo Switch Online subscription.
- Format your console to remove your data, settings, and payment details so that the next owner can’t buy games with your credit card.
- You should also remove game cards and your microSD card, transfer screenshots and videos, and sell your games separately.
If you’re replacing your Switch with an updated model or have simply decided that you don’t use it enough, selling your old console makes a lot of sense. Here’s what to do before you list it or gift it.
Transfer Your Save Data
If you’re selling your Switch because you bought a new one, or you intend to get another one at some point in the future, you probably have save data that you want to preserve.
If you’re ditching your Switch because you tried the console out and decided it’s not for you, and have no vested interest in playing these games again, you can skip this process.
How you transfer save data depends on whether you’re moving to a new Switch or have an active Nintendo Switch Online subscription. You’re going to need to fall into one of these camps for this to work.
Transfer Save Data to a New Switch
The first thing you should do is set up your new console by logging in with the same Nintendo credentials that are linked to your old console. This is necessary since save data is linked to your account, you can’t send save data to someone else’s Switch.
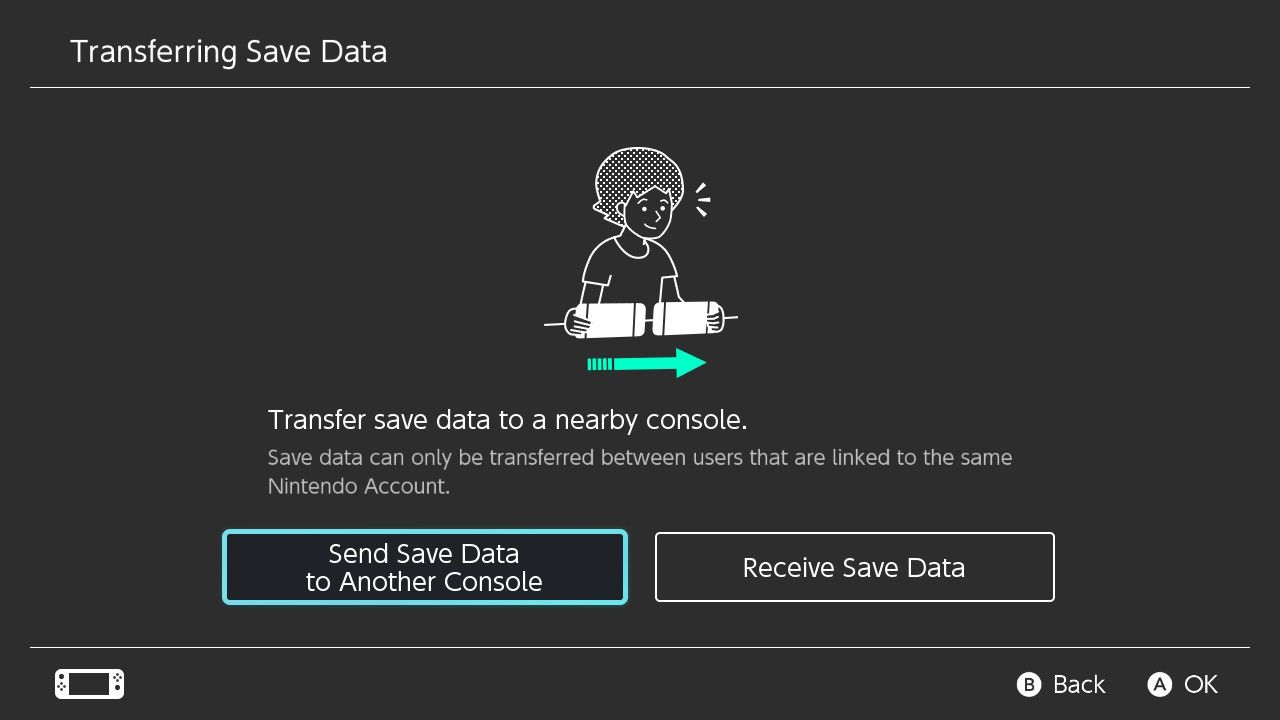
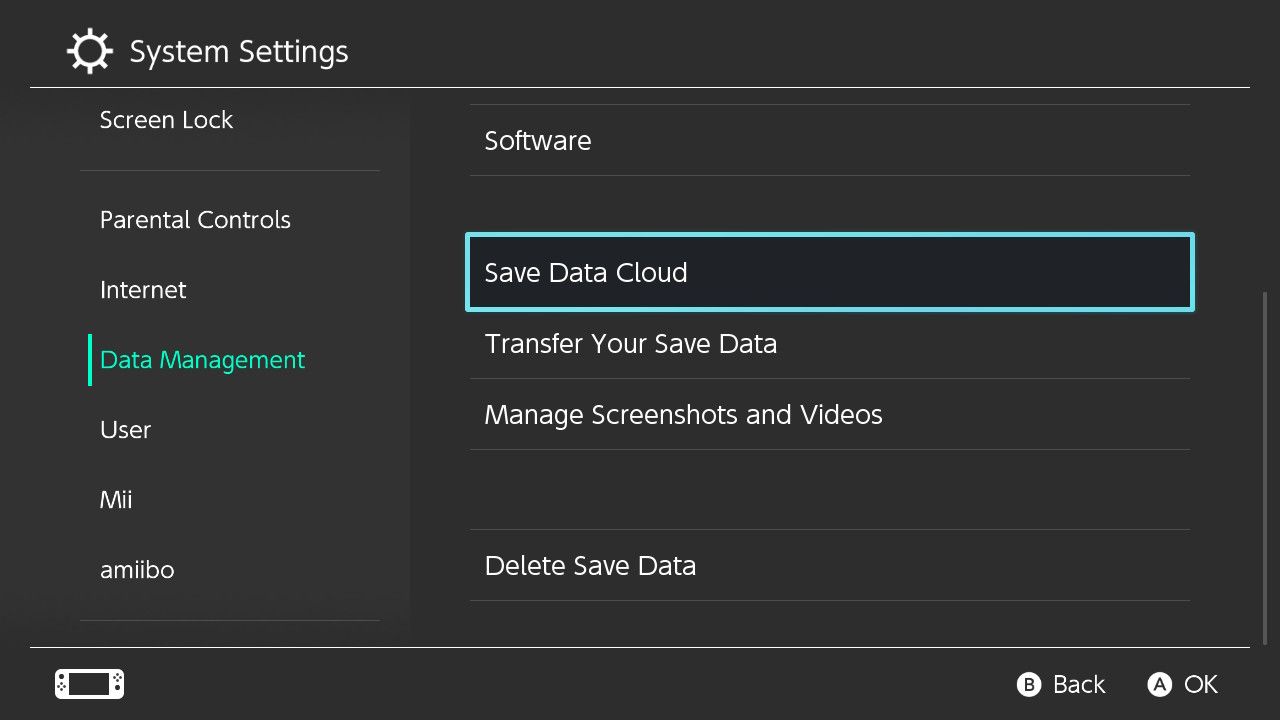
On your new Switch, head to System Settings > Data Management > Transfer Your Save Data and choose “Receive Save Data” from the two options. You can now put this console down.
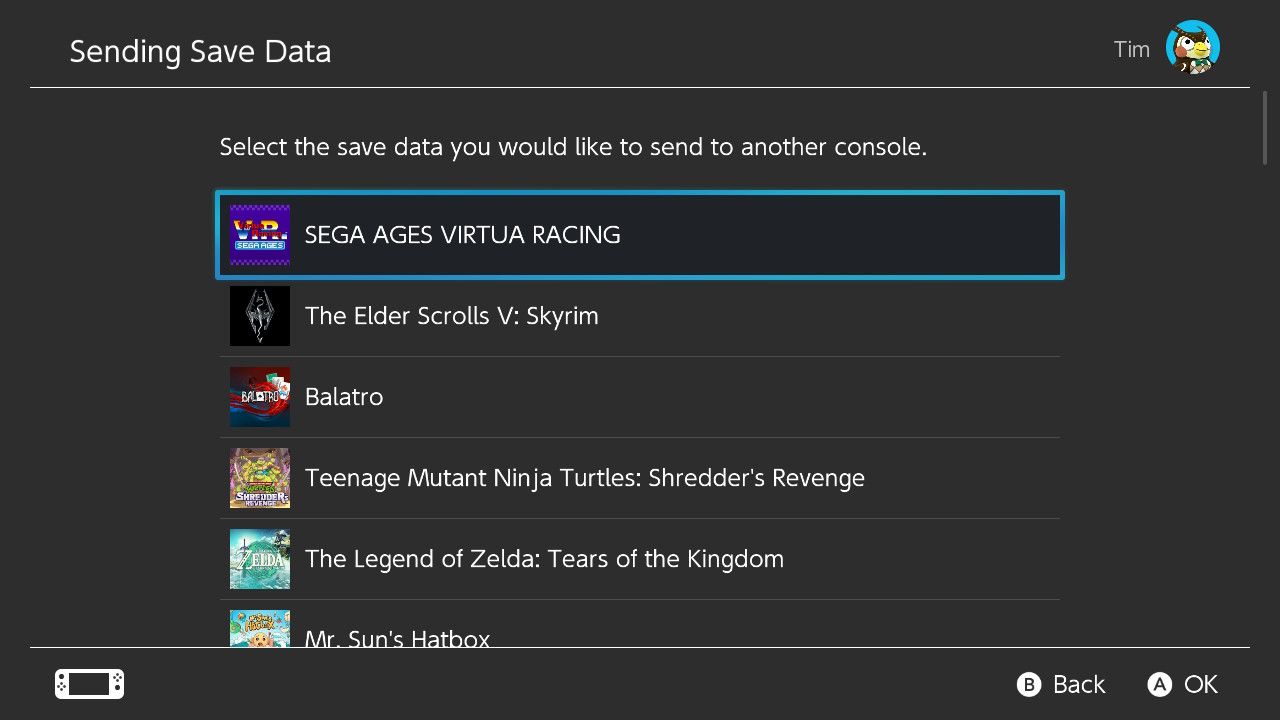
Now on the old console, head to System Settings > Data Management > Transfer Your Save Data and choose “Send Save Data to Another Console” then select the relevant user account.
From this menu, you’ll be able to select a game then choose “Send Save Data” followed by the destination Switch to complete the transfer. Remember that this is a one-way transfer. The save data will be deleted on your old Switch once the transfer is complete.
You’ll need to repeat this process for any and all games you want to transfer to your new console.
Upload Save Data to Nintendo Switch Online
If you don’t yet have a new Switch console but you do have an active Nintendo Switch Online subscription, there’s another way. By uploading your save data to the cloud, you can download it on your chosen console once it’s up and running. Unfortunately, not all games support Nintendo’s save data cloud.
To do this, head to System Settings > Data Management > Save Data Cloud and select the appropriate user account. Under “All Save Data” you will see a list of save data stored in the cloud, and you can select a game to see when the data was last backed up.
Assuming you have “Automative Save-Data Backup” enabled under “Backup Settings,” your data should already be synced. If the option to “Back Up Save Data” within a game is greyed out, the data is safely stored in the cloud. If it’s not, select this option to force a manual sync.
Your data should remain safely on Nintendo servers for 180 days (about six months) after your Nintendo Switch Online subscription ends.
When you finally get a new Switch system, log in with the same credentials you used on your old console and head to System Settings > Data Management > Save Data Cloud, select your User Account. Any save data that hasn’t yet synced will be found under the “Save Data Not on This Console” section.
Transfer Screenshots and Clips
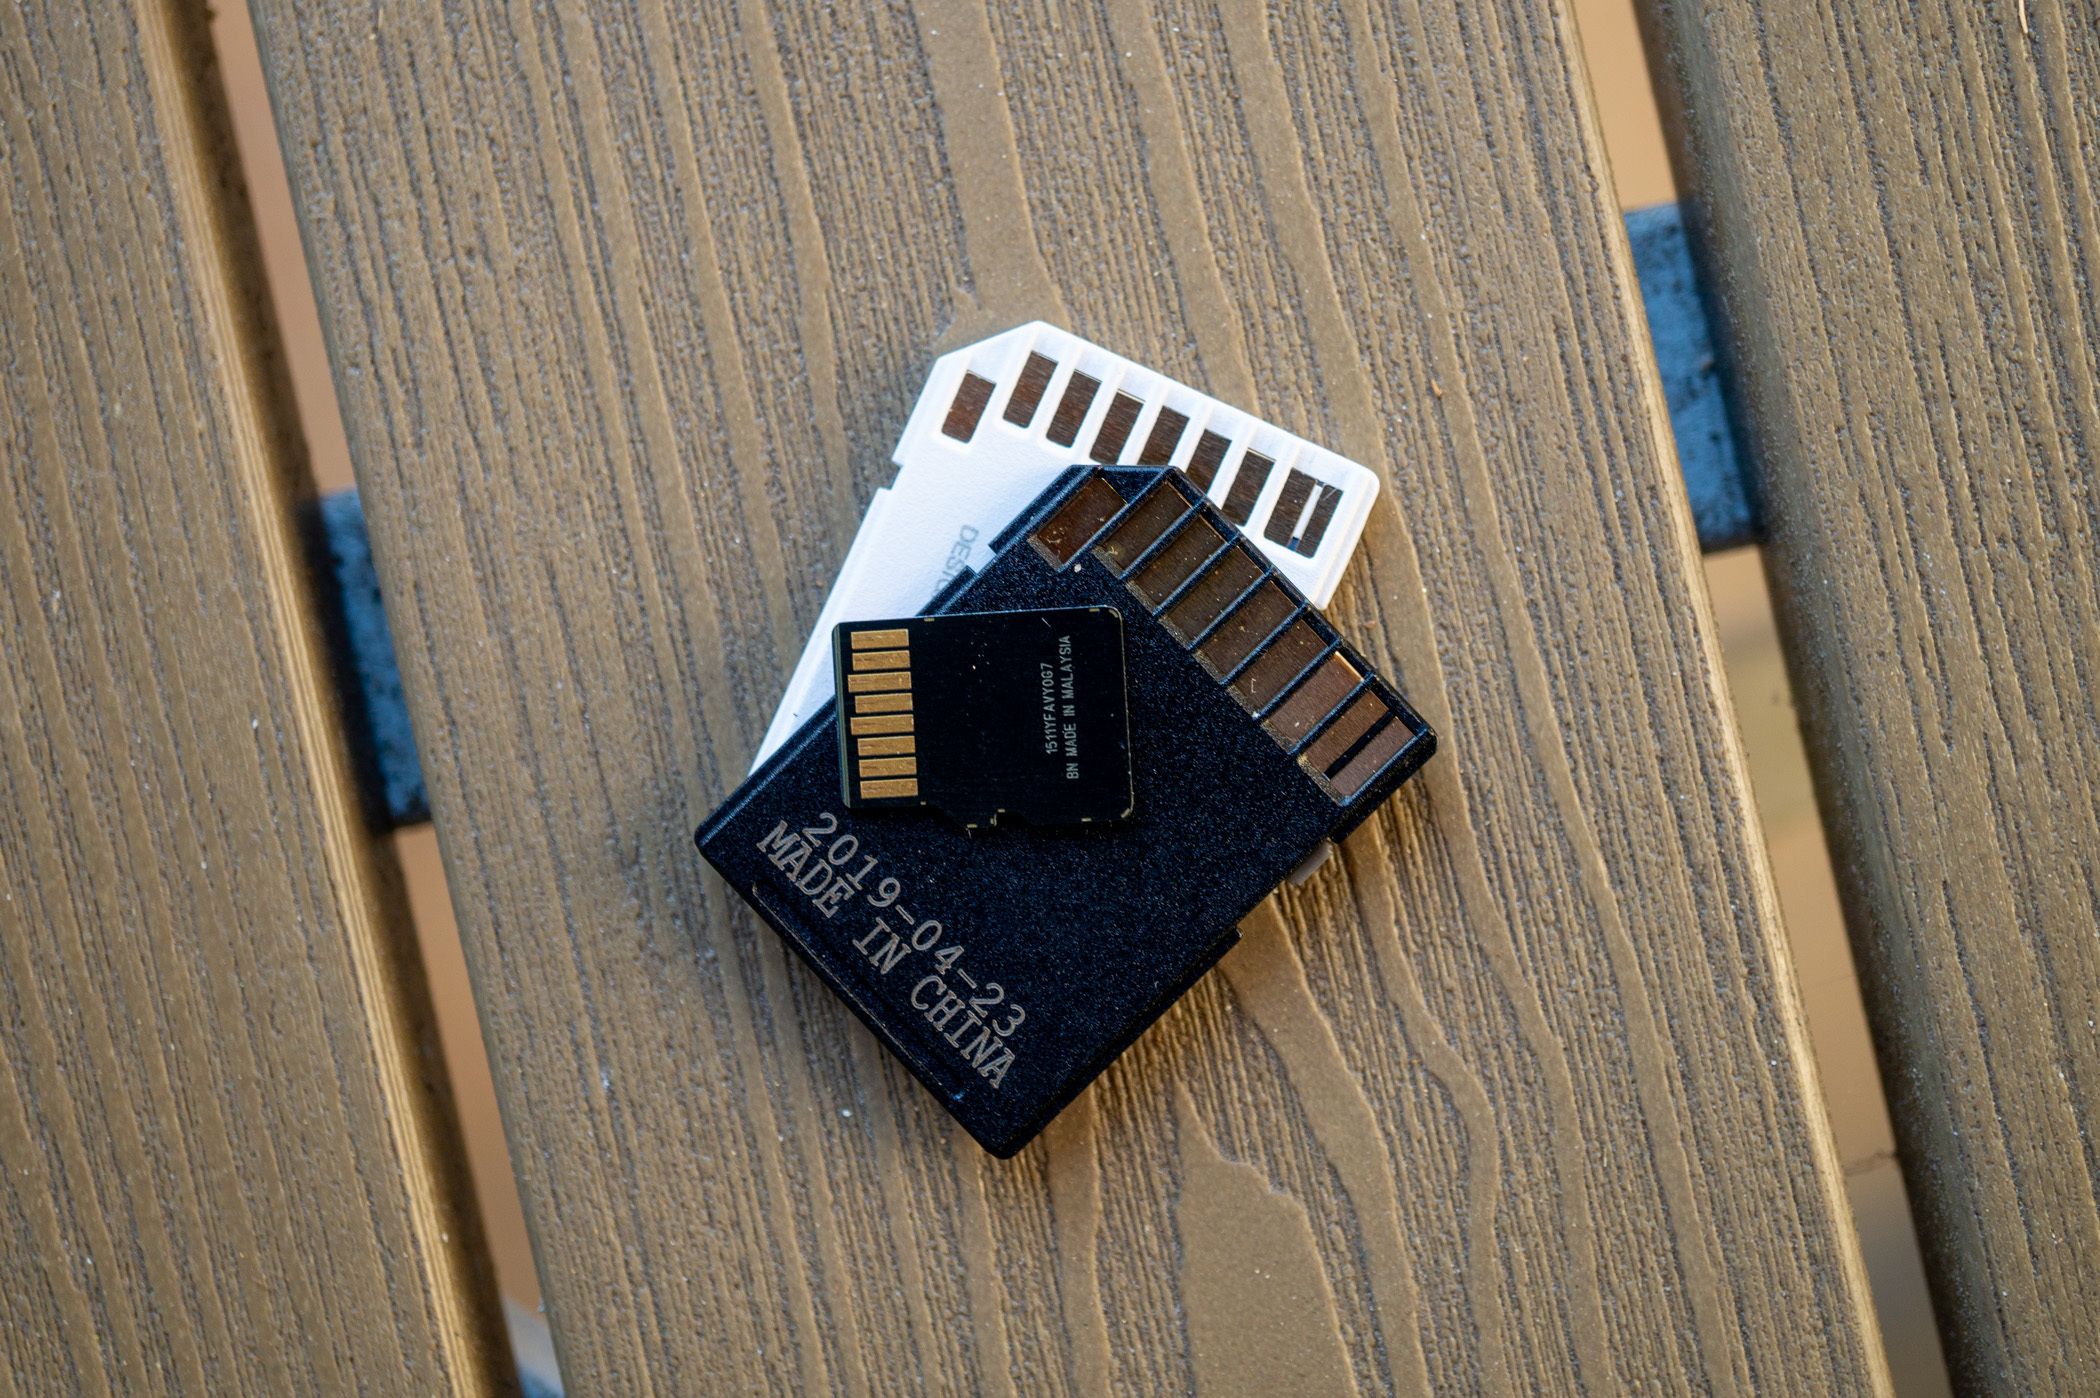
Of lesser importance but still worth saving are screenshots and video clips that you’ve taken while playing games. You can transfer media to a microSD cardusing the memory card slot beneath the kickstand on your Switch.
Remember that fast microSD cards don’t necessarily improve Switch performance, and even slow SD cards will only introduce a few seconds of delay when doing things like loading games. Check out our best microSD card roundup for Switch-specific recommendations.
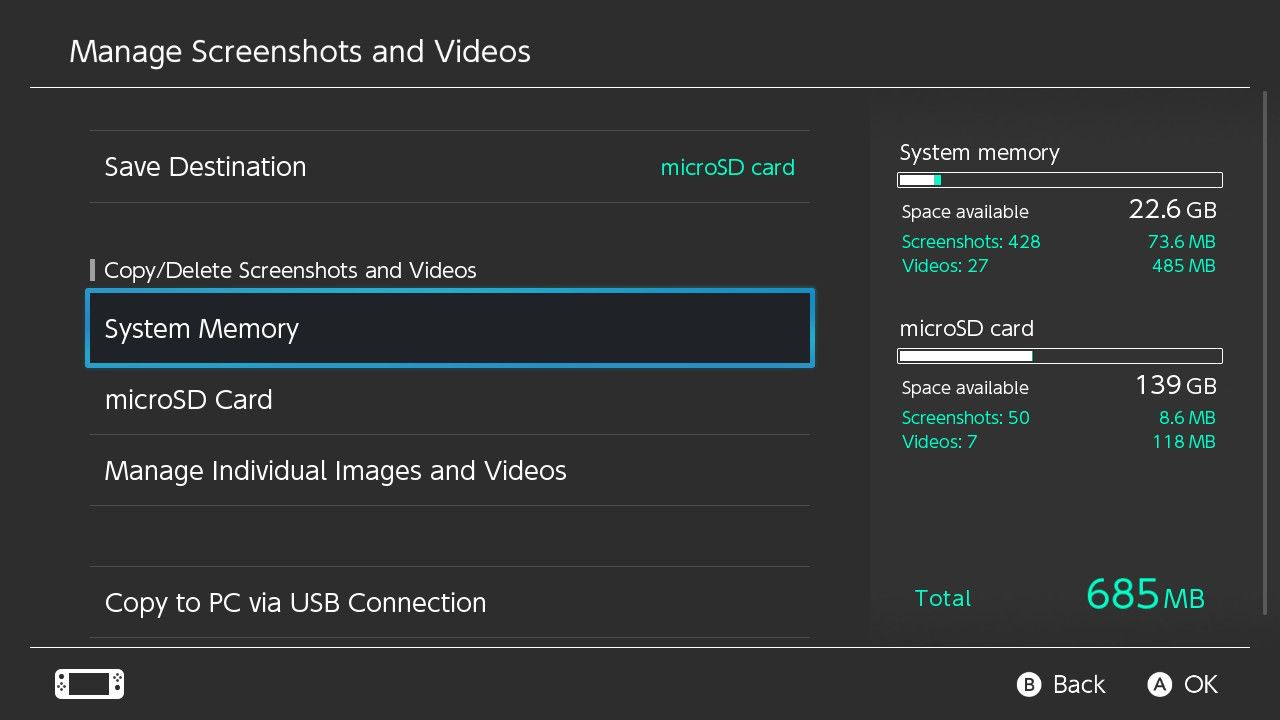
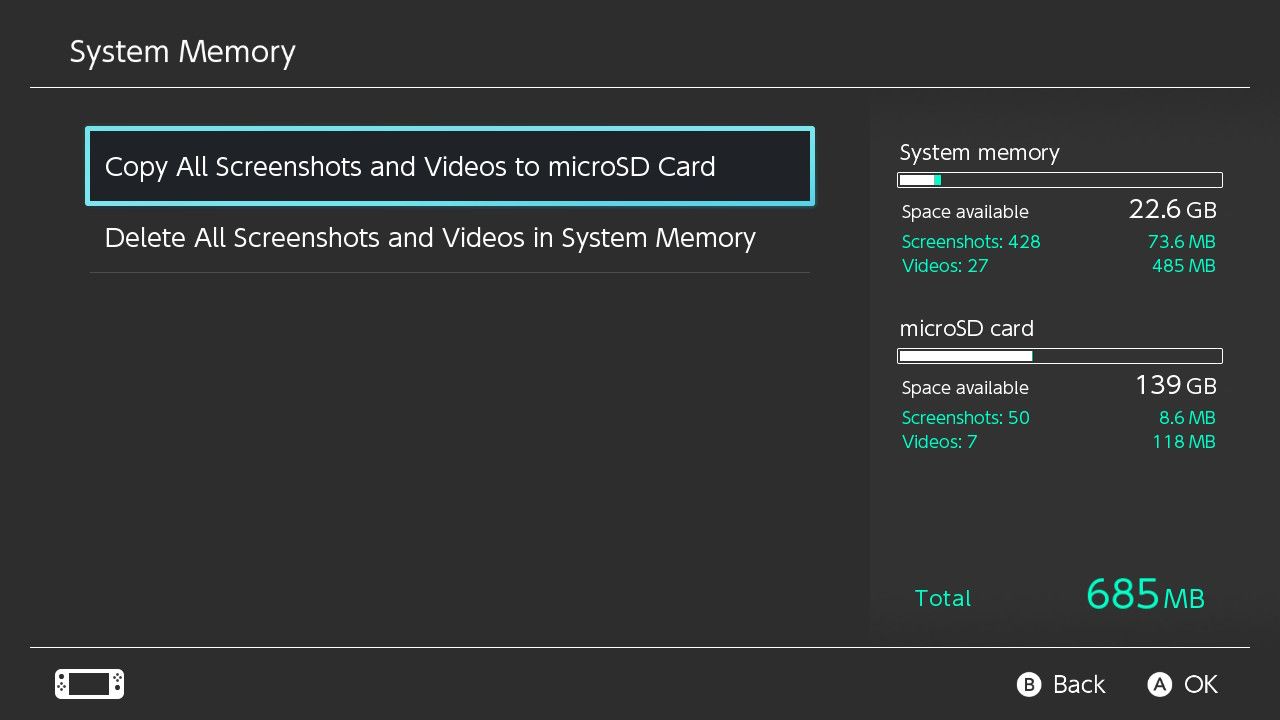
With a microSD card firmly planted in your old Switch (and formatted if necessary under System Settings > System > Formatting Options > Format microSD Card), head to System Settings > Data Management > Manage Screenshots and Videos.
Select “System Memory” followed by “Copy All Screenshots and Videos to microSD Card” and then wait. Once the process is complete, you’ll be able to put your microSD card into a computer or another Switch and see your captured media.
Reclaim Your microSD Card
With your save data and personal media safe, you can now take your microSD card out of your Switch. There’s no point copying your game files since, as Nintendo states, “software downloaded to a microSD card on one system will not be playable on a different system.”
This means that you will need to re-download games again on a new Switch. Any games on your microSD card will need to be deleted since they won’t work. If you’re getting rid of the Switch entirely, you can copy any media files to a safe location of your choice and then format the microSD card for use elsewhere.
Remove Any Game Cards
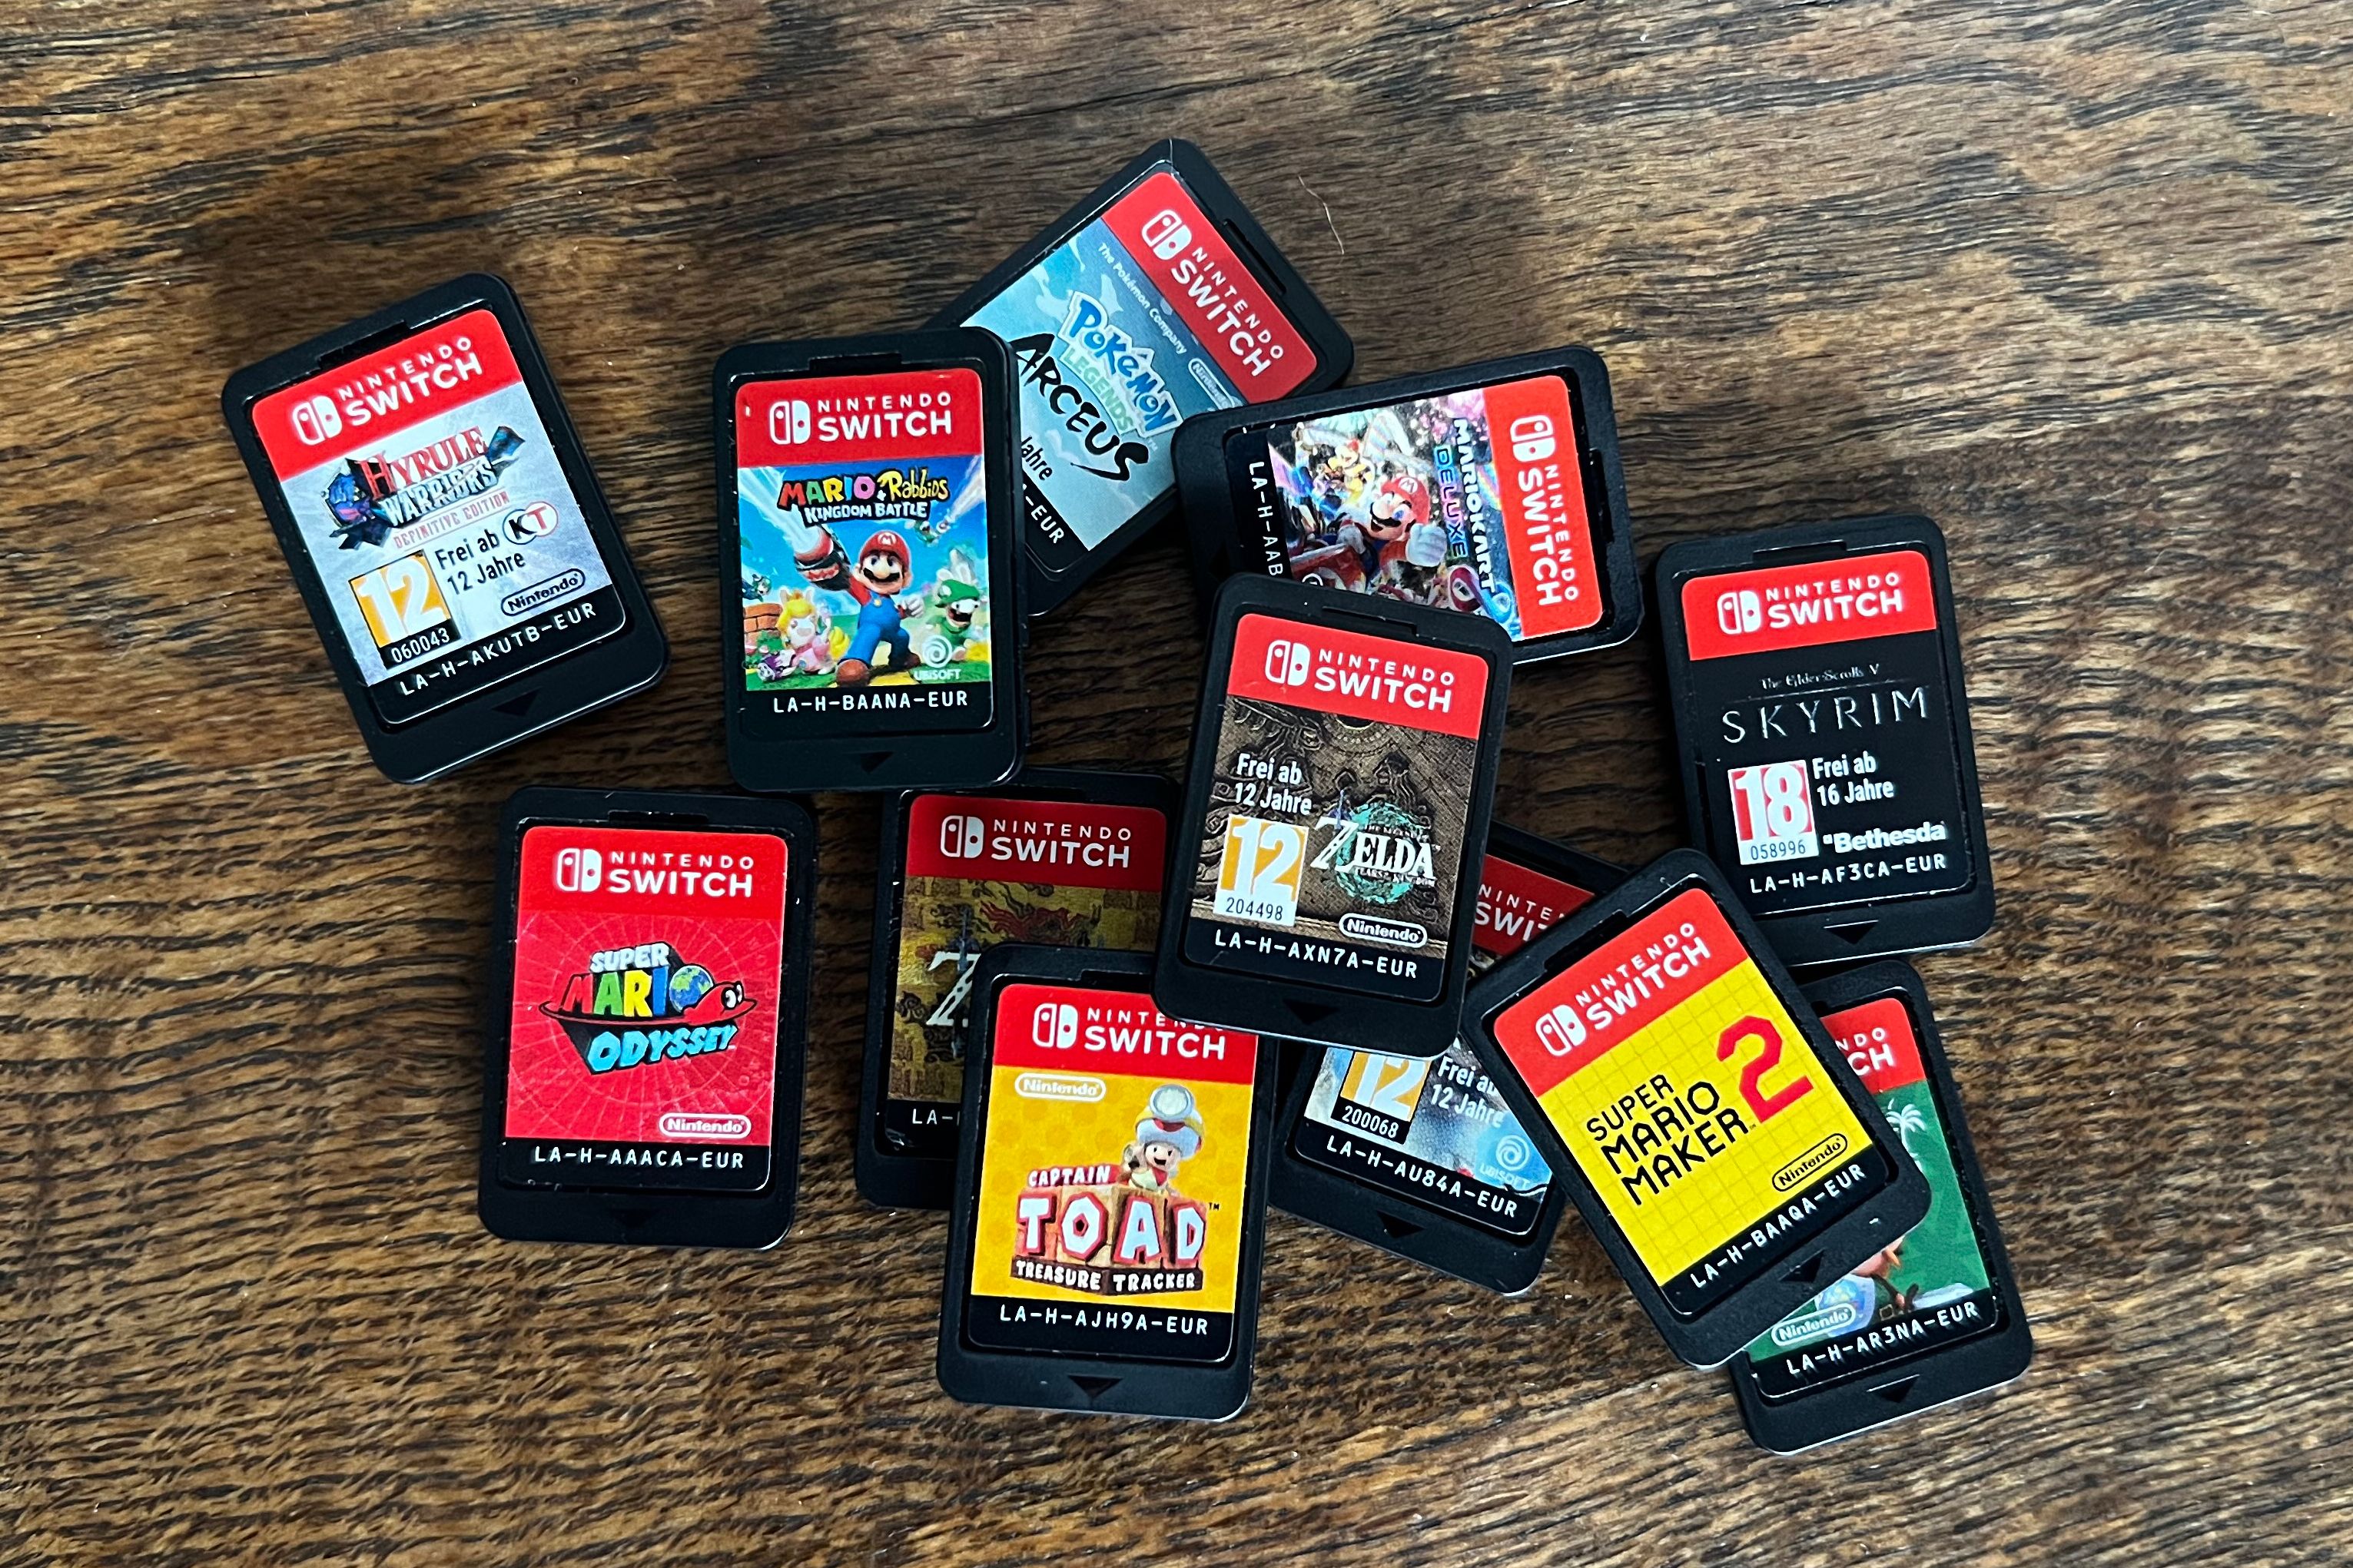
It’s easy to forget that you have a game card in your Switch, which is great news for the new owner but bad news for you. Open up the Switch Game Card slot and remove any game cards that are left in there, even if you don’t necessarily want to keep the game.
Reset Your Switch to Factory Settings
It’s vitally important that you format your Switch to remove your Nintendo account. If you sell or give away your console, the next owner could potentially have access to your eShop login and buy games without your knowledge. If you have a Switch online membership, the next owner could play online using your account.
It’s also courteous to sell your Switch in as close to “new” condition as possible. When the next owner turns the console on, they will be able to set it up as if they’d just purchased a new unit.
The exception here is if you want to show your Switch working to potential buyers. If you’re selling online, this isn’t an issue. Buyers on Facebook Marketplace might insist on seeing the system working, so you might want to leave this step until money is exchanged.
Head to System Settings > System > Formatting Options. If your console has a Parental Control PIN, you’ll be asked to enter it. Proceed by selecting “Initialize Console” and then read the warning. When you’re ready to format, hit “Initialize” and the console will be reset.
This will remove accounts, games, save data, media, eShop logins, Wi-Fi credentials, paired Bluetooth devices, and any preferences or accessibility settings from your Switch.
Getting Your Switch Ready for Sale
If you’re trying to sell your Switch and you want a smooth experience, first clean the console with a soft lint-free microfiber cloth. Nintendo recommends using a damp cloth to dislodge stubborn grime or 70% isopropyl alcohol for disinfecting.
Take plenty of photos right after cleaning, and make sure you take photos of any damage, scratches, and other imperfections. Document these problems in the item description, including the presence of Joy-Con stick drift.
Gather up any and all original accessories you have, including the original charger, dock, and HDMI cable (it’s got “Nintendo” written on it). These will help you get the best price for your Switch. Turn the console off by pressing and holding the “Power” button then selecting Power Options > Power Off before you ship the console.
Sell Your Games Separately
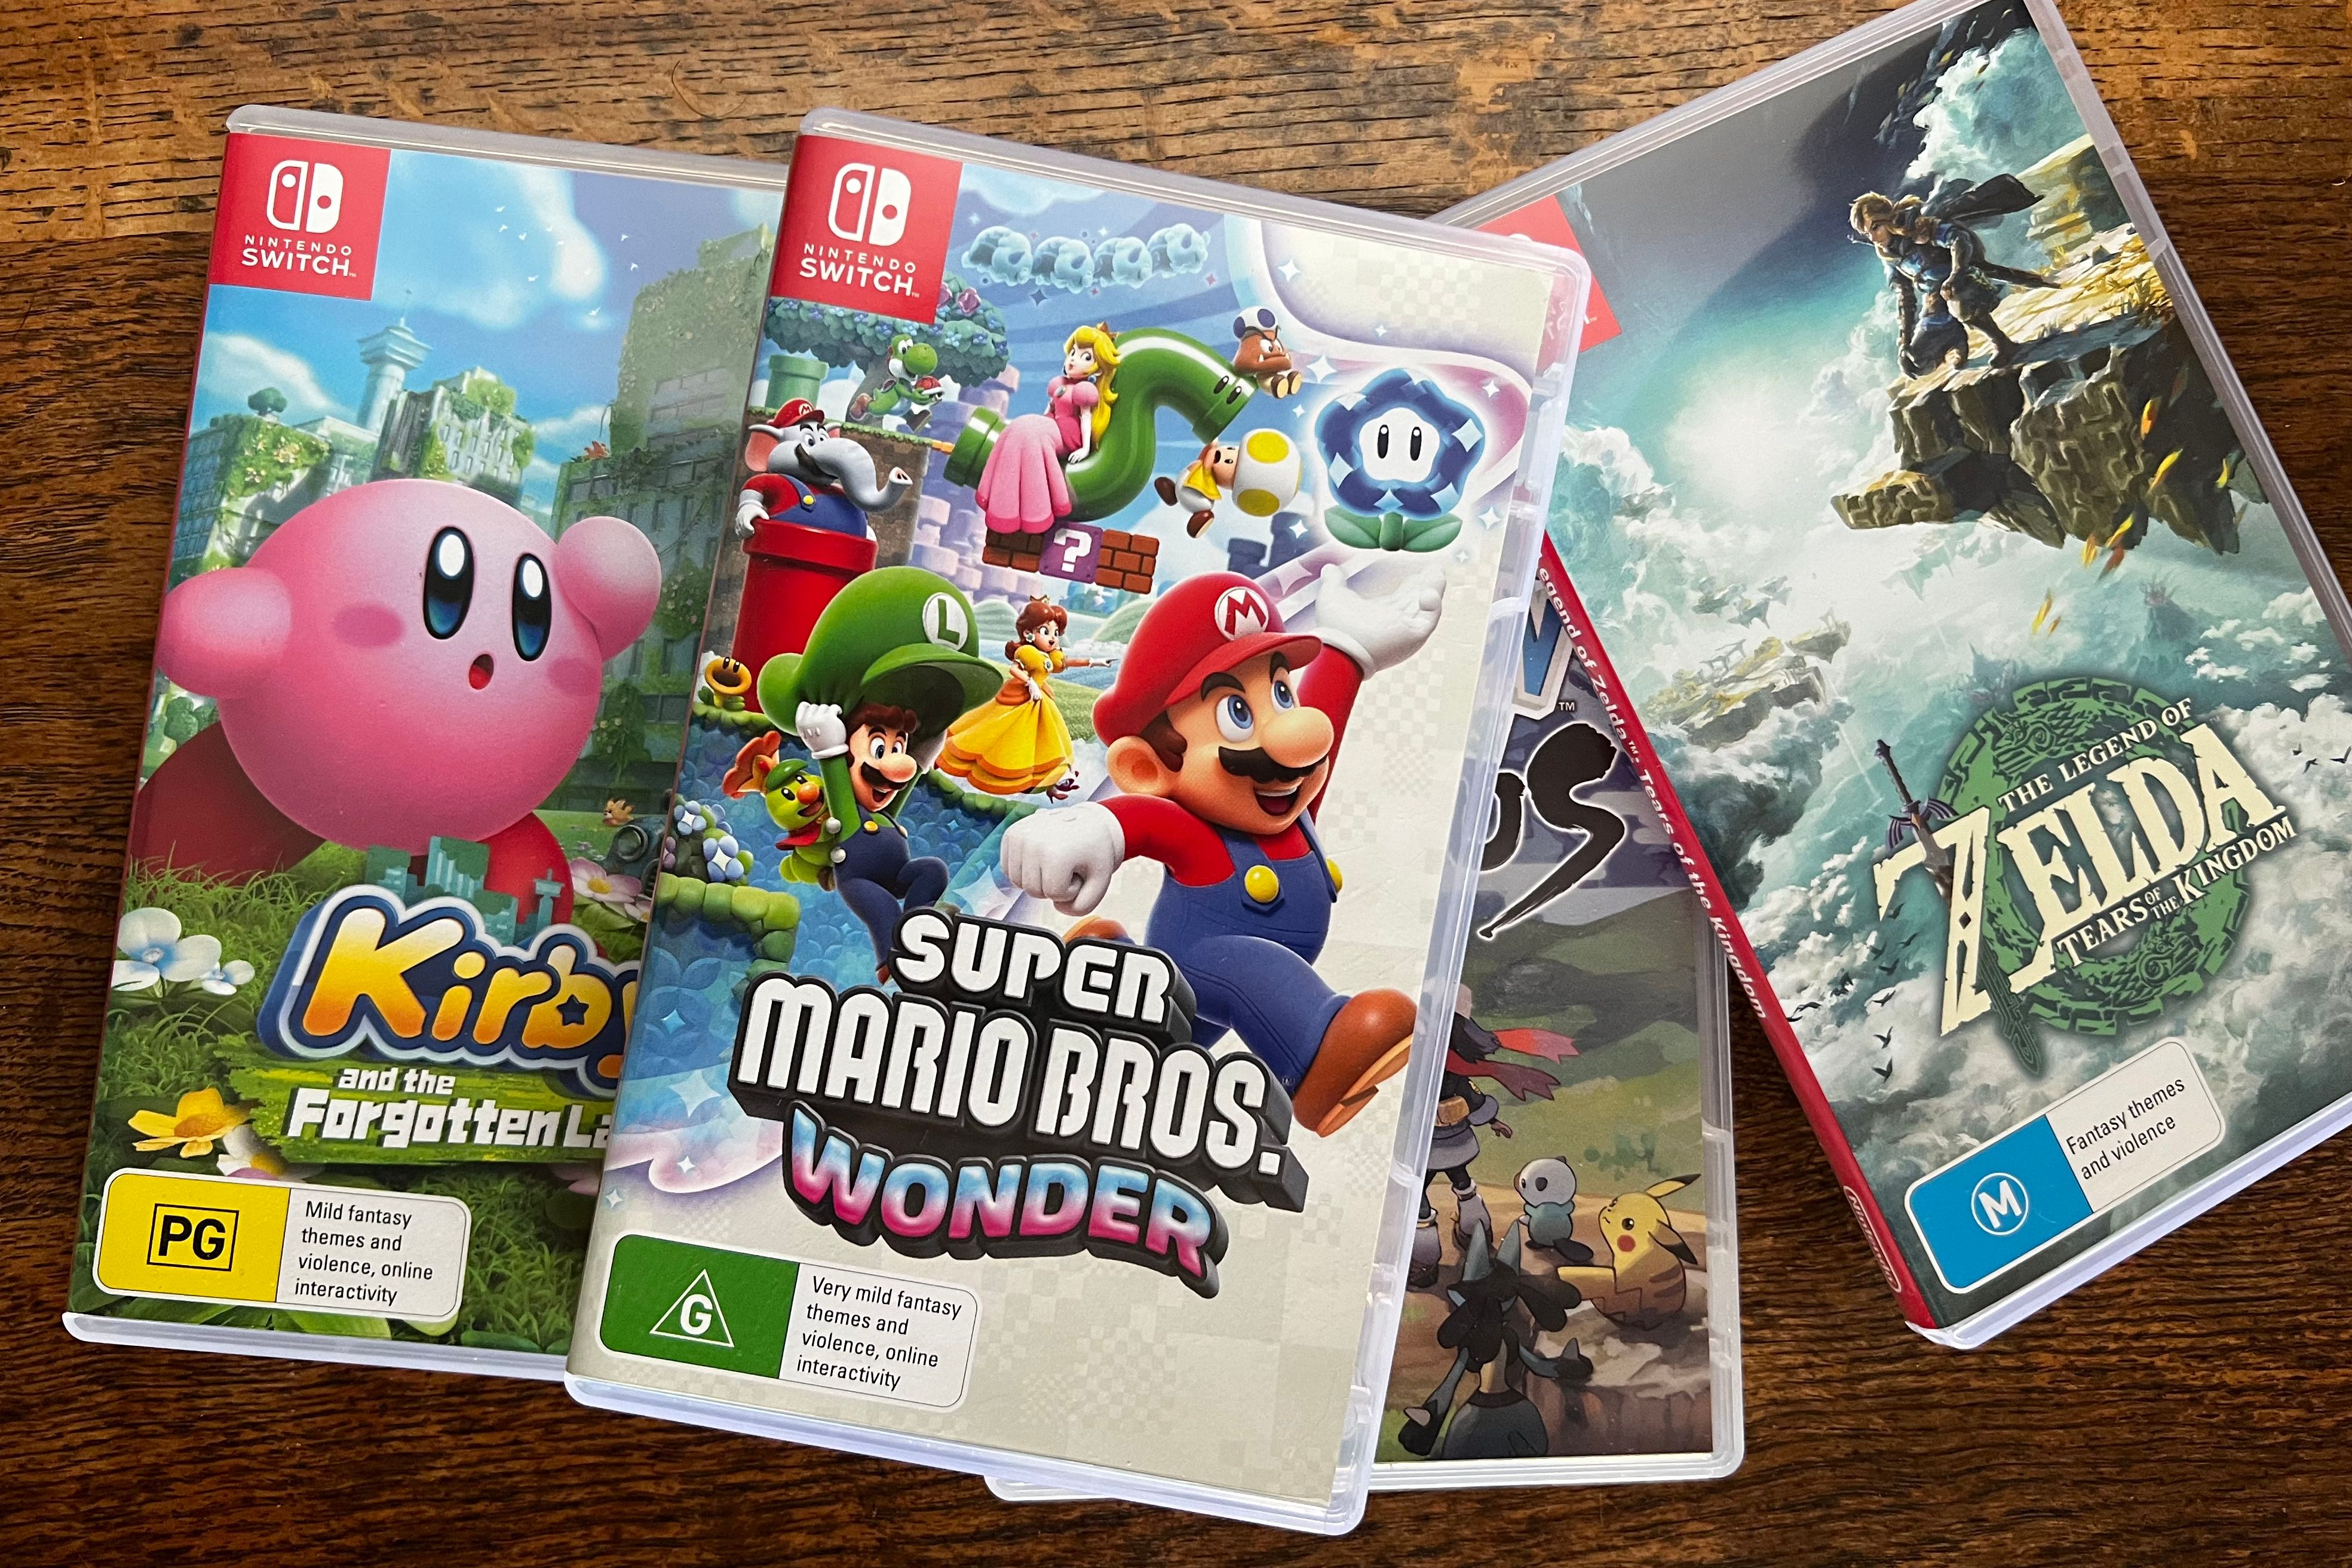
It’s no secret that Nintendo games tend to hold their value, even years after launch. While it might be tempting to sell your Switch as part of a bundle, you’ll probably get more cash back by selling the games separately. The market for used Switch cartridges is huge, despite concerns about the existence of clones.
This is especially true of tentpole releases, including games with Zelda, Mario or Pokémon (and many more). For games that are a little easier to come by (like the excellent Mario + Rabbids Kingdom Battle or yearly releases like the Just Dance series) you might be more tempted to include it with your Switch to sweeten the deal.
You can find out how much something is worth on the used market by looking at completed sold auctions on eBay or trawling through Facebook, Craigslist, and other classifieds adverts.
Consider Not Selling Your Switch
Lastly, it’s worth taking a moment to figure out why you’re selling your Switch. The Switch is one of the best-selling consoles of all time, topped (at the time of writing) by only the Nintendo DS and the PlayStation 2. It has years of support left in it, even after Nintendo releases a successor.
The install base is so big that developers and publishers will be supporting the Switch for years to come. It’s too big to ignore. On the off-chance you want to play a game or two in the next few years, the Switch might be worth holding on to.
Personally, I’ve left my Switch untouched for months only to then pick it up and not put it down for hundreds of hours while I make my way through a new Zelda release or while mastering a comfortable handheld experience like Balatro. It might not be a PlayStation 5 or even a Steam Deck, but my launch model Switch still manages to bring a smile to my face when I need it.
Even if the Switch 2 makes good on backward compatibility and high-resolution visuals, the original Switch will still be a reliable and pocketable console that’s nice to have around.
Whatever you decide to do, make sure you save what’s important, remove your accounts, and be transparent about any problems when selling your console. The same is true of your Android phone, your used iPhone.


