

9to5Mac Security Bite is exclusively brought to you by Mosyle, the only Apple Unified Platform. Making Apple devices work-ready and enterprise-safe is all we do. Our unique integrated approach to management and security combines state-of-the-art Apple-specific security solutions for fully automated Hardening & Compliance, Next Generation EDR, AI-powered Zero Trust, and exclusive Privilege Management with the most powerful and modern Apple MDM on the market. The result is a totally automated Apple Unified Platform currently trusted by over 45,000 organizations to make millions of Apple devices work-ready with no effort and at an affordable cost. Request your EXTENDED TRIAL today and understand why Mosyle is everything you need to work with Apple.
I’ve recently found myself down the rabbit hole of lesser-known Terminal features. These past months, I covered everything from enabling Touch ID for sudo authentication to cleaning up public Wi-Fi connections stored on your Mac. But this past week, I journeyed deeper and found even more neat features you probably didn’t know Terminal could do, and I’m not talking ping command here. In this edition of Security Bite, allow me to elevate your command line prowess further.

You might be wondering, “What does this have to do with security?” Fair question—this is a 9to5Mac Apple security column, after all. While not all commands below aren’t explicitly security-focused, they could help you work smarter, increase your efficiency, and allow you to show off some genuinely useful tricks.
Being proficient in Terminal helps think like the system.
Caffeinate your Mac
Even your Mac needs coffee. Say you’re downloading or processing a large file and need your computer to stay awake while you step away, use caffeinate on Terminal to do this quickly.
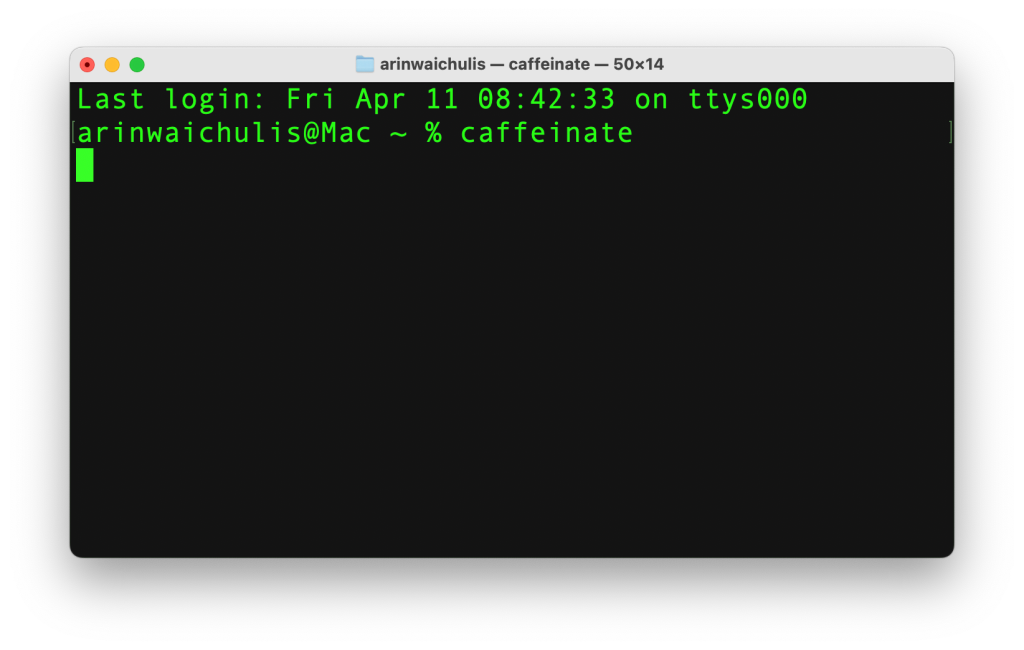
Now, your Mac will stay awake indefinitely, allowing you to step away without worry that the process could be interrupted. When you come back, press Ctrl+C to exit. This will return you to the normal state.
Additionally, you can caffeinate your Mac for a specified amount of time by using caffeinate -t , where denotes seconds.
For example, if you wanted your Mac to stay awake for 1 hour, replace
Change default screenshot file name
If you’re like me, Screenshot is one of the most frequently used utilities on my Mac. But by default, each screenshot begins with “Screenshot” in the file name, which can get a little confusing when you’re working between applications and taking captures of each. Instead of having dozens of “Screenshot” file names on your desktop, you can use this command to name them based on the tasks you’re working on.
defaults write com.apple.screencapture name
Replace

In addition, we can also tweak the file types. Screenshots will default to png, which is great for image quality but can take up more space than one would like.
Supported formats include PNG, JPG, PDF, GIF, and TIFF.
For example, if you’d like to save a screenshot of a PDF, do this:
defaults write com.apple.screencapture name SecurityBite type pdf
Clear DNS cache
When you load a website, macOS stores its IP address in a local DNS cache. This behind-the-scenes database allows Safari and other browsers to resolve domain names faster, skipping the need for a full DNS lookup every visit.
However, the cache can become outdated or bloated over time, occasionally leading to issues like slow page loads or errors such as “DNS Server Not Responding.” While macOS does flush the DNS cache automatically from time to time, you can manually force a refresh when troubleshooting connectivity problems or after changing DNS settings.
To manually flush the DNS cache, enter the following commands in order:
sudo killall -HUP mDNSResponder(password required)sudo killall mDNSResponderHelpersudo dscacheutil -flushcache
Text to voice from the command line
This one is plain fun. On Terminal, type say "hello world", and press return. Your Mac will read it back to you. If you do not like the default voice, you can change it by adding -v followed by the name of the voice you’d like.
Type: say -v"?" to get a full list of all the available voices.
For example, you like Tina’s voice.
Now type: say "Type anything you like here" -v Tina
Additionally, you can save the speech to a file by using: say "Type anything you like here" -v Tina -o

Supported file types include aiff, caff, m4a, and wave
This will save to Macintosh HD
I’m labeling this column as “Part 1” because I’m confident I’ll have more to share in the coming weeks. Comment below if you found any of these useful. Is there any I should add?
Follow Arin: Twitter/X, LinkedIn, Threads
FTC: We use income earning auto affiliate links. More.


