Xbox certainly knows how to make an array of wild and wonderful controllers with dazzling colors and designs. However, if their current line-up isn’t enough for you, there’s always the Design Lab to create your own. But at a base price of $69.99 to customize a standard Xbox Series S|X controller, is there a more wallet-friendly solution?
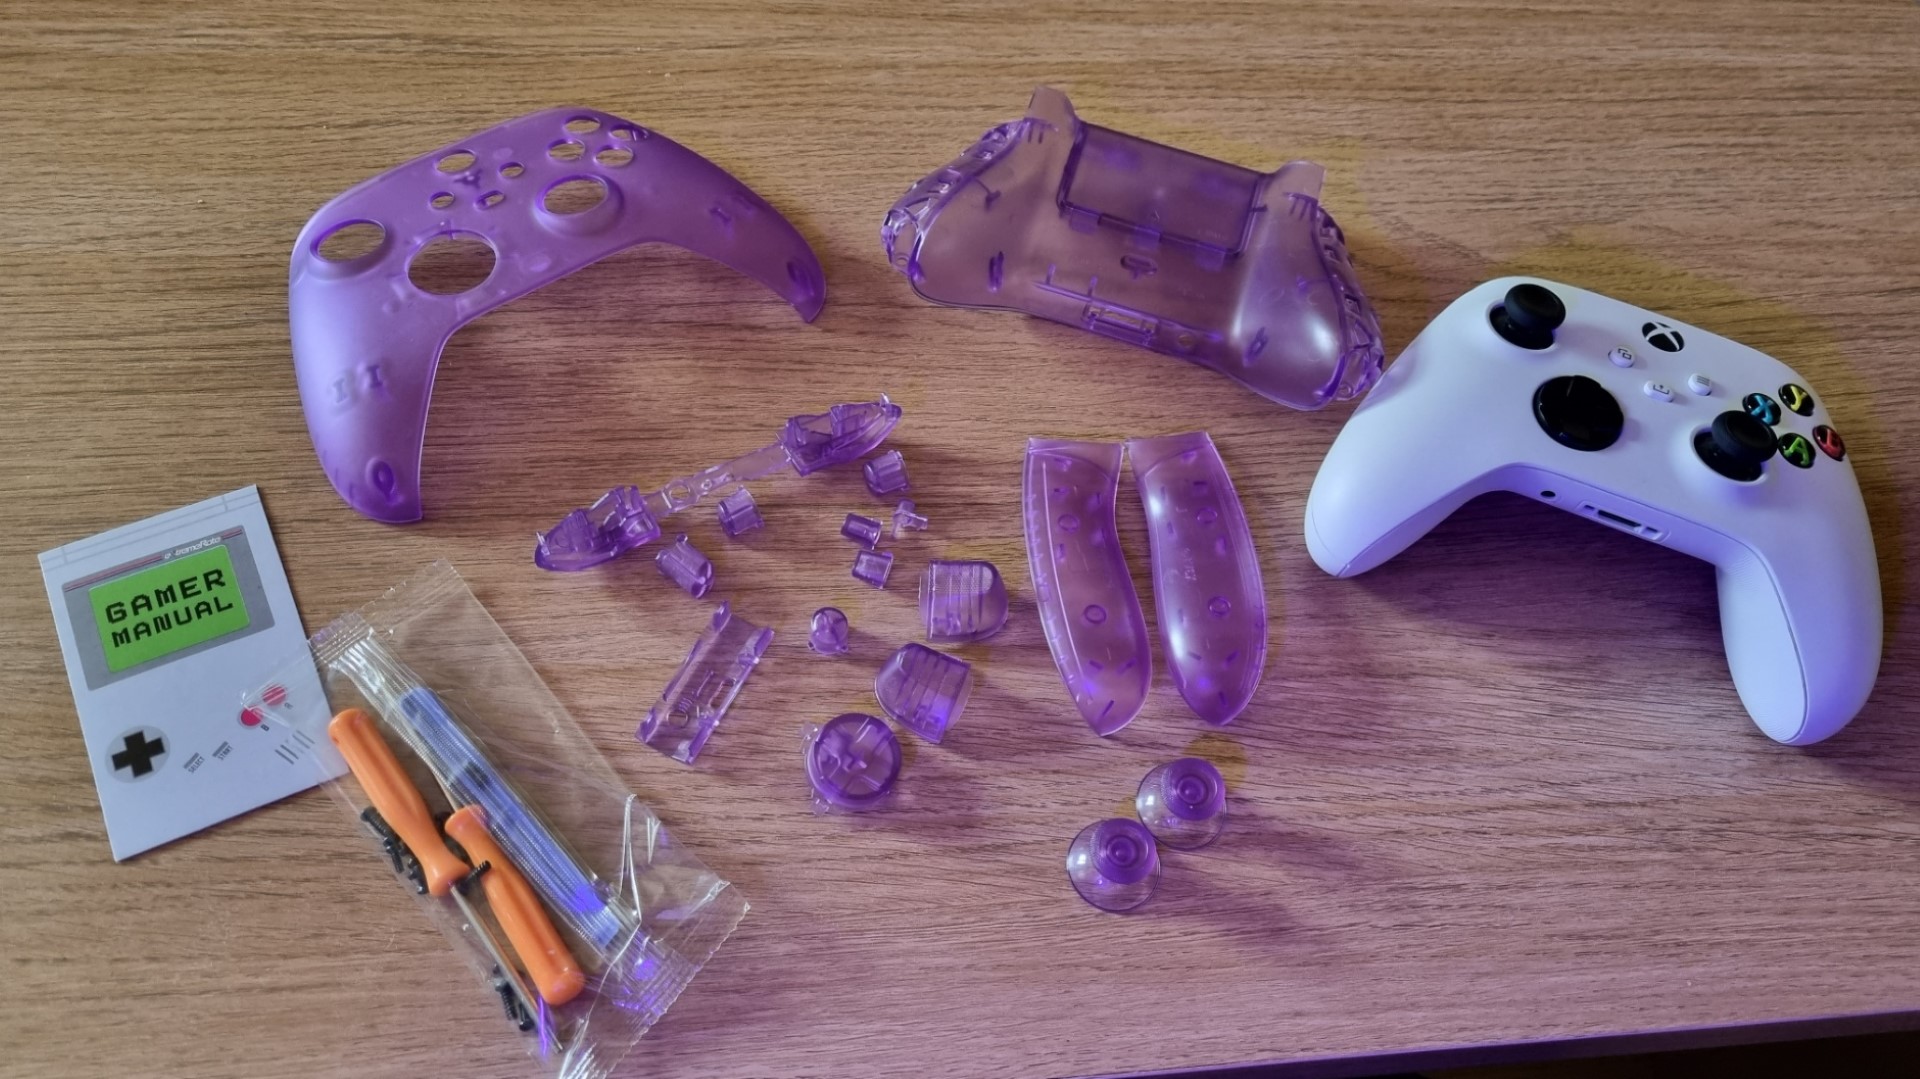
Well, yes, there is. Controller modding is a thing, and it’s not as difficult as you may think. I set out on a quest for an Atomic Purple controller, a nostalgic throwback to my 90s childhood. In my search, I came across eXtremeRate’s selection of transparent goodies on Amazon. For only $22, I could have the controller of my dreams, but there was a catch. I’d need to fit it myself. Could I do it? For the potential cost of a replacement controller, I figured I’d give it a go.
Choose your own adventure
With eXtremeRate’s listings on Amazon, you can choose from a wide range of colors, patterns, and even textures for your Xbox controller shell. You can find it here whether you want a sleek matte finish, a glossy metallic shine, or a funky graffiti design.
The set comes with all the necessary pieces, including buttons, sticks, and the tools to take apart your existing controller and reassemble it. You can also buy individual pairs of sticks in different colors if you want to mix and match your style. The possibilities are endless.

The instructions came with a QR code to scan for a helpful Youtube tutorial which I could follow along at my own pace.
With the pieces in front of me, I got to work taking apart my Xbox Series S controller in the name of science.

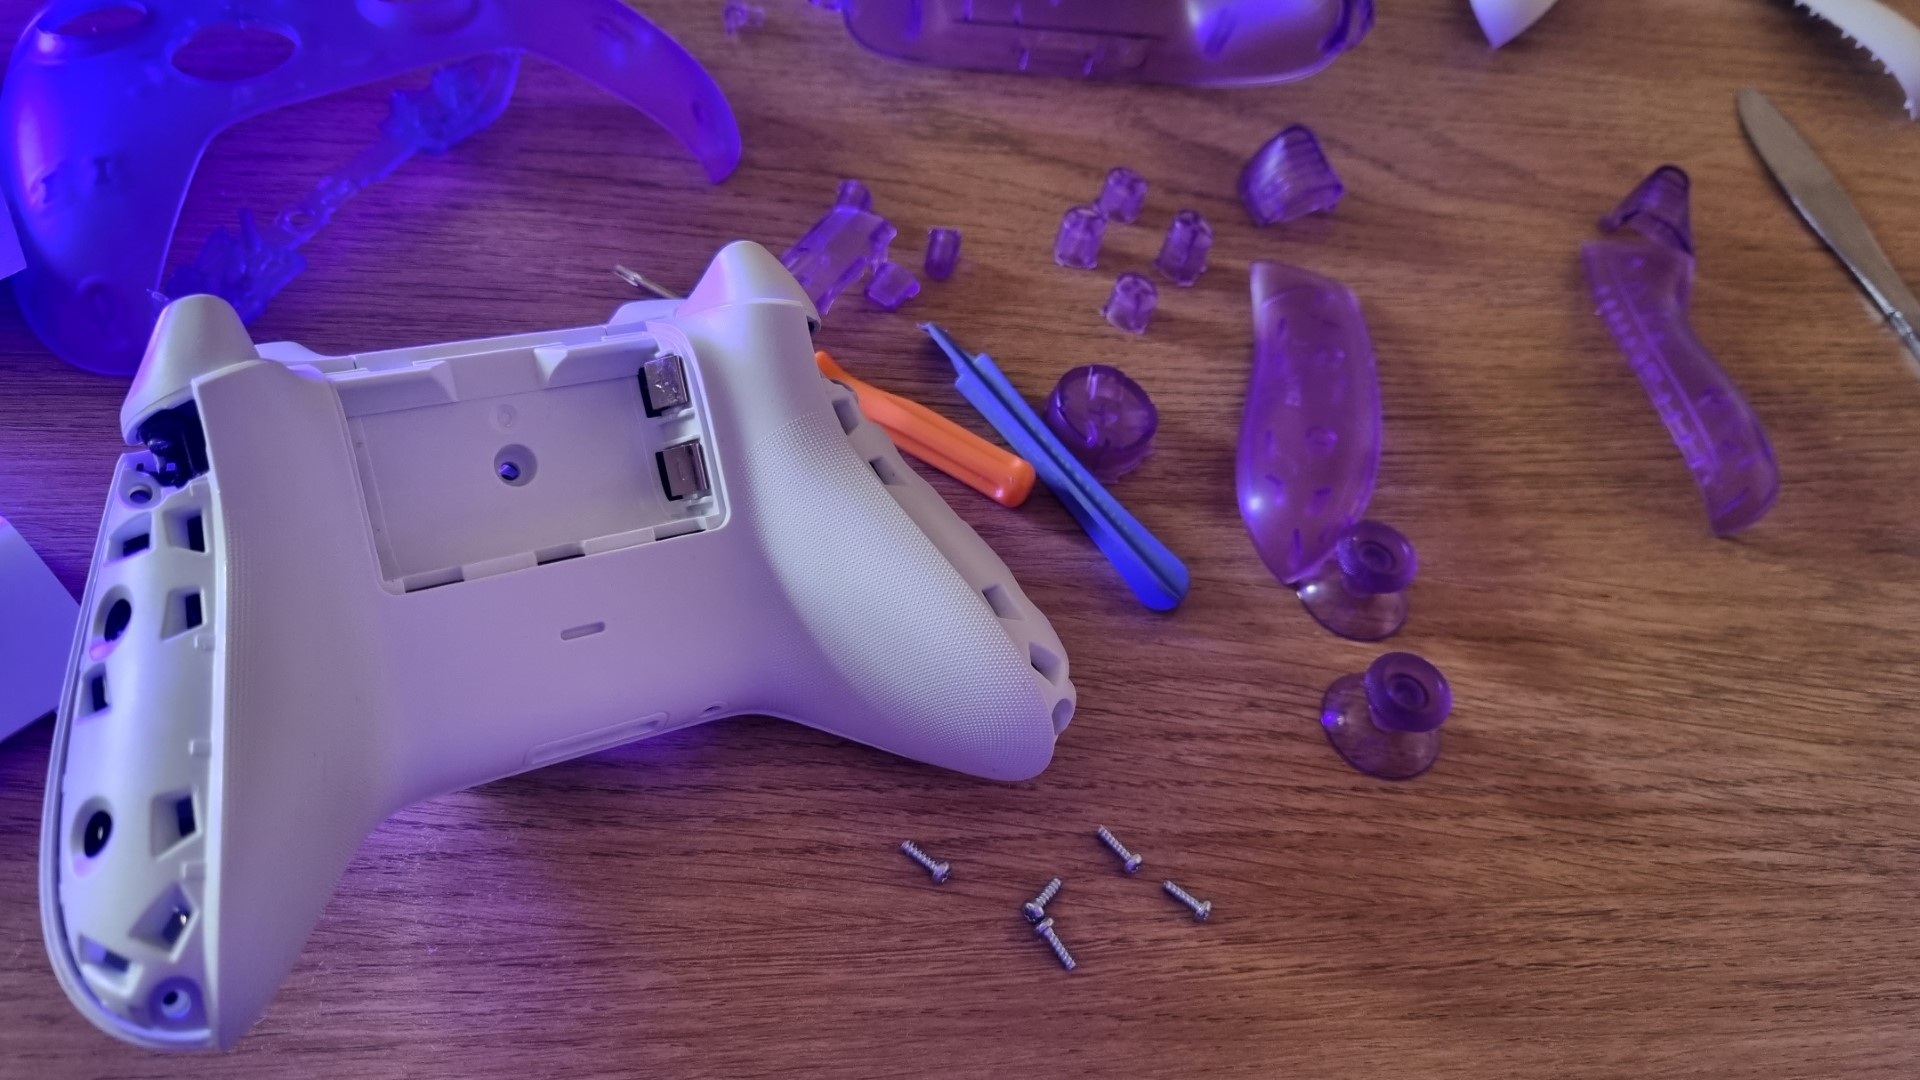
The most challenging part of the process was removing the rear grips with the prying tool. They were a tight fit and seemed integral to securely holding everything else in place. As a result, they were firmly attached and required a lot of force to pry them off. After spending some time removing the left one, I faced even more difficulty with the right one. I resorted to using a butter knife to really get under the lip of the plastic. Don’t worry, though. It was not as risky as it sounds. Eventually, it popped off with a satisfying click, and no damage was done.
The rest of the controller was much easier to take apart once this component was removed. The screws and wires were clearly visible and accessible. I followed the instructions carefully and used the tools provided to detach them.

The next step in the process was to unscrew the components still attached to the controller. Thankfully, there were only two different screw sizes on an Xbox Series S|X controller, so I didn’t have to worry about mixing them up. I just kept them in two separate piles, and the Youtube video clearly explained which one went where.
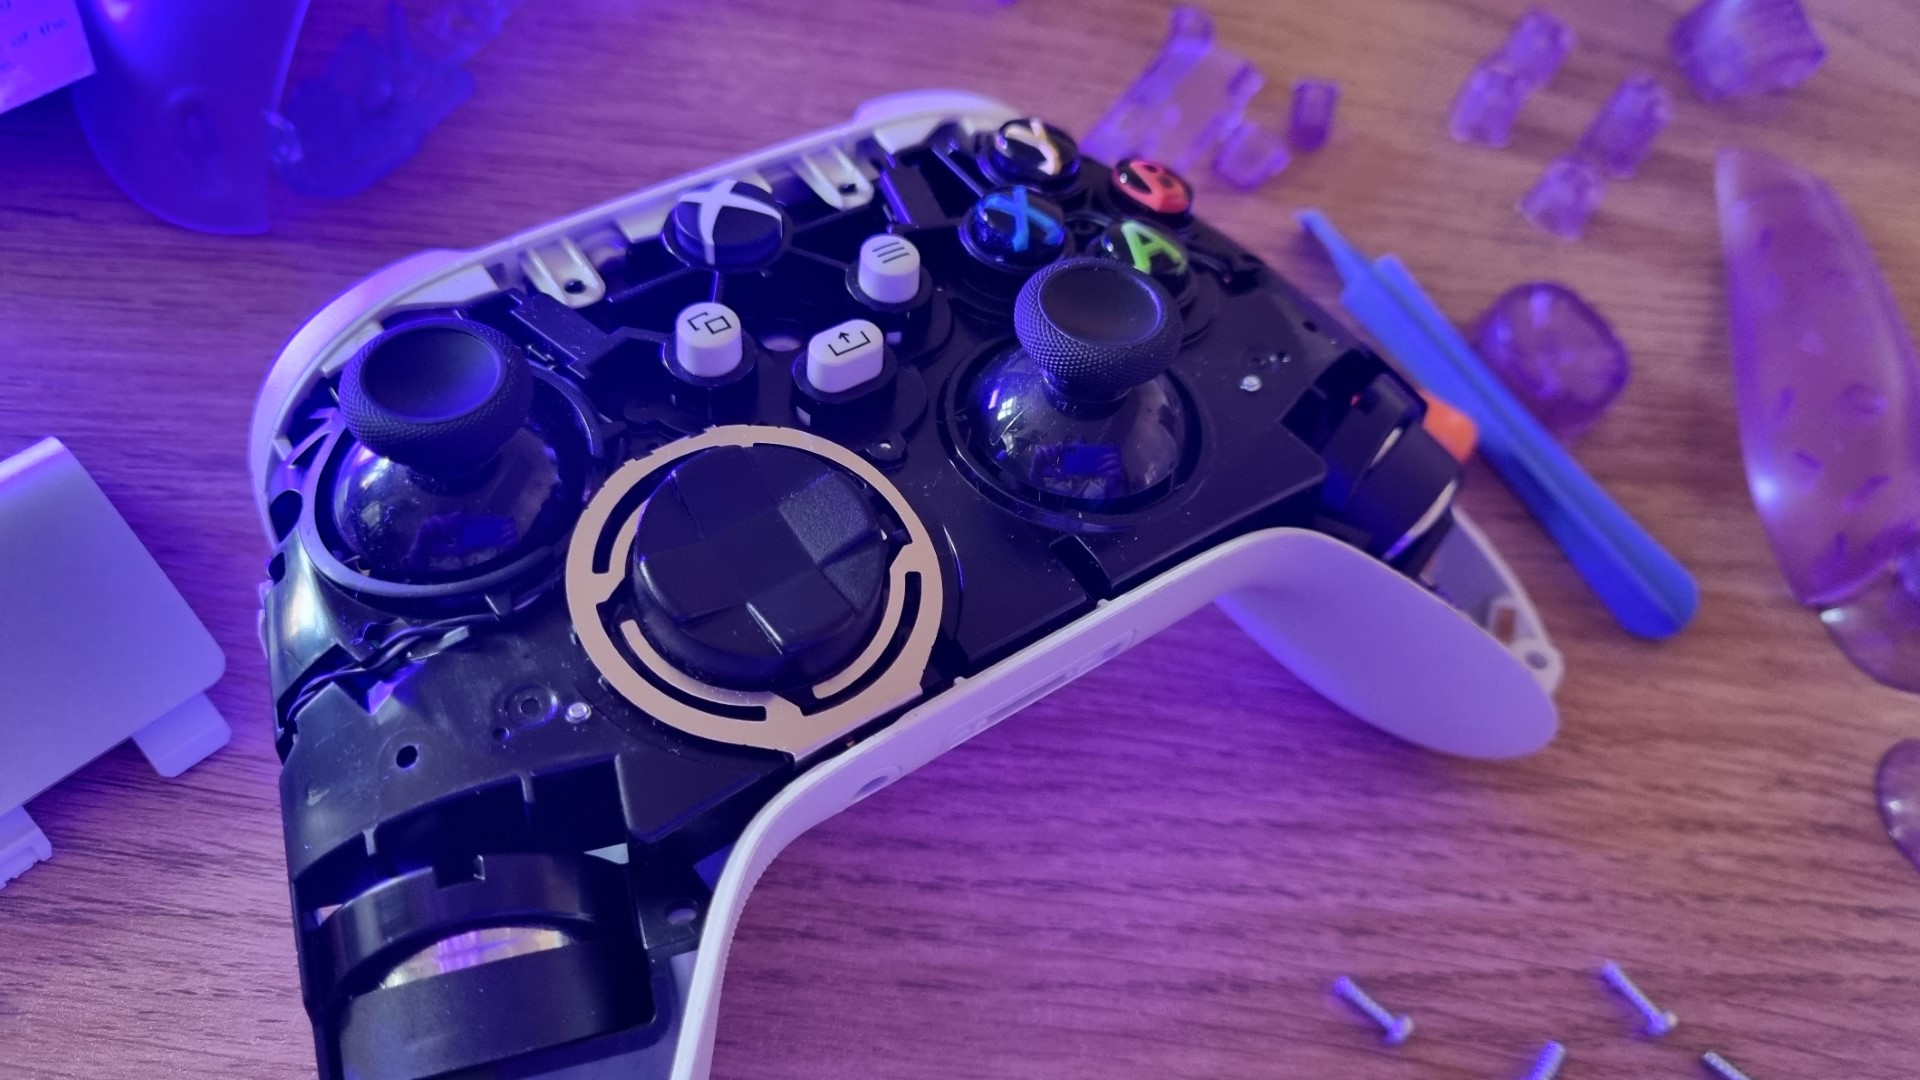
After that, I was left with a rather terrifying-looking skeleton of my controller. Seeing the inner workings of the device I used so often was a strange sight. I must say it was quite fascinating to see the rumble motors outside of the casing.
We can rebuild!
Reassembly was much faster than taking it apart, and seeing my creation come to life piece by piece was a satisfying experience, certainly giving me more accomplishment and pride than anything I could recreate by clicking some buttons on a website.
As I put my masterpiece together, it fit together like a simple jigsaw puzzle. However, I couldn’t help but feel a pang of regret for the controllers of years past that I had thrown away in the garbage due to defects with buttons. I probably could have salvaged them if I had known how easy this process was.
One such casualty was my Dusk Shadow Xbox One controller. It was a gorgeous shade of blue that faded into black. Unfortunately, the ABXY buttons never recovered from a sticky drink spillage. If I had been confident enough to take it apart at the time, perhaps I could have cleaned it internally or even just changed the shell completely. Alas, it was long gone now.
But what I did have now was a brand new Atomic Purple controller and a new skill for the bargain price of $22. The transparent shell revealed the inner workings of the device in a mesmerizing way.
Behold.
I was eager to see my new controller in action, so I quickly popped the battery pack in and pressed the power button. However, nothing happened. I felt a surge of panic as I wondered if I had messed up something during the installation. Then I realized my silly mistake. I had put the battery pack in the wrong way around. I corrected my error and pressed the power button again. This time, the controller came to life with a bright light. I felt a wave of relief wash over me and then awe as I viewed my beautiful new controller in different lights and at every angle.
Transparent accessories have always been a penchant of mine, and until now, my only gaming controller with this feature has been the GameSir T4 Kaleid, which doesn’t work with my Xbox. Until now, my only gaming controller with this feature was the GameSir T4 Kaleid, which didn’t work with my Xbox. Now I can proudly say I have a wireless Xbox controller with my coveted design and that I made myself.
Approach with (some) caution
Before you rush to grab your screwdriver, I should add a disclaimer here. If you venture down the road of DIY customization, you will void your warranty. Therefore, I wouldn’t suggest attempting this on a less-than-a-year-old controller. While the process was simple enough, there is always some risk when tinkering with tech. It’s best to eliminate some worry by using an older controller that won’t break your heart too much if anything goes wrong.
However, don’t let that scare you away from trying this out. I’m not particularly dexterous, and I’ve already well-documented my disastrous experience fitting a Steam Deck shell on social media. But I managed to pull this off without any issues. And I’m so glad I did. I love my new Atomic Purple controller, and I’m proud of my new skill. It was a fun and rewarding project, and I can’t wait to get my hands on some more designs and perhaps pick up some busted-looking second-hand controllers that need a new lease of life. If I get any braver, you may find me trying to fit some Hall-Effect sticks soon enough.
So why not give it a go yourself? You might be surprised by what you can create with patience and an hour of your time. And if you do, please share your results with me. I’d love to see your custom controllers and hear about your experience.


