Fun fact: Your PC can meet Windows 11’s hardware requirements, but still get rejected by the installer or upgrader as incompatible. If you’ve run into this problem (or think you might), don’t worry, your system likely needs just a few configuration tweaks in order to pass muster.
Often the sticking point can be fixed in your PC’s UEFI (which is still often colloquially referred to as the BIOS). You’ll need to look at three settings: Legacy BIOS mode, Secure Boot, and the TPM. They all relate to security, which Windows 11 has much higher standards for.
To enter your UEFI, keep a sharp eye out when you boot up your PC. On the initial startup screen, you’ll see text that tells you which key on your keyboard to press. Every motherboard vendor uses a different button, but it’s usually a function or the Del key. (Don’t want the stress of having to quickly read and then slam your finger on a key? Look it up via online search instead).
Legacy BIOS mode

PCWorld
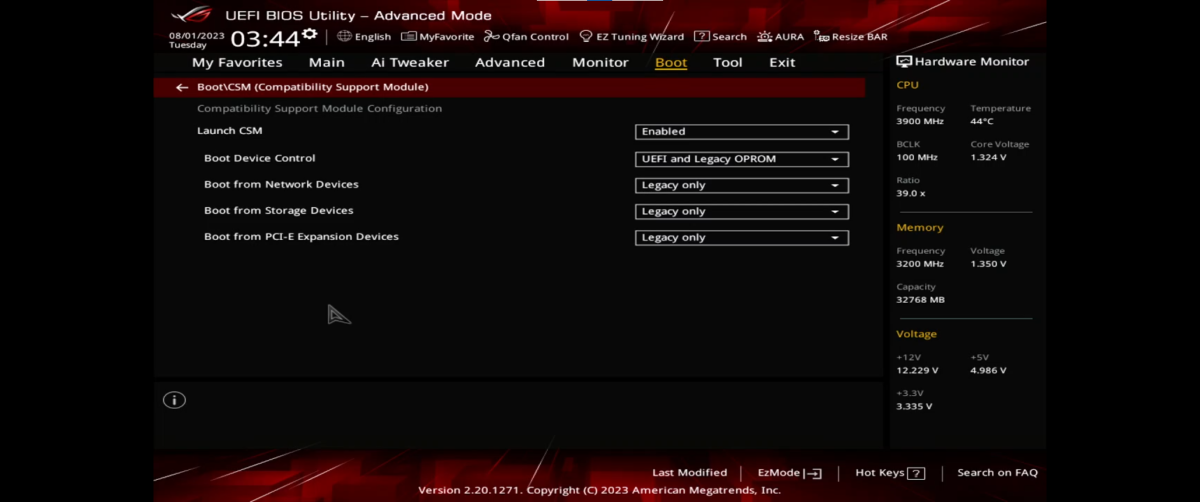
These days, we often refer to the system that controls your PC’s startup as the BIOS, but it’s not technically correct. Modern motherboards now use UEFI, which is a more secure and faster successor to the BIOS. However, mobos still ship with what’s called Compatibility Support Module (CSM)—it enables a legacy BIOS mode that allows the UEFI to pretend it’s running as a BIOS, so that older hardware and operating systems will work at boot.
As you might guess, with Windows 11 being much more focused on security, it won’t install on a PC that still has legacy BIOS mode enabled. This one can sometimes be a little tricky to find within the UEFI settings; I’ve found it fastest to jump straight to an online search to locate it. (My kingdom for universal menu organization across motherboard vendors). Disable this option so that your PC runs only in UEFI mode.
Secure Boot

PCWorld
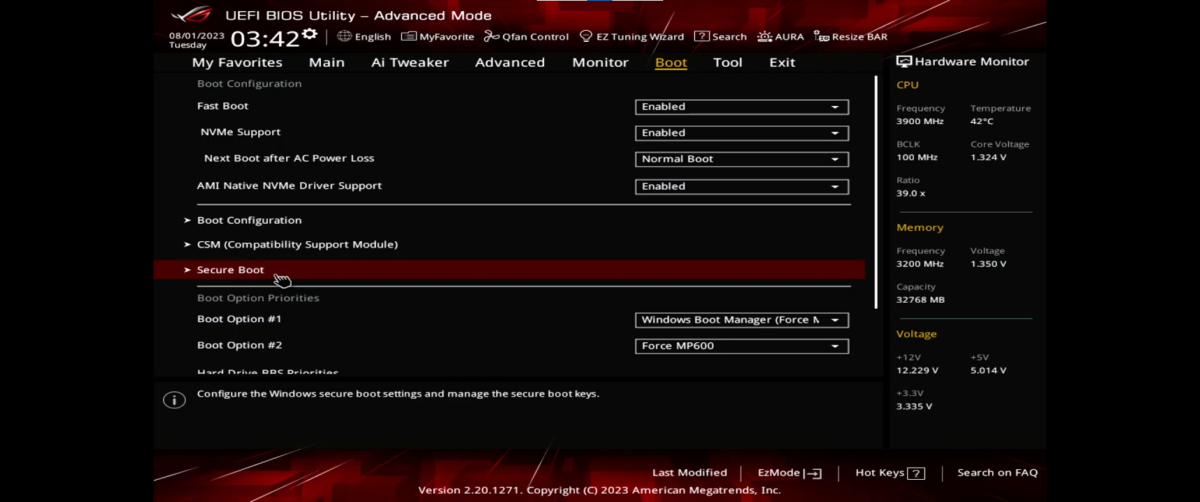
Secure Boot is a process that verifies the integrity of software used during boot (such as firmware drivers and EFI applications) as well as the operating system. This is done by checking their digital signatures and verifying them against a set of trusted certificates saved in the UEFI.
For Windows 11 to install, this setting must be enabled in your motherboard’s UEFI. Unfortunately, you’ll have to dig around a little to find it—each motherboard vendor organizes its menus within the UEFI / BIOS differently. Usually, you’ll find it under settings related to boot. If you have trouble locating Secure Boot, checking your motherboard’s manual or a quick online search should point you in the right direction.
TPM (or fTPM)

PCWorld
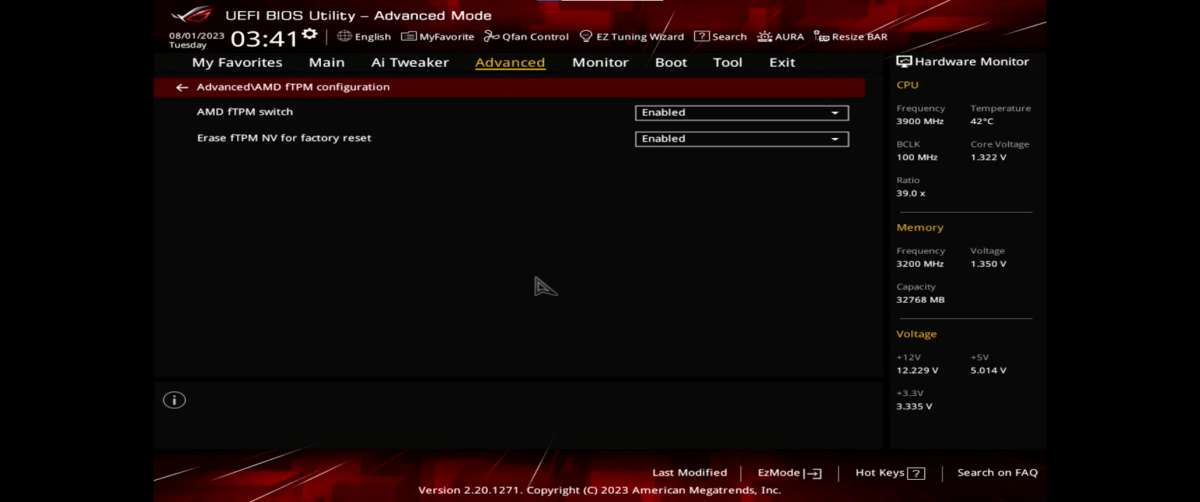
A Trusted Platform Module (TPM) is essentially a lockbox for your PC’s most sensitive information such as cryptographic data tied to user logins, biometric information (e.g., fingerprints), encryption, and the like. At boot, its job is to verify that none of the keys have been tampered with. If everything looks good, the start up process can proceed, which then might also involve the TPM further if your storage drive(s) are encrypted. (For more details on how a TPM works, you can read our guide).
Windows 11 requires the presence of a TPM (specifically, TPM 2.0). The TPM can be a standalone hardware module or it can be part of the CPU (either physically or as firmware). Modern Intel and AMD processors have integrated firmware based (fTPM) trusted platform modules that satisfy the Windows 11 hardware requirement—you just might need to enable it in your motherboard’s UEFI. Similar to Secure Boot, where exactly the setting lives in the menus depends on the manufacturer, but you can try looking under CPU settings. If it seems buried in an unknown spot, look at your motherboard’s manual or run a quick online search.


